The Article
VINYL CLEANING GUIDE PT. 2: RCMs
9th August 2022
In the second of a proposed trio of cleaning Guides, Paul Rigby examines how to clean vinyl using a Record Cleaning Machine (RCM)
Each of the three vinyl cleaning Guides in this series are stand-alone features. This means that a batch of explanatory text will be repeated across all three. The idea was to prevent you from having to bounce around the Guides to seek the information you require. I also didn’t want to assume that anyone reading Part 2 had read Part 1.
USING THIS GUIDE
I have tried to make this Guide modular with lots of sub headings to allow you to skip past the parts you may have already read about in Part 1. That is, anyone who has read Part 1 can skip the bits they may already know so they can focus on the new editorial.
This Guide is divided into two Sections (well three, including this introductory part). Section 1 provides all of the background information and content plus all of the tools and how to use the Disco Antistat. The reason? Because the Disco Antistat will be brought into the testing process later in this Guide. More on that later.
Section 2 gets to the meat of this Guide, the actual testing of the RCM itself. So if you’re a veteran of the Vinyl Cleaning Guide Pt. 1 then, once you’ve read this introductory bit, you might want to skip right to Section 2.
If you’re new to my Guides and Part 2 is your first foray then I’d recommend tackling the whole thing. Take it slowly and at your own pace. Move around the Guide and please take note, take from it what you find of use. I’m not expecting you to follow every piece of advice verbatim (although I can guarantee a great vinyl clean, if you do so). By all means, use this Guide to suit you, your vinyl collection and your own vinyl cleaning aims. I offer you the result of many years of research but it’s up to you if you use all, part or any of it.
In Section Two I will test a RCM on its own. Then I will bring in a Disco Antistat + Surfactant combo to see if the latter proves as a useful assistant to the RCM, in terms of cleaning.
After that I will turn that notion on its head. I will clean a record with a Disco Antistat + Surfactant combo first and then see if you actually need a RCM in the first place. That is, adding a surfactant element to a basic Disco Antistat elevates its cleaning power to such a high level. I now know this after my research for Pt.1 of this Guide.
I wondered if the RCM would be of much use, at that point. That is, for this Guide, I wanted to find out just how important RCM technology is to vinyl cleaning, in basic terms.
The results were very interesting and – to me – surprising. You can find out more yourself as you read this Guide.
INTRODUCTION
In Part 1 of this series, we examined how to clean your vinyl records using a manual process. You can find out more via this link (https://theaudiophileman.com/vinyl-cleaning-guide-part-1-manual-cleaning/)
That feature was aimed at users whose proposed budget spend was relatively low. It was a solution for those vinyl fans who didn’t want to commit a large sum of money to the task of cleaning the records in their collection.
In this feature, the stakes and the prices are rather higher because we’re looking at the Record Cleaning Machine (RCM). That takes the budget from the tens of pounds to the region of hundreds of pounds.
There are a host of RCMs currently for sale and for a variety of prices too. Some of the companies producing their own RCMs include Pro-Ject, VPI, Clearaudio, Loricraft, Moth, Okki Nokki, Record Doctor, SOTA, Nitty Gritty and who know’s what else.
This is not the feature to talk about the pros and cons of individual RCM designs and it’s not the place to rate each and every option out there. Saying that, I did settle on one particular machine for the RCM testing in this feature. More on that later.
As opposed to brand names and their products, this feature is aimed primarily at the technology itself because, despite the design variations, all RCMs follow a very similar template. They behave in a similar fashion and they operate by a similar method.
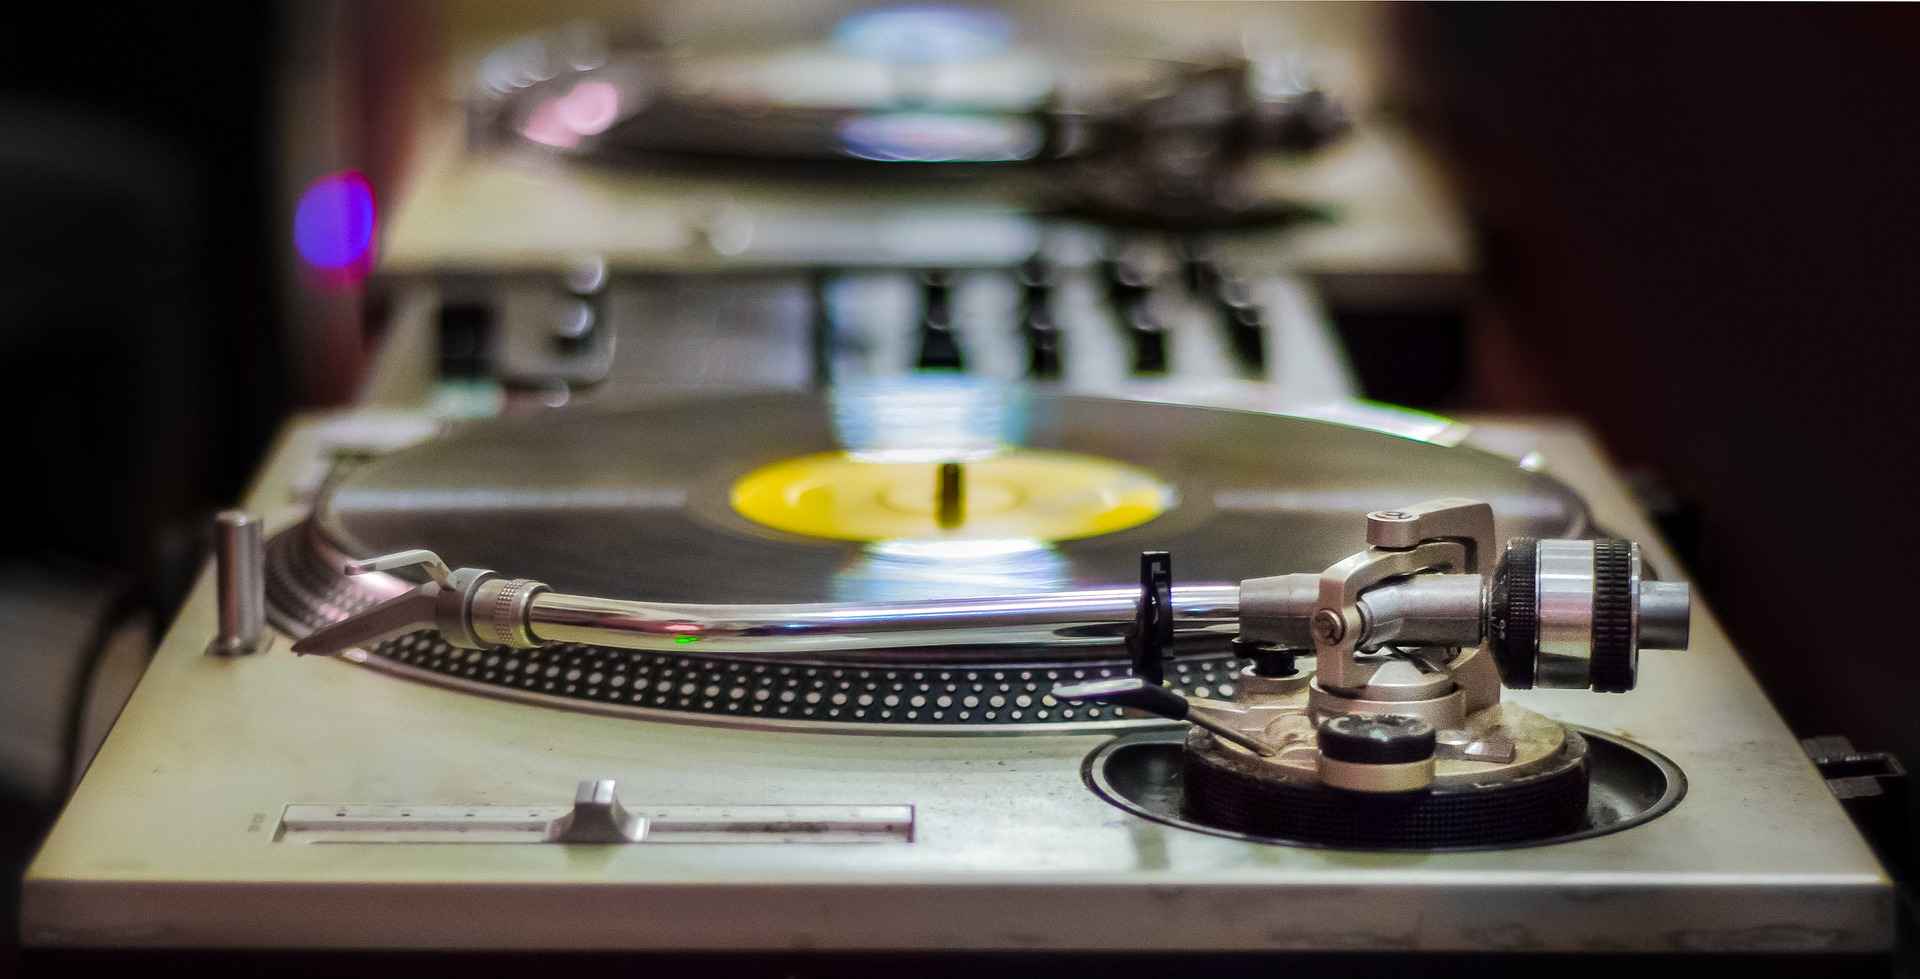
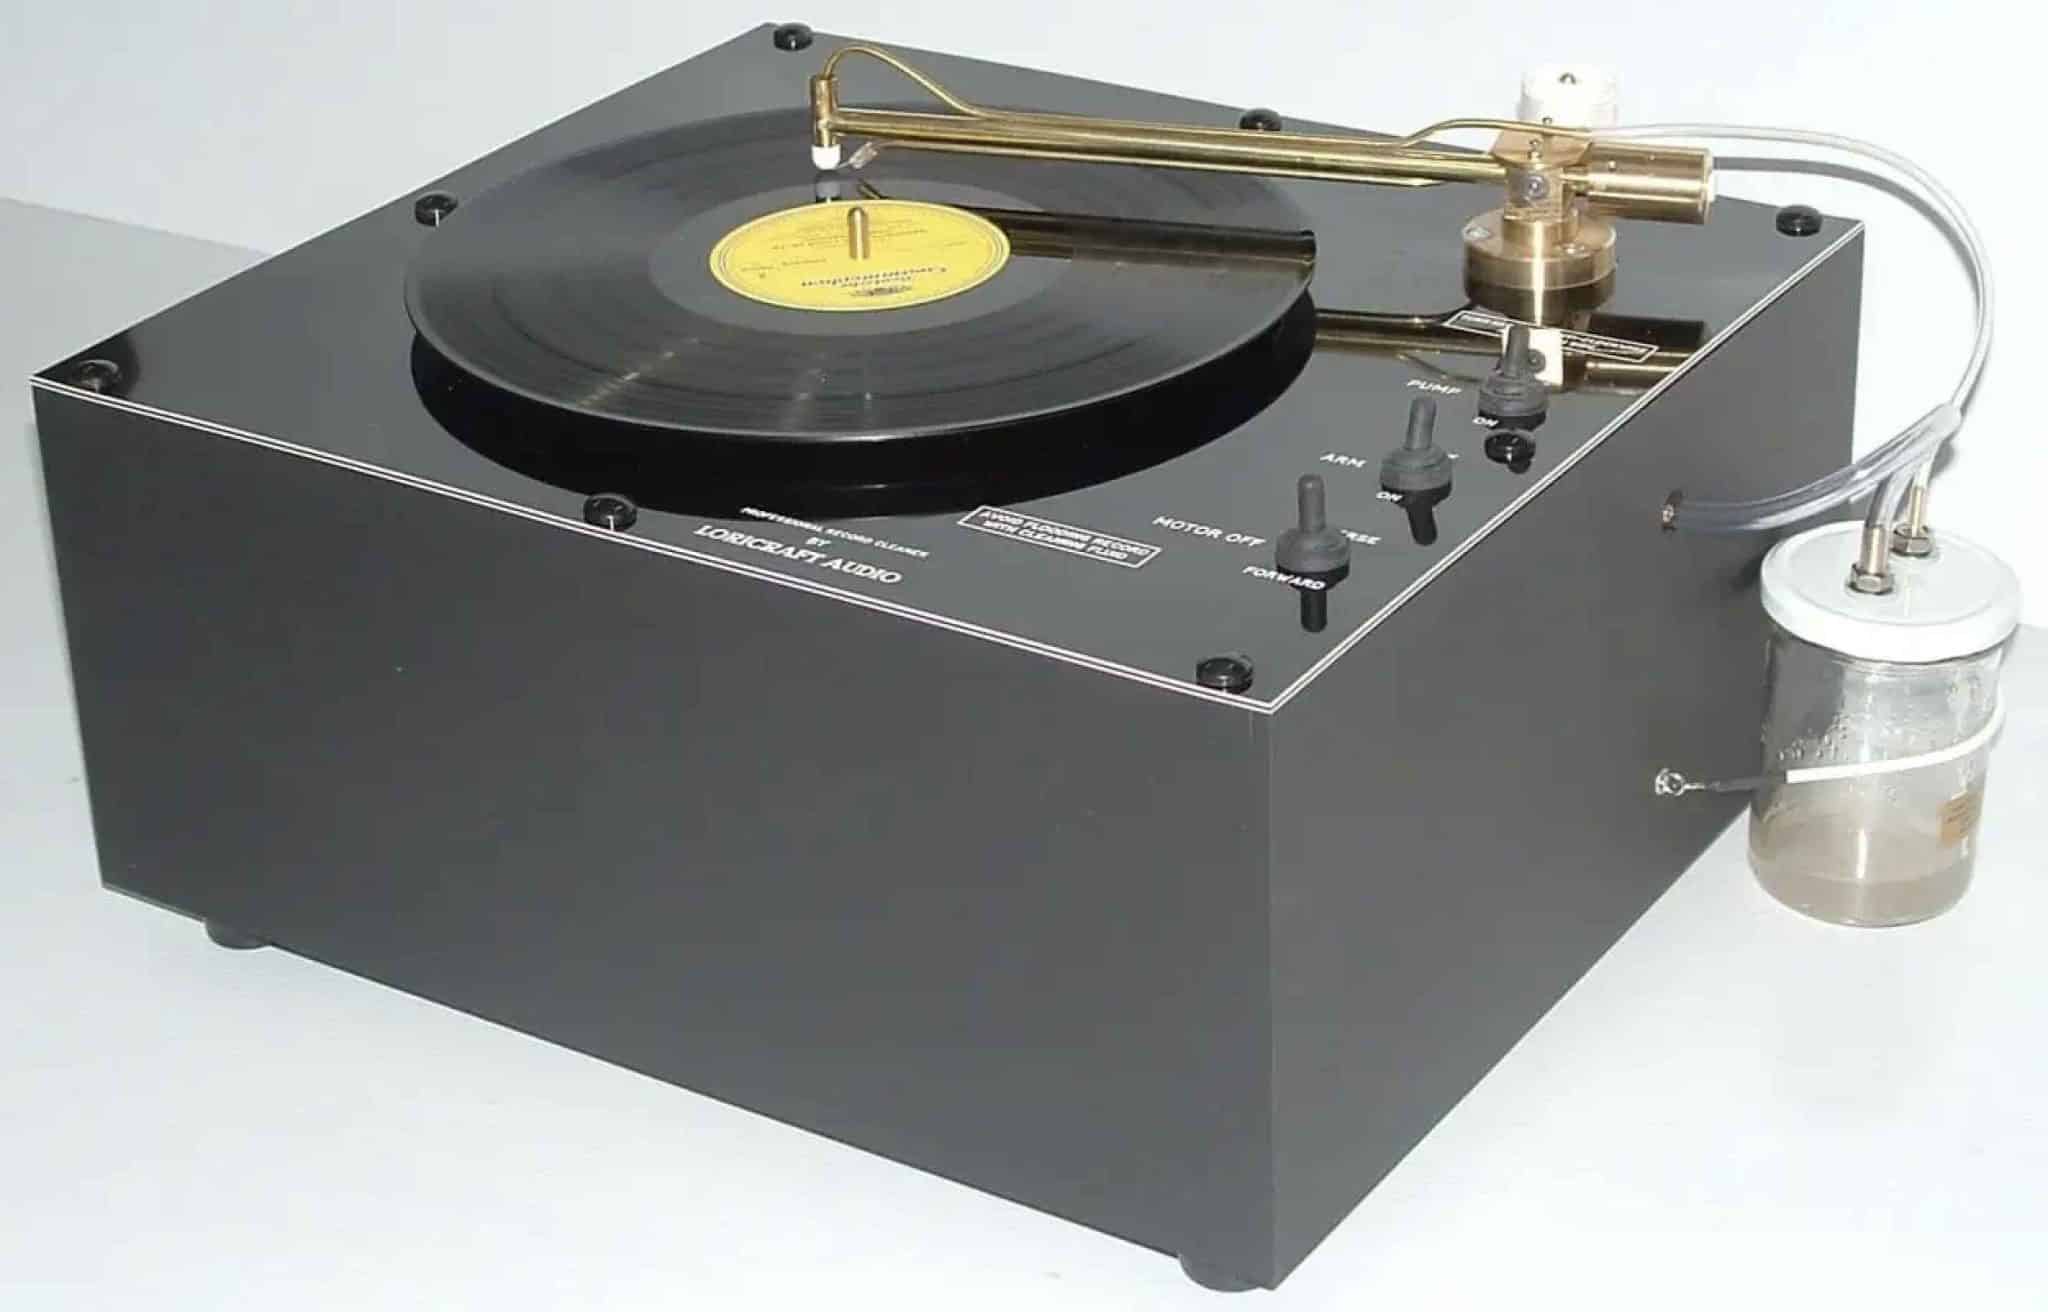
In broad terms, a RCM tends to look like a turntable. That is, you have the ability to place your grubby record on a movable platter, dowse the record with cleaning liquid, work that liquid into the grooves with a supplied brush and then vacuum the resultant liquid and dirt melange with a vacuum which often bears an uncanny resemblance to a tonearm. Dependant on the individual RCM design, of course.
THE AIMS OF THIS GUIDE
In this Guide, I want to examine a number of questions and their attendant variables.
I want to examine the RCM cleaning system as a system, as a process, as a technology, close at hand or rather, ear.
That is, I want to see just how efficient it is and if it does the job as advertised. Is it fit for purpose? We all take RCM technology as read. We all assume it works and does a great job.
Please correct me if I’m wrong but, as far as I’m aware, no-one has ever done this. No one has ever questioned the basic technology. RCMs are pretty much assumed to be wonderful. HiFi and vinyl users blindly accept it as a method for cleaning vinyl.
Yes, there are lots of RCM reviews out there (many of them my own, I have to say) declaring how well this or that RCM cleans vinyl. How this machine is better than that machine. How this RCM gizmo/tool/liquid enhances the overall clean. But on an intrinsic level, how good is the tech?
Before now, I don’t think RCMs have had a competitor to worry them. I think they have now.
Some may scoff but the Disco Antistat is a giant-killing cleaning machine. No, let me rephrase that. The Disco Antistat + Surfactant Package is a giant-killing vinyl-cleaning system.
It’s a system that offers a unique blend of surfactant-sourced efficiency (that is, the cleaning action can now get closer to the groove walls to do its job) with that essential extra cleaning process, abrasion. No one in the HiFi industry or the HiFi community (again, to my knowledge as I write these words) talks about abrasion in vinyl-cleaning terms. No one.
The issue is this. RCMs offer no abrasive qualities. None. Zero. To me, that could be an issue. A problem.
And I wonder if that is the RCM technology’s achilles heel. We will see.
METHODOLOGY & MISSION
With the above in mind then, how do I propose to test the RCM as a cleaning technology?
Firstly, I wanted to look again at the RCM on its own, using liquid formulations that I have already discussed within Part 1 of this Guide.
Using the same treated vinyl, I then wanted to bring in a surfactant package to see if that enhanced the RCM’s cleaning abilities.
After that, my intention was to then bring in a Disco Antistat to see if its abrasive qualities could lift the cleaning quality still further.
That should cover one set of variables.
Next? I wanted to swing that entire process around. I wanted to do a 180 degree cleaning regime. Instead of starting my vinyl clean with the RCM and ending with the Antistat I wanted to start with the Antistat and end with the RCM.
Hence, I wanted to clean a different disc with the Disco Antistat plus surfactant and then, after that clean was complete, move to the RCM.
After completing the manual cleaning tests of Part 1 of this Guide, I’m convinced that teaming the surfactant process to the Disco Antistat boosts its cleaning efficiency enormously. It essentially offers a turboboost to the basic (yet still good) cleaning abilities of the Disco Antistat.
What I wanted to know was, by how much? That is, is the cleaning boost large enough to suggest that a typical RCM is now redundant? Has the Disco Antistat + Surfactant package caught up enough ground to make RCM technology over-priced and less efficient? That a RCM is no longer needed? That the large sums of money demanded for a typical RCM purchase are just no longer worth it? Squeezed by this turbo-boosted Disco Antistat + Surfactant Package on the bottom end and superior ultrasonic technologies on the top end, I wondered if the RCM was being squeezed to death.
One of the questions I ask during this test is this: is RCM technology moribund? Has RCM technology failed to move with the times? Because ultrasonic technology has knocked the RCM off its perch – and it has – and replaced it as the No.1 vinyl cleaning tech currently on the market and because the Disco Antistat + Surfactant package offers improved performance for manual cleaners at an amazingly low price has the RCM – which is now squeezed between the two – had its day? Is the RCM, in tech terms, obsolescent?
SECTION 1
ROOTS OF THE SYSTEM
Before I get to the meat of the text, some context. If you’re new to these Guides then I consider this bit important. It adds context as to why I decided upon this method.
After all, you’re being asked to use this Vinyl Cleaning Guide on your precious vinyl. To have confidence in the system itself, via a bit of background and an explanation of the system itself, should be in order I reckon.
I haven’t come to this point in isolation and I haven’t just picked it out of thin air because it sounds good or a chap told me about it down the pub. There’s been years of application and research behind it.
This Vinyl Cleaning Guide was the result of ongoing and exhaustive testing. If new technologies or techniques presented themselves, I experimented with those and either discarded or adopted them as part of the ongoing evolution.
In that quest I was aided tremendously by my job. That is, as a full time HiFi journalist I have been very fortunate to be able to call upon new products, of varying types and price points, to test on a regular basis. Whether they be low cost tools, elaborate cleaning machines, liquids, brushes and more. Having the opportunity to compare and contrast a host of products, I was able to undertake a broad comparison with most of the products out there, currently on the market.
Hence, there have been numerous occasions over the past years where I thought I’d found ‘the answer’. The final cleaning system. The One. Only to be presented with a new cleaning liquid or new technology or new technique. That’s then opened new doors to further tests and possible improvements.
Hence, I realise that the Vinyl Cleaning Guide I offer here will, I have no doubt, be improved and enhanced in the future sometime.
As such, there is no ultimate cleaning system. And don’t be fooled by the person that says that such a system exists. There’s only the best system you have, thus far. Improvements will be lurking around the next corner. Or should be. I know that I never rest and am always testing new hardware, liquids and techniques.
The final parts of the puzzle for this Guide (well, thus far) began to be applied almost two year’s ago. At that time, I began to undertake the testing of a range of ultrasonic machines. This began around September 2018 and finished during the Summer of 2020. I then began to build a Guide from that point.
During that time, I took it upon myself to seek out and interview a host of professionals who might be better able to shed light on the vinyl product itself, its make up and behaviour. The idea was to better understand thus stuff called ‘vinyl’.
That involved a range of interviews with the vinyl industry itself. And when I say vinyl industry I mean people who are involved in actually creating the raw material, those who use it in pressing plants and recording studios.
Hence, I talked to two UK companies who create vinyl pellets (i.e. INEOS and Dugdale). Two of the most important outfits currently in operation in the world, actually. Vinyl pellets are the raw material that’s bought in by vinyl pressing plants and is used to make vinyl records.
I also talked to a lady, based in Canada. A chemist, she is employed as a consultant to Abbey Road and has an excellent knowledge of vinyl.
Similarly, I talked to the MD of a company, based in the UK this time, who create blank acetate discs and cutting stylii for the recording industry called Micro-Point, formerly Transco-blanx. Both products were and are used by Abbey Road during the creation of demo discs. Micro-Point’s products have been in use since the 50s. Again, their knowledge was invaluable.
As was the information I received by the General Manager of the current Vinyl Factory vinyl pressing plant, the old EMI Hayes site. The same one used to press all of those old Beatles records of yore and one that originally swore by its original ‘kite’ marks of excellence, I recall. In fact I myself once paid a visit to the place and was shown the thick ‘kite’ standards document they used, when the plant was still in EMI hands. Oh and by a man in a white lab coat, would you believe. Yes, they still existed, even then. I think this was around the year 2000. Possibly a bit later.
So you can see. I ran around collecting as much information as possible, over the months, in my quest to find the best possible method of cleaning vinyl discs.
I repeat though, the Vinyl Cleaning Guide I present here is not perfect. It can’t be. Such a thing doesn’t exist. It remains the best system I have to hand for now. Who knows, next week, I might change and improve upon it.
THE SYSTEM
The Vinyl Cleaning Guide I use is based on three elements:
ALCOHOL
The first is the use of alcohol. Depending on the advancement of my own research, I have rejected, adopted, rejected and have now adopted it again. My initial caution in its use related to the fact that alcohol can be aggressive when used in direct contact with vinyl and in high concentration. It can soften the material leading to groove wall distortion and even brittleness in extreme cases, if used over long period of time.
Used judiciously and in small concentrations though, it can be highly beneficial in terms of vinyl cleaning. It took me a while to find that out. I eventually found the correct proportions over months of testing.
I have produced a more in-depth study of alcohol in video form. You can find the link below. This video also talks about the nature of vinyl itself. A subject that is also important when cleaning the stuff is being considered.
Most people think that vinyl is made purely from PVC. More knowledgable people realise that other substances are used in its creation. To say that a vinyl disc is made from PVC is like saying a car is made from metal. Both substances form a large part of the final construction but if that’s all they were about then neither would perform. Neither would work properly – or at all.
In fact, a vinyl disc is an amalgamation of a dozen or so different chemicals (the quantities and chemical types vary depending on the individual pellet company producing the recipe). All of which are useful in terms of vinyl production and sound quality.
What many don’t know though is that the recipe for vinyl itself is not fixed or constant. Each vinyl pellet company has their own recipe (well recipes, six variants are on hand every single working day) while that recipe can change multiple times over the years via modifications and tweaks.
Which means, if you add up the multiple recipes used on a daily basis by each company, that there’s a 40-50 pellet companies currently operating in the world and hundreds more have gone to the wall over the past several decades, the history of vinyl consists of possibly thousands of different vinyl recipes, all of which hold their own chemical properties and behave differently when faced with stress, pressures, heat and yes, cleaning products.
This also means that, quite possibly, and especially if you hold older examples, every vinyl disc in your current collection may very well be chemically unique.
You can find more via the link below:
SURFACTANTS
Alcohol is one of the main points of this cleaning regime but surfactants is another. Finding out about surfactants was a revelation to me in terms of vinyl cleaning. Its use took the standard of my cleaned vinyl discs onto another level. I only came across the technique when ultrasonic technology entered my professional life a few years back but I soon found that surfactants could be applied to any sort of of vinyl cleaning.
I have written a Guide to surfactants HERE which will explain what they’re all about, what surfactants are currently out there and my preferred product. I won’t repeat myself here so please check out the link for more on that. Suffice to say that surfactants play a part in this cleaning guide. IF you’d rather watch a video version – check that out here…
ABRASION
Finally, one of the most neglected parts of vinyl cleaning is abrasion. I haven’t talked too much about this in the past so let’s examine the process now and find out why its important to the cleaning of vinyl.
Talk of abrasion is not something you tend to see within editorial dedicated to hi-fi. And yet. Here we are.
Don’t settle down too much because I want to whisk you off to your school days for a moment. Abrasion was always that thing you talked about in Geography class as the force that transformed rocks into nicely rounded pebbles. Ready made to add a tad of textural variety to your garden or to hand paint as a ladybird or hedgehog and sell on Etsy. Isn’t nature wonderful?
Abrasion is also something that’s sorely needed in hi-fi. Trouble is, we ain’t getting enough of it.
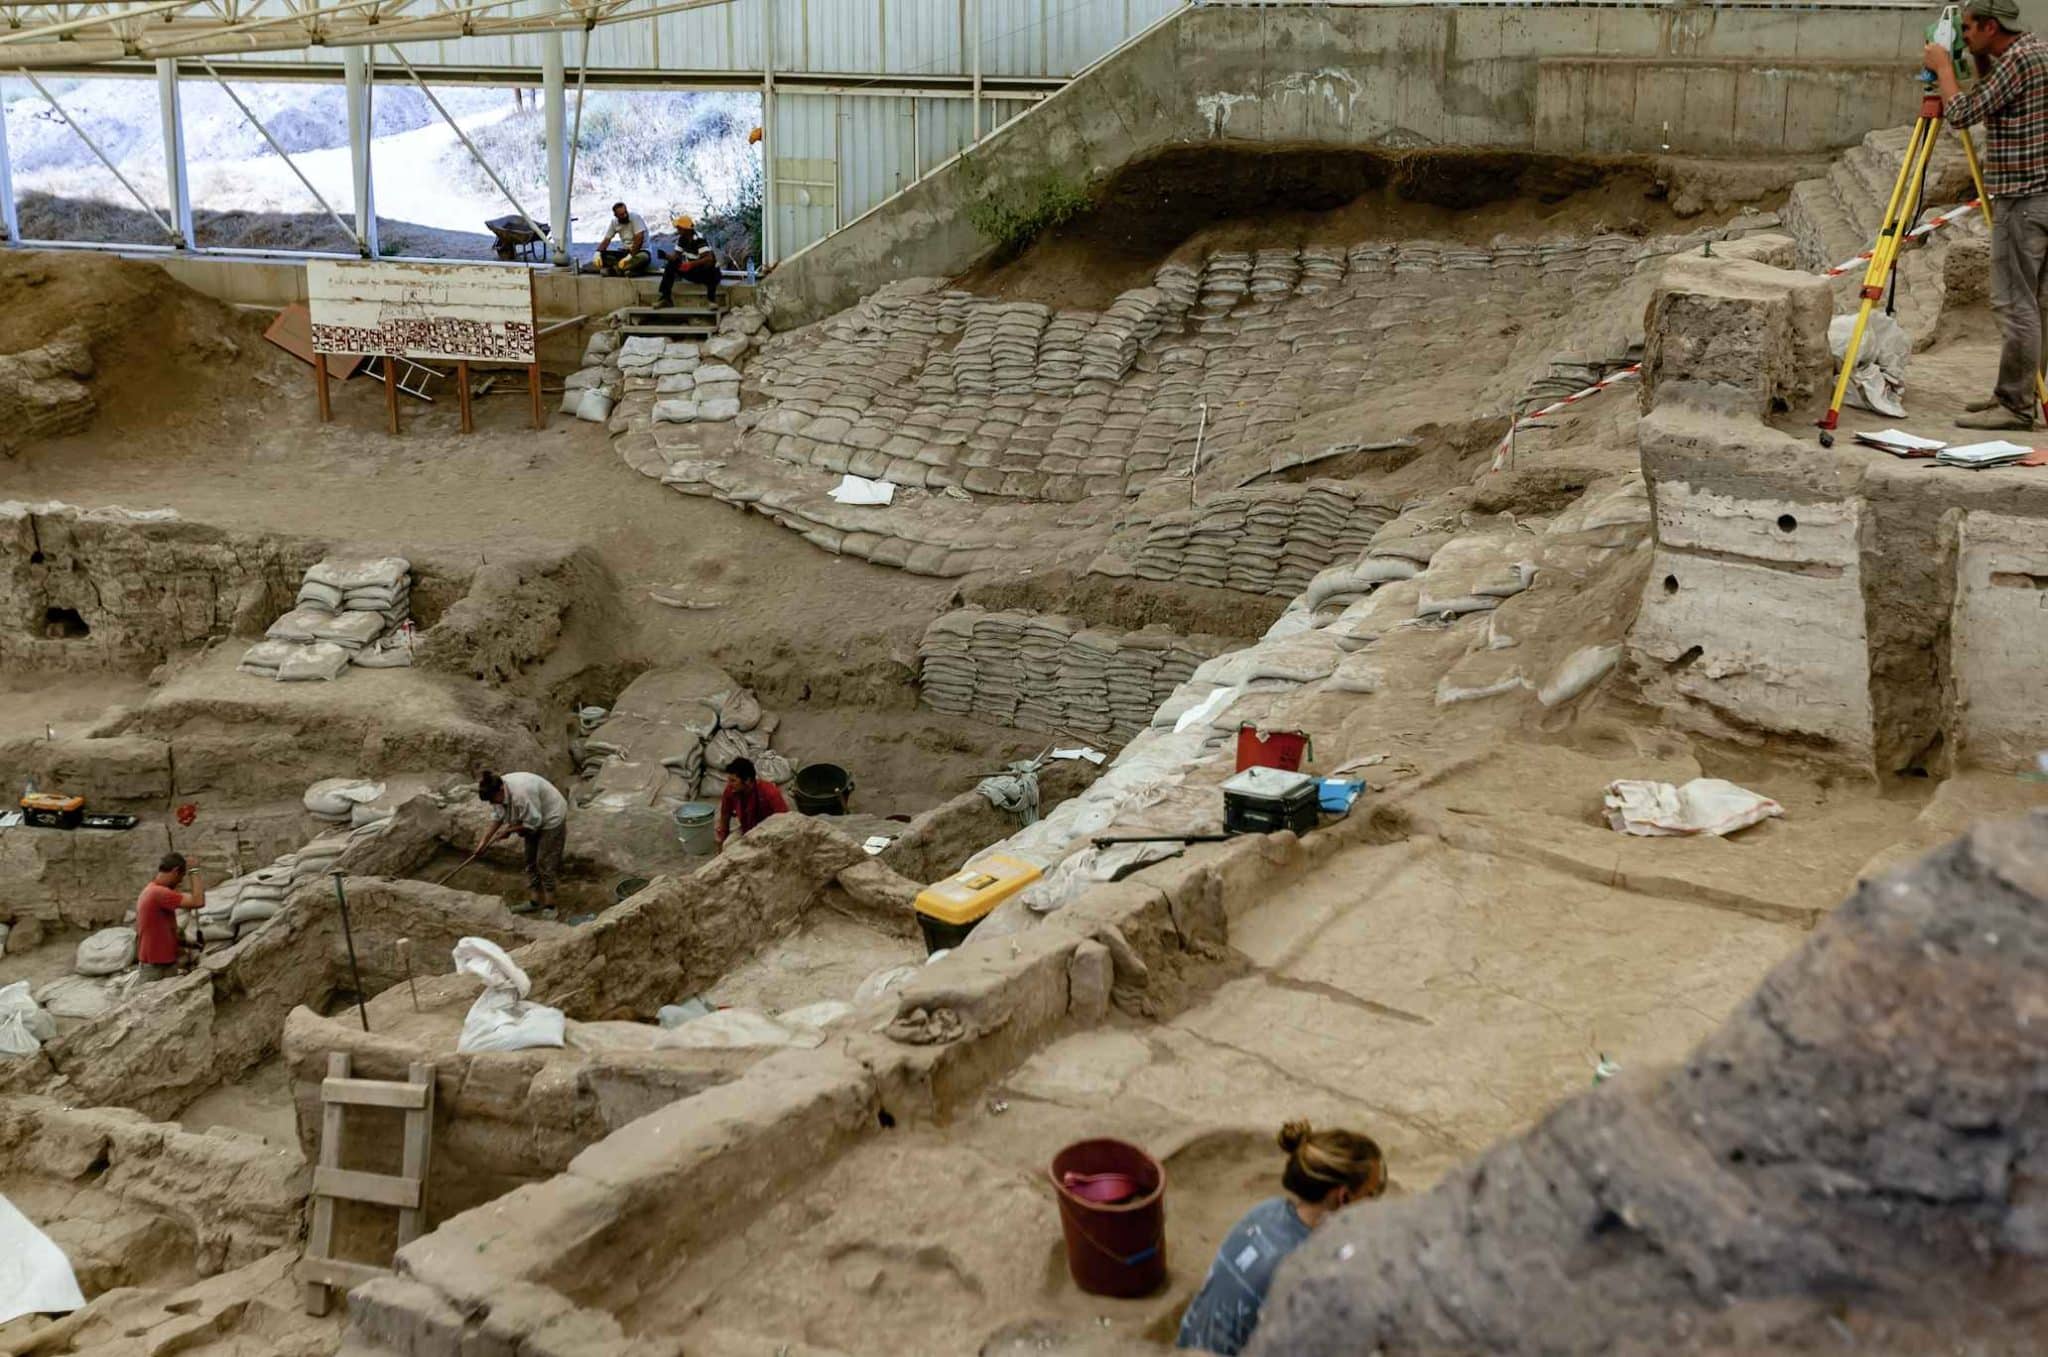
To explain why, I want you to picture TV personality and actor, Tony Robinson. The Baldrick of this parish and the man who would gaily bounce around a different sort of trench on the BBC TV programme, Time Team. Within which, he would run around terribly fast, hither and thither, securing breathless updates on the latest dig, offering wide-eyed excitement and puppy-dog enthusiasm. Fit to burst, he was.
Archeology for the masses it might have been but I want you to recall the sights inside one of those trenches.
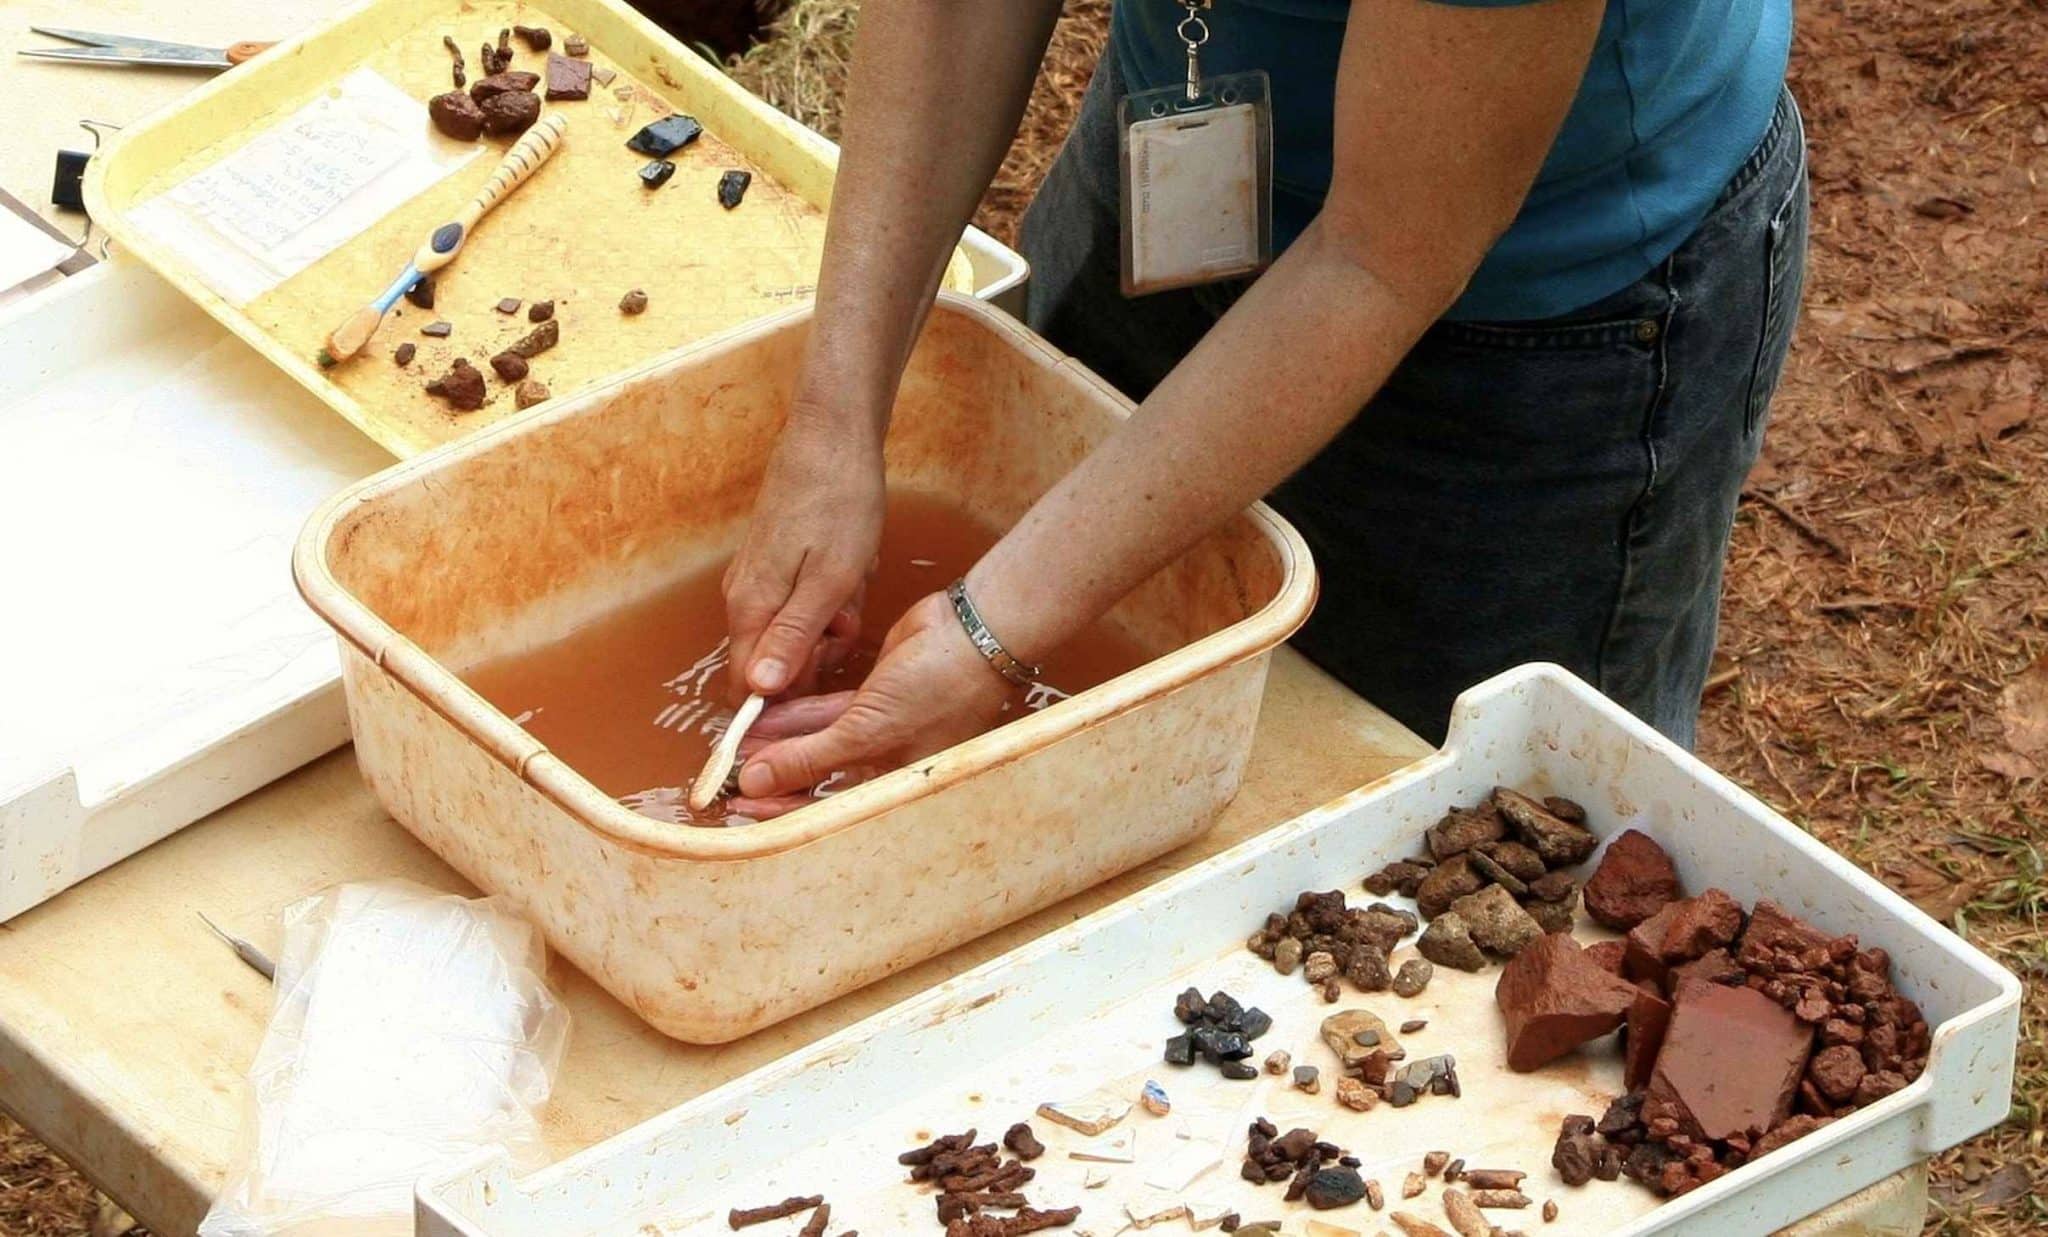
Just ignore the wide-brimmed hat and West Country accent of archeologist, Phil Harding for a sec and look below. There you will see an eager young tike, prodding the hardened soil. A piece of pottery is partially revealed. Our intrepid urchin is carefully brushing away the friable dust and soil. There, like some remnant of the Roman version of Habitat, we can see the patterns on a fragile pot. No doubt used to contain olives. Perhaps wine. Who can tell?
Now keep looking at that pot.
This trench is actually a metaphor. A metaphor for a vinyl groove. That dust is the daily grime that builds up in the groove. The solid, caked, baked soil? That is a heady concoction sautéed lightly from hardened oils emanating from sweat, the fabled ‘release agent’ from the original pressing plant and other substances that I wouldn’t like to dwell upon in a family-friendly website.
The pot itself? The detail you’re desperately trying to access when you listen to a vinyl record on your hi-fi.
Time Team perfectly illustrates, not just how difficult it is to properly clean your vinyl, it offers the essential clue as to why many of us vinyl fans are not cleaning our vinyl properly. Because your detail remains stuck in the trench. It’s all down to abrasion. Or the lack of it.
Whenever you clean your record, the chances are that you will clean it manually with a felt pad or carbon brush or some such. If you’re flush with a bit of cash, you may have spent out on a record cleaning machine (RCM). There’s plenty out there, you know the brands. They range from a couple of hundred pounds to a couple of thousand.
I’ve tested and used most of them.
In use, you either clean ‘dry’ with that felt pad or brush hoping to dislodge as much dust and grime as possible.
With a RCM, you’re probably looking at using the machine in conjunction with a liquid of some sort. The reckless will apply, directly to the vinyl surface, a liquid containing a high-strength alcohol that will risk immediate damage to the groove. Others will apply an enzyme-based liquid.
The upshot for both applications is that you spread the liquid around the vinyl surface with a brush of some sort, cross your fingers then you hoover up the liquid and then you’re done.
The hope is that you will improve sound quality. You will. But the degree of improvement will only go so far but – for me – not far enough.
I’ve been testing record cleaning liquids and hardware for decades now. Every time I found a new toy to play with, one that did a good job, right then I would think to myself, “This is it! I’ve finally found the answer! I can rest easy now and just play my vinyl.”
Then I would write about it, proclaiming how amazing liquid Y was and how much more efficient RCM X was and how System Z was truly the way to go.
Three months later, I would discover a new liquid/system/hardware and I’d have to think again.
Well, I’ve been doing a lost of testing of late and the one element that is becoming essential in terms of vinyl cleaning is, you guessed it, abrasion.
Liquids – whether applied directly to the vinyl surface or applied as vinyl is dunked into a machine-held bath – act like an archeologist’s brush. They shine the easily accessible detail, the detail that’s there yet veiled.
If you want to find the rest. The detail hiding behind the hardened oils? That trench-based hardened soil I mentioned above? The hardened stuff in the groove that won’t shift by dowsing with a drop or two of liquid? You need abrasion. Nothing too aggressive of course. We have to be gentle when applying it because this is vinyl we’re talking about, after all. Nevertheless.
Abrasion is also part of this cleaning system. We’ll find lots of abrasion below, during our cleaning process.
THE DISCO ANTISTAT & SURFACTANT – WHY IT’S HERE AT ALL
I wanted to include the surfactant preparation section here, including tools and method, because later on, when I tackle the actual RCM tests, I will be bringing all of this into testing. I thought it was best to section this part from the main RCM testing guide. To prevent over-complicating the RCM testing text itself.
When we get to the bit, further down in this Guide, you can refer back to this section for clarification, if you wish.
REQUIRED TOOLS
The above forms the basis of this Vinyl Cleaning Guide and provides clues as to how this thing actually works. Now I turn to the tools. What will you need to complete your clean?
In this feature, I will be using two principle cleaning machines during the comparative tests, in an effort to find the best RCM-based vinyl cleaning system.
Listed below is everything you may need
Buyer’s links are provided below:
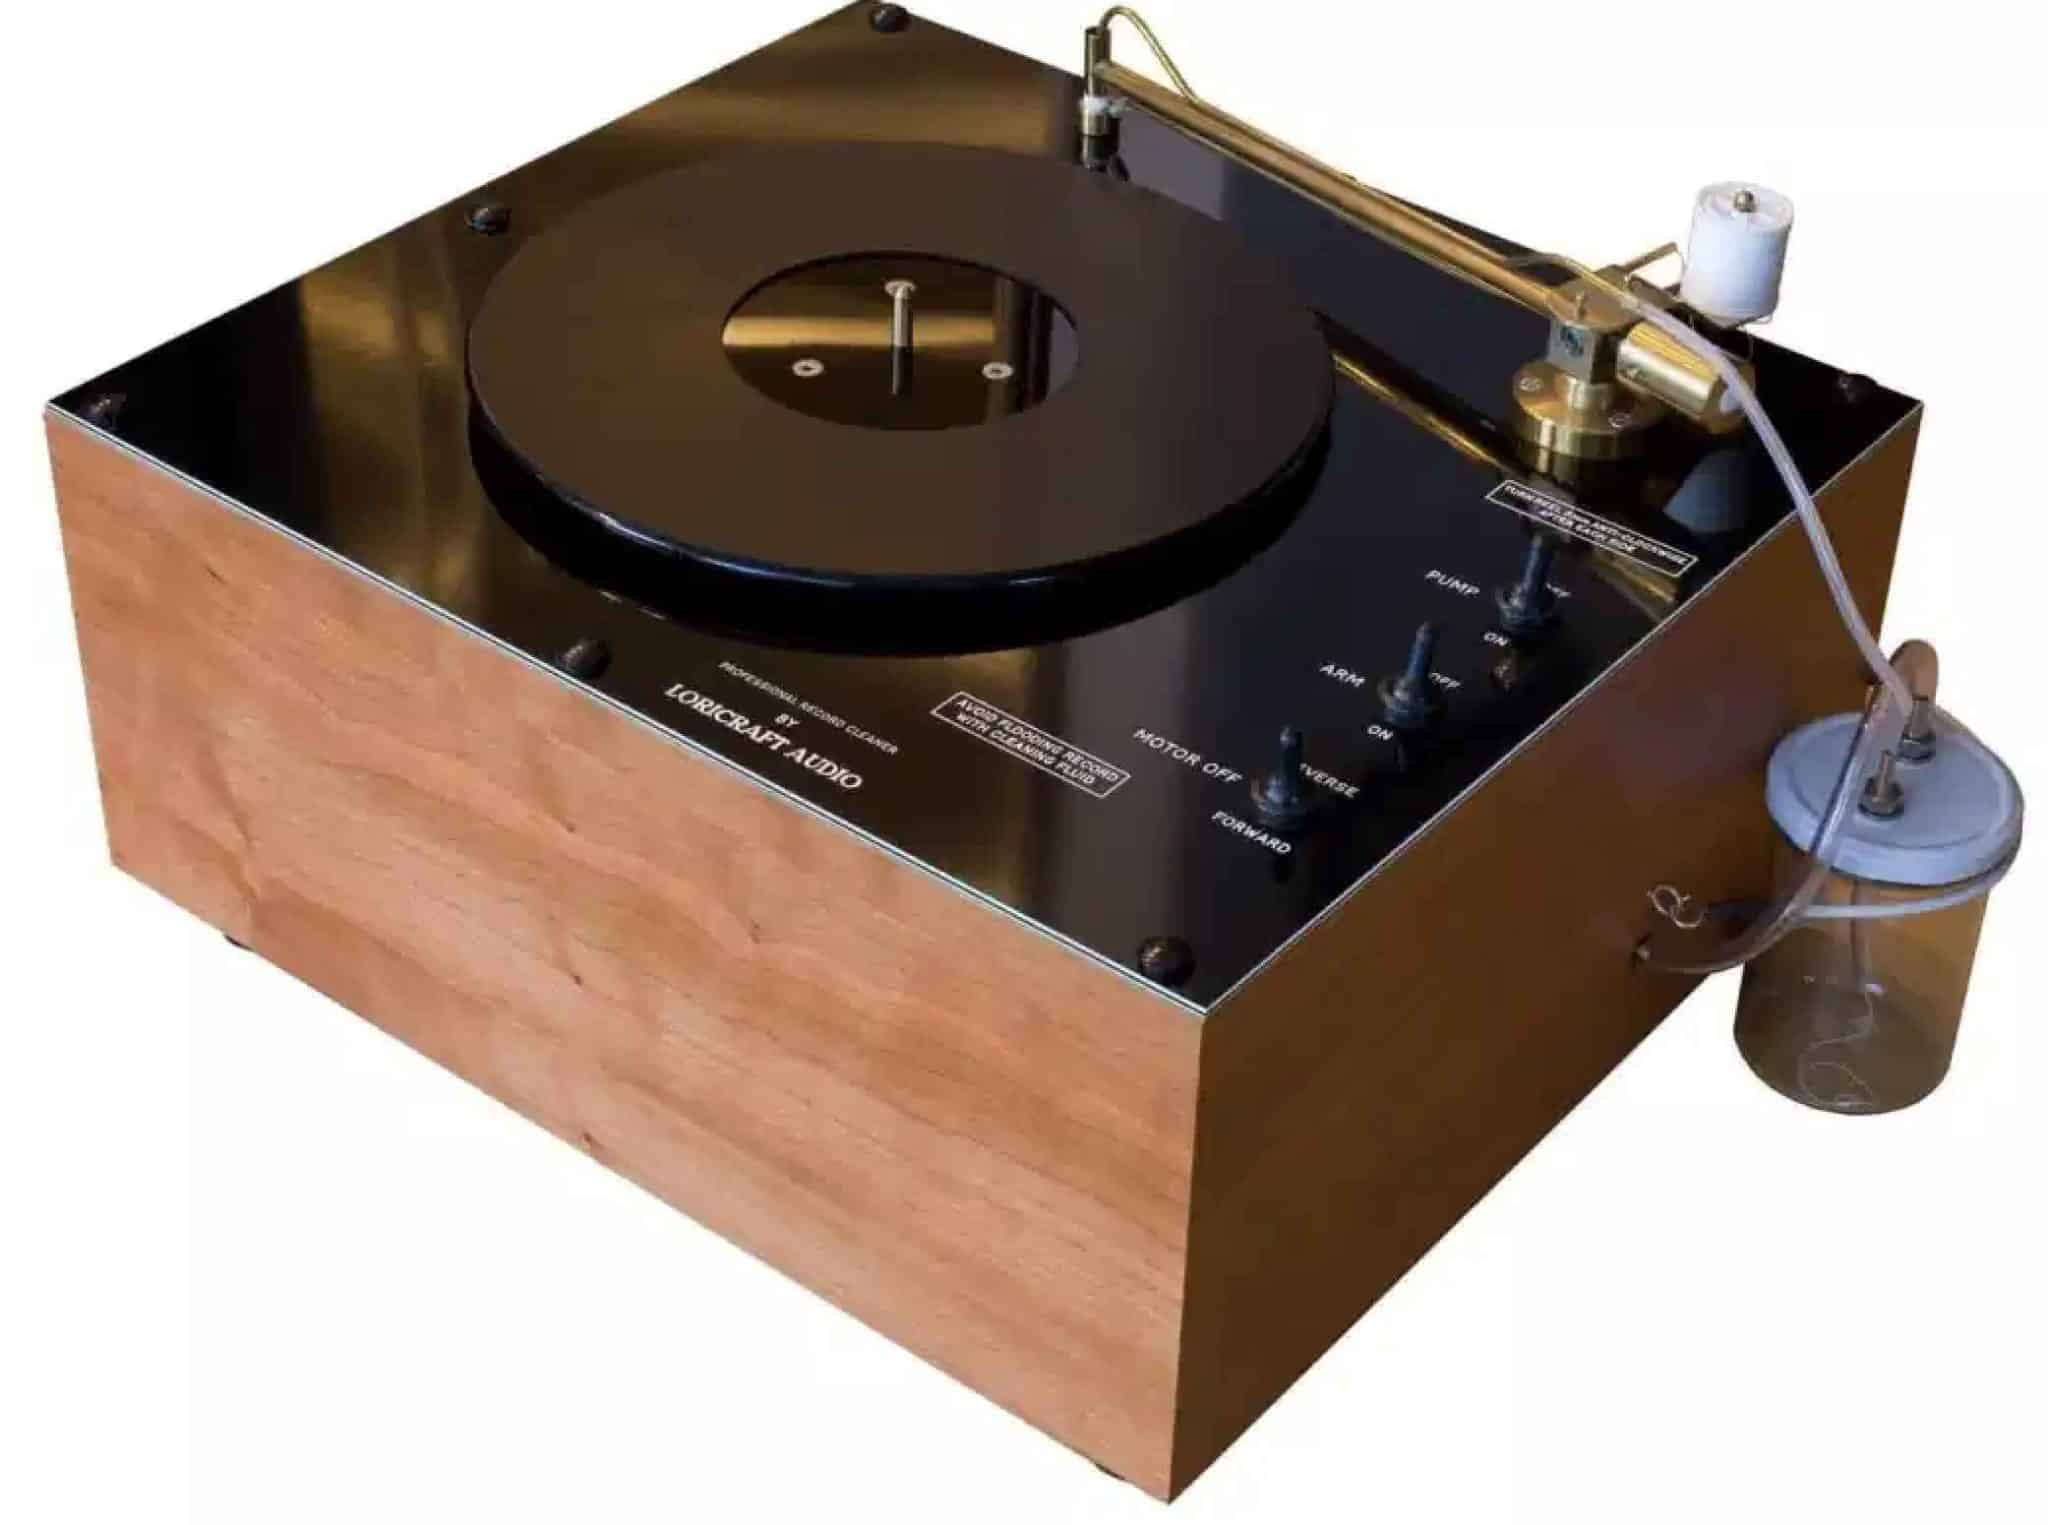
1: LORICRAFT PR3 RECORD CLEANING MACHINE OR…
Price: £2,352 (typical price for the newer PRC4i as the PR3 appears to be no longer sold)
Contact: https://loricraftaudio.co.uk/find-a-dealer/
Don’t be scared by the price of my Loricraft. I will explain why I use this machine during the testing process text but there’s plenty of excellent RCMs out there for a much lower price tag. The Pro-Ject VC-E is around £299, for example, while the Okki Nokki One is £499, etc. Do your research and search for a deal and you should hopefully be able to grab your RCM of choice for your budget.
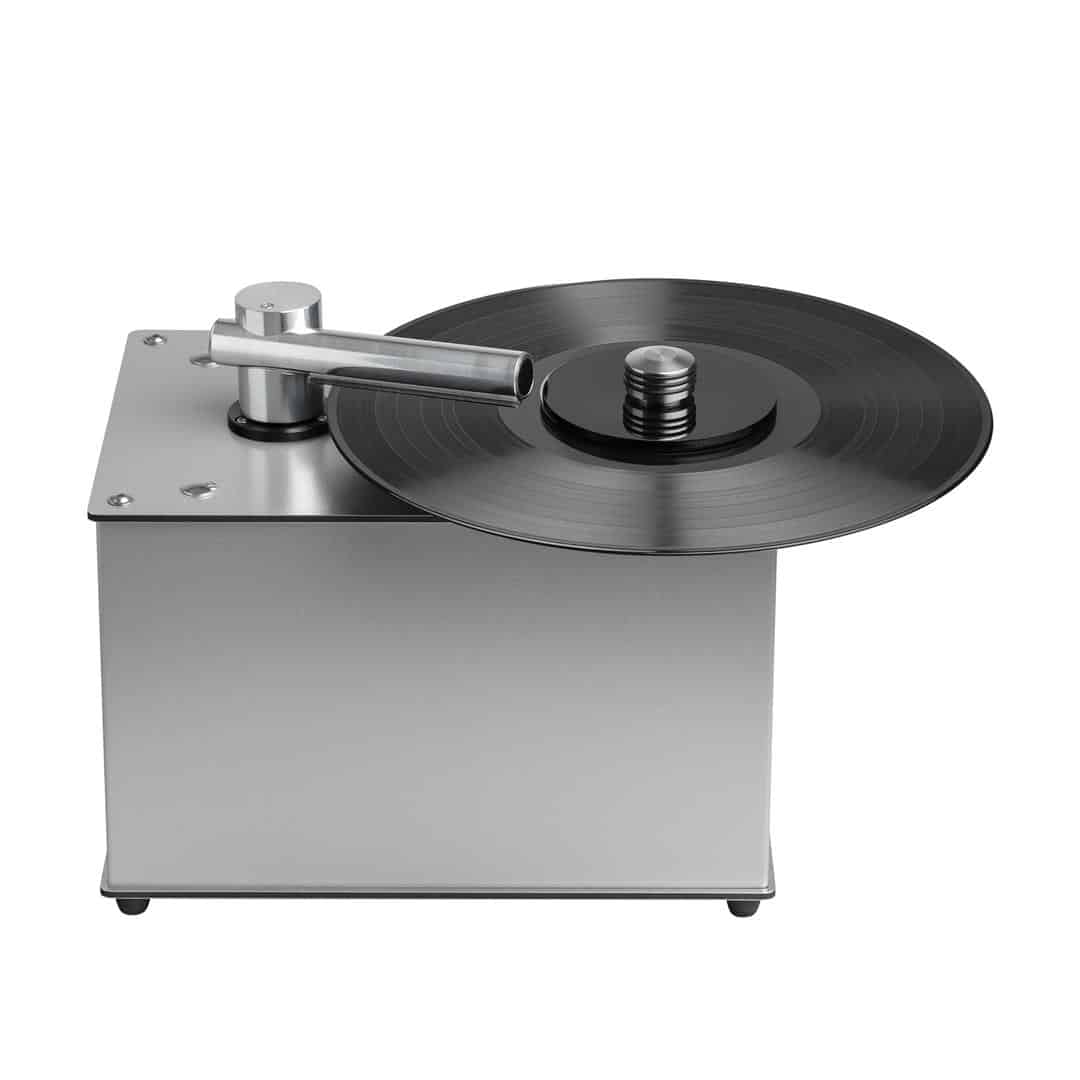
I’ve include links here for the low-cost Pro-Ject VC-E which is a good, solid RCM for the price.
BUY HERE:
USA – https://ebay.us/rRP047
EUROPE – https://amzn.to/3zWrhMn
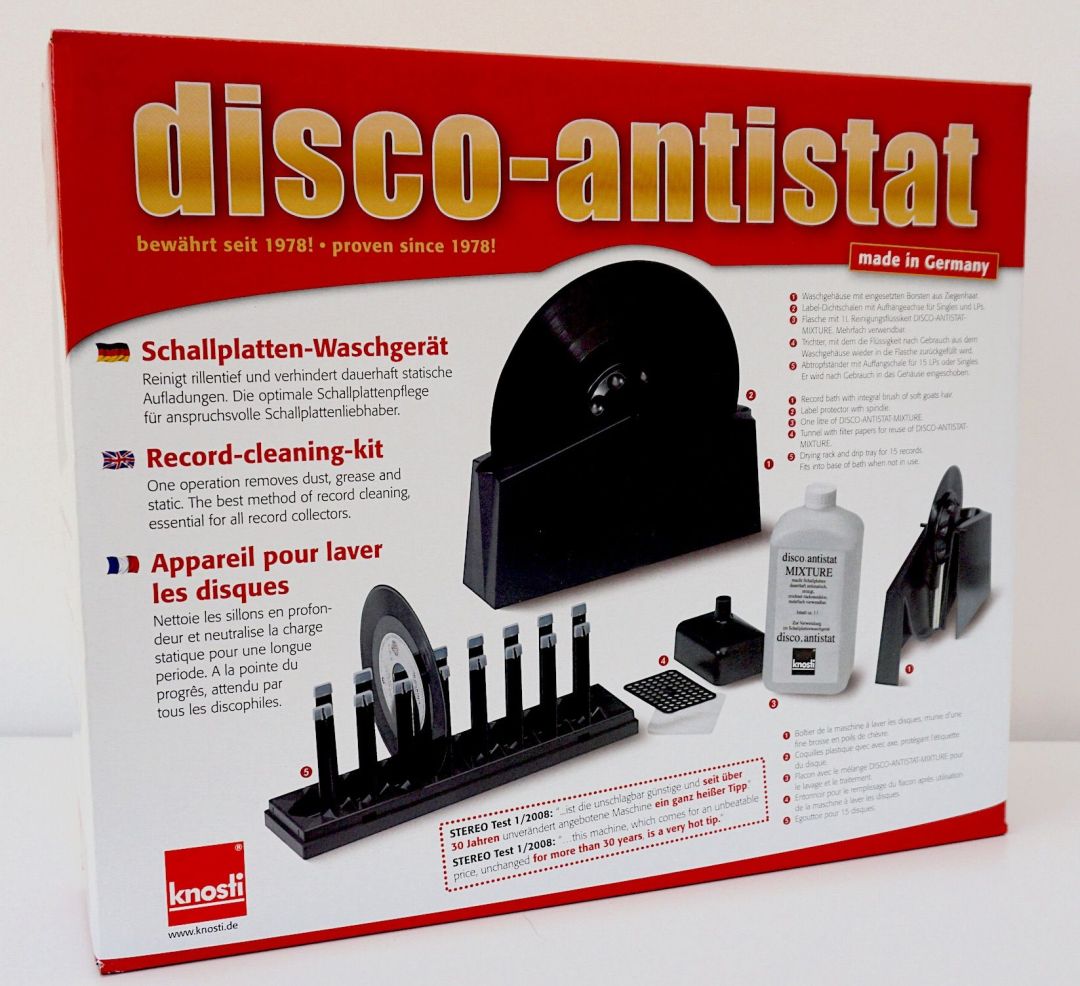
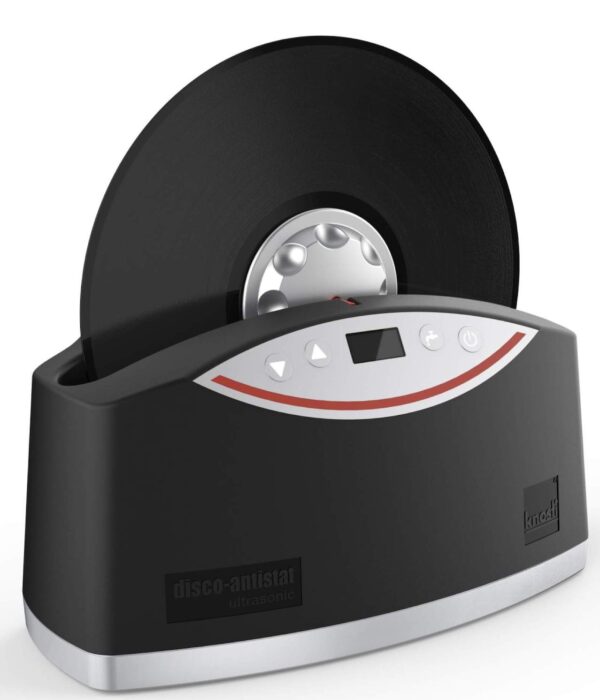
2: DISCO ANTISTAT
Price: £50 (approx. Prices do vary in either direction)
As I state in Part 1 of this Guide series, the Disco Antistat is my manual cleaner of choice. This is the best manual cleaner I have found, currently for sale on the market. It offers a relatively low cost, great value, it’s easy to use and is wholly effective. But look, I won’t repeat myself here, either. You can read a full review of this product HERE. Oh and ideally, you will need two units for this Cleaning Guide. You can get away with one and that’s fine if cash is tight – but two is best.
BUY HERE:
USA – https://ebay.us/SQrZRg
EUROPE – https://amzn.to/3OoXAra (This is for the Mk.II. Same thing, same performance but it has convenient extras in the basic design)
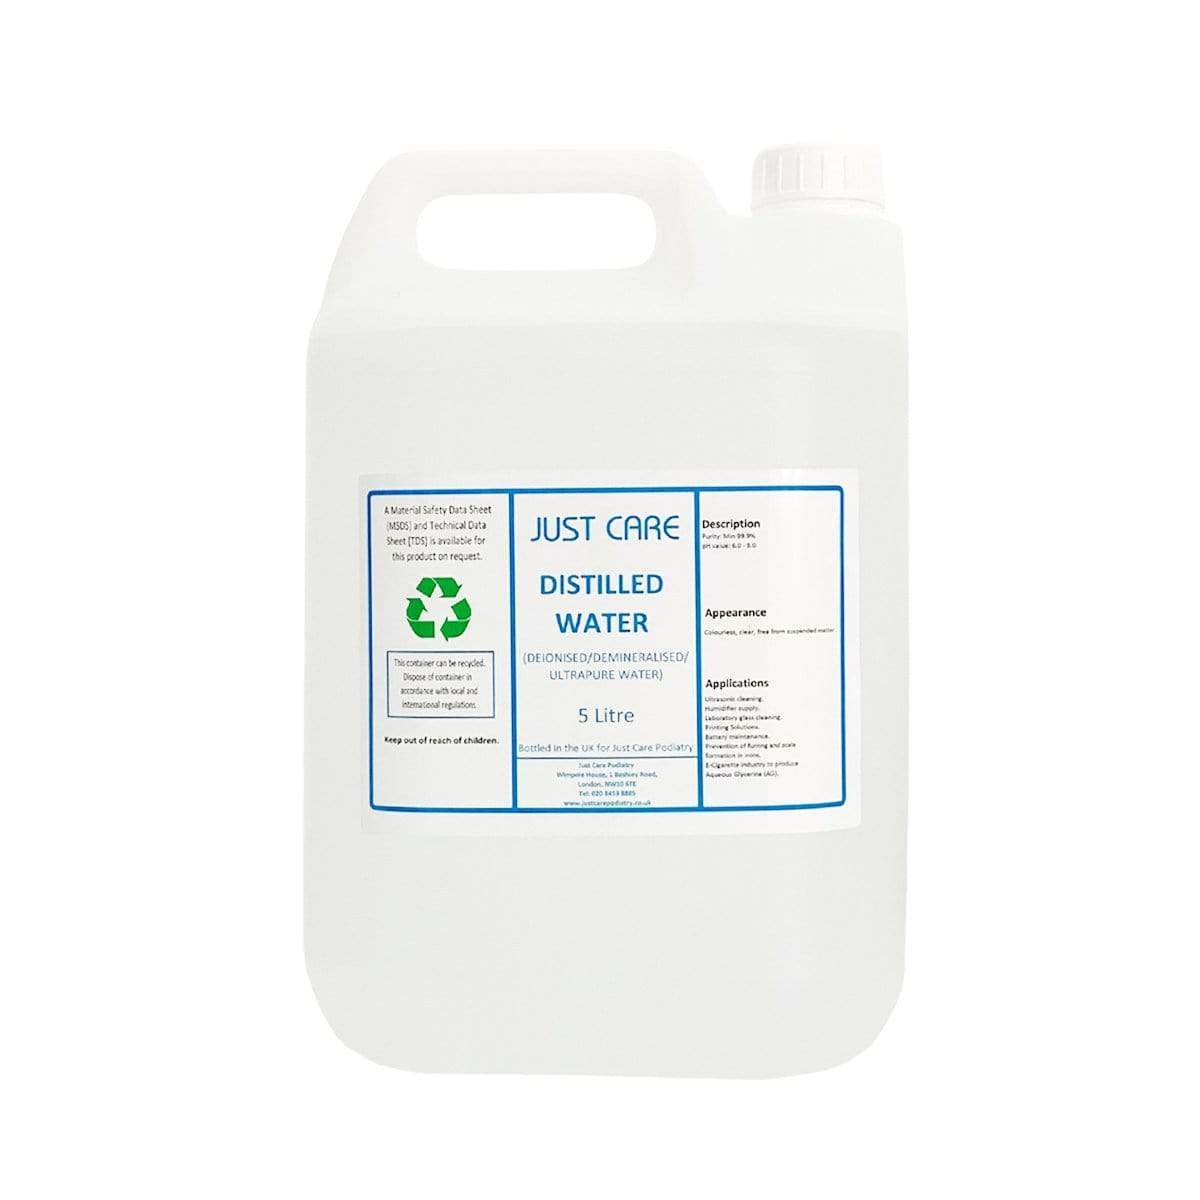
3: DISTILLED WATER
Price: £2.95 per litre (prices vary)
There are dozens of brands out there, any will do. Unless you know of a reason why certainly brands should be excluded?
Distilled water will be the main content of the Disco Antistat’s bath. I use distilled water as opposed to any other filtered variant because of the range of potentially troublesome elements that distilled water rejects and other do not. For example, deionised water reportedly does not remove bacteria, viruses or other organic compounds.
I’ve tagged 25 litre/5 gallon quantities here because you will go through this stuff steadily and the large bottles offer the best value for money. See the dispenser cap attachment below.
I am aware of a higher grade of distilled water out there, a sort of Lab quality creation, a far more expensive liquid. I have yet to test this variant but it’s on my list. You see? Things change all of the time.
BUY HERE:
USA – https://ebay.us/mPrkku
EUROPE – https://amzn.to/39JmHX9
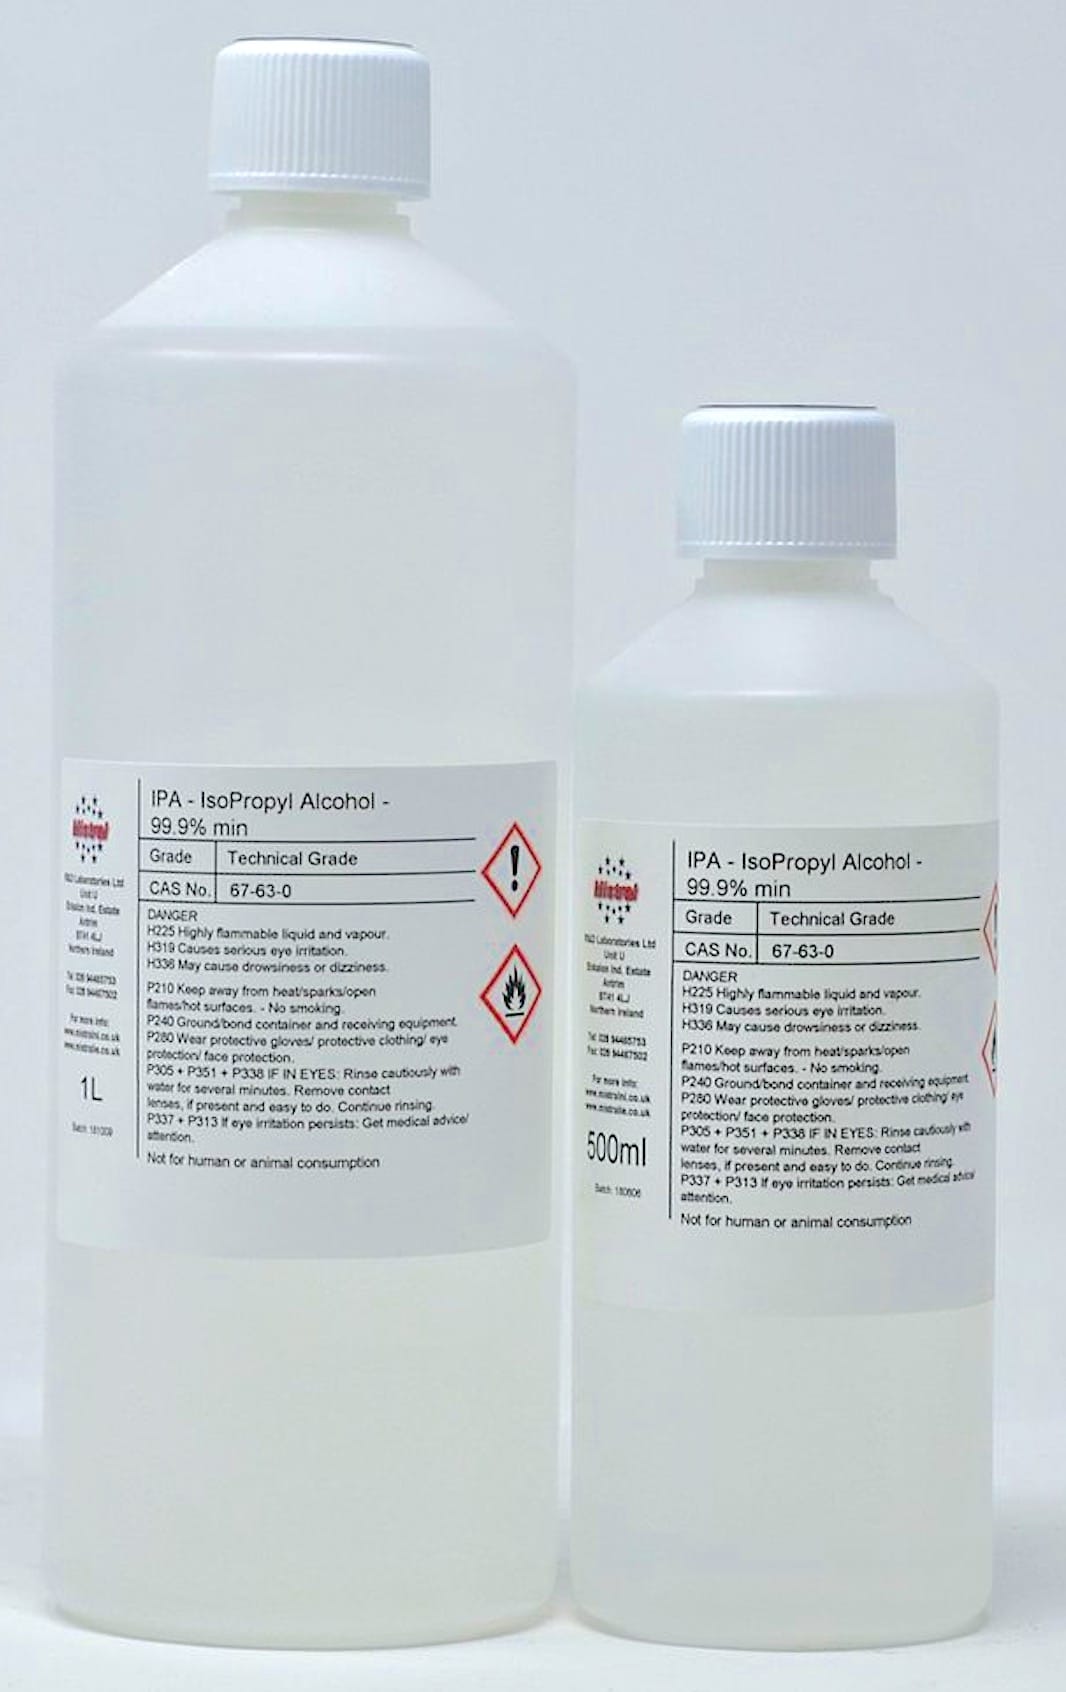
4: ALCOHOL
Price: £4.05 per litre (prices vary)
I use Isopropanol at 99.9% strength. I see no purpose in using a solution of lower strength because products such as Rubbing Alcohol (70%) merely fill the other 30% with distilled water, lowering the monetary value of the product because you’ll need to use more of the stuff to achieve the same ends. Hence, I would recommend using Isopropanol at 99.9%. In terms of quantities, I would buy a number of smaller bottles instead of a very large container because the smaller bottles are easier to dispense for your vinyl cleaning purposes. Whopping great alcohol containers only risk a large puddle on your floor when you miss the spout during decanting.
BUY HERE:
USA – https://ebay.us/26OKoG
EUROPE – https://amzn.to/3zScja5
5: TERGIKLEEN
Price: £26.50 per bottle
This is my surfactant of choice but you might prefer another and that’s ok (see my feature on Surfactants: https://theaudiophileman.com/surfactant-clean-vinyl-buyers-guide/). The surfactant feature I talk about above provides a selection of surfactants to choose from. Tergikleen is based upon the well-known surfactant, Tergitol.
BUY HERE:
USA – https://ebay.us/rnRI1c
EUROPE – https://ebay.us/izL3XP
6: PIPETTE
Price: £13.99 pack of 5 (price varies)
To apply surfactant to the vinyl surface. Or more specifically, a glass bottle secured with a pipette, screw-top vial. I use two at 50ml capacity (one to contain the mixed surfactant and one containing Glycol for easy dispensing, the rest are kept as spares) which provides a bit of leeway before it has to be filled again but it’s small enough to be used ‘on site’. That is, where you do your vinyl cleaning. Label both in case of future mix ups. Both liquids are easier to dispense from these small vials.
BUY HERE:
USA – https://amzn.to/3HEieS0
EUROPE – https://amzn.to/3n3f1lA
7: KABUKI BRUSH
Price: £8 (price varies)
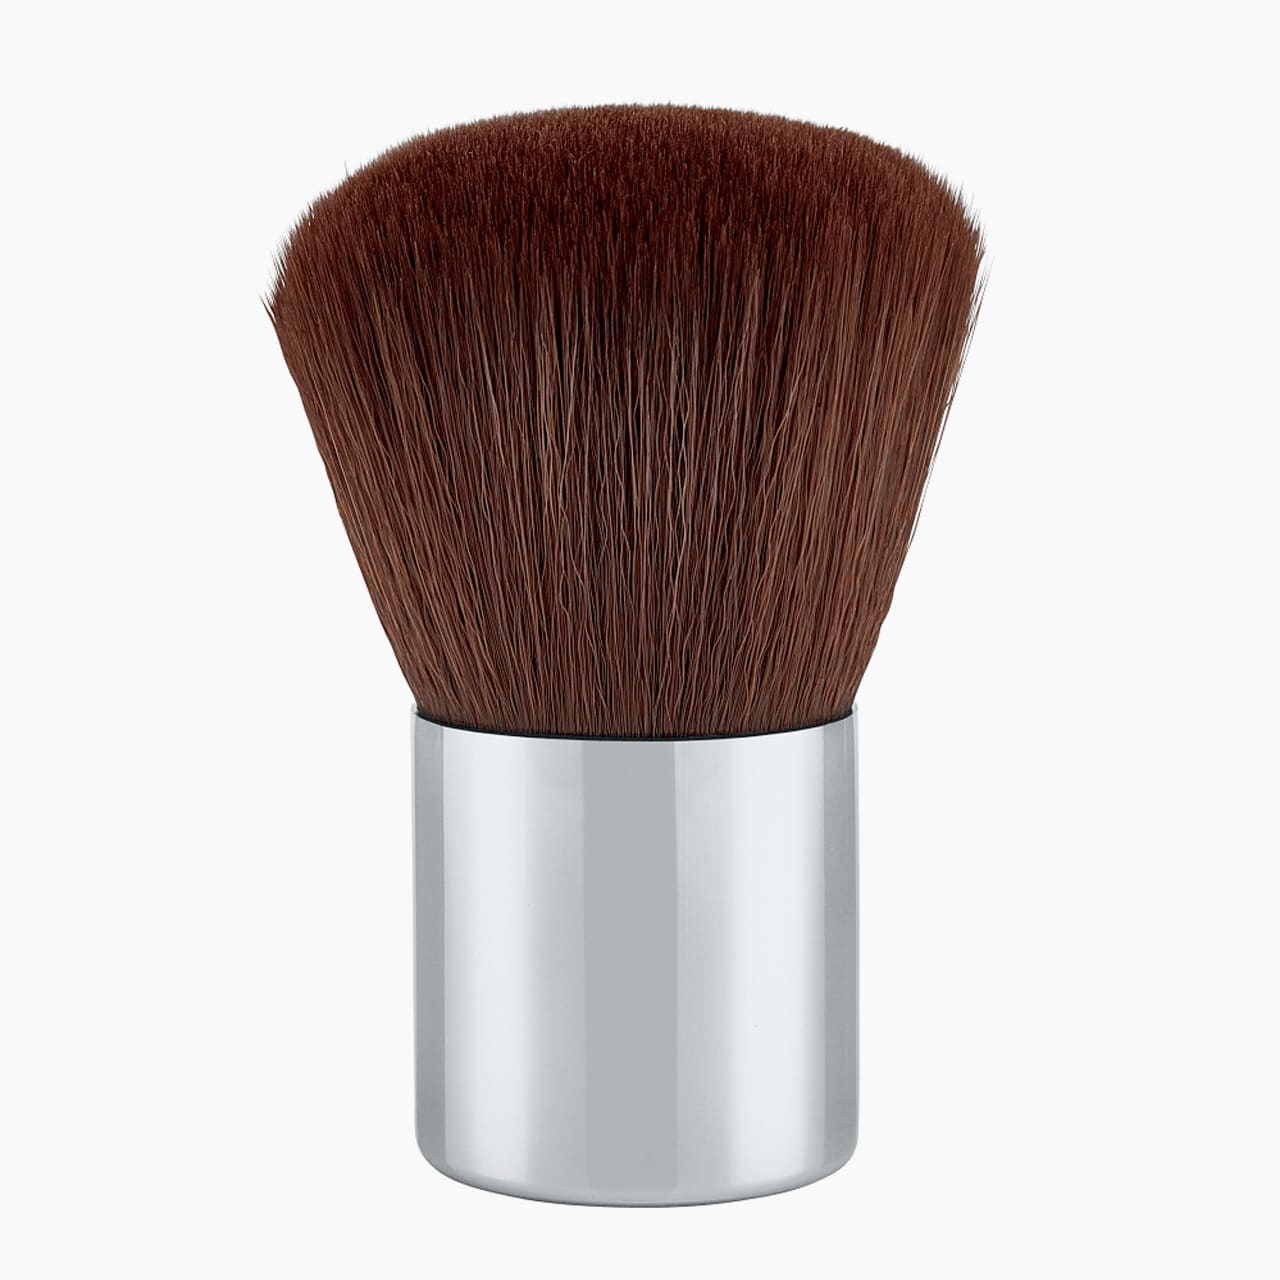
You will need this when applying surfactant to the vinyl surface. A Kabuki brush is a lady’s make-up brush. Short and wide in nature and featuring stubby bristles, this little thing is perfect for pushing surfactant deep into the grooves. Don’t be afraid to spend out on this one. You can buy one for a couple of pounds but I’d recommend getting a good quality example to prevent bristle and fine hair shedding. There’s no point in trying to clean your vinyl if you only succeed in adding more debris to the grooves at the same time. I’ve offered a mid-range model here but mine cost around £20. There’s lots of brands out there. Try a specialist make-up store on line but Amazon should be fine too.
Again, I’ve seen Kabuki brushes out there with short, stubbier bristle beds. They may offer a superior performance. Again, another one for a later review.
BUY HERE:
USA – https://amzn.to/3N7FzwD
EUROPE – https://amzn.to/3QEkBsk
8: WATER BOTTLE [TWO]
Price: £2 (price varies)
Contact: Supermarket and general shops
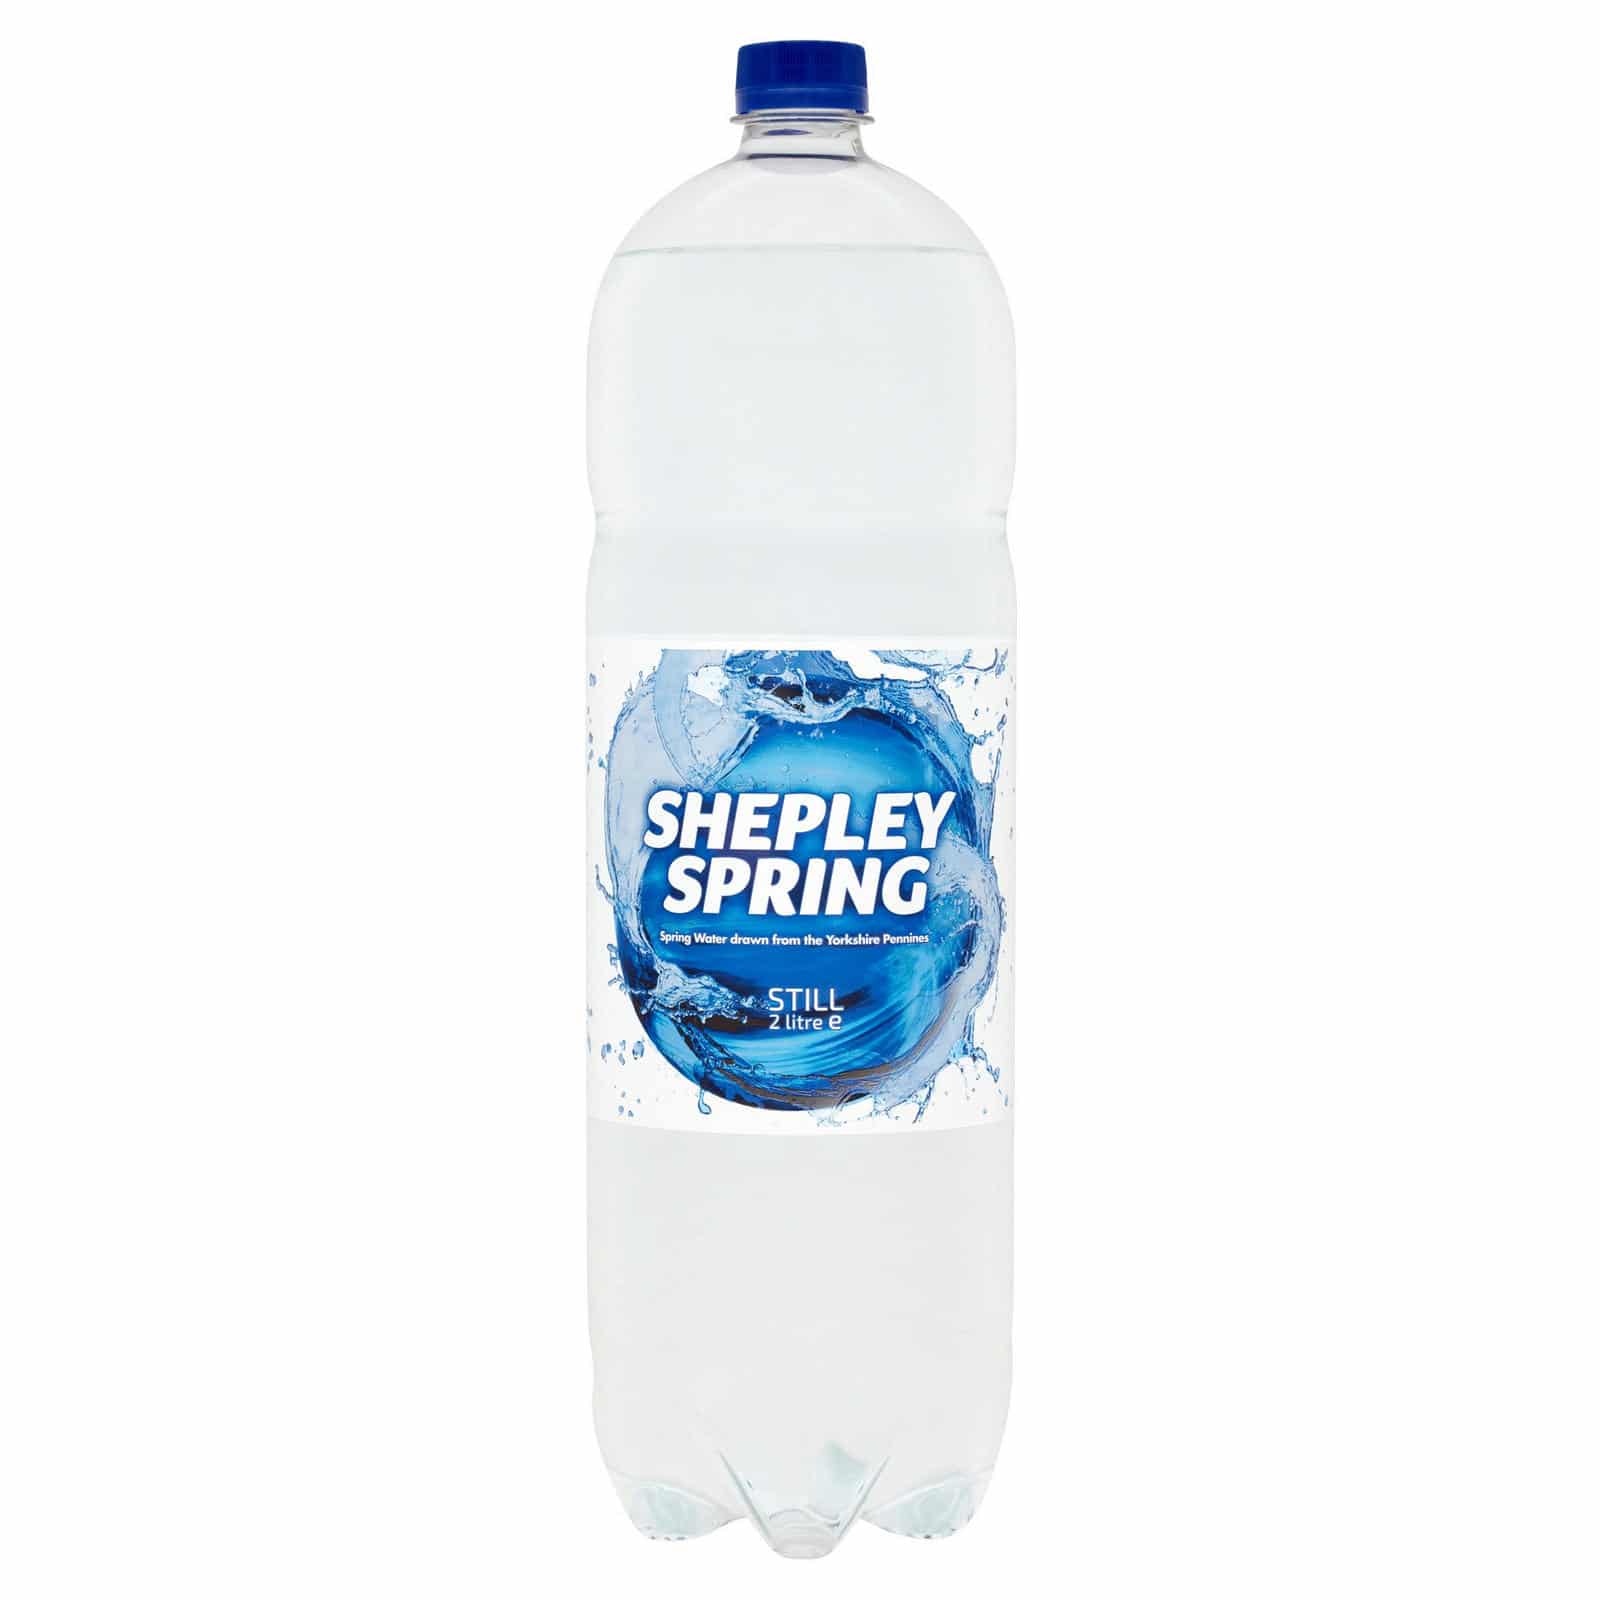
What I’m talking about here is an empty spring water-type bottle of 1.5-2 litres. The sort you might buy from a typical supermarket. You will need two of these.
9: PROPYLENE GLYCOL
Price: £15 (price varies)
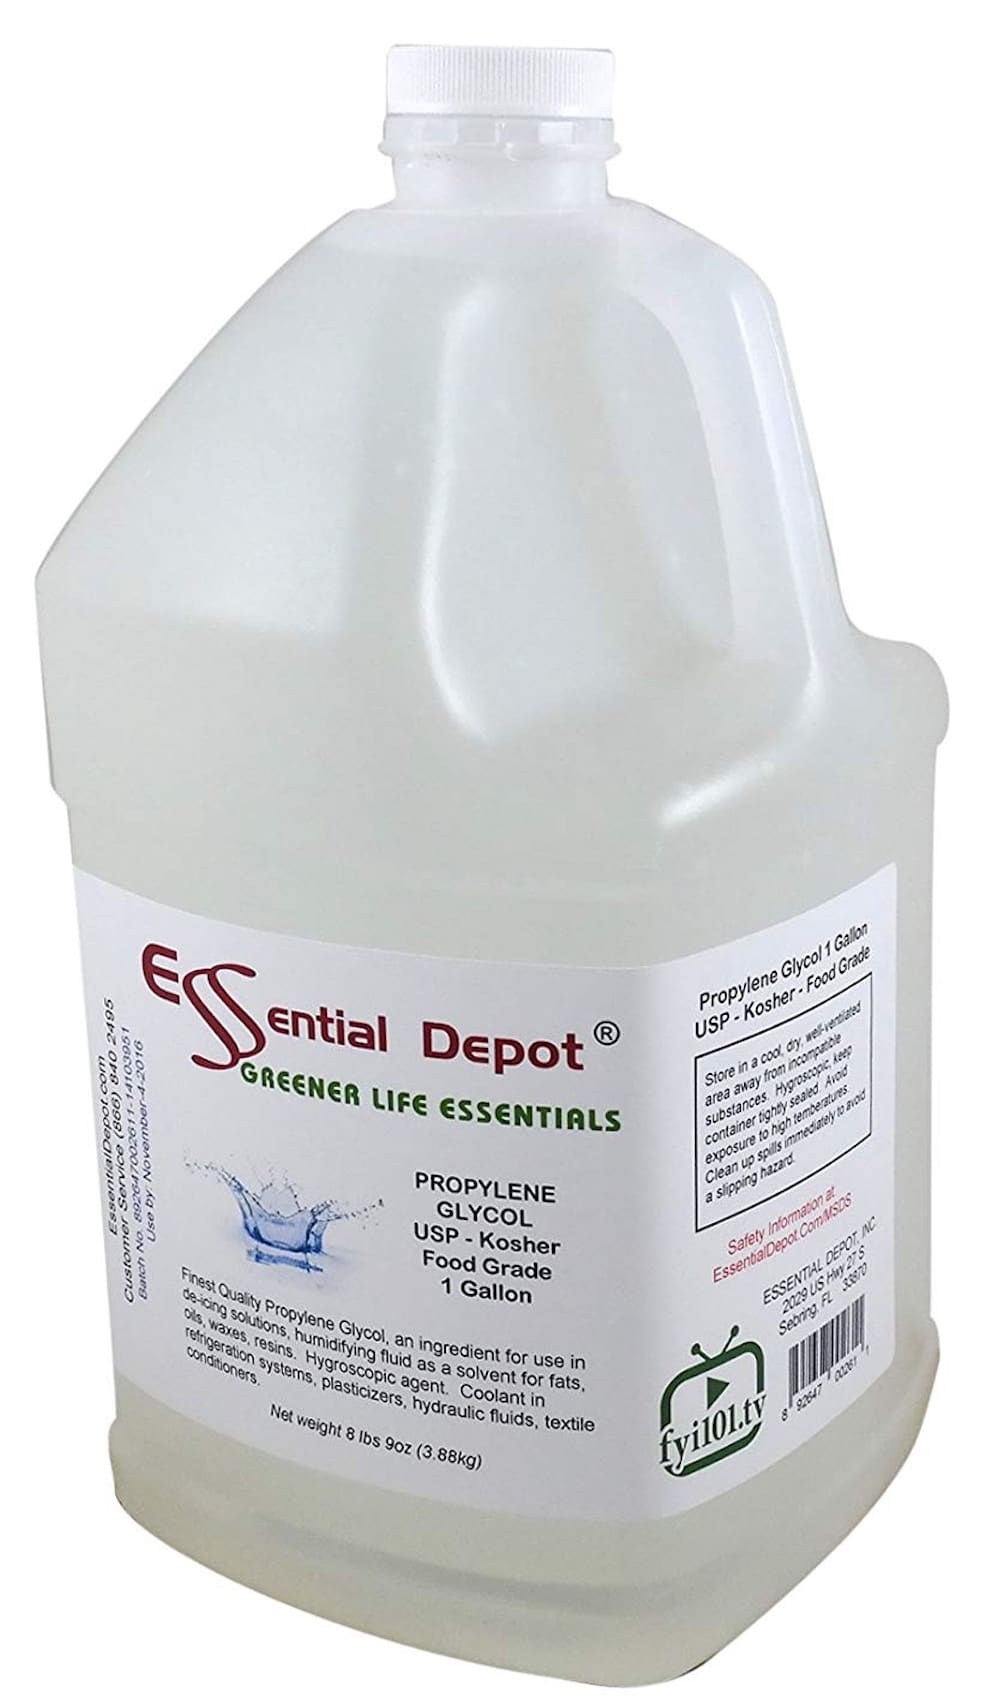
Because the Disco Antistat cleans your vinyl in a vertical position, if you add surfactant to its surface, gravity will try to pull it off again when the disc sits vertically. Mixing your surfactant with a measure of Glycol will fix the surfactant deep into the grooves with no loss of surface contact.
Do NOT buy ethylene glycol, it’s particularly nasty stuff. DO NOT confuse the two.
When you receive your large bottle of Glycol, decant a small amount into a glass vial (see 5).
BUY HERE:
USA – https://amzn.to/3n8I9Ih
EUROPE – https://amzn.to/3zTf7DX
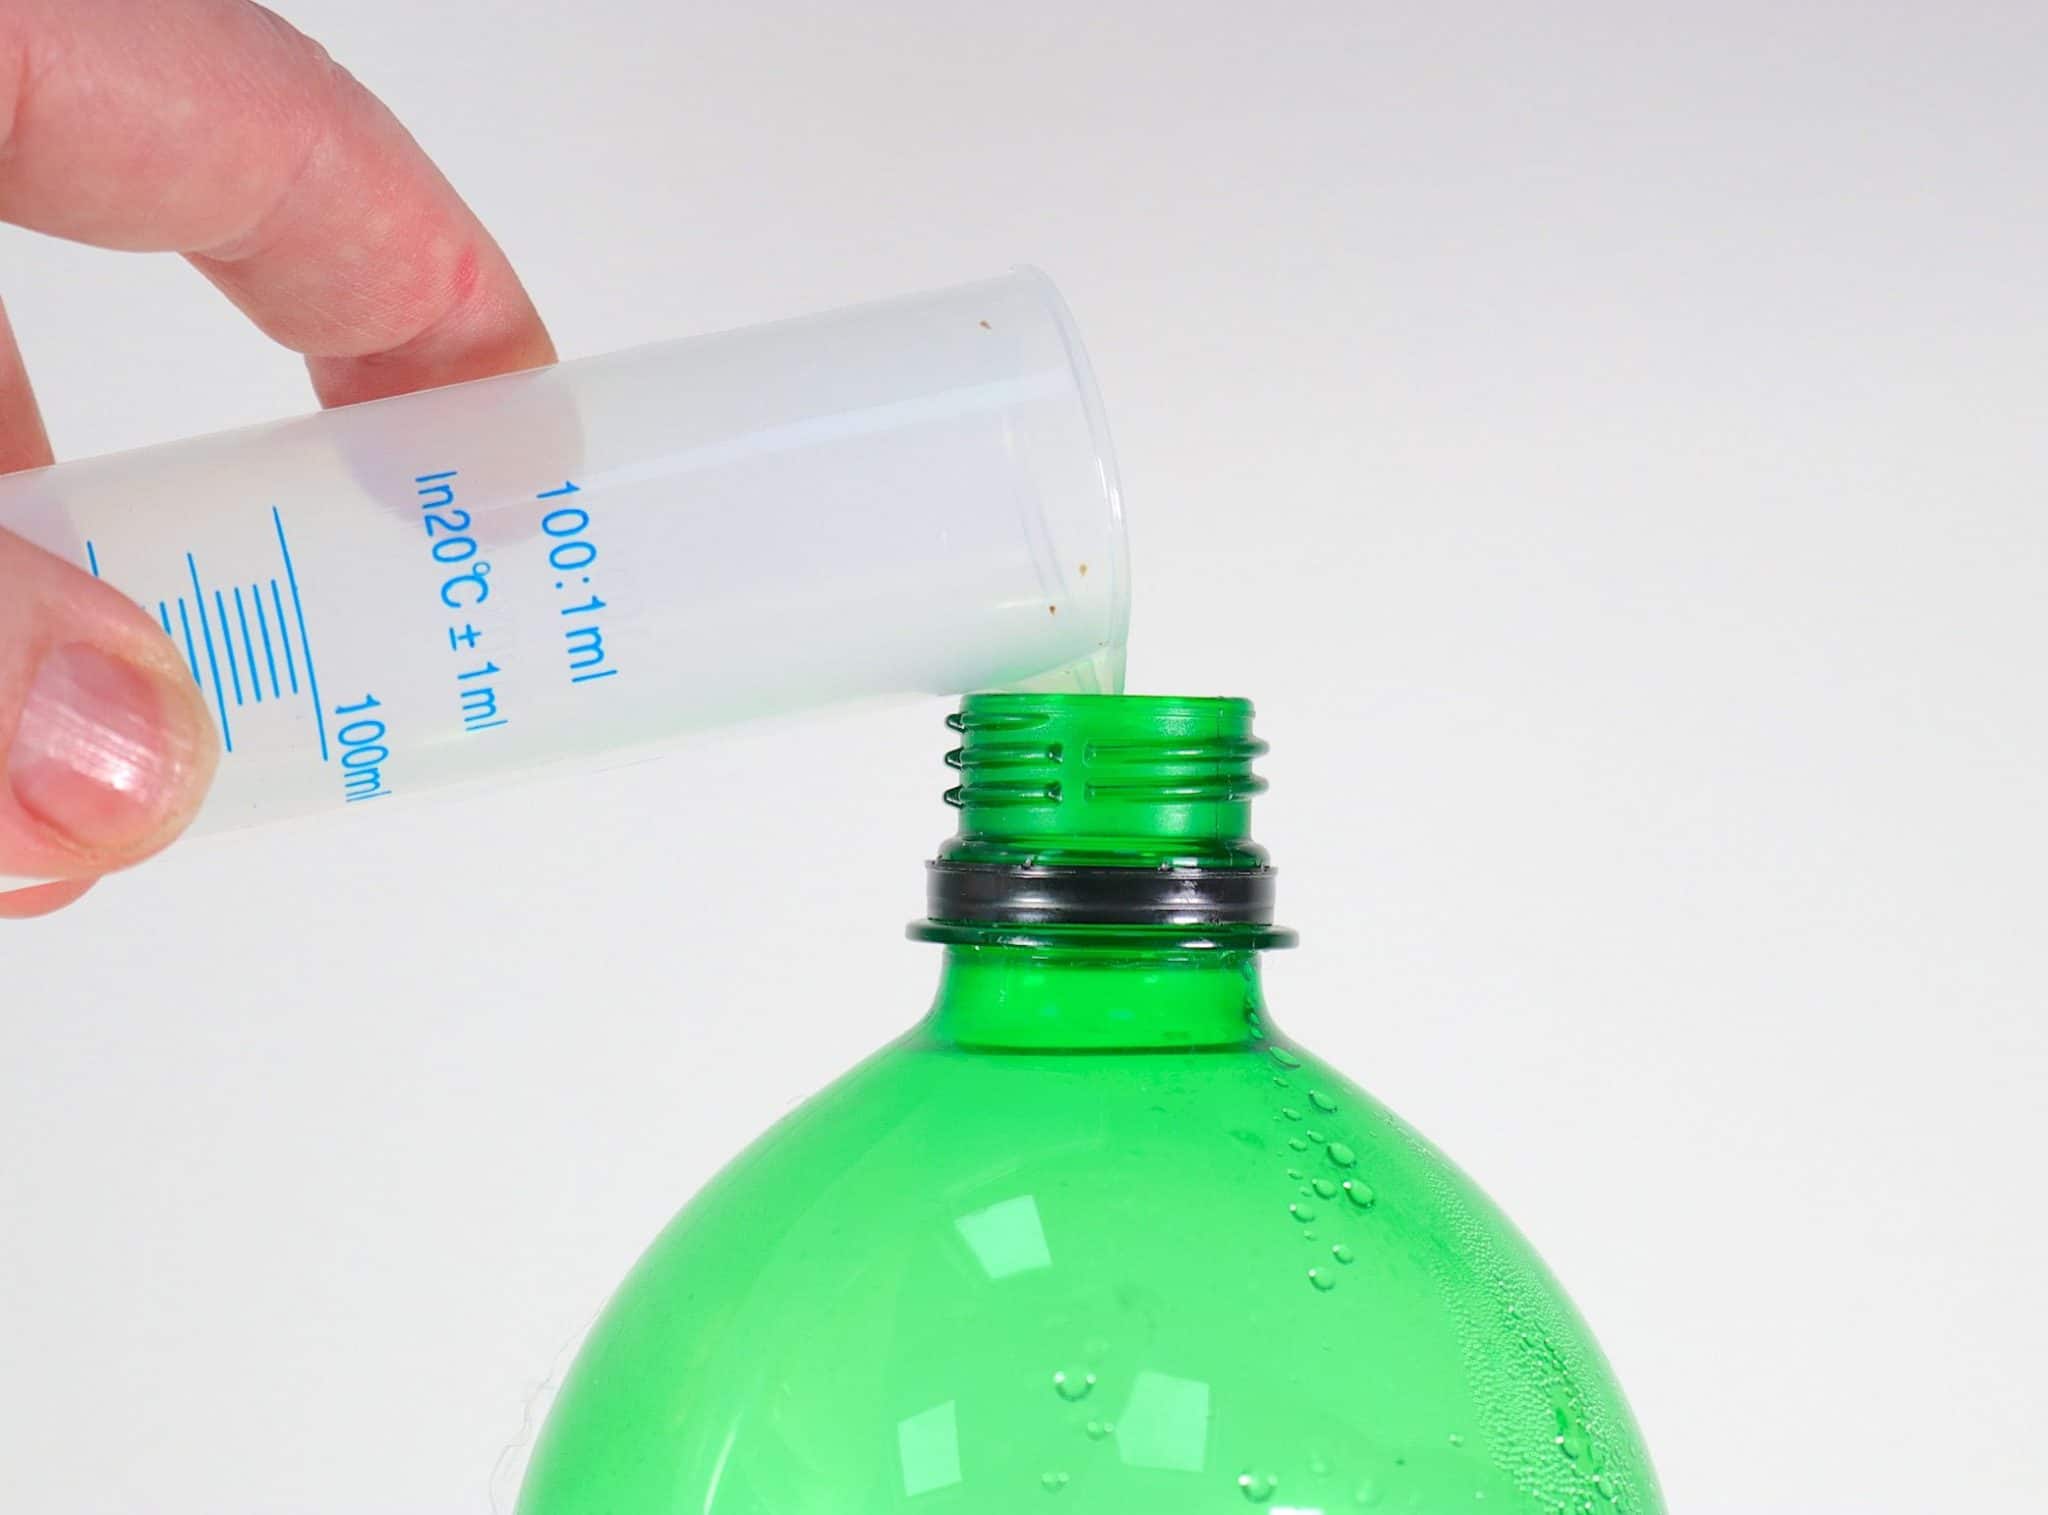
10: MEASURING TUBE
Price: £8.50 (prices vary)
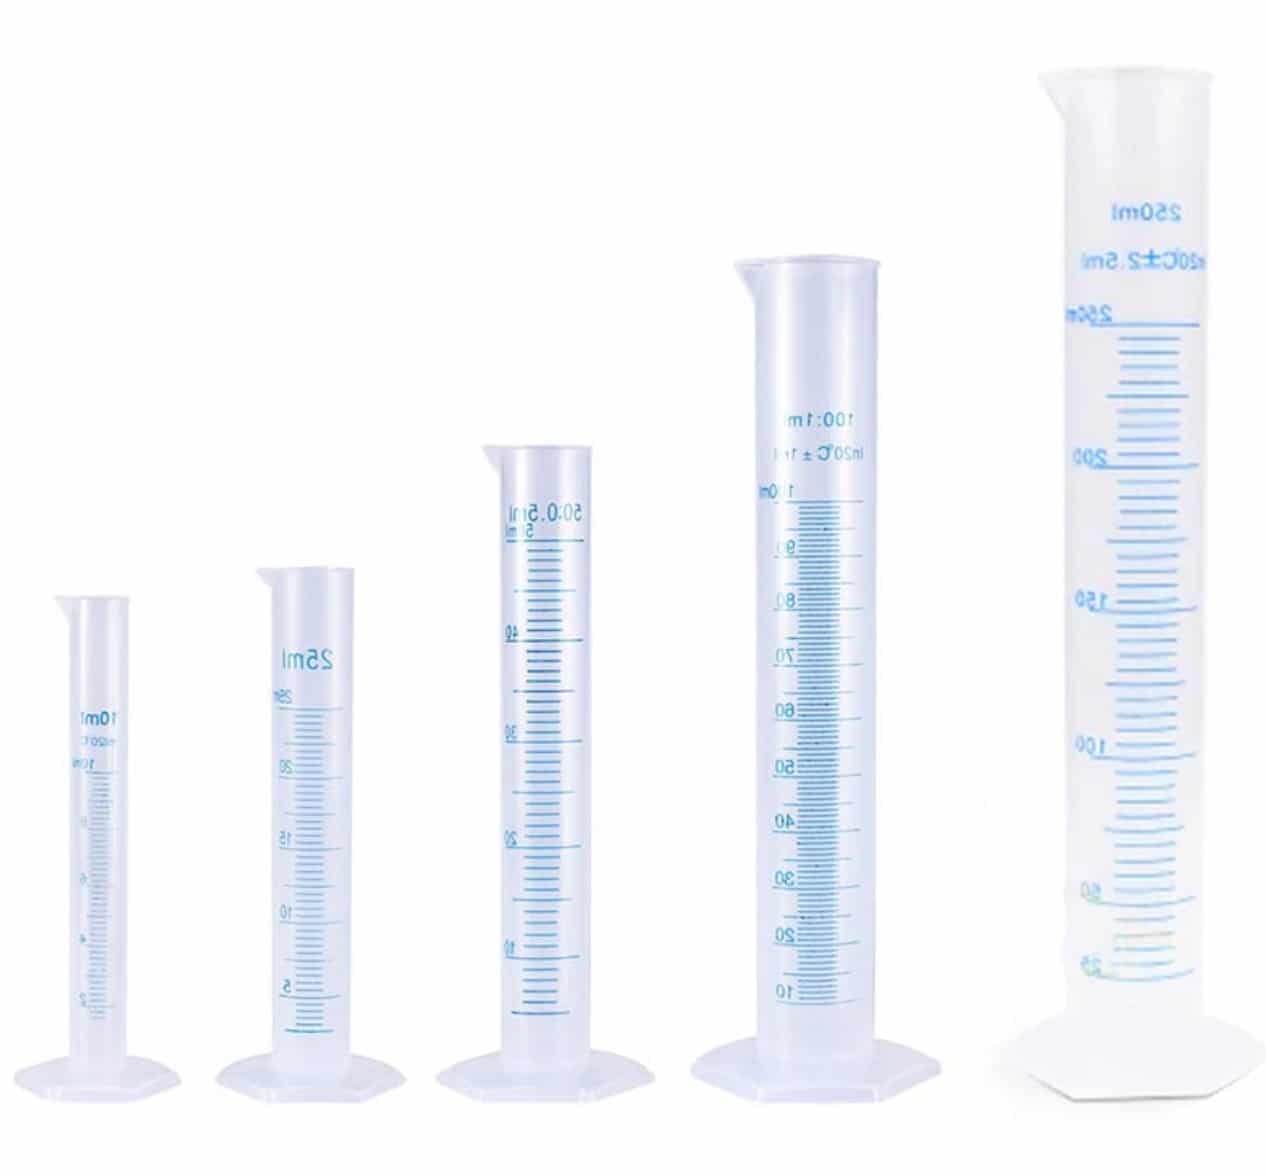
To measure the amount of alcohol you will need per litre of distilled water. The price here includes a pack of measuring tubes but you can buy these things singularly.
BUY HERE:
USA – https://amzn.to/3OnqhoM
EUROPE – https://amzn.to/39BNvJ3
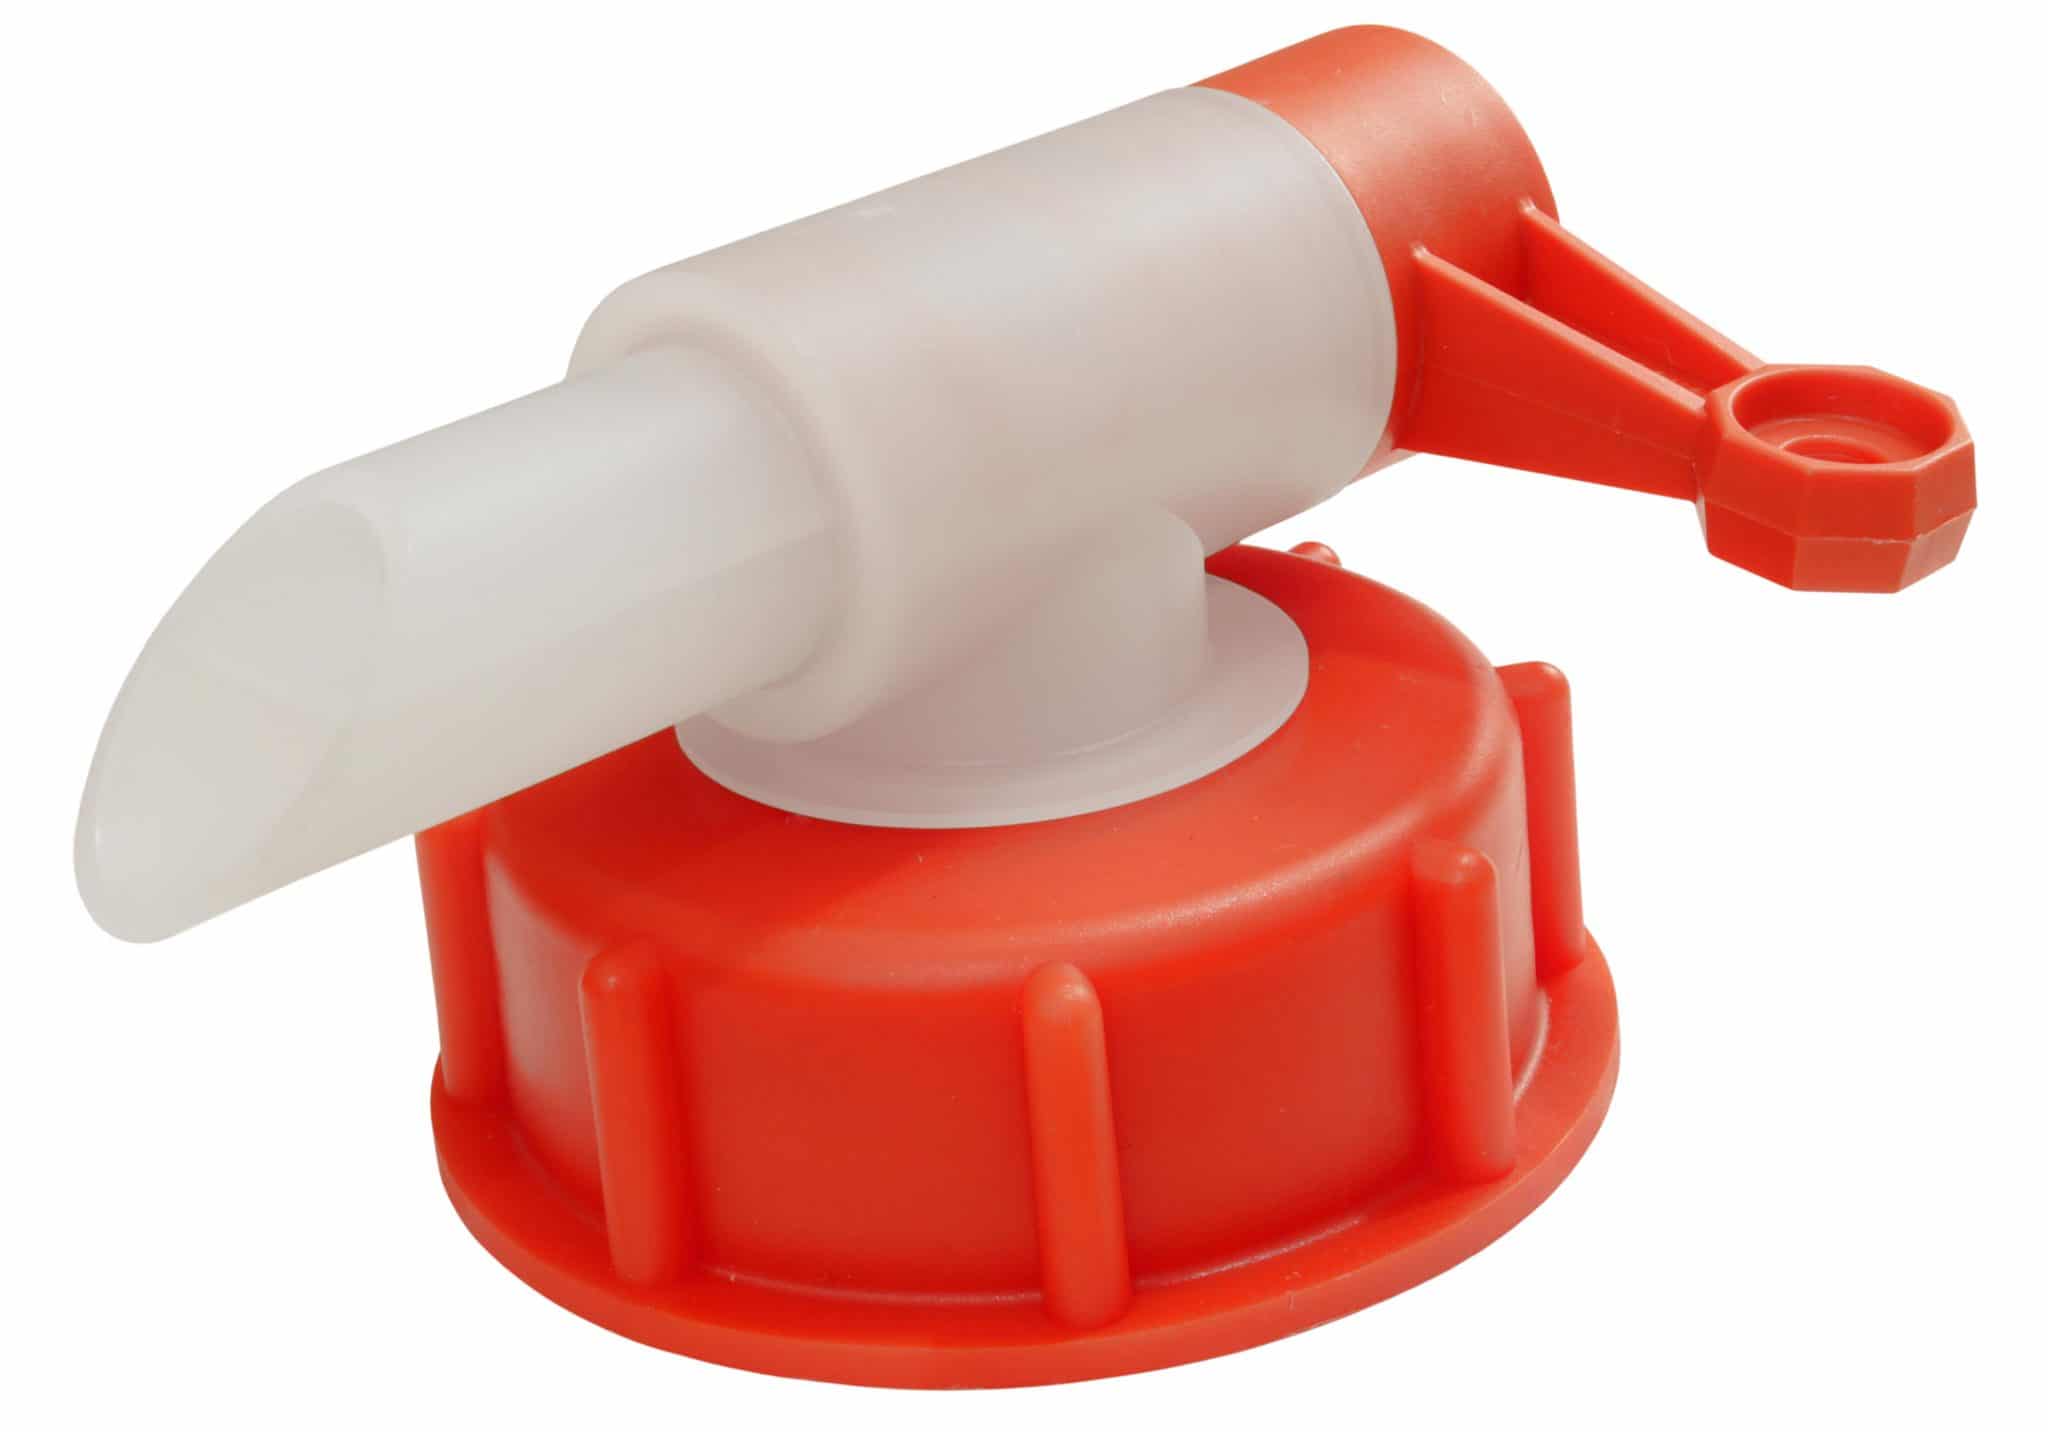
11: DISPENSING TAP
Price: £6 (prices vary)
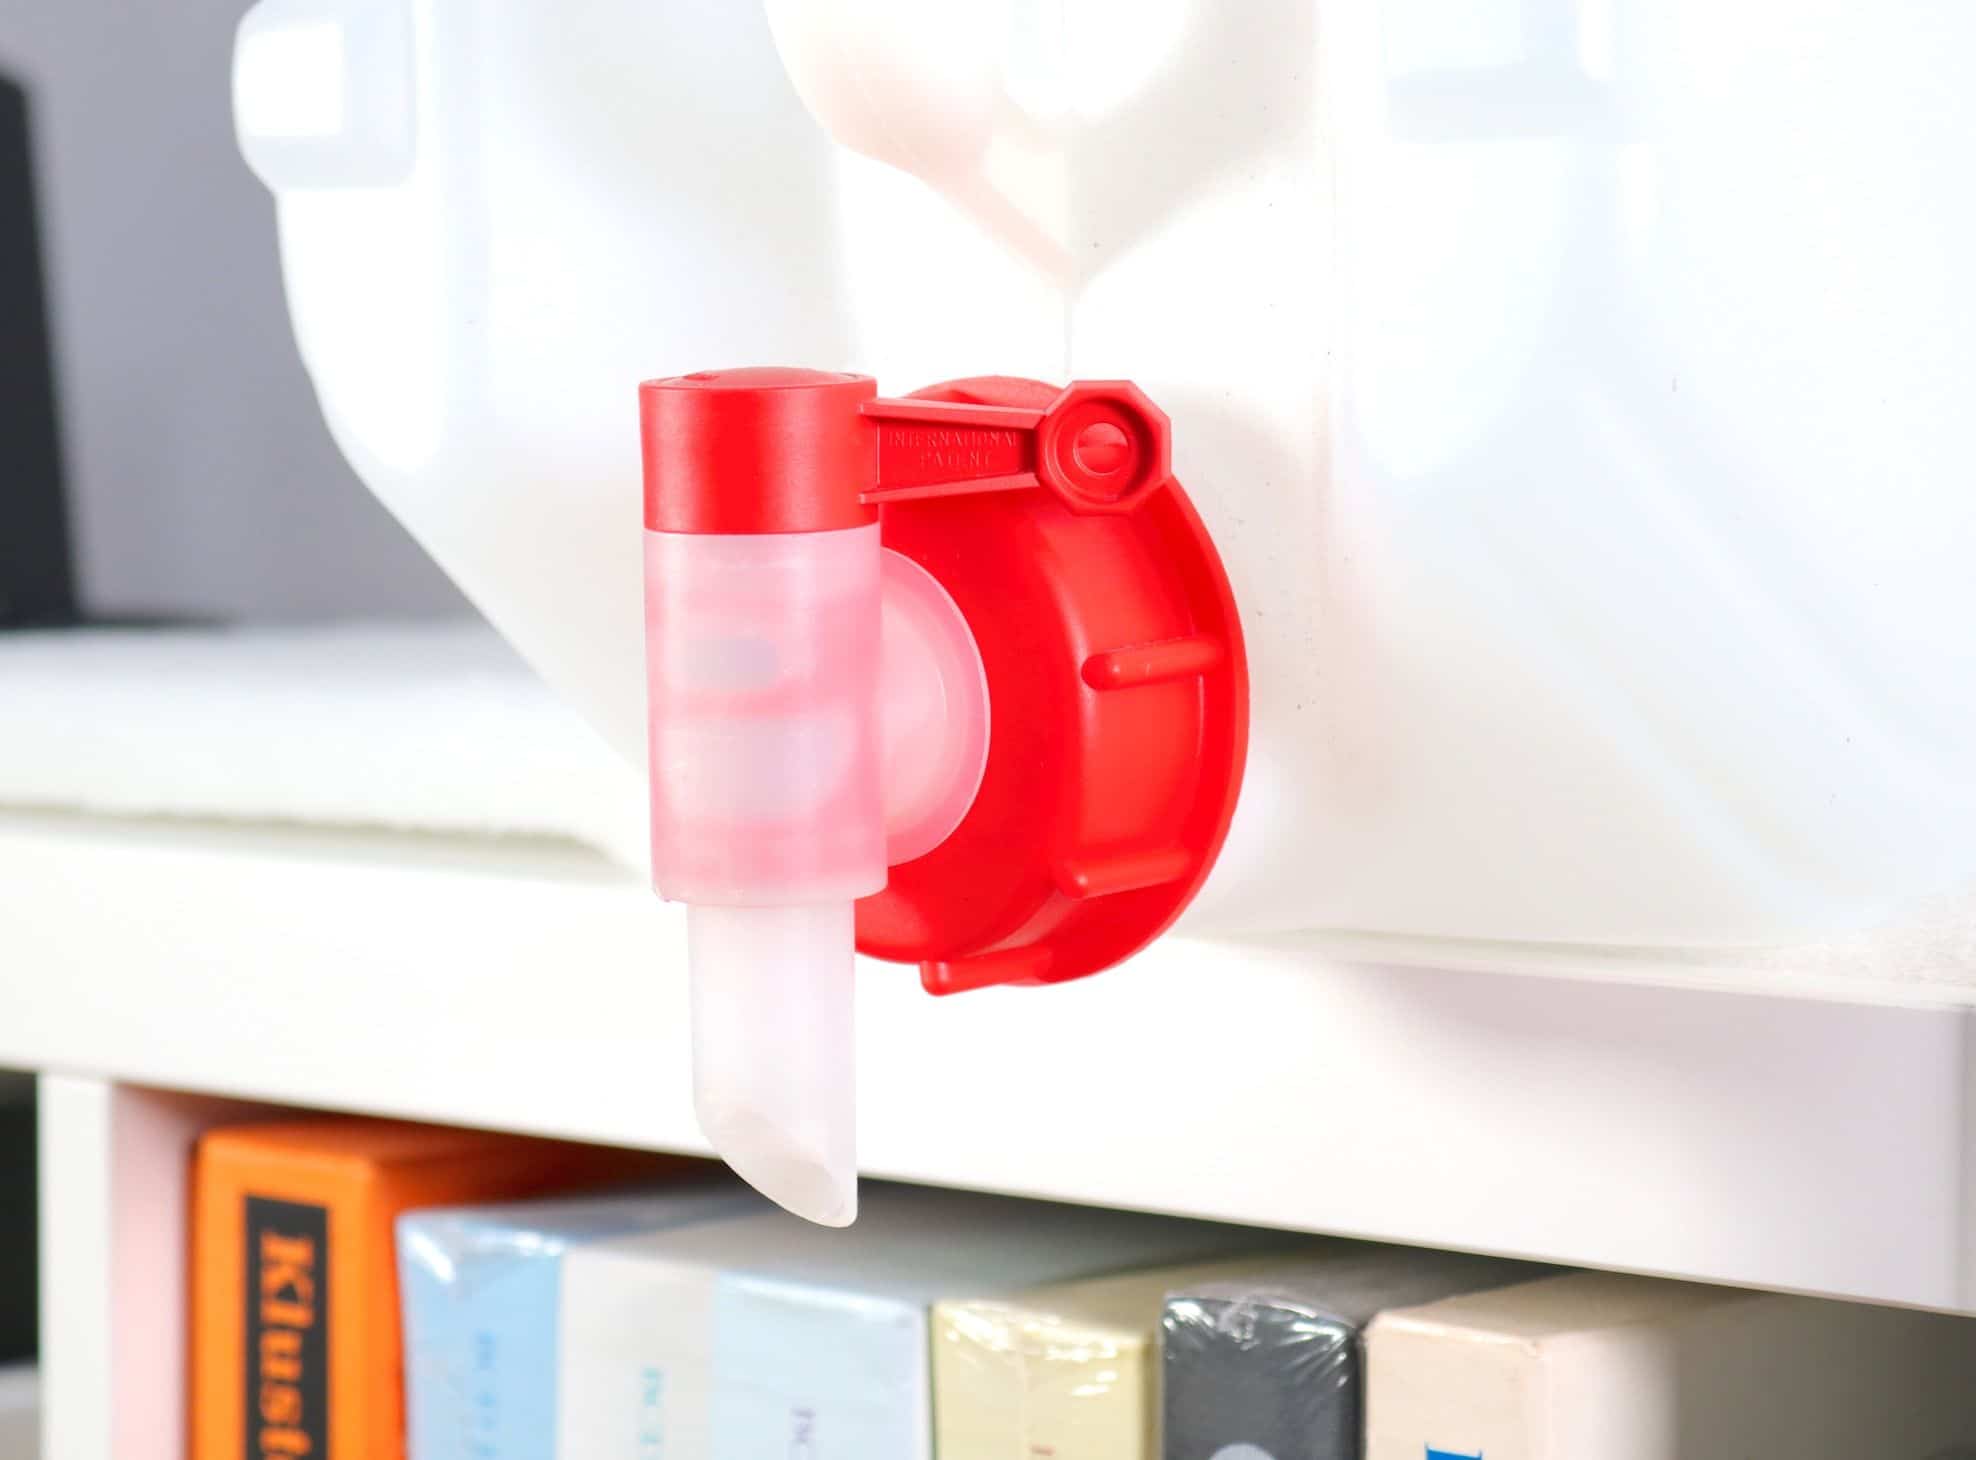
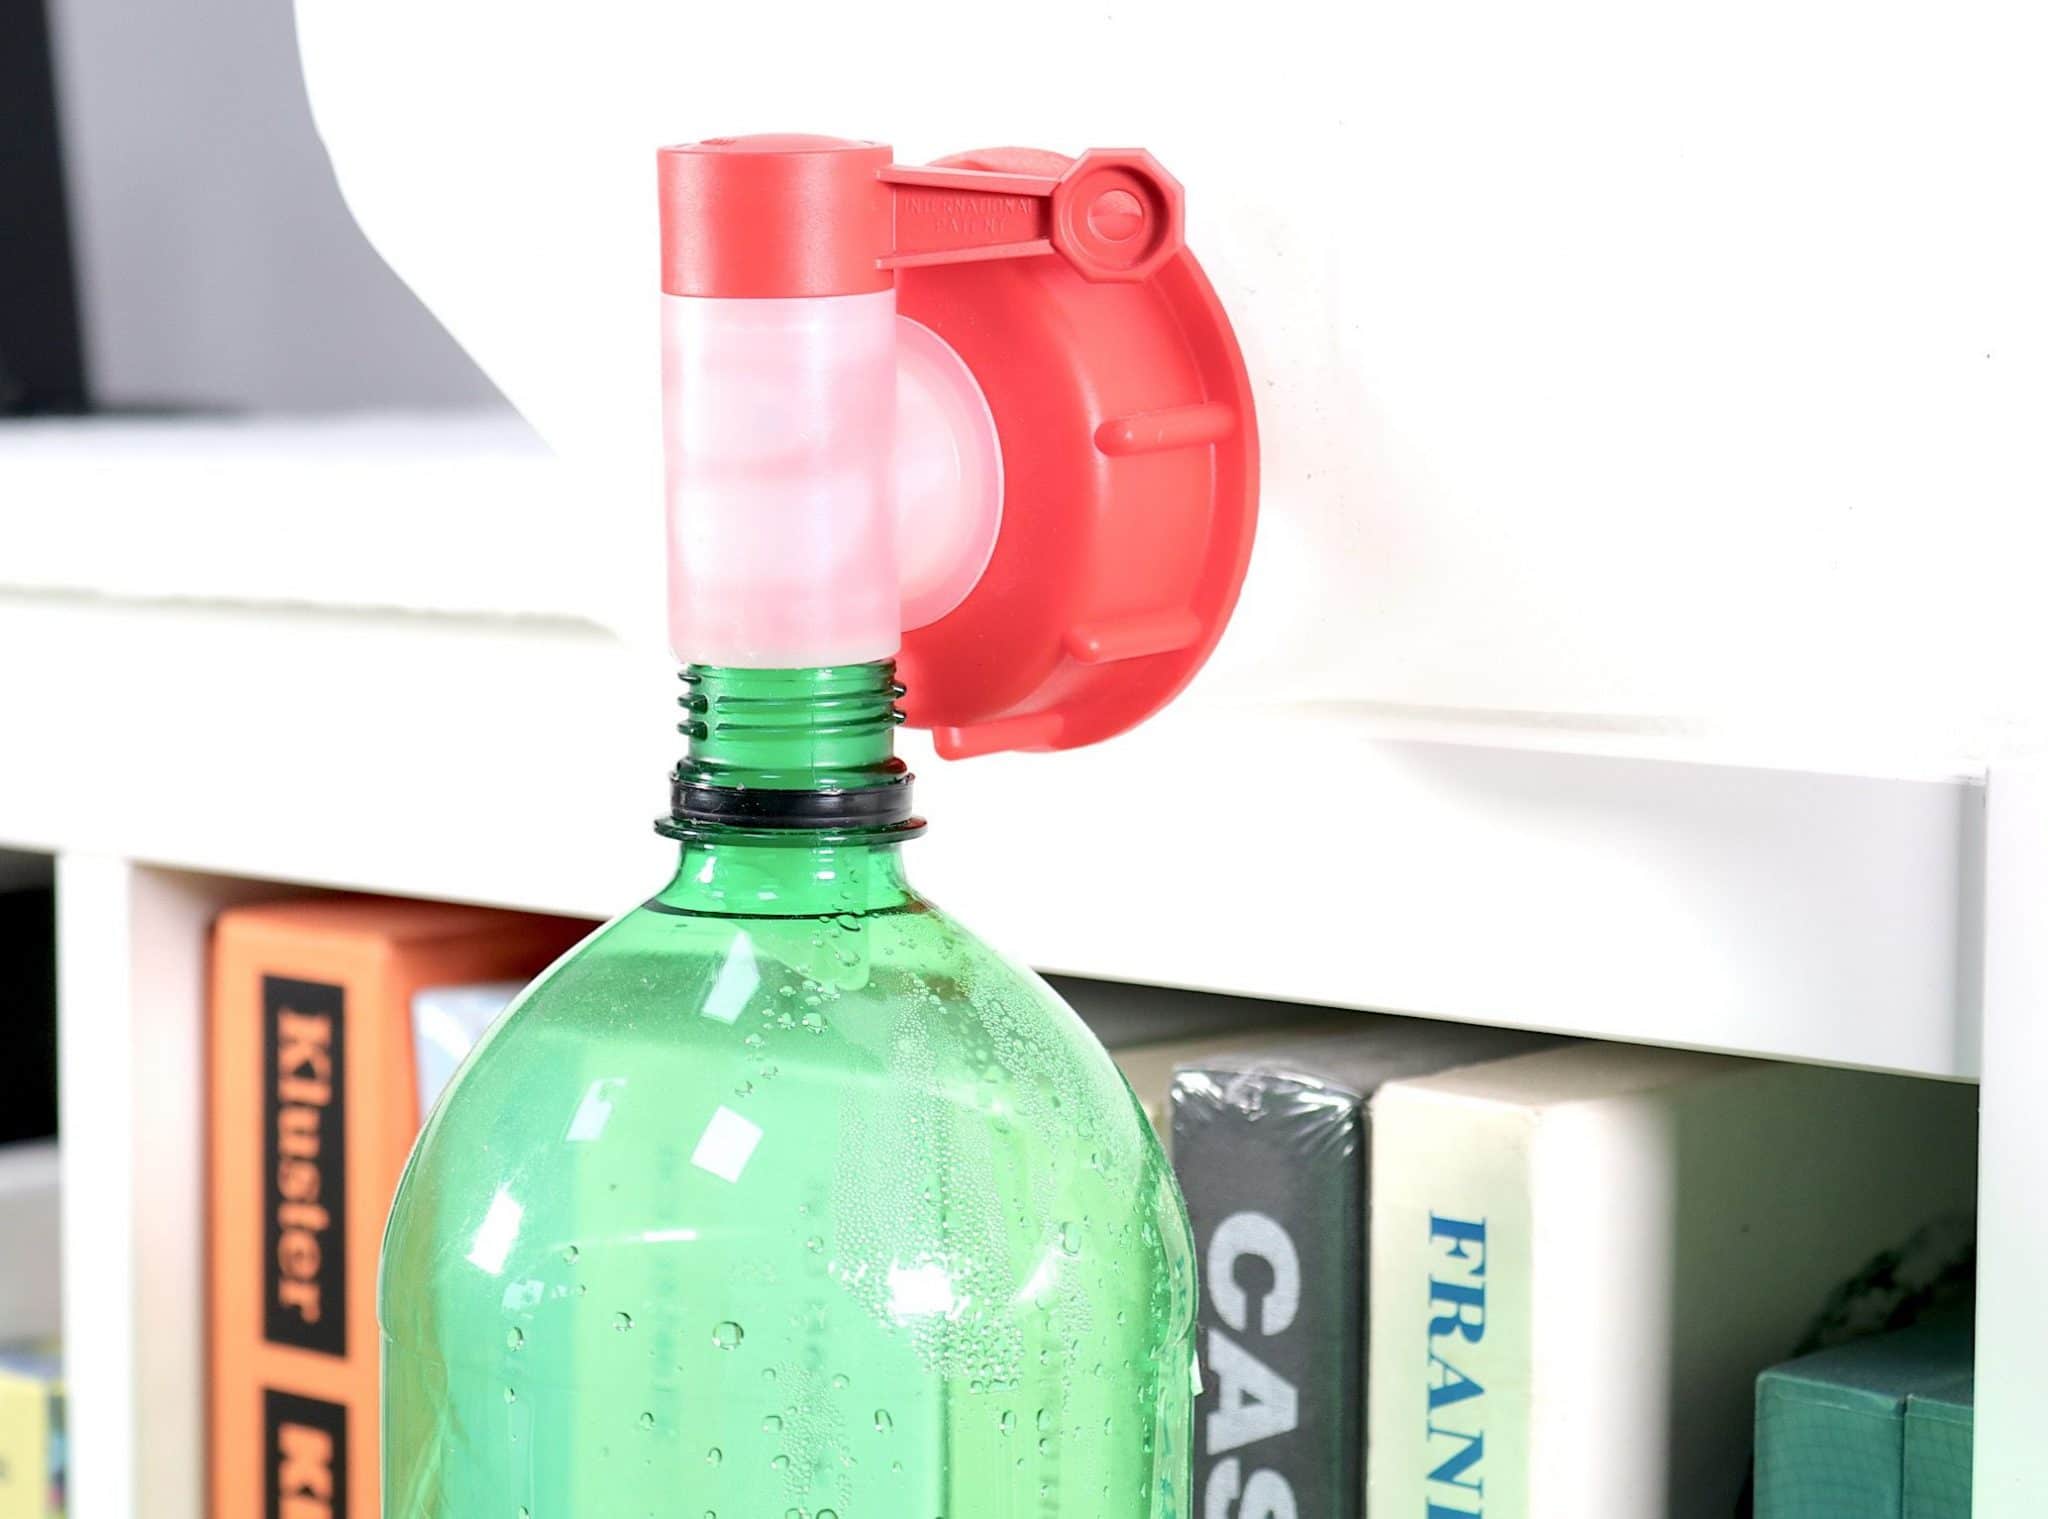
Because I know that I’ll be cleaning vinyl for some time to come, I tend to buy 25 litre ‘barrels’ of distilled water. Then I remove the default screw lid and attach this tap instead. I lift the barrel onto a bench surface, lay it on its side and the tap easily dispenses water into my 2 litre water bottle easily and efficiently.
BUY HERE:
USA – https://ebay.us/QJ1GEZ
EUROPE – https://amzn.to/3y8TXR0
TO THE EXTREME
Before I begin the Disco Antistat Vinyl Cleaning Guide’s step-by-step sequence, allow me to say this. What you’re going to read below is cleaning to the extreme. Not to me but maybe to you. The amount of cleaning I do below might seem excessive but I do it because, of course, I can hear the difference. Otherwise I wouldn’t bother.
But look. Just because I wander towards the halls of madness, doesn’t mean that you have to follow me. You can reduce the actually amount of cleaning to suit you and the time you have available so look upon this section of the Vinyl Cleaning Guide as that only, a guide. Take what you want from it. You don’t have to copy the entire Vinyl Cleaning Guide step by step if you don’t want to. You will hear sonic improvements even if you only clean to a fraction of the level.
DISCO ANTISTAT & SURFACTANT – STEP BY STEP
1: Let’s address the Disco Antistat’s bath first. First rinse the bath with distilled water. Then we need to fill that bath with cleaning liquid. That will consist of a mixture of distilled water and alcohol, mixed together. To contain that mixture, we need to find a suitable bottle which is where one of the plastic spring water bottles comes into play.
Before you use either bottle, give them both a good clean. Spring water contains impurities (in vinyl cleaning terms, at least) so add around a quarter to a third of the capacity with distilled water. Seal with its cap. Give it a thorough shake, empty that out and repeat twice more. Once done, the bottle is primed for use.
2: Fill your first bottle with distilled water.
3: Add your alcohol. You need 7% of the capacity of the bottle. So, if you have a litre bottle, that’s 70ml of alcohol you need to add to the distilled water. Use a measuring tube for this task. Seal with a cap. Give that mixture a shake and you’re sorted. You only need 1% of alcohol to make a sonic difference but 7% is the figure of choice here because you also need to melt the Glycol off the vinyl surface.
Just 1% won’t be enough for the job. 7% will melt the Glycol but also perform cleaning in the groove.
The alcohol cleaning is a bit like brushing that pottery I mentioned above in the Abrasion section. Alcohol will effectively clean away the friable and easily removable grime and grease.
Never apply alcohol directly to the vinyl surface in high concentrations, though. It’s too aggressive for that.
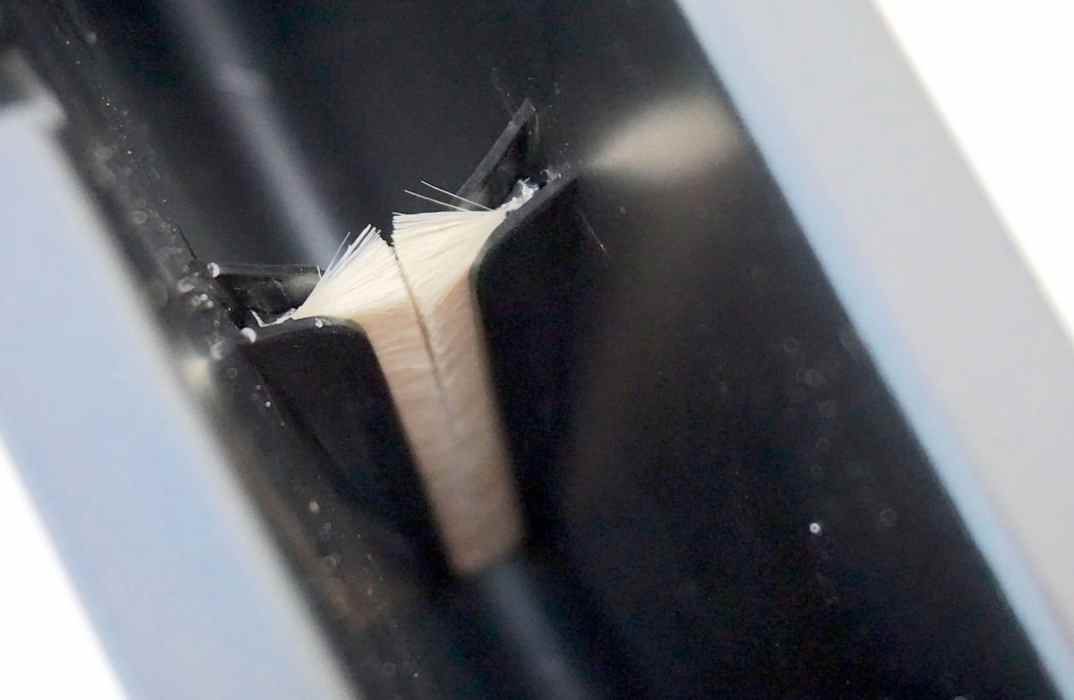
4: Fill the Disco Antistat’s bath with the water/alcohol mixture but stop just below the top of the fixed bath brushes. Just to be on the safe side, to avoid wetting the record labels. I know that the Disco Antistat’s clamps are designed to prevent that happening but, you never know and I’d rather be safe on this matter. By all means perform a dry run and vary the level for your record to make sure. OK, that’s the bath sorted. Now onto the vinyl itself.
5: Prime another spring water bottle. Fill that with distilled water.
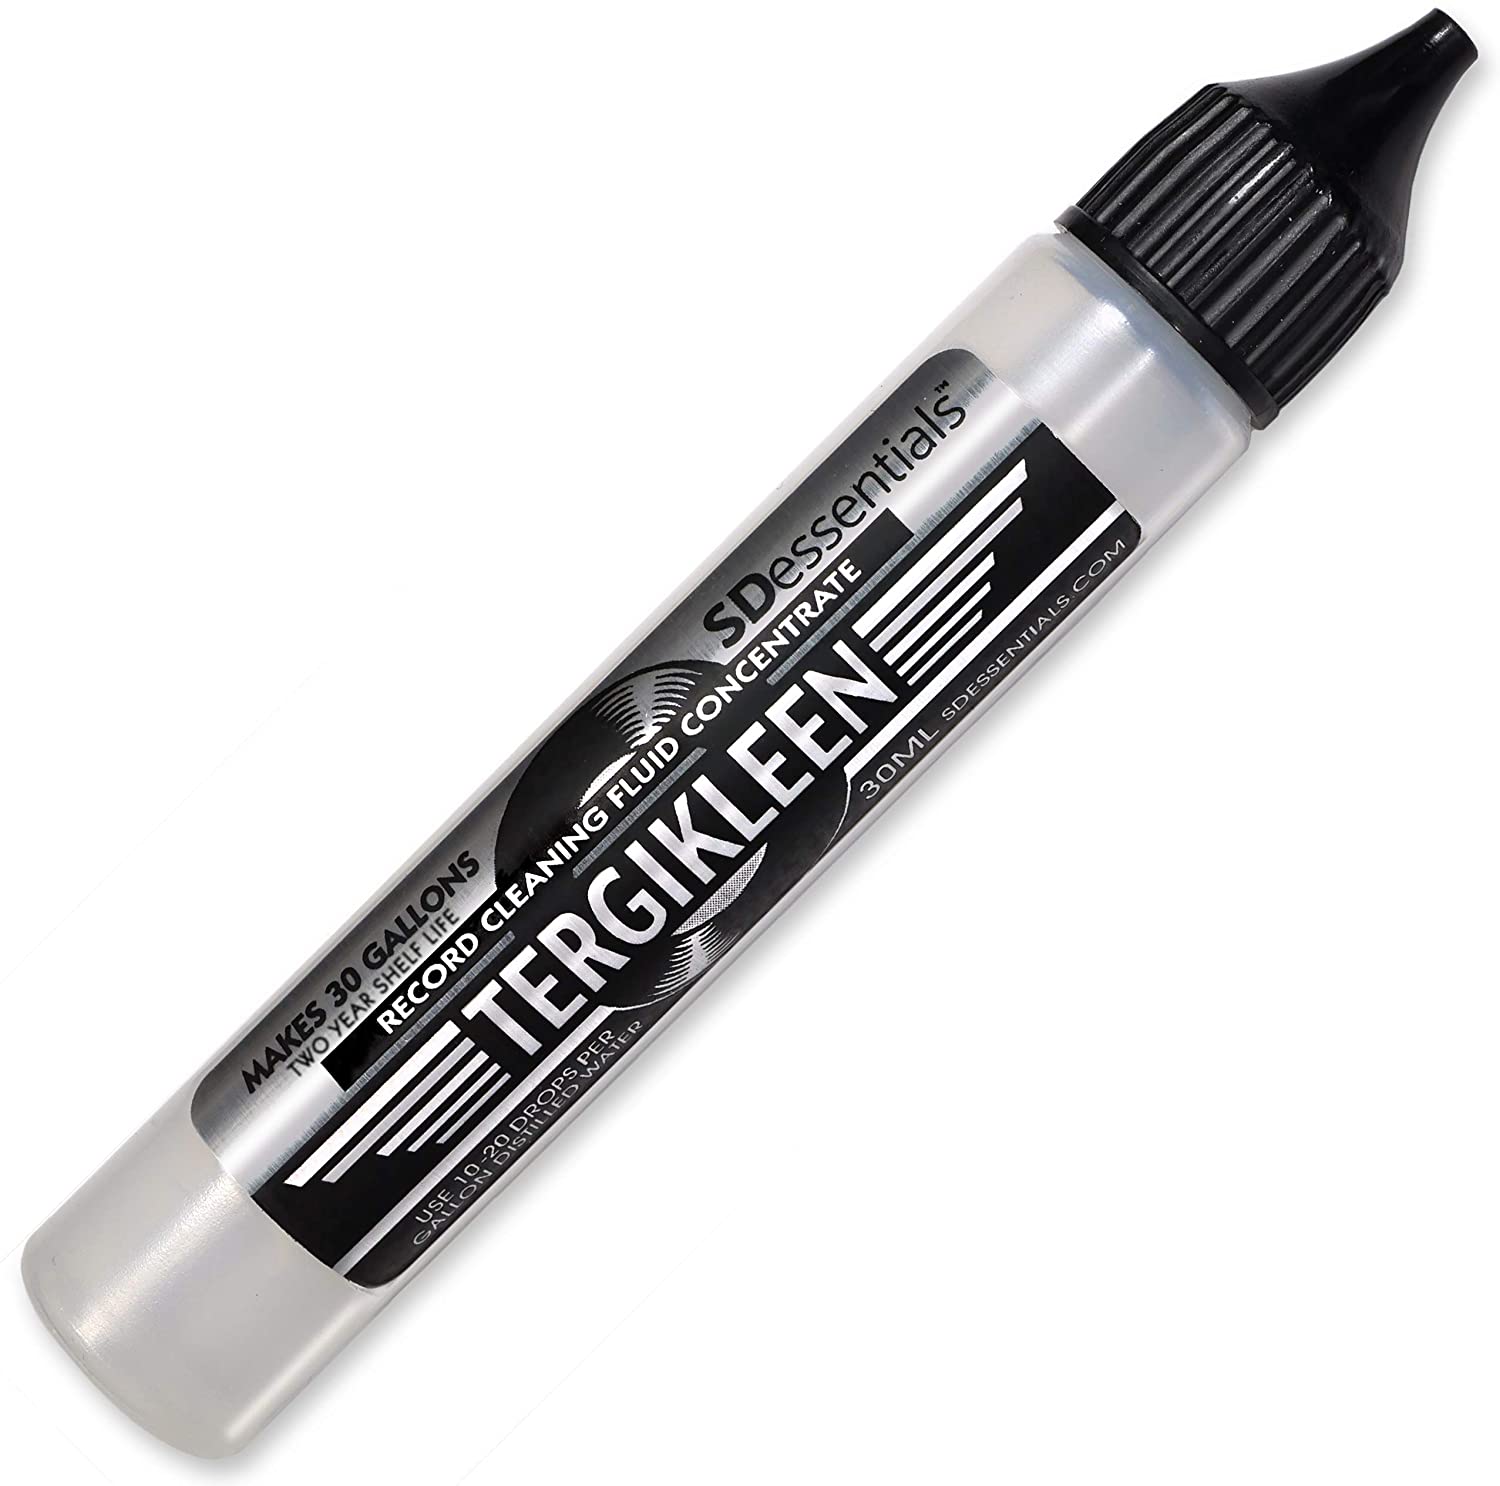
6: Take your surfactant and dilute it as directed using the included instructions. If you are using Tergikleen, I use 10 drops per litre. The drops are dispensed from the built-in dropper which offers micro-drops, smaller than the usual drops you might see from a pipette. So add 10 drops of Tergikleen per litre to the bottle of distilled water. Once applied, seal the bottle and shake for a while to mix thoroughly.
The surfactant is now ready to apply to the vinyl. The bottle is too big and cumbersome to try to move surfactant from there directly to the vinyl surface so you’re going to have to decant some of it to make the task more manageable.
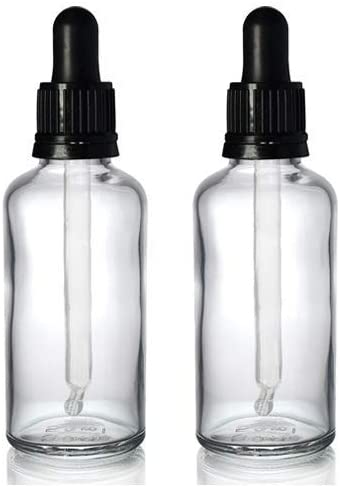
7: Fill one of the glass bottles (see image above) with Glycol. It’s easier to handle that way.
8: Before you decant the surfactant from the large, plastic spring water bottle into one of the small glass bottles take the vial from the Glycol bottle and fill it with Glycol. I say ‘fill it’ but you’ll find the vial will probably reach half way with Glycol (see image below). Add that to the glass bottle. Repeat. You should have two vial’s worth of Glycol in your surfactant glass bottle. Fill the rest of the glass bottle with the diluted surfactant from you spring water bottle. Be careful not to spill the surfactant all over you floor. Do this over a sink and take your time. So you should now have two glasses bottles. One is filled only with pure Glycol. The second is now filled with a combo of diluted surfactant and two vials of Glycol.
9: Seal the glass bottle filled with surfactant/Glycol and give it a good shake to mix thoroughly.
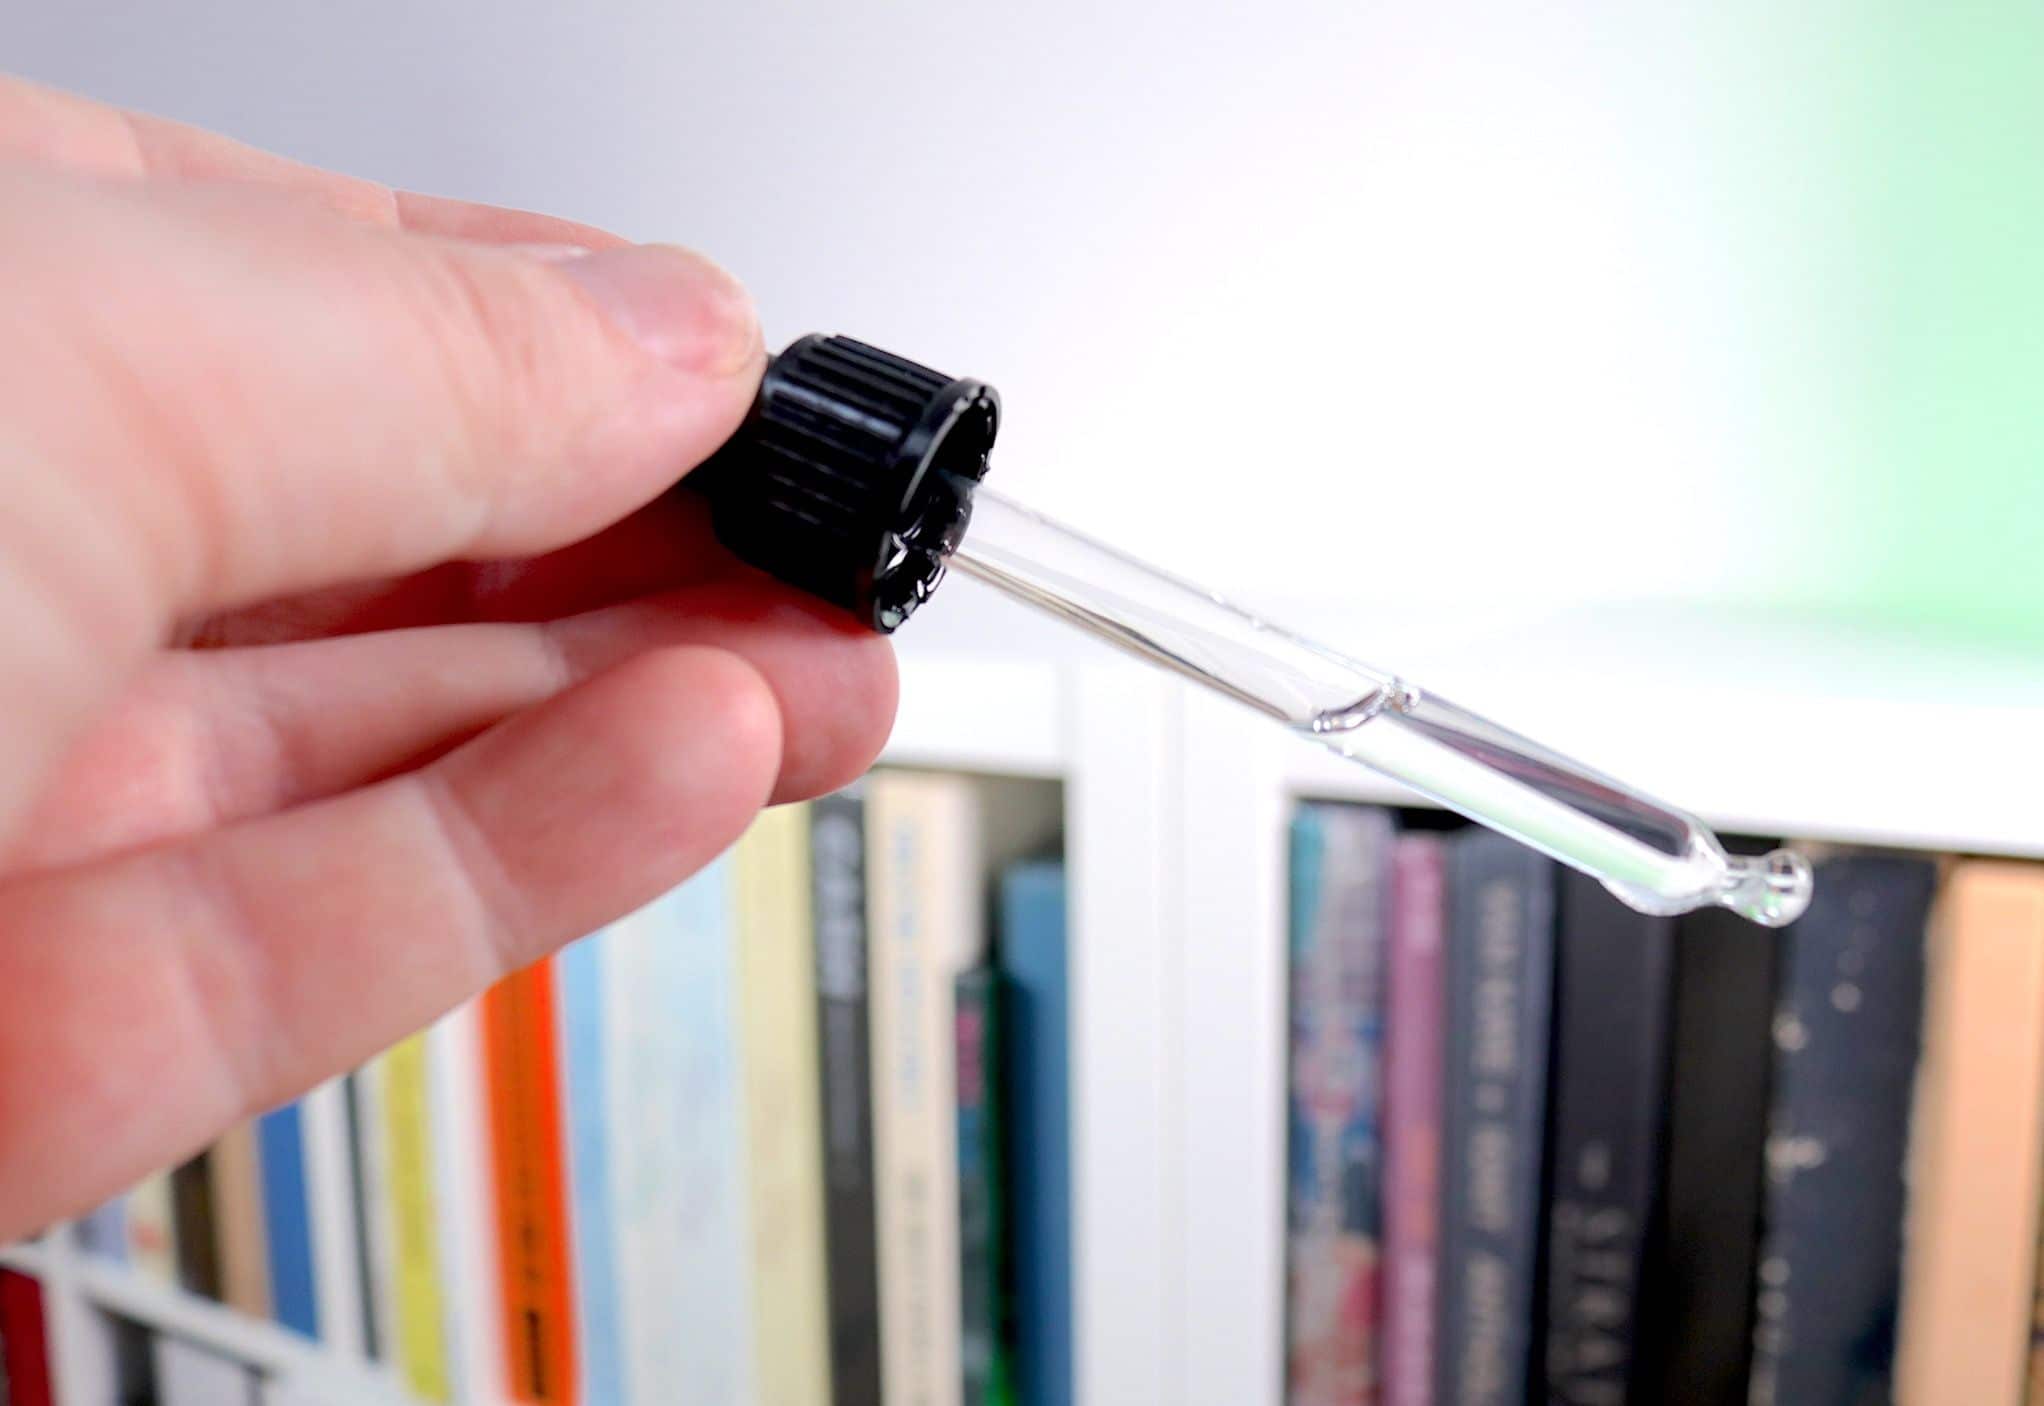
10: Now, take the glass bottle full of glycol/surfactant to your vinyl. Fill a vial with the mixture (again, it will be around half full, see image above).
You need to apply this mixture to the vinyl surface but you want an even spread of the liquid across the record’s surface. To do this, ‘draw’ a stripe of liquid, using the pipette from the inner edge of the run-off outwards to the edge of the record itself. In a straight line. Draw four lines. One at 12 o’clock another at 3 o’clock, then one at 6 and the final at 9 o’clock.
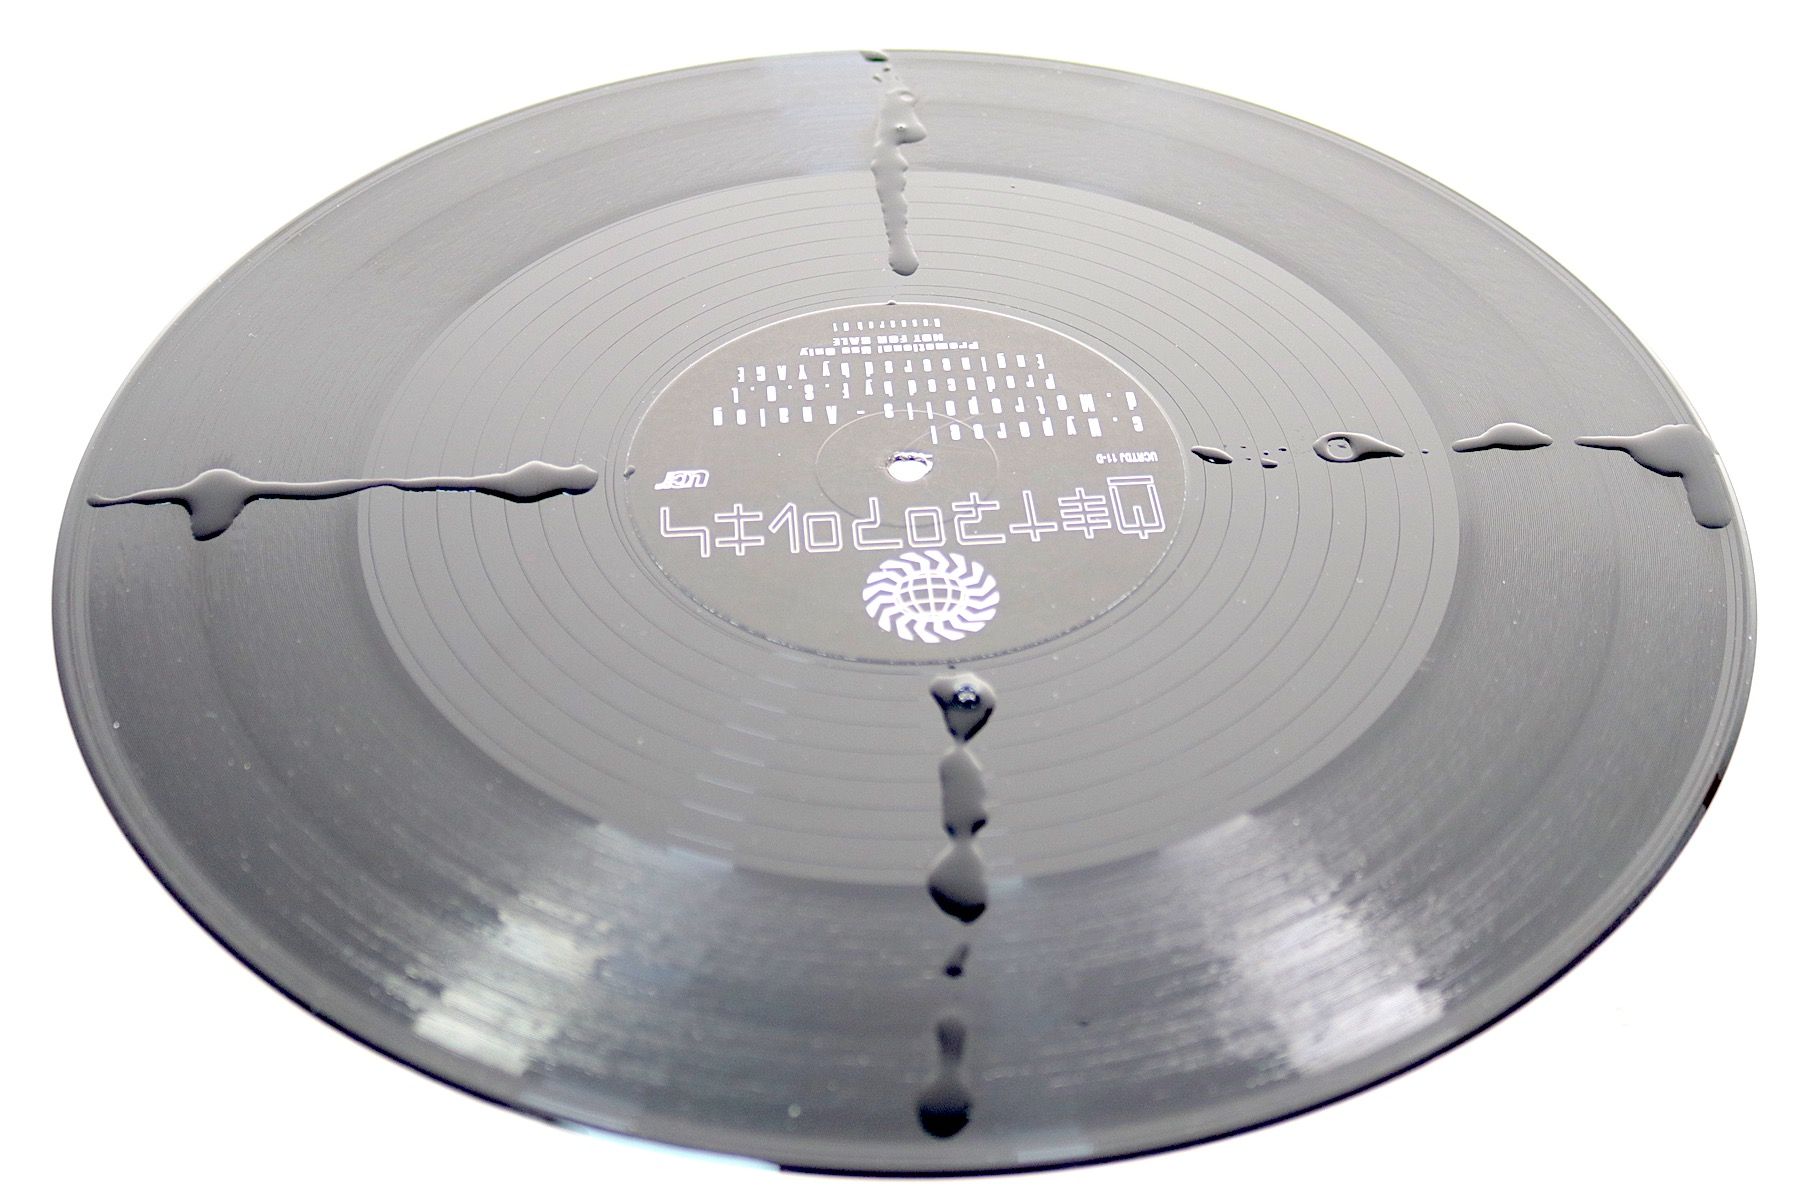
Yes, you could use a spray but I find that sprayed liquid bounces off the vinyl, back into the air and into your mouth. Not healthy. Also, you risk soaking your record label.
11: Take your Kabuki brush. Move the brush around the vinyl surface to evenly spread that surfactant. You don’t have to be too OCD about this. Don’t worry if there are dry spots after you do this. We’ll get to that next.
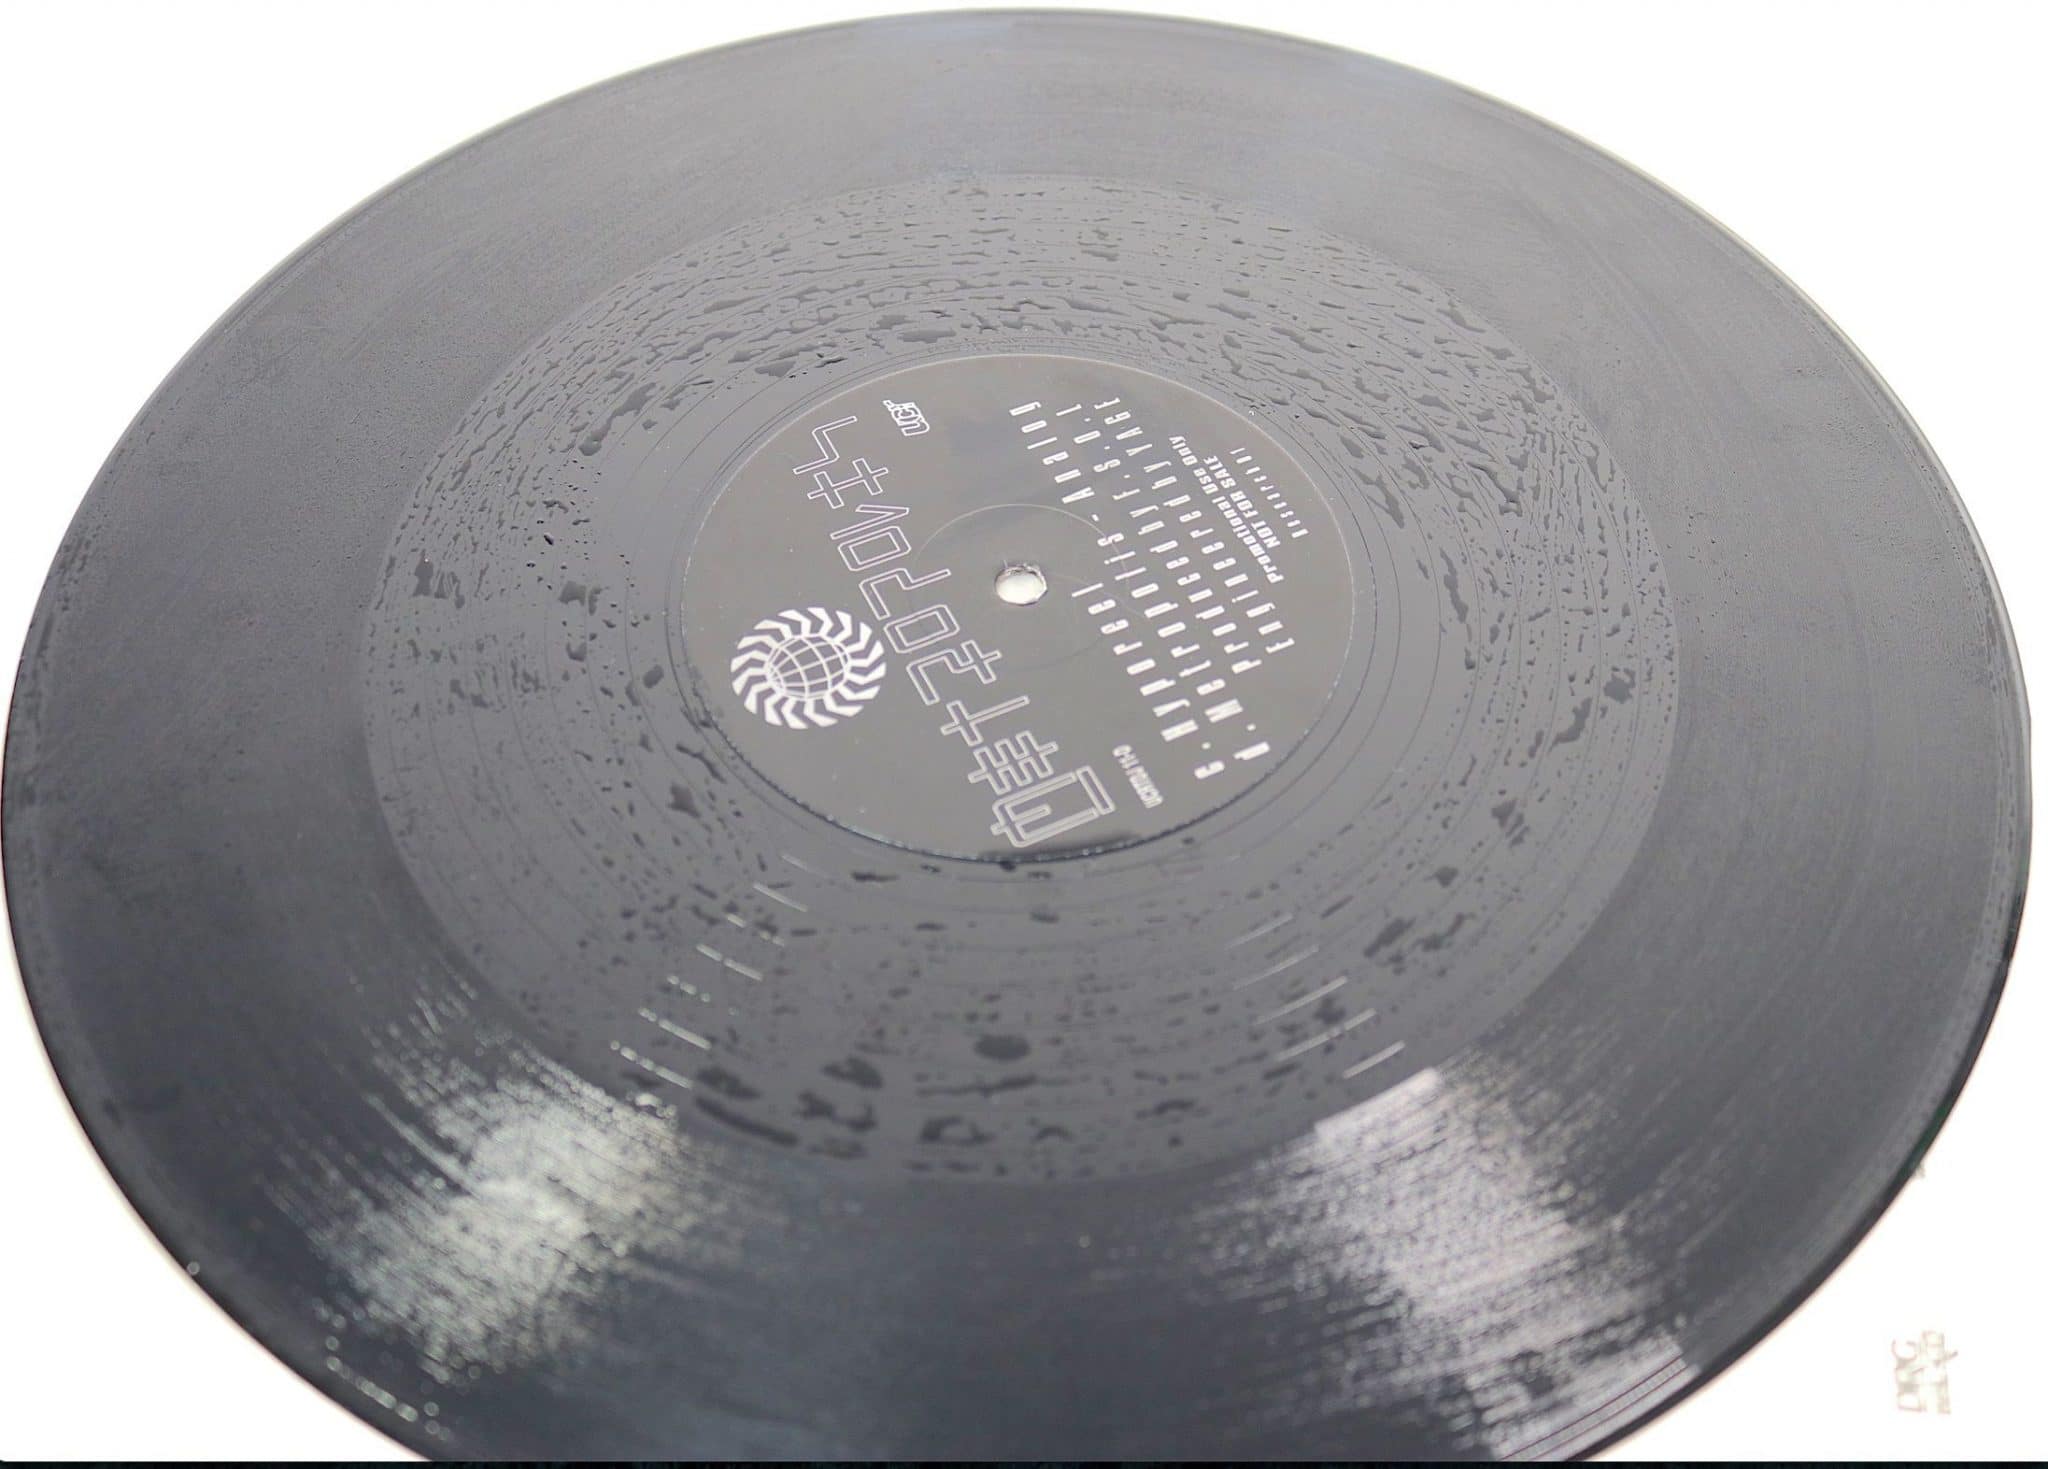
12: Holding the Kabuki brush, move your fingers from the handle and down to the actual bristles themselves. The idea is to have around a centimetre of bristle sticking out from your fingers. Holding the majority of the bristles with your fingers, that’s the amount of visible bristle you should see. The remaining bristles will be quite stiff in nature now.
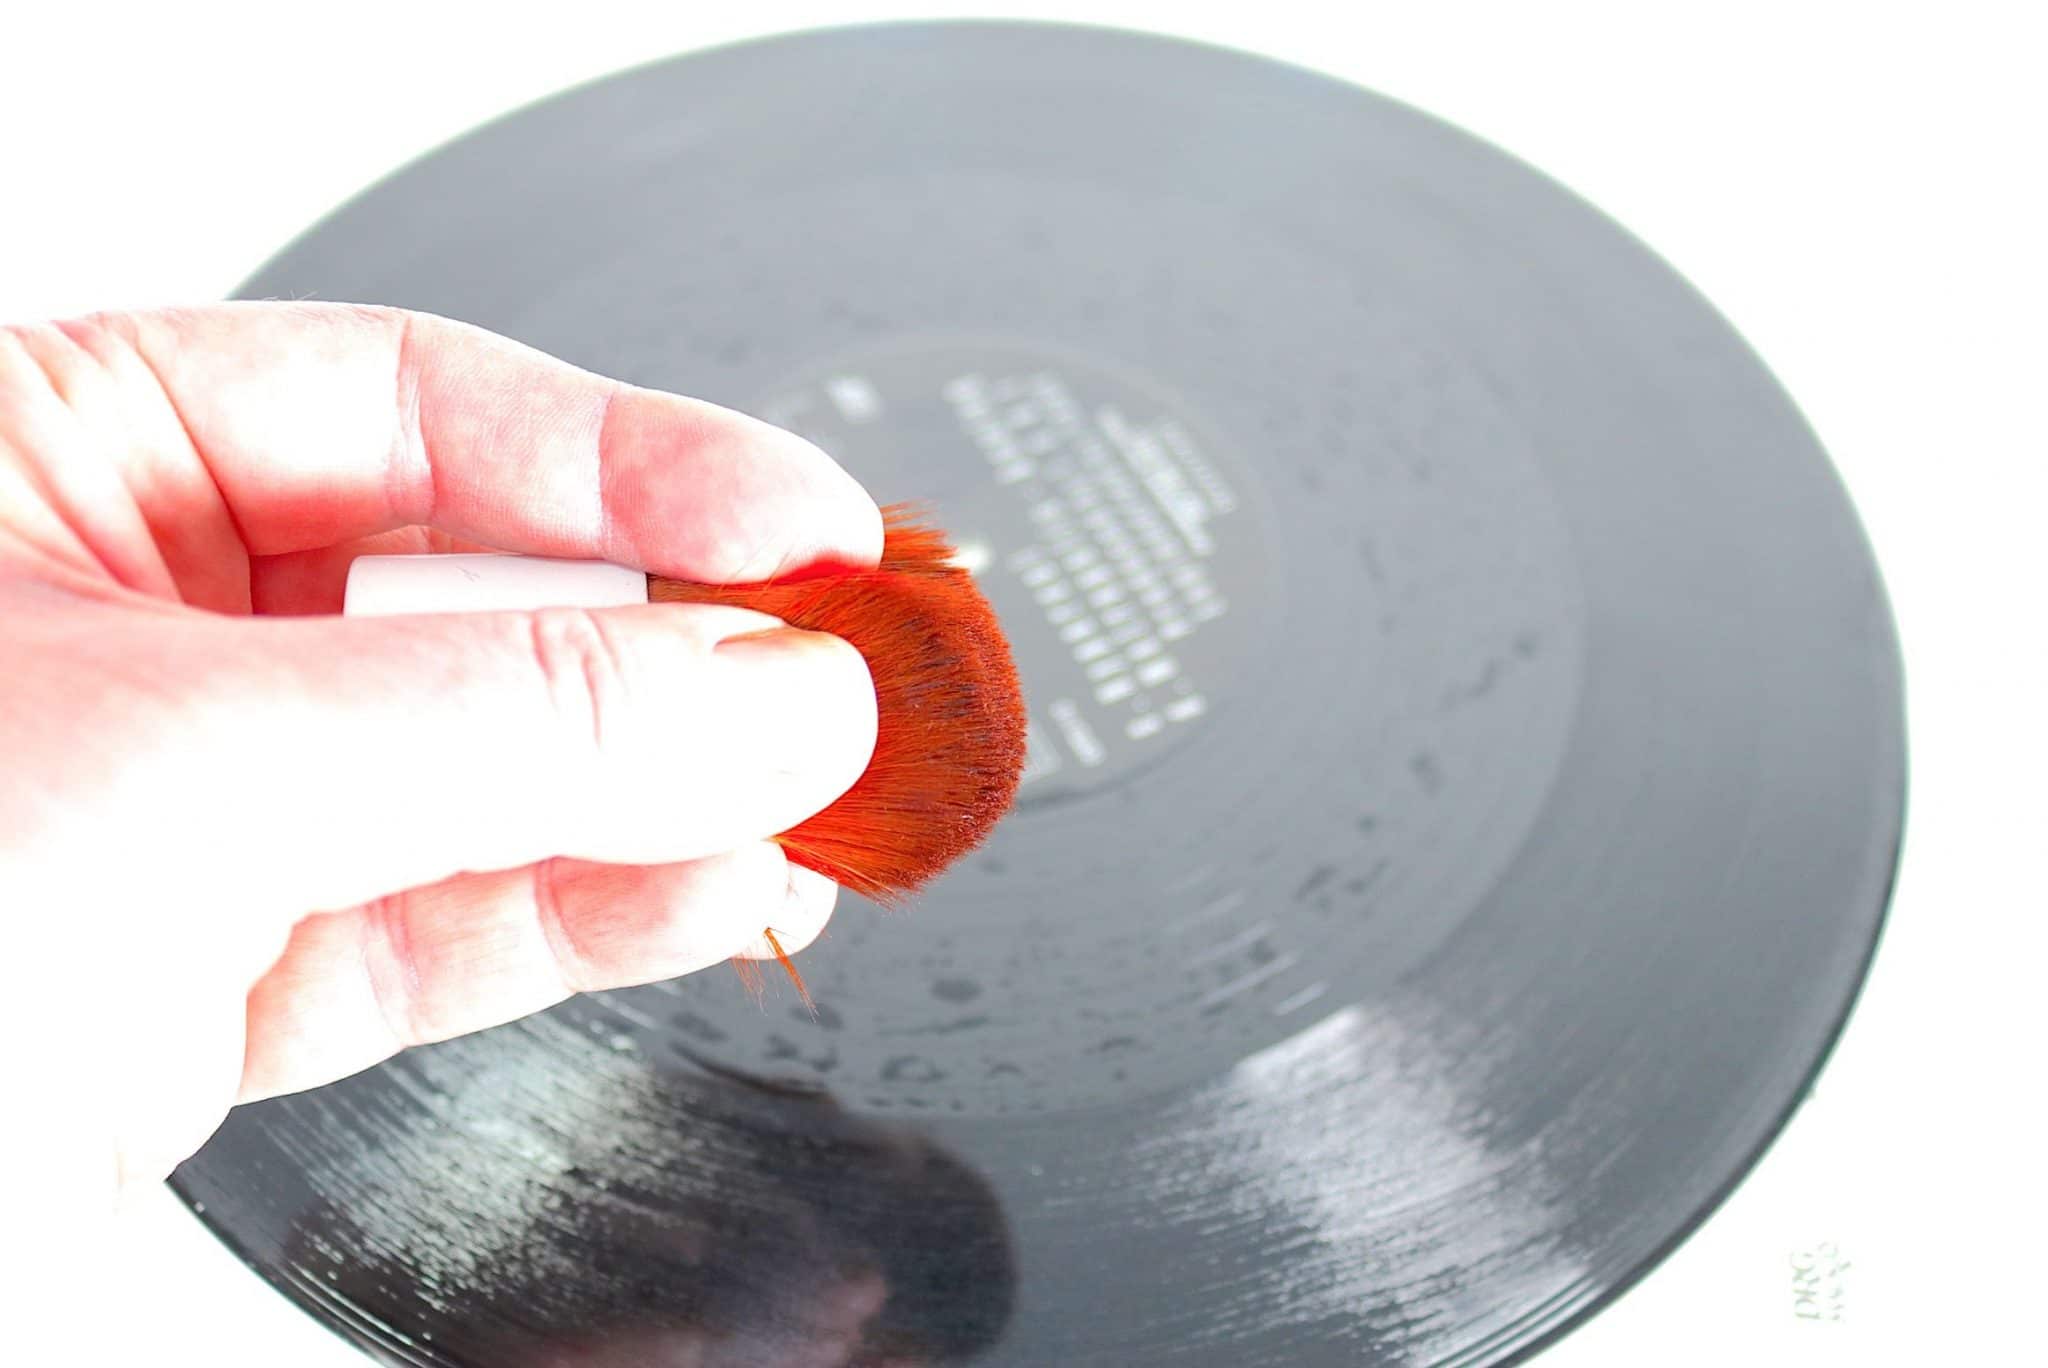
13: Using this stiff bristle, press the surfactant into the grooves in a spiral fashion working clockwise from the outer edge towards the centre and then anti-clockwise from the centre to the outer edge. By doing this, you are pushing the liquid into the groove, expelling any trapped air in the process. That’s one side done.
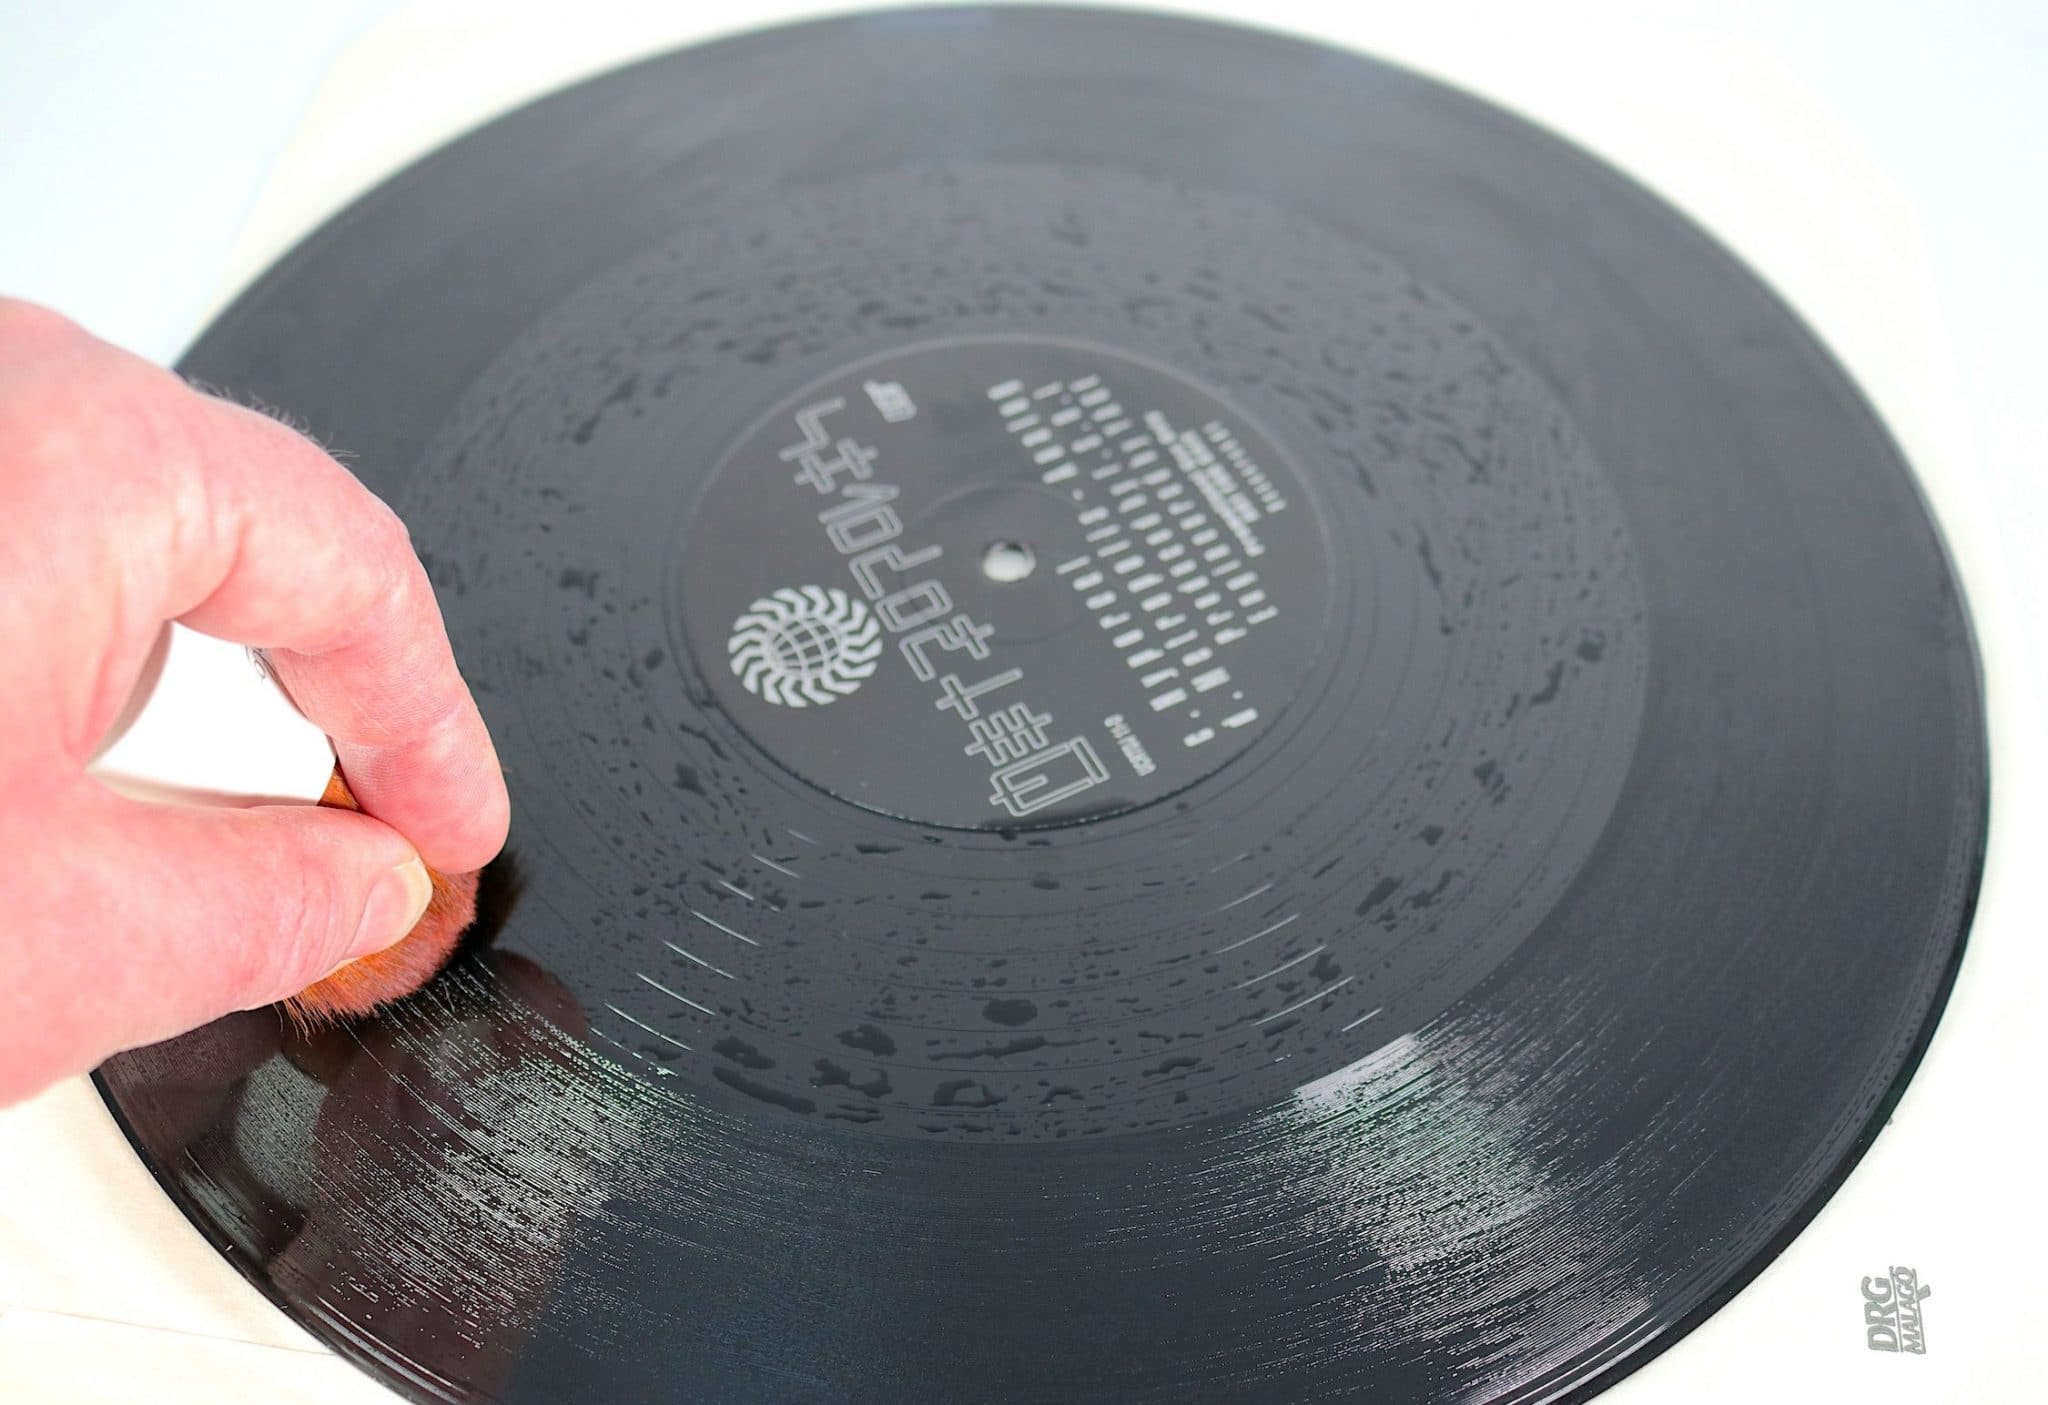
14: Repeat the whole process on the flip side of the record. Your record has now been prepared for cleaning.
15: Add the Disco Antistat clamps to the record as per the Disco’s own instructions and insert the clamped record into the Disco’s bath. Slowly rotate the record six times in a clockwise direction. Stop. Then rotate the record six times in a clockwise direction. Stop.
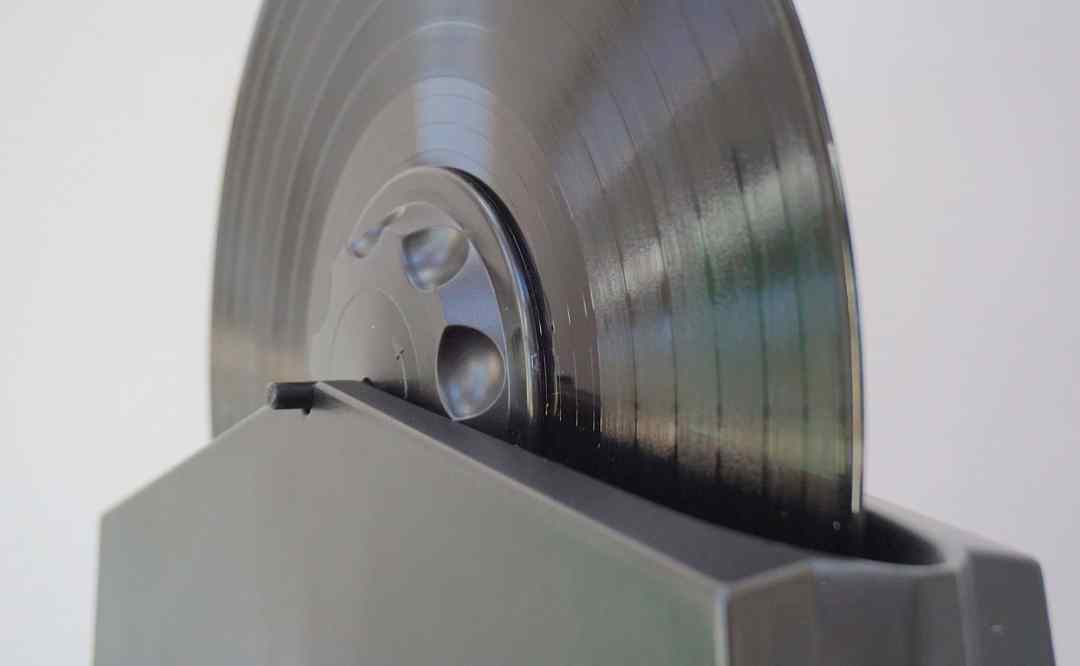
What is happening is this. The surfactant is allowing the liquid to get closer to the vinyl groove surface by breaking surface tension. Allowing for a deeper clean, if you will.
The Glycol is ensuring that the surfactant sticks to all of the grooves during this time to maintain an even clean.
The alcohol is cleaning the loose, friable material and more easily removable oils from the groove surface.
The abrasion is being applied by the built-in goat-hair brushes. The relatedly tough Disco brushes will help to break down the hardened oils and gunk I mentioned above.
The combination of these products and actions will produce an effective clean, noticeably improving sound quality.
16: Steps 10-15 are seen as a single ‘cycle’. The extreme bit for some is this. While one cycle takes long enough to achieve and will enhance sound quality and you can stop there if you wish, during tests, I found that more cycles applied to the same record improved sound quality. That is, the sound from a record sounded better after two cycles when compared to one. And with three cycles when compared to two. And so on.
I stopped – finally – at six cycles. This will take a long time. Over an hour for each record. I repeat, you don’t have to go there but I’m doomed because I’ve heard the differences so I can’t go back, I’m afraid. You decide how far you want to push it.
17: When the cleaning cycles are completed – however many that may be – then insert the record one final time but do not add any surfactant this time. Don’t add anything to the vinyl surface. Just add the record ‘as is’ and complete the same rotations clockwise and anti-clockwise. This is a rinse cycle to remove any lingering residue.
If you are able to buy a second Disco Antistat then perform the rinse cycle in the second unit. Keep the second unit for rising only with a bath filled with the same proportion of distilled water and alcohol. In this way, the Rinse bath will last longer before it has to be changed.
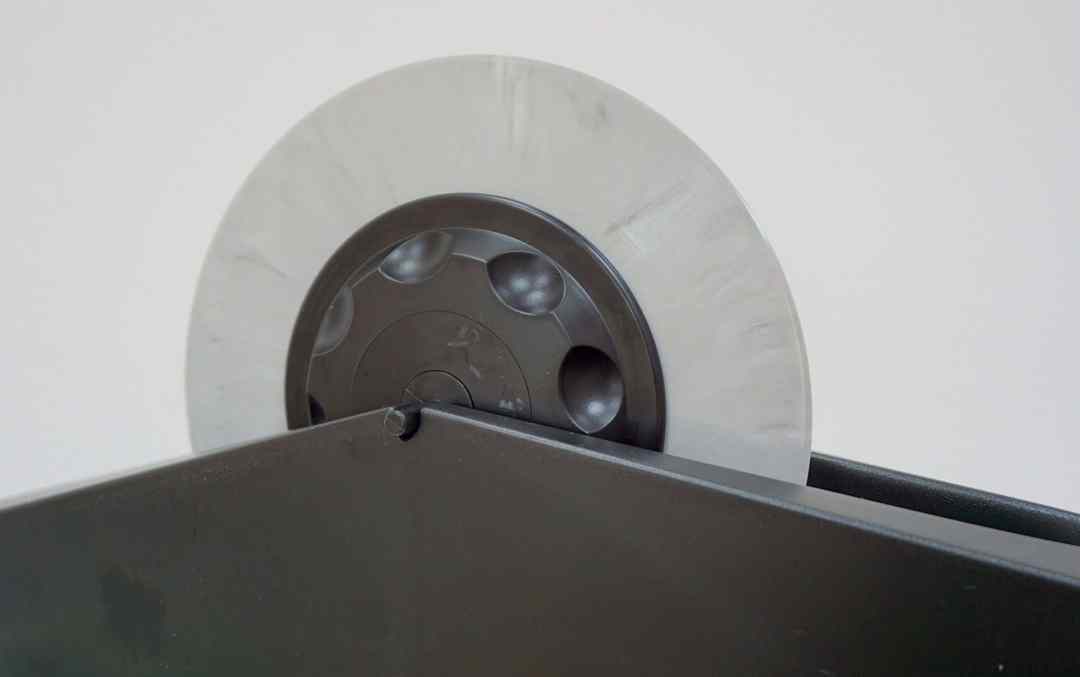
After a series of cleans, you may want to change the bath water for a fresh batch because the surfactant will slowly build up in it. I’ll leave that change over time up to you because it depends on how much surfactant you apply to the vinyl surface in the first place, the frequency of your cleaning and the amount of cycles you decide to run with.
18: Once the rinse has been completed, remove the record and the clamps and insert the record into the supplied drying rack for drying. A warm room will be more efficient.
SECTION 2
RCM TEST CLEANING
Right, so you know the background to my Cleaning Guide and you have the vinyl preparation information when we get around to using the Disco Antistat and you now know how to properly utilise the Antistat itself on a step-by-step basis.
So let’s look a little closer at the RCM itself and the cleaning method behind that.
The principle chosen record to clean was an original pressing of Rick Wakeman’s The Six Wives of Henry VIII (A&M). Firstly, because it offers a wide variety of keyboard textures from grand piano to analogue synth and Hammond organ, to different percussive styles (the rock drumming of Alan White and the delicacy of Bill Bruford), the relatively complex mix that pack in everything from bongos to a bass guitar played like a lead guitar plus female vocals. Oh and a church organ from St Giles, Cripplegate, London.
Another reason this record was chosen was because I’ve yet to get around cleaning it at all. More than that, the original owner looked after it carefully. There are no readily apparent clicks and pops here so any hardware cleaner will have a tough job trying to impress.
COMPETENCY & HIGHER
It’s relatively easy for any competent record cleaner to remove easy-to-dislodge bits of gunk that will remove clicks and pops (and there are plenty of incompetent record cleaners out there). That’s to be expected. It’s bit like a football goalkeeper catching an easy save in an overly elaborate manner. It looks great for TV but, if you’re good at your job, if you’re a professional, it should require little actual effort.
For a competent record cleaner or a competent record cleaning system to be elevated from the good to the great, it has to go beyond the simple acts of removing clicks and pops. It has to increase the inherent sound quality from the base floor upwards. It needs to do this by removing caked-on oils hardened from the time the vinyl was born, while sitting on the record press plus baked-on and highly compressed grime, added from years of falling airborne matter and super-compressed dirt from the accumulative actions of the stylus running through the groove itself.
The above will not be removed by a felt pad or even a carbon brush. It’s this difficult to shift material that I want to try to remove in this test, with the RCM.
BRAND LIMITS
To begin, I brought in the best RCM in the world: the Loricraft. There are a range of Loricraft variants out there and they differ slightly from one another but their basic performance remains stable. In my case, I used a PR3. Ageing but still working perfectly. My view of this RCM has been honed over many years and after many reviews of other competing designs over different price points. There’s a host of excellent devices out there but the Loricraft is my ultimate choice.
The reason for bringing in the Loricraft and not something lower in budget terms?
Because if, for any reason, the sound enhancements falter in any way during this test, I didn’t want the RCM itself to be under any suspicion. That is, I didn’t want to hear or even think, “Oh yea the results were not the best there but if you had used RCM X then the sound would have been improved.”
No, I wanted to take the RCM brand/model variable effectively out of the equation for this test and to concentrate upon the base RCM technology. If the sound ever hit a ceiling in terms of improvement while using this RCM, then I wanted to know that the inherent RCM technology itself had limits, not any one particular brand or model type.
Of course, there are plenty of other RCMs out there that I would recommend heartily at a lower price point, don’t get me wrong. I’m not damning them in any way. I just wanted to remove a variable from this test to simplify the final cleaning results.
THE TESTS BEGIN
To begin the tests, I applied a layer of distilled water, mixed with 1% of alcohol to the surface of the vinyl itself. Why such a low number? See the alcohol-based video above for more information on that but basically alcohol is essential in order to properly clean your vinyl grooves. Despite what you might read on the Internet, alcohol doesn’t do the entire job but it does remove what, oils? Something akin to a greasy, oil-based substance lying in your grooves? I personally believe that this ‘oil’ is related to the release agent all vinyl leeches during the pressing plant process. Every vinyl disc I’ve cleaned has benefitted from at least 1% alcohol solution. That’s all you need for a horizontal cleaner.
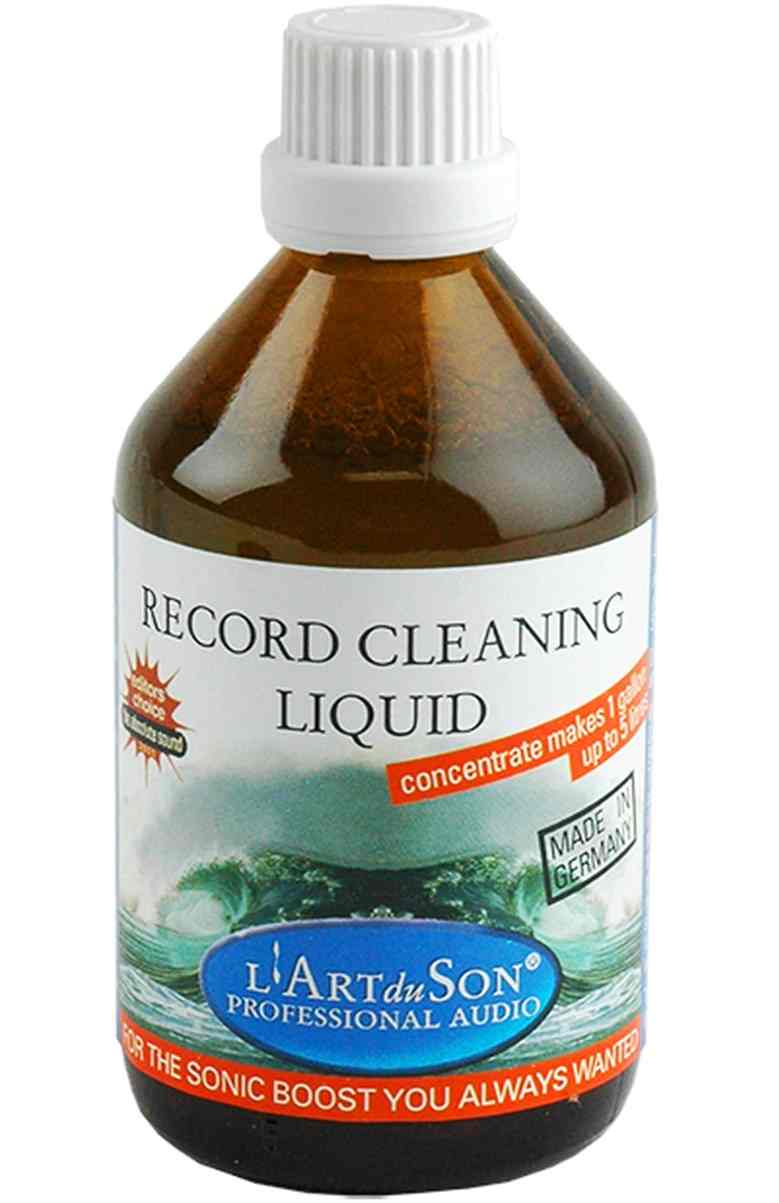
Why did I use alcohol and not an enzyme-based liquid? I’ve tried that but now prefer this method. L’Art du Son used to be my ‘go to’ cleaning liquid. It certainly works and I still recommend it. It remains a fine cleaning fluid and anyone who uses it will hear sonic benefits. That said, I find the simple distilled water/alcohol approach combined (note the emphasis) with my current mechanical cleaning elements (see below) are ultimately more effective, when used with a RCM (or an ultrasonic cleaner for that matter).
I would normally warn against applying any alcohol to the surface of a vinyl record (and I still do in a more concentrated form or, saints preserve us, neat) but the concentration here is very low indeed and it is held within 99% distilled water so the mixture is non-aggressive. More than that, the applied liquid never remains on the surface on the record for no longer than a minute or slightly more. .
RCM: ALCOHOL IN DISTILLED WATER
I applied the liquid evenly over the vinyl surface with the supplied brush, then turned on the platter’s rotation. I then worked in the liquid into the grooves by adding a measure of pressure to the record’s surface. After 30 rotations, I reversed the motion of the Loricraft’s platter and applied the brush again to hopefully dislodge any grime using this well known forward/reverse motion, again for 30 rotations.
I did this once and listened, comparing the sound to the pre-cleaned record. In general terms, the midrange opened up, adding a sense of vitality to the cymbals especially which offered an extra zing when hit or tapped while drum percussion had a snappier and more focused presentation.
The frantic bass line was slightly more isolated from the rest of the mix and, therefore, easier to find by the ear while shy instruments like the rhythm guitar were a little easier to spot too.
I decided to repeat the cleans in this manner, hoping to improve the sound quality with each clean until I could hear no further improvement or the sonic improvements were lessening per clean. That is, each clean started triggering diminishing returns.
I ended up repeating the sequence five times for a grand total of six cleans.
What I ended up with here was basically the same sonic benefits, just better and more of it. Hence, the struck and tapped cymbals offered a larger and more impressive tonal response, drums were responsive and full of energy while the bass offered greater focus. All of the instruments lay across a larger soundstage, more in height than in breadth but there was more air here.
RCM: RINSE CYCLE
Before I left this part of the cleaning process, I rinsed the LP with pure distilled water to remove any lingering alcoholic residue.
One note, be sure to also clean the spreading brush before you enter rinse mode because it may have alcoholic residue within it.
After the rinse, the sonics improved again sounding, not surprisingly, ‘clean’. Fresh and scrubbed, enhancing the air and space around the mids. In terms of the cleaning cycle, always finish with a rinse for safety’s sake (you don’t want to leave a chance of residue on your vinyl, long term contact of third-party chemicals, any chemicals, not matter what they might be, is nothing you want to leave to chance) but also to further enhance the overall sound.
The rinse cycle is actually worth it on sound terms alone.
One item of note, after this cleaning cycle I did notice an improvement of the stereo image. It appeared to be more centralised now. Fixed to the centre which hints that there may have been a slight build up on one side of the groove, kicking the stereo image out of place slightly.
RCM: PLUS SURFACTANT
After hearing this improvement, many users might decide to stop there but I wanted to see if I could wring more sonic improvements so I stopped using the distilled water/alcohol mix and, instead, reached for my surfactant and applied that to the vinyl surface instead.
For those who have read Part 1 of this cleaning guide, I did not add Glycol to the surfactant at this time because the record was lying flat on the RCM. I only add Glycol to the surfactant then the record is being cleaned vertically. The Glycol serves to keep the surfactant in place within the grooves, fighting gravity. Because the record was flat, that requirement was not needed here.
So to recap. I have cleaned this Rick Wakeman record with a distilled water/alcohol combo over six cycles. Then I rinsed and dried that same record to remove any residue.
Now I applied surfactant to the surface to see if I could increase the sound quality further.
SURFACTANT PREP
With the vinyl flat on the RCM platter, I used a Kabuki brush to evenly distribute the surfactant liquid. Then I moved my fingers down the bristles to stiffen the bristle tips and pressed that into the grooves to push the surfactant into the grooves. I moved the brush in a spiral motion from the outer end towards the inner label and then reversed the spiral back to the outer edge (See DISCO ANTISTAT & SURFACTANT – STEP BY STEP above for more information on the how to prepare your vinyl with surfactant before cleaning). Then I vacuumed the liquid with the RCM.
Upon listening, the principle change was a further opening up of the mids with an increase of the soundstage in terms of breadth and height. The extra space allowed more detail to roam within while the treble had a new found delicacy. Bass meanwhile enhanced its precision.
I also heard the beginnings of a maturity, a tonal realism that I hadn’t heard before. It was just a beginning so I wondered if further treatments would enhance that sound.
Like before, I proceeded to add a further five cycles of surfactant to see how far I could push the sound improvements.
And the result? Well, this was more like it! The maturity I had heard earlier – the first sprinklings of promised maturity – flowered in all their glory now. There was a real tonal realism present now with smooth treble response giving cymbal hits an elegant shimmer, drum hits a dead-skin organs feel and the analogue synths a welcome textural grit. The latter often growled at me now instead of buzzed.
RCM: AND RINSE (AGAIN)
Again, I would recommend a rinse cycle after the surfactant cycle to remove any possible surfactant residue. Doing so, once more, added a certain fresh sound to the sonics afterwards giving the upper mids extra zip and mobility.
So far so good.
DISCO & LORICRAFT?
There was one variation that I had not tried yet, though. I now needed to check was to see if adding a Disco Antistat (and thus an abrasive element) into the cleaning chain, as seen in Part 1 of this Guide, would aid sonics further.
There were two extra areas to investigate here with the Disco Antistat as part of the equation.
Firstly, I could clean a vinyl record in the Disco Antistat, lift it out, transfer the record to the Loricraft and use that RCM to vacuum the liquid from the grooves.
The RCM would provide a much more effective liquid removal job than leaving a Disco-clean record drying naturally in its own plastic drying rack. Doing the latter, you can just imagine any last dregs of grime sitting, suspended in any liquid on the vinyl surface and also in the grooves themselves, slowly sinking back into the record grooves as that liquid evaporated, lowering the overall effectiveness of the final manual Disco clean.
So the Loricraft, acting only as a vacuum machine, would prevent suspended dirt re-entering the grooves. A valuable job.
The other variable I wanted to check was this. Is there any point in cleaning a record in the Disco Antistat and then cleaning it again on the Loricraft? So the Disco clean would be a sort of pre-wash, using its fixed, built-in goat-hair brushes as an abrasive aid then, after pre-cleaning the record in a Disco Antistat (as seen in Part 1 of this Guide), doing a basic RCM clean on the Loricraft again, from scratch, right after the Disco clean?
The idea being that the two systems would apply different types of attrition, they would also apply different cleaning forces onto the groove itself. Would the combination be an even better cleaning system? One that would be complimentary, in fact?
I wondered, did the Disco Antistat’s valuable attritional abilities possibly only loosen some dirt? Dirt that further cleaning but in a different way, a different manner, along with repeated vacuuming, would finally remove?
I couldn’t wholly rest and remove the possibility from my fevered brain (and it was becoming fevered by now, let me tell you) until I’d done the tests. So that’s what I did.
To repeat, I used the same Rick Wakeman disc. A disc that had already been cleaned in a non abrasive, rather gentle manner. So any audio improvements from this point onwards would be hard won.
DISCO ANTISTAT CLEAN & RCM DRY
Hence, the Disco Antistat clean/RCM dry system would have to bring something wholly new to the table if it wanted to improve sound still further.
So I cleaned the record again by preparing it with surfactant (plus Glycol this time because the clean would be a vertical one) inserted it into in the Disco Antistat, using six rotations to the left and then to the right and under the same set of variables as those seen in Part 1, above. I then lifted the record out of the Disco.
At this point, I wanted the Loricract to dry it. Then I wanted to see it there was any sonic improvements after this single cycle.
But there was an issue to solve first.
WET LORICRAFT PLATTER?
If I’m going to use this system, there is a cleaning elephant in the room here. Once I clean the record in the Disco Antistat, then lift the record out of the same, the record remains wet. So that means when it lands on the platter of the Loricraft platter, the underside of the record will soak that platter.
How to solve this little matter?
Well, I mused upon this one, stroked the proverbial chin and couldn’t find a way out of that pickle. I was afraid of adding anything underneath the record to protect the platter for fear of recontamination and I was also wary of adding anything to the Loricraft’s platter as a separate support in case that would end up raising the record up from the platter, adding height. This, I decided would reduce the vacuuming effectiveness of the RCM because everything would now be out of kilter and sitting at a funny angle.
LORICRAFT PLATTER PREP
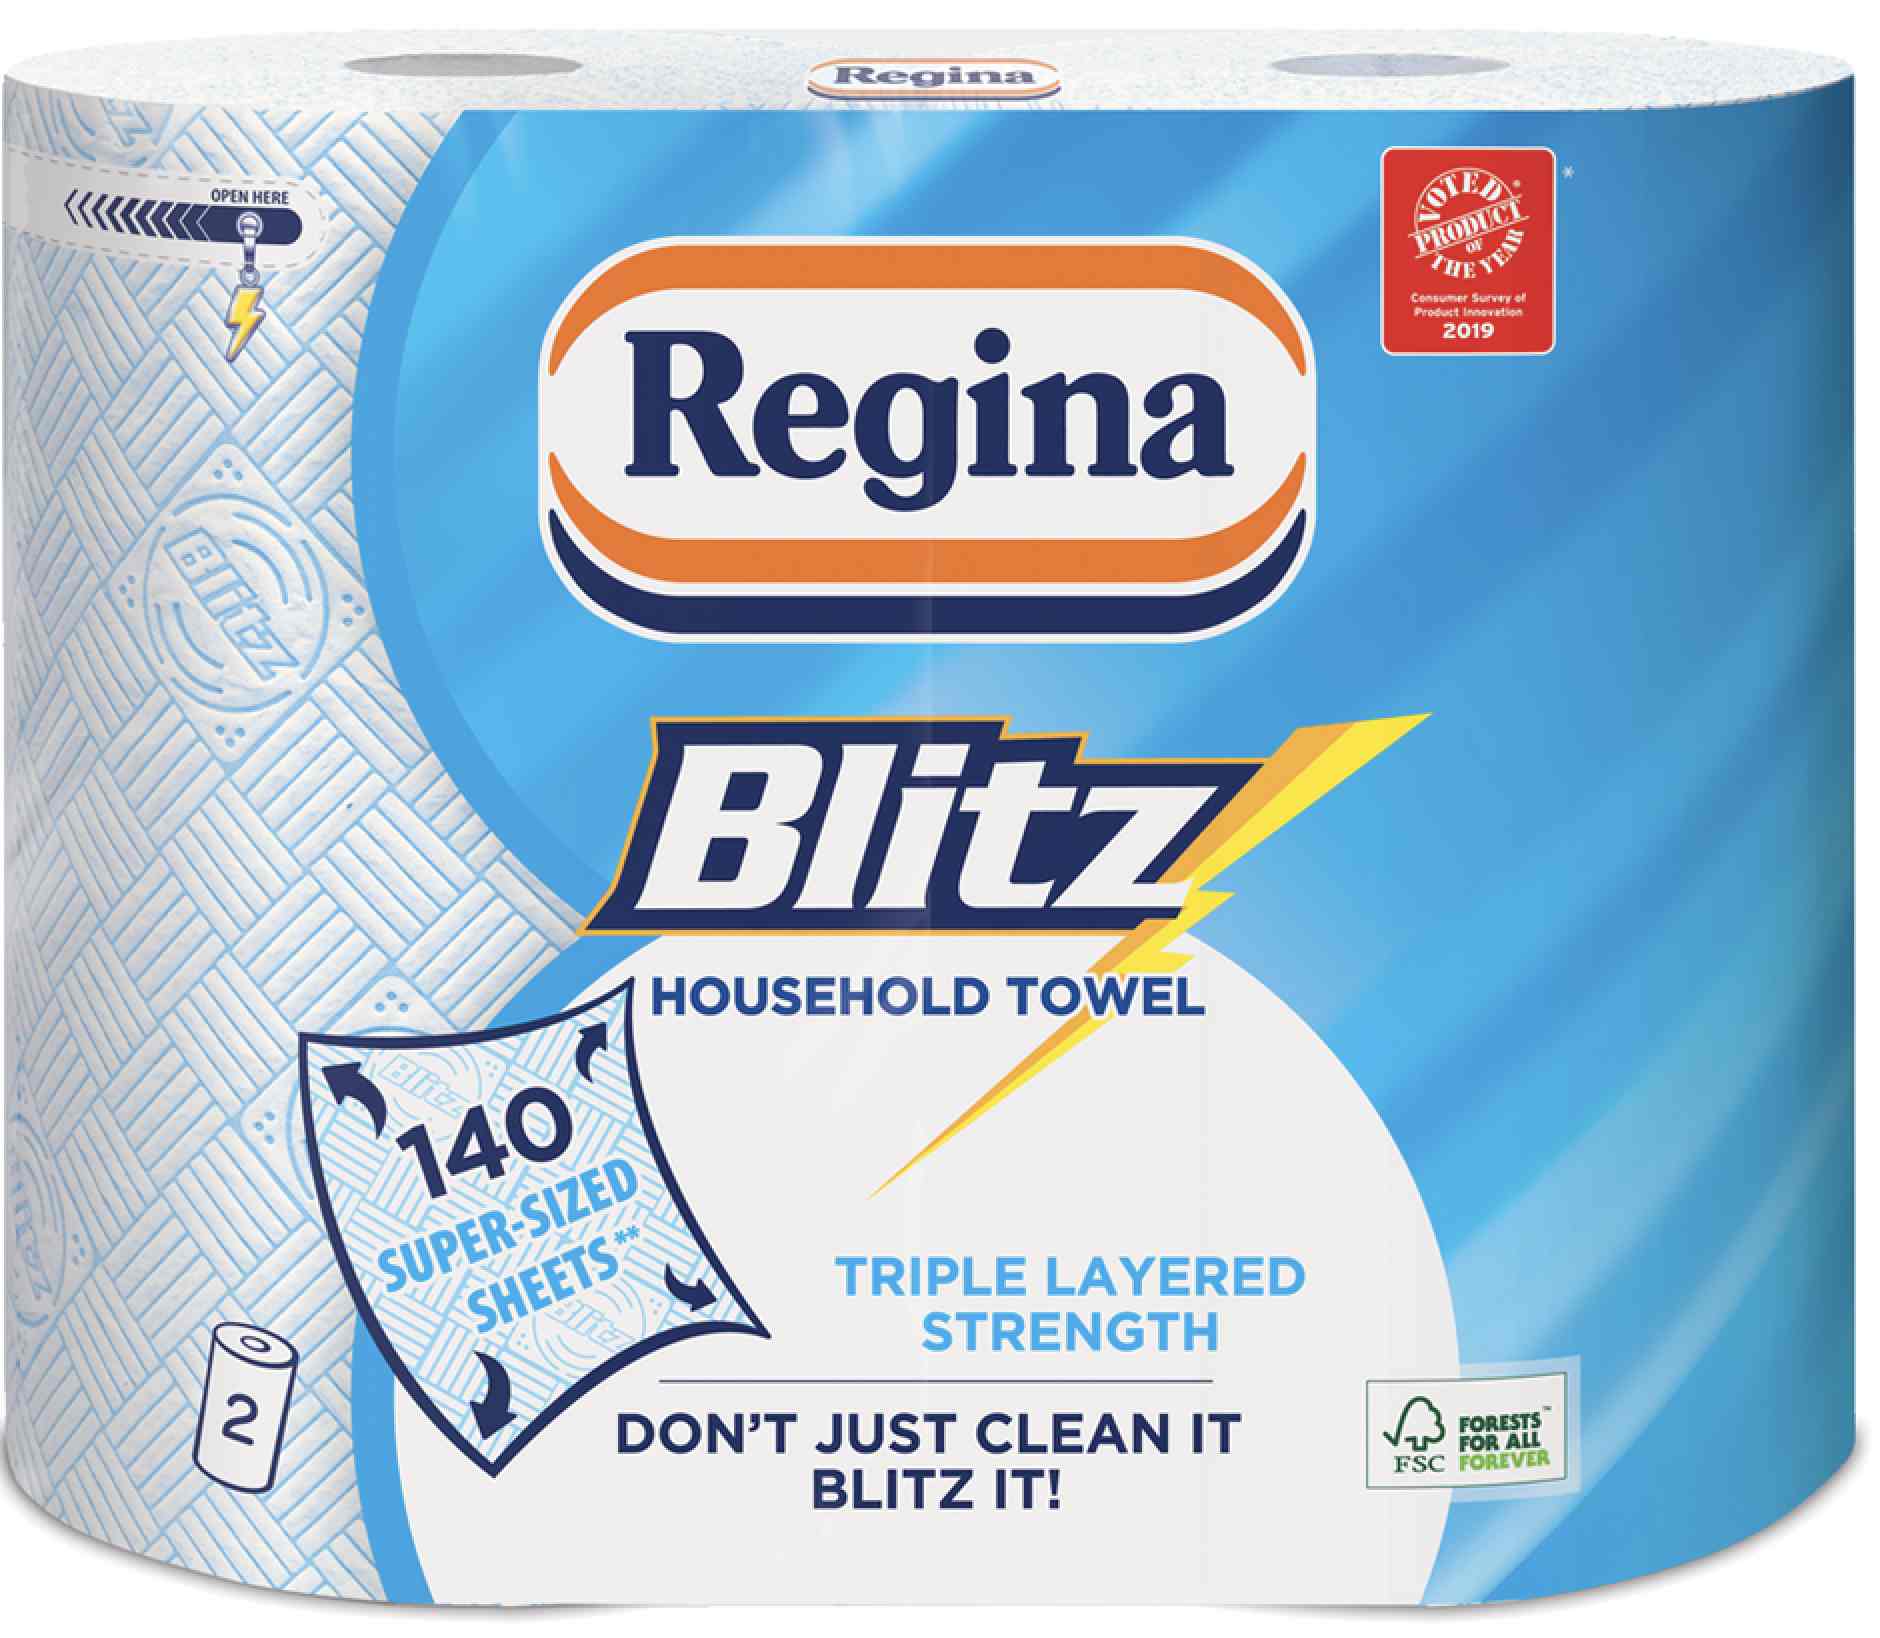
What I decided upon was this. I decided to prepare the Loricraft first. I scrupulously cleaned the Loricraft’s platter using an application of distilled water and then an absorbent paper towel. I chose a brand called Blitz which is relatively expensive as paper towels go but doesn’t flake or create it’s own dust and is very absorbent, nor does it break up when it holds liquid.
So why not just lay the Blitz towel on the Loricraft platter and lay the record on the towel? Wouldn’t that aid drying and speed up the process because I wouldn’t have to scrub clean/dry the platter?
That is an option, yes but I wanted any dirt suspended in the liquid sitting on the grooves but – even more importantly – in the grooves themselves to be sucked up by the Loricraft. I didn’t want partial drying by the Blitz to force the dirt to fall onto the vinyl again, especially if that meant falling back into the groove.
That is, with a piece of Blitz paper towel underneath the vinyl, the liquid might be sucked into the paper towel but there’s no guarantee that any suspended grime would follow it. The grime might just resettle back into the groove.
I was also wary of allowing the Blitz to come into direct contact with the record. There is a possibility that it might deposit extra micro dust into the grooves. Especially because the paper towel would be under weighted compression underneath the record itself. That is, the Blitz will be physically pressed upon by the vinyl disc and might ‘inject’ dust into the grooves once compressed by the vinyl.
Used only as a paper towel to do a platter-drying job, I felt that the same risks didn’t apply or their potential issues were vastly reduced at any rate. Not a perfect solution perhaps but a compromise I could live with.
If you have alternative ideas, then I’ll all ears on that score.
Hence, once the record was cleaned, I placed that wet, Disco-cleaned record on the Loricraft platter. I then vacuum-dried the upper side of the record, then lifted up the record, popped it in the Disco’s plastic drying rack for a moment, wiped the Loricraft platter with distilled water applied direct by a clean pipette and distributed by a clean brush (I bought in extra spares specifically for the job), dried it with a paper towel, flipped the record over, placed the lower, dry side of the record on the Loricraft’s platter and vacuum-dried the now upper, wet side of the record.
Phew! A right old carry on, I’m sure you’ll agree. Actually, once you get into a rhythm, the process can be speeded up.
Nevertheless, I wanted to see if these extra steps were worth the effort. If the improvement was only minimal then I would question the extra effort and the extra cleaning steps.
Once the record was dry, I did a quick listen to the Disco Clean/RCM Dry record to see if there were any sonic enhancements.
SONIC RESULTS?
The difference was quite dramatic and well worth the effort. Comparing before and after? The ‘before’ sonic state now sounded quite dull and lacking in definition. The ‘after’ state provided much more air and space in the soundstage, as if the curtains had been pulled back to let the sunshine in and the windows opened to let in fresh air into a musty room. The entire track sounded lively and clean (more so after I then followed up with a rinse cycle in the Disco Antistat (with a further vacuum via the Loricraft). Percussion had a real snap during drum strikes but also an organic, natural effect. The Hammond organ no longer has the ‘closed in’, stuffy sound while certain treble-heavy elements of the synths and piano no longer threatened to sound clinical.
As I did in Part 1 of this series, I then repeated the cleaning cycles. Each cycle being: adding surfactant to the disc surface, applying a kabuki brush to secure the same, rotating the disc in the Disco Antistat bath for an abrasive cleaning, then vacuuming in the Loricraft. And doing that six times. Then repeating without adding the surfactant for the final rinse.
The sonic effects of all of that? A much more mature sound. One that prompted a whole heap of grown-up words. Elegance sprang to mind. Fragility. There was a real sophistication in the presentation now. Treble was delicate, upper mids were detailed but in a naturalistic, almost gentle fashion. Bass didn’t just thump now, it had a well-developed, almost complex delivery.
CONCLUSION PT.1
So what did all of the above tell us? That a Record Cleaning Machine isn’t all it’s cracked up to be. It’s not enough to use a RCM on its own and expect to properly clean your vinyl. Not completely. Not absolutely.
A quick caveat because I can just feel that outrage building at the back row there. A RCM still does a great job on its own. Any machine cleaner does a great job on its own whether you’re talking about a Disco Antistat or a Degritter ultrasonic top-end machine. But no machine, a manual ‘machine’, an ultrasonic cleaner or, for that matter, a RCM can do the job all of their own. They all need to be part of a team. A toolkit. That is, if you want every nook and cranny cleaned and polished.
And if you’ve ever seen a jagged vinyl groove under a microscope, there are plenty of potential nooks and crannies in there.
Every machine technology has its plus and minus points. None are perfect. Every one needs a support system to do an effective job. So I’m not pointing a finger here. What I’m saying is that – in true Sesame Street tradition – you ain’t going nowhere unless you have teamwork.
So a RCM is effective. It does a job. But it doesn’t do all of the job. Why in this specific case? Because the abrasive element of the cleaning action just isn’t present on a RCM machine. That is, for any RCM machine that I’m aware of, for sale, on the market. Any RCM on the market right now will improve sound after use and will do a great job but it remains half a job. You need an abrasive element to finish and the Disco Antistat provides that essential abrasion.
LET’S PRESS RESET
So look, the cleaning tests have been from one direction thus far. By that, I mean that the cleaning began with the Rick Wakeman LP and my RCM. We examined a set of variables on that RCM, thoroughly cleaned and messed about with a single vinyl disc and then we finished with another clean via the Disco Antistat.
There is one variable we haven’t yet looked at closely and its this. When cleaning from scratch, does the RCM actually matter? Can you get away with not buying one? Is a RCM important? More than that, is a RCM actually necessary at all? Could you get away with not buying a RCM and making do with a Disco Antistat + Surfactant only?
1: DISCO ANTISTAT FIRST – FRESH VINYL
So I did another series of tests and I will cut to the chase here on this one to avoid repeating myself.
Basically, I grabbed another vinyl disc. A ‘dirty’, uncleaned disc, straight from the shelf.
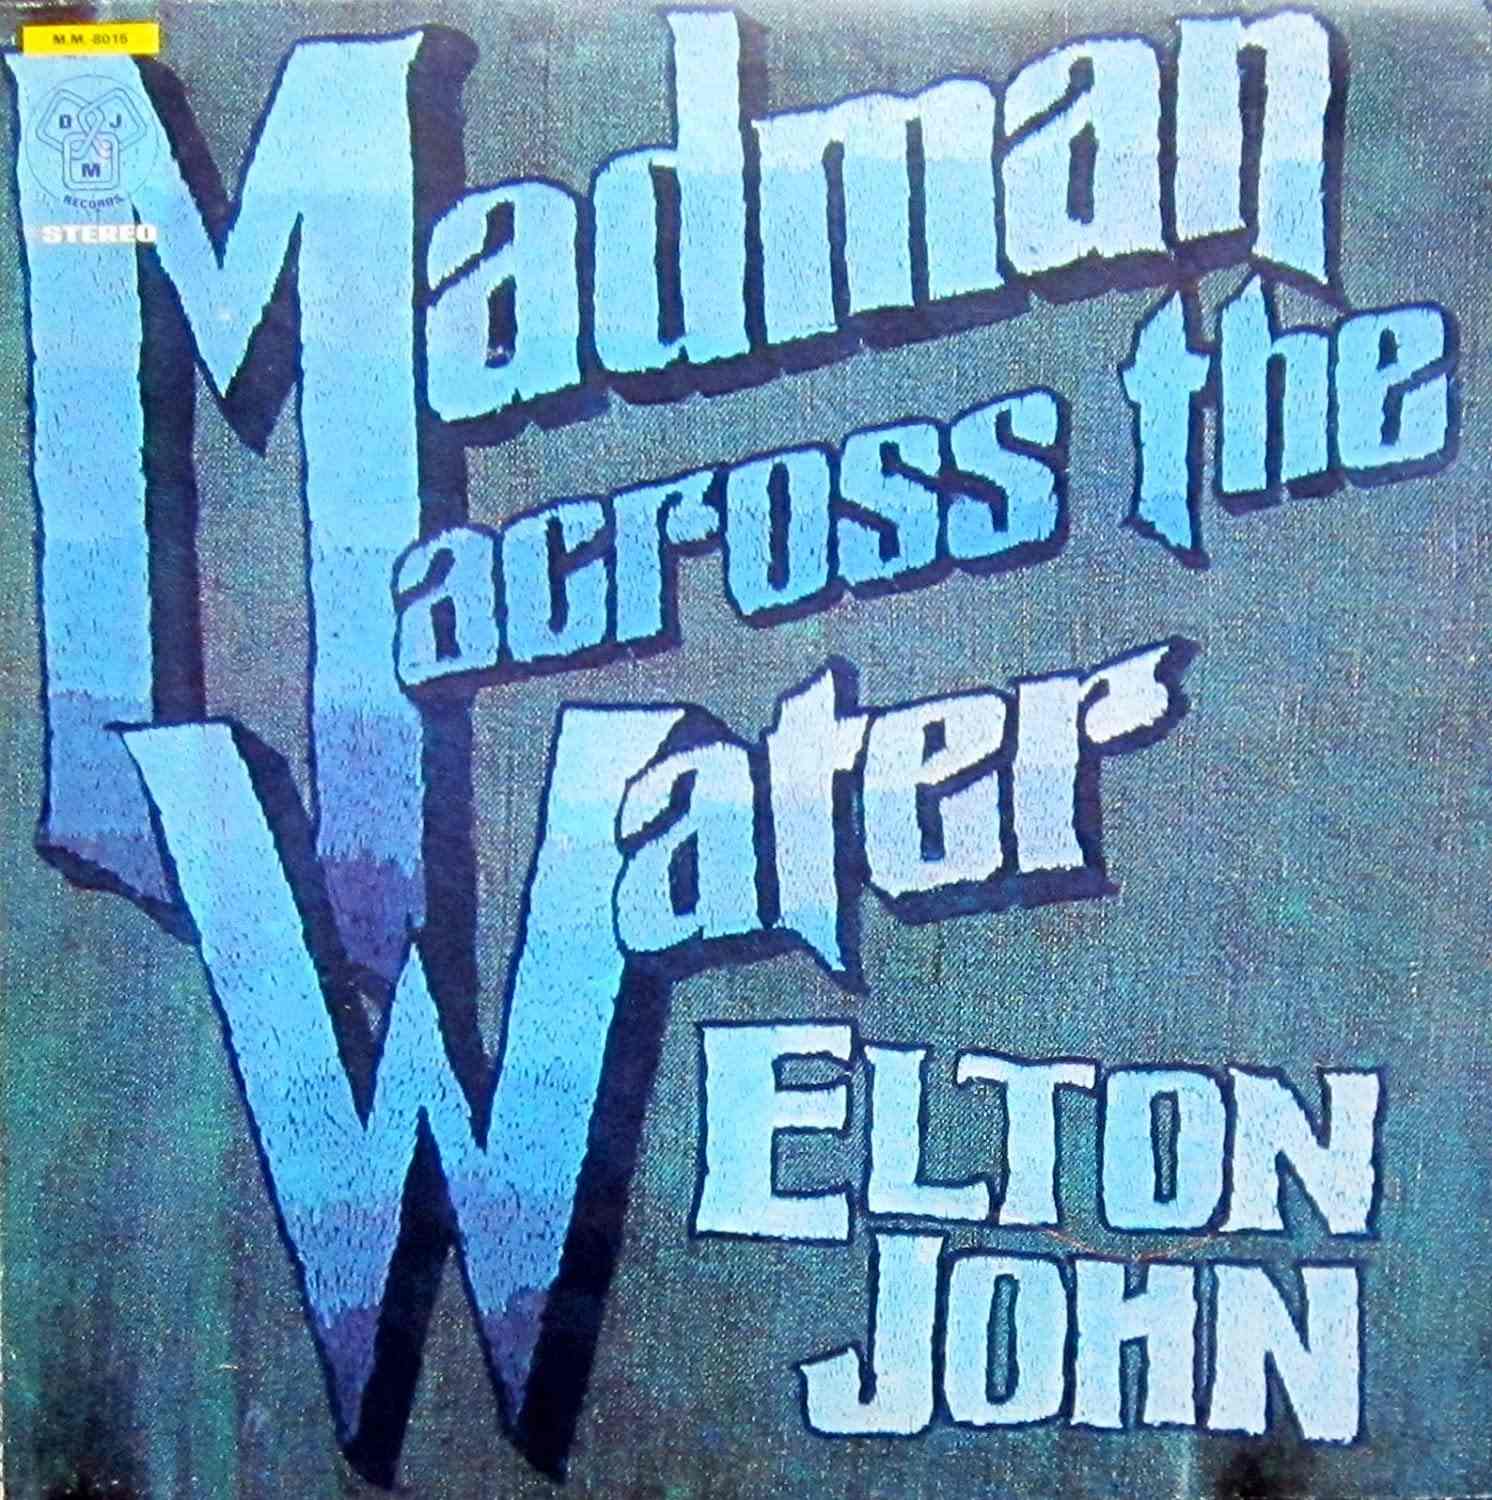
I choose Elton John’s Madman Across the Water. Then I cleaned the disc with a Disco Antistat, using surfactant I then maxed out the sonic improvements over six complete cycles and ended that with a rinse cycle. I’ve found that this is the point when sonic improvements are less noticeable. You may hear minor enhancements from a seventh and succeeding cycles but nothing too significant. Therefore, something else would need to happen to this disc to lift it to a new sonic level.
As this was a Disco Antistat-priority clean, after each and every clean, I let the disc dry naturally. I did not dry the disc with my Loricraft.
Then I listened to the results and made notes.
2: DISCO CLEAN AND LORICRACT DRY
After that I put the disc through the Disco Antistat with surfactant another six times plus rinse. This time though, after each and every cycle, I dried the disc with my Loricraft. So the only difference between the two was the nature of the drying.
Then I listened to see if the RCM made a difference in terms of its vacuuming capabilities only.
Now I had a bad feeling about the results of this because a RCM brings a vacuum experience and not much else. The brush you get with a RCM is there to distribute liquid over the vinyl surface. It may aid in the removal of basic dust and easily removable grime but the vacuuming is where a RCM is at. That’s its principle weapon.
After the hardcore abrasion from a Disco Antistat though, I wondered if RCM vacuuming had anything practical to offer, in aural terms. Especially as the Disco Antistat’s performance was now enhanced with the aid of that added surfactant treatment.
And did it?
Well, you could have knocked me down with a Pixall roller because yep, RCM vacuuming did have an effect. A large effect. I must say, I was surprised. Very surprised.
Cleaning this vinyl record with a surfactant-loaded Disco Antistat offered a tremendous sonic improvement. I would say that this combination is the best value vinyl cleaner on the market right now.
Instead of allowing a natural dry in the Disco Antistat drying rack, allowing a RCM to immediately vacuum the grooves and dry your disc not only speeds up the cleaning process, allowing you to clean more discs per hour because you don’t have to wait for your vinyl to dry, more than that, the RCM vacuuming provides an additional, fundamental improvement in sound. Why?
When you clean a vinyl disc via the surfactant/Disco Antistat cleaner, it removes a host of baked on grime which you can easily hear in terms of improved sonics. The before/after sound differences are plain to hear.
More than that, I reckon the process also loosens other grime which never falls away but hangs on for grim death. Drying naturally will allow this stuff to resettle. The RCM vacuum process, I think, finishes the job by pulling that loose-fitting grime away from the groove. Finishing the job that the Disco Antistat has started, in effect. Again, just my pet theory but the sonic results I heard would fit that theory.
As for the sound itself? What the RCM removes in sonic terms is a sort of fake warmth from the grooves. The effect is heard right across the board, across all frequencies. The sound becomes much more balanced and neutral. Bass loses a dulling effect. There’s more interesting things going on with each drum strike, there’s more texture in there instead of a straight single dull thump. The mids add a real sense of clarity, there’s much more precision from the piano and focus around the electric guitar plus reverb around a bank of strings heard on the lead Elton John track, Tiny Dancer.
As for treble? Before the RCM vacuum, cymbal taps were there sure. But you had to consciously look for them. They never leapt from the mix. After the vacuum, these same taps not only moved forward in the mix but there was more accuracy and fragility from this instrument.
THE FINAL, RECOMMENDED, RCM-BASED CLEANING PROCESS
In super-abbreviated form (see above for more detail on each of the following points/cycles):
1: Grab your dirty record.
2: Apply surfactant to the surface.
3: Do a pre-wash clean in a Disco Antistat
4: Do a rinse cycle.
5: Transfer the wet record to your RCM.
6: Vacuum until dry.
7: Sorted.
THE HOLY TRINITY: CONCLUSION PT.2
This particular guide focuses on the Record Cleaning Machine – the RCM. It is aimed at those who have or are thinking of buying such a machine. What my tests prove, at least to me, is that a RCM is very good at what it does but you won’t properly clean your vinyl if that’s your only tool. You need to give your vinyl a pre-wash with a surfactant-loaded Disco Antistat. The abrasive properties of the Disco not only does a unique cleaning job on its own but, when the Disco Antistat reaches its own cleaning limit, it actually helps the RCM to reach a higher level of efficiency. A much higher level than you’d hear if the Disco Antistat was out of the picture.
To me, there’s a perfect synchronicity going on here. The Disco Antistat allows the RCM to perform way above its own performance envelope. On the other hand, the RCM allows the Disco Antistat to finish the job. A job that the Disco Antistat can’t fully finish on its own. They both assist each other.
But it’s that way around. I found the performance level lower if the RCM was used first and then the Disco Antistat + Surfactant was brought into play after that. I found that you really need to hit the vinyl with abrasion first. That removes grime but then appears to loosen much more. You need a RCM to step in at that point to remove that loosened grime. That process doesn’t seem to work as well in reverse.
The addition of the surfactant is the secret ingredient in all of this. It’s the catalyst, the enabler in the process. It opens doors. It allows both machines to work at peak efficiency. Without the surfactant, both machines work fine but only provide 50% of their possibly capability.
Again, don’t think silver bullet when you think of vinyl cleaning. Don’t think of the perfect vinyl cleaning machine or single process. Cleaning vinyl is a combo action. Properly cleaning a vinyl disc demands varied actions and processes. If you want to properly clean your vinyl you need to think team work.
That’s it for Part 2 of this (rather protracted) Vinyl Cleaning Guide. Next up? Ultrasonic cleaning which will finish this trilogy.
Right, so I’ll see you in 2030 then.
Only joking.
Well…
PHOTO CREDITS
Image by Clovis Cheminot from Pixabay
Image by Matthias Groeneveld from Pixabay
Image by Bruno /Germany from Pixabay
Image by javier dumont from Pixabay
Image by Miguel Á. Padriñán from Pixabay
Image by Rudy and Peter Skitterians from Pixabay
Image by Nathan Copley from Pixabay
Image by StockSnap from Pixabay
Image by Public Co from Pixabay
Image by Hands off my tags! Michael Gaida from Pixabay
Image by Webster2703 from Pixabay
Image by Pexels from Pixabay
Image by JamesDeMers from Pixabay
Photo by Hulki Okan Tabak on Unsplash
Photo by Grianghraf on Unsplash
www.freepik.com/vectors/archaeologist by pch.vector
Photo by Alina Vilchenko: https://www.pexels.com/photo/vinyl-disc-on-top-of-shelf-2117239/
Photo by Miguel Á. Padriñán: https://www.pexels.com/photo/close-up-photo-of-vinyl-disc-3391930/
Photo by Drigo Diniz: https://www.pexels.com/photo/vinyl-record-in-vinyl-player-on-table-1958841/
Photo by Tima Miroshnichenko: https://www.pexels.com/photo/close-up-photo-of-stacked-vinyl-records-5118442
Photo by Matthias Groeneveld: https://www.pexels.com/photo/black-and-gold-vinyl-record-player-3916058/
Photo by Thought Catalog: https://www.pexels.com/photo/turntable-near-a-person-s-feet-2228577/
Photo by Nana Lapushkina: https://www.pexels.com/photo/grayscale-photo-of-vinyl-record-player-12171047/






Hi Paul,
Thank you so much for your efforts. I’ve been reading up on this stuff lately. After all these years, I finally got around to buying a Disco-stat and will be cleaning my records for the first time (I was a CD guy mainly in my teens and twenties, now back to vinyl again)!
Two questions. First the easy one. Regarding the Kabuki-brush, I live in Japan so I guess my wife could quite easily point me to finding a great quality one at a cheap price. However, I was wondering if a record brush, like the Ortofon one I have for getting dust out of grooves would be just as good, or better? Given they are designed to be rigid and cover the disc’s radius whilst getting deep into the grooves.
Second, forgive my misunderstanding but could you explain step 8 again please.
I’m not sure how many vials need to have glycol in them. Should there be two vials – one with glycol mixed with the surfactant mix and one with glycol mixed by itself? Is that the simple answer?
Is the second glycol-only vial used to put glycol into the surfactant mix?
What confused me was where you said “You should have two vial‚Äôs worth of Glycol in your surfactant glass bottle. Fill the rest of the glass bottle with the diluted surfactant from you spring water bottle. …So you should now have two glasses bottles. One is filled only with pure Glycol. The second is now filled with a combo of diluted surfactant and two vials of Glycol.”
– how can you have two vials worth of glycol AND some diluted surfactant in ONE vial? Have I misread something?
Looking forward to your updates and response. Cheers!
Sorry for the delay in replying, Jake. This one needed a bit of time and time is something I’m lacking right now. Nevertheless, I’ve just found some down the back of the sofa so here I am.
The Kabuki is preferred because you don’t want to scoop out, scrub and clean the grooves when dealing with surfactant, you want to do the opposite. You want to actually push the surfactant deep into the grooves. Compact it, if you will. Hence, the Kabuki is the better tool.
For Step 8? I may need to rewrite that bit, it could be clearer.
What I meant was, grab your glass bottle full of Glycol. Then put the pipette/glass vial into the Glycol liquid. Fill the vial. When you do this, you will probably fill half the glass vial itself. That’s about the average. Take the vial full of Glycol, move over to the surfactant glass bottle and squeeze that into the surfactant bottle. Repeat. So you will have two lots – two vials – of Glycol in that surfactant bottle. Then you fill the surfactant bottle with diluted surfactant.
The end result? You will have a combo of diluted surfactant and two vials of Glycol in that one glass bottle. You will also have another glass bottle filled with neat Glycol.
So one bottle of Glycol. Then a second bottle of diluted surfactant & two vial’s worth of Glycol.
Then you shake the latter glass bottle like a banshee to mix the Glycol and diluted surfactant together. Then you’re good to go.
Give me a shout it you need me to explain further.
Hi Paul,
Thank you so much for the reply. I know you’re a busy man, with all that manic record cleaning and all.
I know understand your glycol in a pipette step a little clearer. I misunderstood the word “vial”, thinking it was the whole “vial” glass, not the small tube-like “vial” used to suck up and dispense liquid. Perhaps I didn’t learn the proper use for that term in school.
I hope you’re well and enjoying life. Looking forward to more reviews.
All the best,
Jake
Thanks Jake – no worries. It just teaches to clarify when I write. So thanks for pointing that out.
Hi Paul, me again üòä.
I Now have a Project RCM – an expensive but effective vacuum cleaner I just learned üòÖ.
I think the additional effectiveness of the antistat step is due to surfactant exposure time mechanical agitation/abrasion by brushes and also the water/IPA bath; this effectively takes the surfactant dirt off of the surface into the solution- that volume of cleaning agent is missing in a single RCM process.
The water/IPA takes off the surfactant dirt, , the RCM then actively takes the water/IPA off the surface with all potential residues instead of letting the volatiles evaporate leaving the residual traces of dirt.
Rather thorough process! And here I was hoping to find a FASTER way than the antistat ‚Ķ (saving on drying time – I know üòé).
Thanks Paul, looking forward to next posts!
Congrats on the RCM purchase, Erwin. And thanks for your comments. Always much appreciated.
Since you seem to have tested nearly every cleaning machine out there I wanted to run this by you first before having to put a lot of extra time and research into this.
What I need is removal of ticks/pops (non structural degradation, i.e. dirt, crap, grime) from vinyl disks so that my digital restoration processes have way less to have to remove sonically to make noise free archival copies of the vinyl.
I do not have/want to be spending $1000 for a cleaner machine – my range is more like in the 2-300$ (maybe 500$ at the max but no more). The anti-stat cleaners are more my speed price wise but I would like to get some kind of machine to more quickly and efficiently extract/expel the cleaning fluid/dirt from the record after the tergi-kleen bath. I do not want to be buying any snake-oil products as a lot of the stuff I have seen thus far would seem to fit that category.
Question; What is the best after-bath liquid/surfactant/dirt removal/dryer/vacuumer machine for the buck in my price range? Or is there even such a beast?
thanks in advance
Grab a Disco Antistat, get yourself the tools in this Guide, follow it through and you should be fine: https://theaudiophileman.com/vinyl-cleaning-guide-part-1-manual-cleaning/
So I take it there is no decent final vacuum/cleaner machine to had for the price I am willing to pay?
Of course but I thought cash was tight. If you want to go for a RCM, take a look at the Pro-Ject vacuum cleaners. Still read the Guides though but in this case check out Pt.2 for RCMs.
The Pro-Ject VC-E seems in the ballpark price wise however I can’t really find reviews on it other than the typical user feedback on amazon, which are usually rather sketchy. ARE these things worth the price of admission? The prices I have found on the VC-E is $399-$449. Sonically, are they really worth $449?
That’s up to you, in bottom line terms. It depends on your expectations, if you are ok with the cleaning process and the hassle, if you think the results are truly worth it, etc. Ask your dealer about a home demo – much is now more common and occurrence since Covid. If they refuse, try a dealer with a brian. Try it out, give it time and see for yourself. I think it’s worth it, sure but that’s me.
Personally, I use a Disco Antistat MK2 with Paul Rigby’s recommended cleaning fluid( 7% Isopropylene/water mix bath ),having first used a surfactant( Ilford Ilfotol @ 1:200 dilution ), as it is the cheapest option that works well.
As a matter of interest,all of my used lp suppliers use either the Project RCM or the Degritter RCM with the Project supplied liquid. However,while the two RCM’s work ok they both leave a lot of debris in the grooves, which collects on the turntable needle when playing,after the cleaning. So, in all cases, I have to use my Disco Antistat MK2 with Paul’s fluids before I listen to them on my TT to get rid of the debris and render them all playable.
The universal problem with any cleaning system for lp’s is the drying cycle,which takes a long time,depending on the ambient temperature in the room ,and also keeping the dust away from the wet records. The ambient temp should be a minimum of 20 degrees C and a maximum of 25 degrees C in my experience. This gives the optimum drying conditions,so that by the time I have filled my Disco Antistat Mk2 drying rack with lp no 8( double- spaced,or 15 single- spaced ),the first ones are already dry. Double -spaced is best as it allows the air to circulate better, making drying times of around an hour reasonable. In the Winter months, in my conservatory where I dry my records, the drying times rise to around 5 hours per lp,without additional heating( there is one small radiator in it,which is on when the central heating is on ). I do have portable heaters which I could use in the Winter to help the ambient drying temp, but they tend to stir-up the dust a lot more,so I do not use them. Natural air-drying is best, unless you can afford the all-in-one machines that do it all for you and can clean /dry in around 30-60 minutes. Currently, these cost ¬£2,850 in the UK,or more depending on the make/model.However,if you have a huge collection of lp’s ( thousands), then it would make sense to buy one of these machines and use it,in my opinion.
A few final ?’s… the Kabuki Brush – a link to a proper one available in U.S. And the DISCO ANITSTAT MKII a link to one that is available in U.S..
thanks in advance
I would search your local Amazon for both. The Duisco might be available from third party retailers too on Amazon. There’s a host of Kabukis out there. Which one you choose depends on your budget. Spend a bit on a decent one to prevent shedding hairs – ¬£30 or so? Bit less maybe?
also – what in ratio terms, is the mix of glycol to surfactant to distilled water? It’s unclear in the guide and I want to be able to recreate 100mL vials of this solution easily and quickly.
TIA
I use 50ml glass bottles with pipettes filled with diluted surfactant and about 1.5ml of glycol per bottle full.
If it can help, after reverse-engineering Paul’s way of doing it with pipettes and many tests, I came up with this recipe that works like a charm.
After applying the solution on the record, I can almost see the solution being sucked into the record’s grooves.
The wetting solution recipe I use is:
500ml distilled water
10ml glycol
8 drops Tergikleen
Have you released Part 3 of this for ultrasonics yet? I have been looking but can’t seem to find it.
I have a Degritter Mark 2 on it’s way to me and would be keen to see your guide.
Not yet Ian – while you’re waiting, if you have any queries, let me know.
Thanks Paul
Dear Paul,
I cane across on the internet an ultrasonic Disco Antistat.
Did you test one ?
It uses abrasion and (46 KHz) ultrasonic.
I did request a review sample from the UK distributors, Tonar. I sat down with them at a HiFi show and discussed it. They were vey nice, very encouraging. And nothing turned up 🙂 So I need to work on that.
Hi Paul,
Would following be a viable method for using the RCM?
1. First of all – and very important – can you add surfactant (like Tergikleen) to the distilled water/alcohol cleaning liquid?
2. If yes, I would apply that to the record laying on the RCM with the Abuki brush
3. Switch the rotation of the platter and do the abrasion part with a wood goat brush in one hand and a brush with more/finer hairs in the other. Is this sufficient when it comes to abrasion (iso using the Knosti, which I think has the same goat hair brush)?
4. Hoover of the liquid with the RCM
5. Apply distilled water to record surface with a different brush for rinsing possible cleaning liquid residues
6. Hoover of the distilled water
7. Repeat 1-6 for the other side of the record
Am I missing out on something with this process?
Bst regards,
Frank
Hi Paul,
I have question regarding the use of propylene glycol to vinyl.
According to the PVC chemical compatibility chart, glycol receives a grade C1-Fair:
C = Fair, Moderate Effect, not recommended for continuous use. Softening, loss of strength, or swelling may occur.
1. Satisfactory to 22°C (with a RCM it will easy exceed these temperatures).
What are your thoughts on using glycol on heavy rotations (as you do five or more cycles in one clean)?
Thanks for your hard work in this field Paul.
Best, Thor.
Yes, answered this one via your direct message – hope you received that one?