The Article
Record Cleaner Pro: Ultrasonic Vinyl Cleaning
16th November 2018
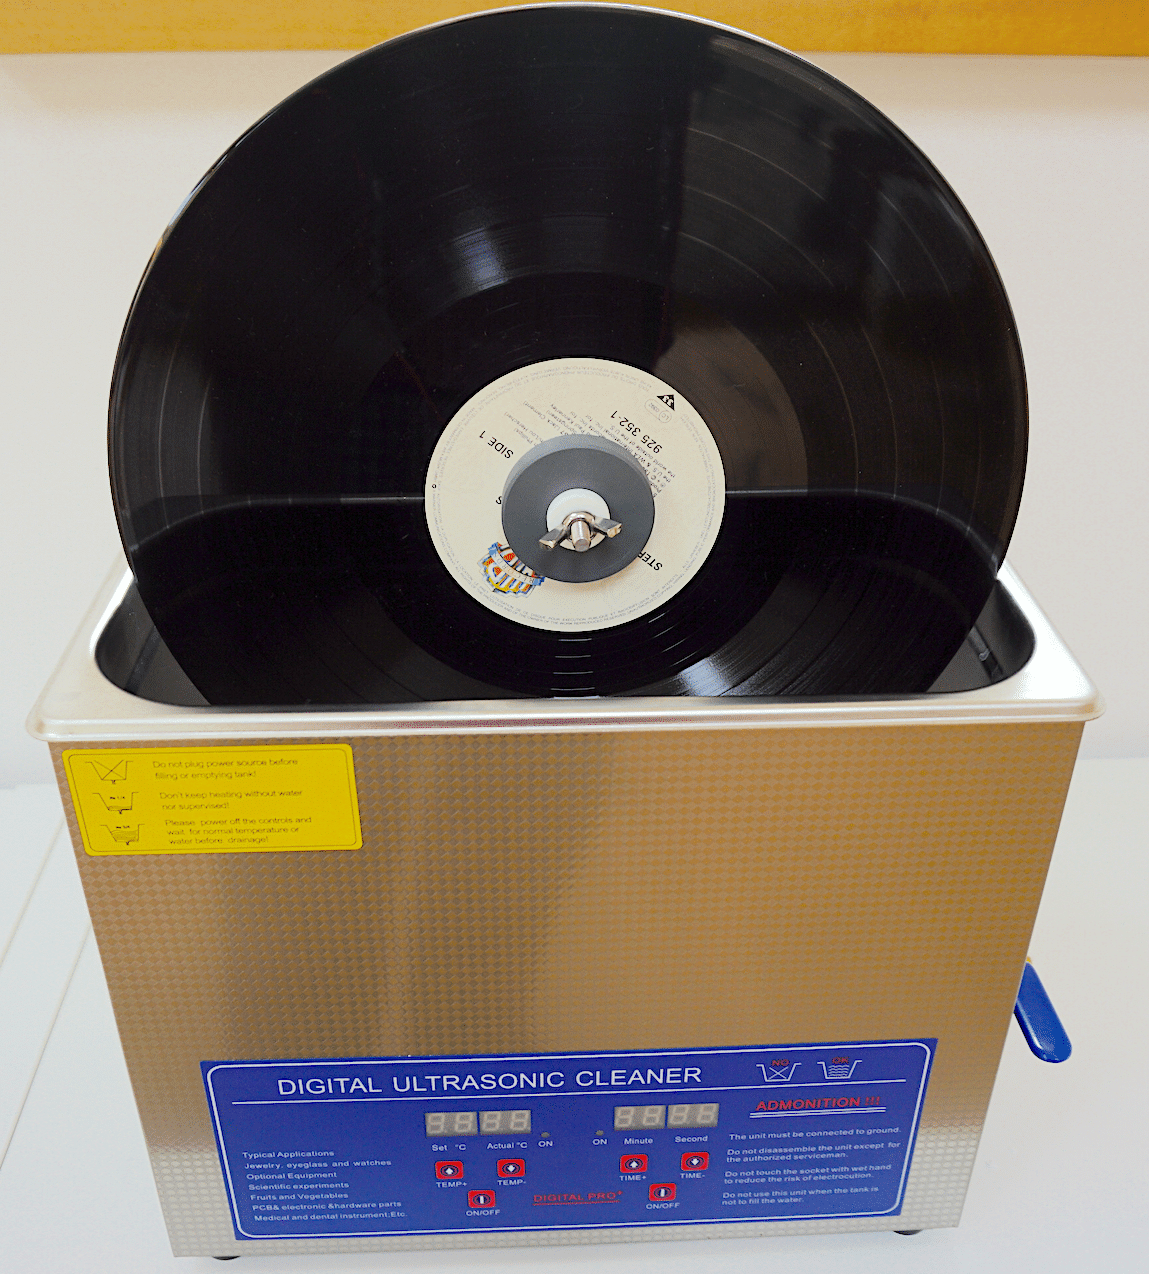
Looking for a low cost Ultrasonic record cleaner? Paul Rigby reviews the Record Cleaner Pro
Ultrasonic vinyl record cleaners are becoming ever more popular for audiophiles and are threatening to become the de-facto standard for any serious vinyl fan wanting to maintain a shiny, clean record collection.
In simple terms, such machines hold and rotate a record that is partly submerged in a bath of liquid. That type of liquid can vary from manufacturer to manufacturer but the bulk tends to be distilled water. Once the record is wet (the label is always left untouched, incidentally), the ultrasonic action known as cavitation begins in the bath container via an active transducer, producing compression waves that produces millions of tiny bubbles that break up, creating millions of tiny bubble explosions, directed liquid that is fired and forced into the moving grooves. The agitation effect displaces gunk, grease, muck and other contaminants, cleaning the grooves like never before.
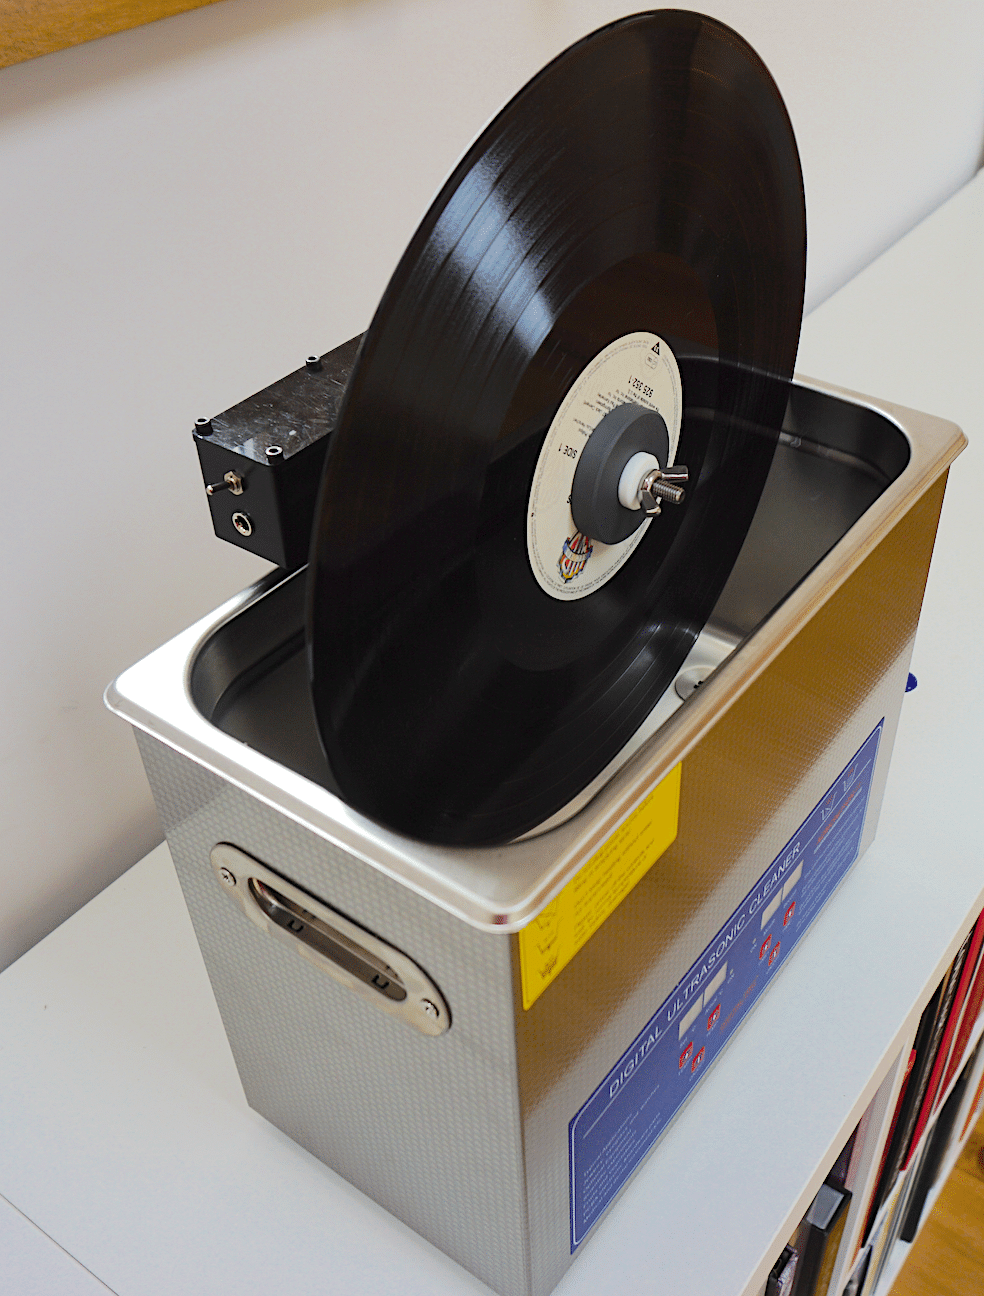
GT Sonic bath with drain point [right]I’ll say now that I’m a big fan of ultrasonic cleaners for vinyl. I’ve used every vinyl cleaner technology on the market and find ultrasonics the best, by far.Other vinyl fans are becoming fans too but are now faced with a supply of ultrasonic record cleaning machines (RCM) that is splintering into two factions: the professionally-built, fully featured and rather expensive models and the basically constructed, lower cost variant. I decided to get to grips with an example of the latter from Record Cleaner Pro.
DESIGN & USE
The entire point of the Record Cleaner Pro is the price. This is, a cost-oriented product. One that has been built to do a job, but one that minimises outlay. Luxuries and fripperies have been dropped to lower the cost.
Because of that, you need to know what you’re getting yourself into and why. There may be some readers who may think that they’re getting a cleaner of the same category as the Audiodesk model I reviewed a while back. This is not so and, in fact, the more expensive Audiodesk is a good basis for comparison to prove that very point.
Unlike the Audiodesk which arrives ready to use and within a self contained unit, the Record Cleaner Pro needs to be assembled before use which could be and, in fact was, a problem. How do you put the thing together? Apart from the tank itself I was faced with numerous plastic bags of bits and an instruction sheet of text that could be read and interpreted in various ways.
When faced with any sort of construction, you need simple and fool-proof illustrations to fix position, orientation and an order of build (just ask IKEA). What I had was a single piece of paper, lines of text only and numbered paragraphs.
Now, there are not too may parts here and with a few moments of quiet contemplation, most people will be able to figure out what goes where and how. That’s not really the point, though. The company shouldn’t be assuming. It should be covering its back-side to make absolutely sure that everyone knows how to get this machine up and running. As it is, the instructions are just not good enough.
[NOTE: I mentioned the above to the company, Record Cleaner Pro, and it has now said it will post instructional videos on its new upcoming website as well as improve the physical instructions, adding a graphical guide.]
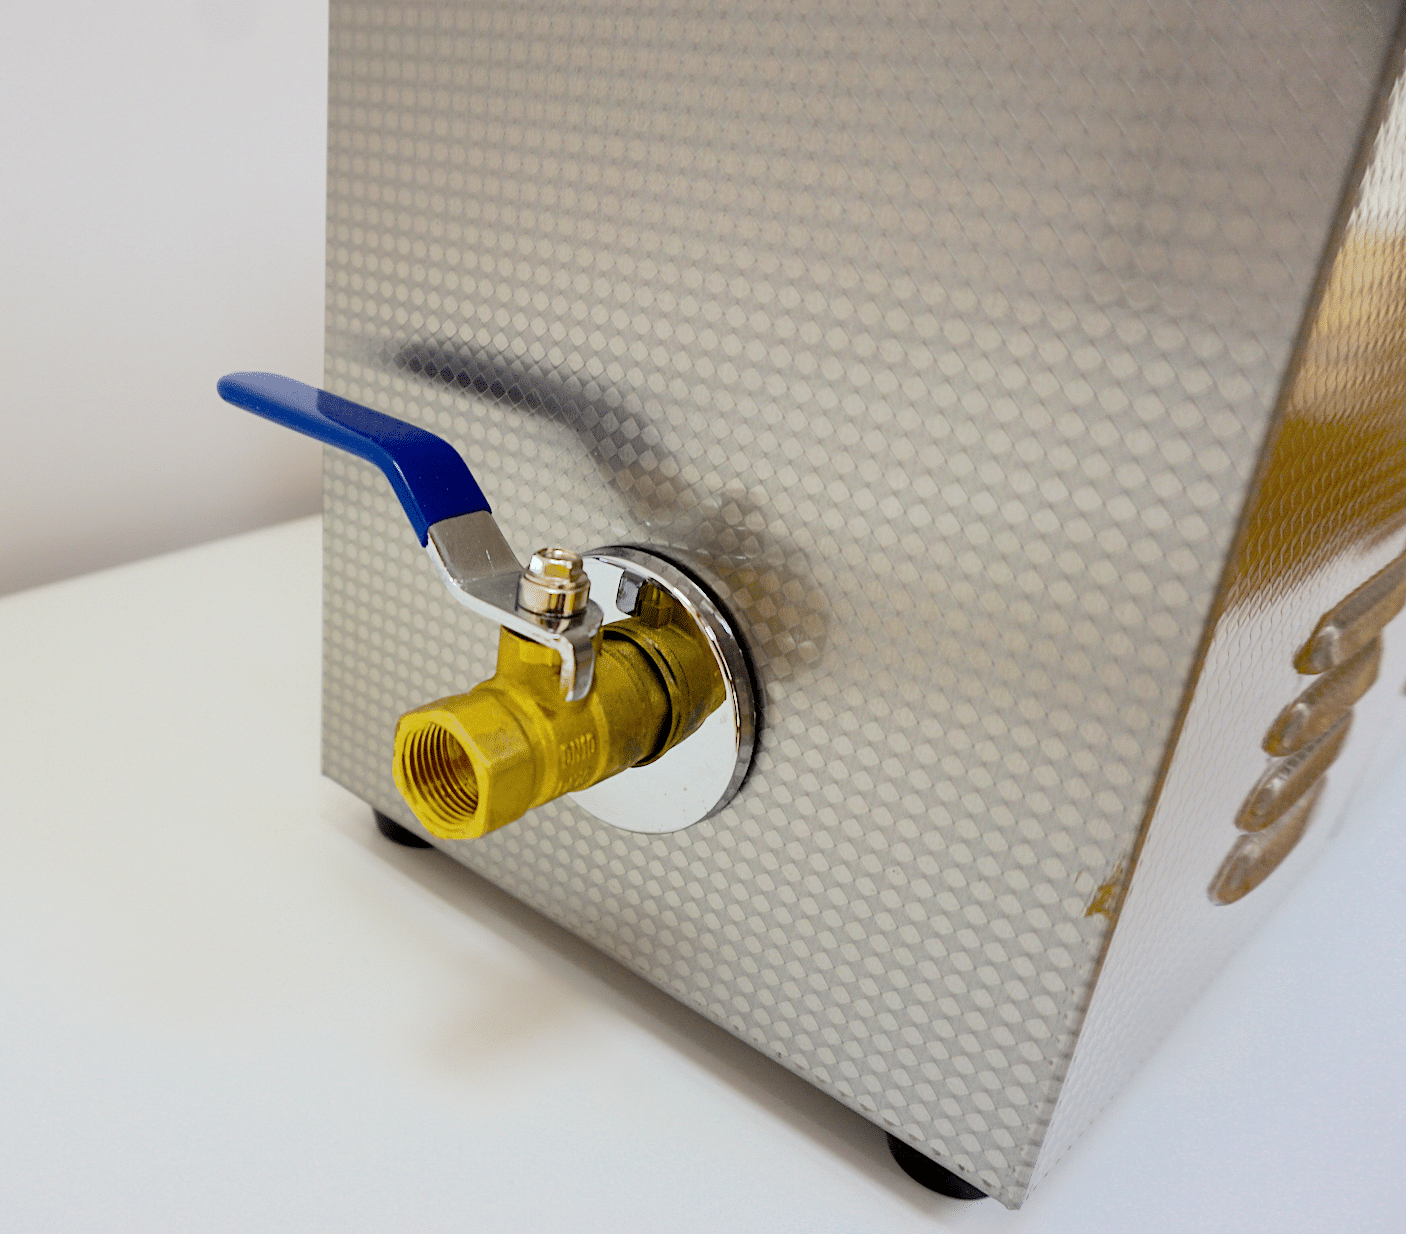
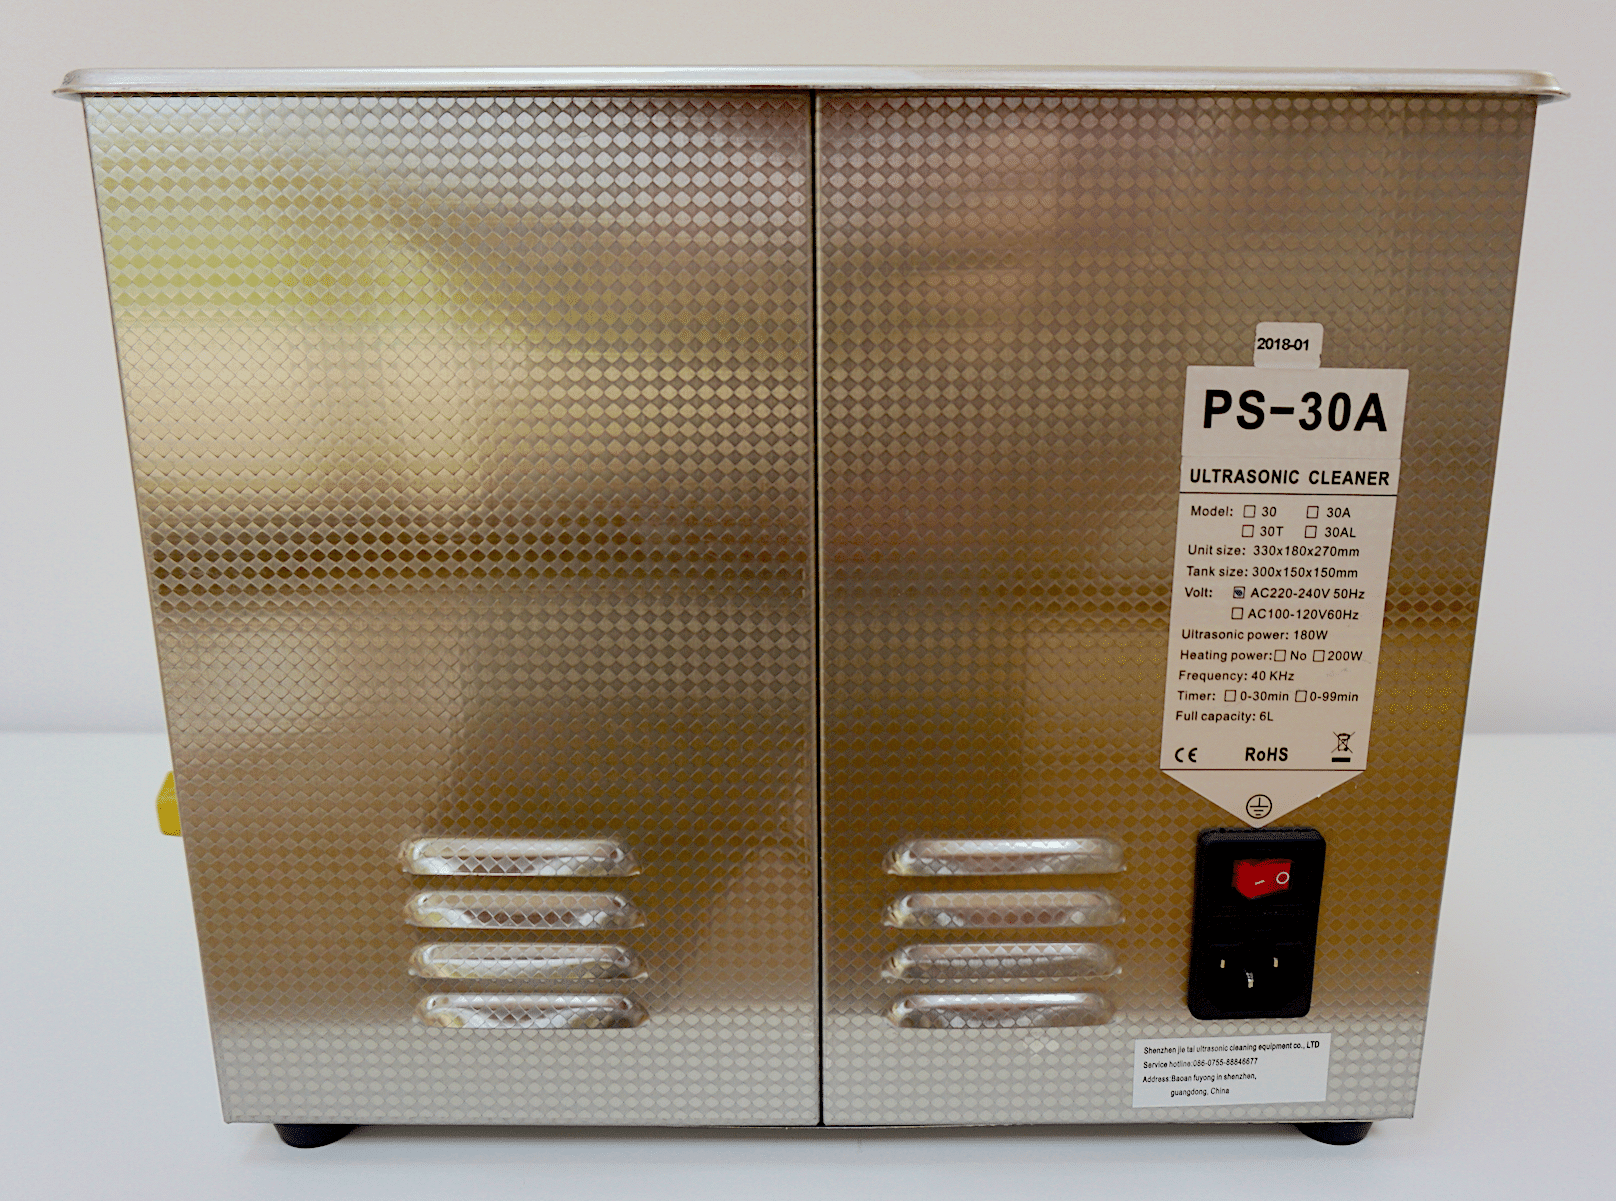
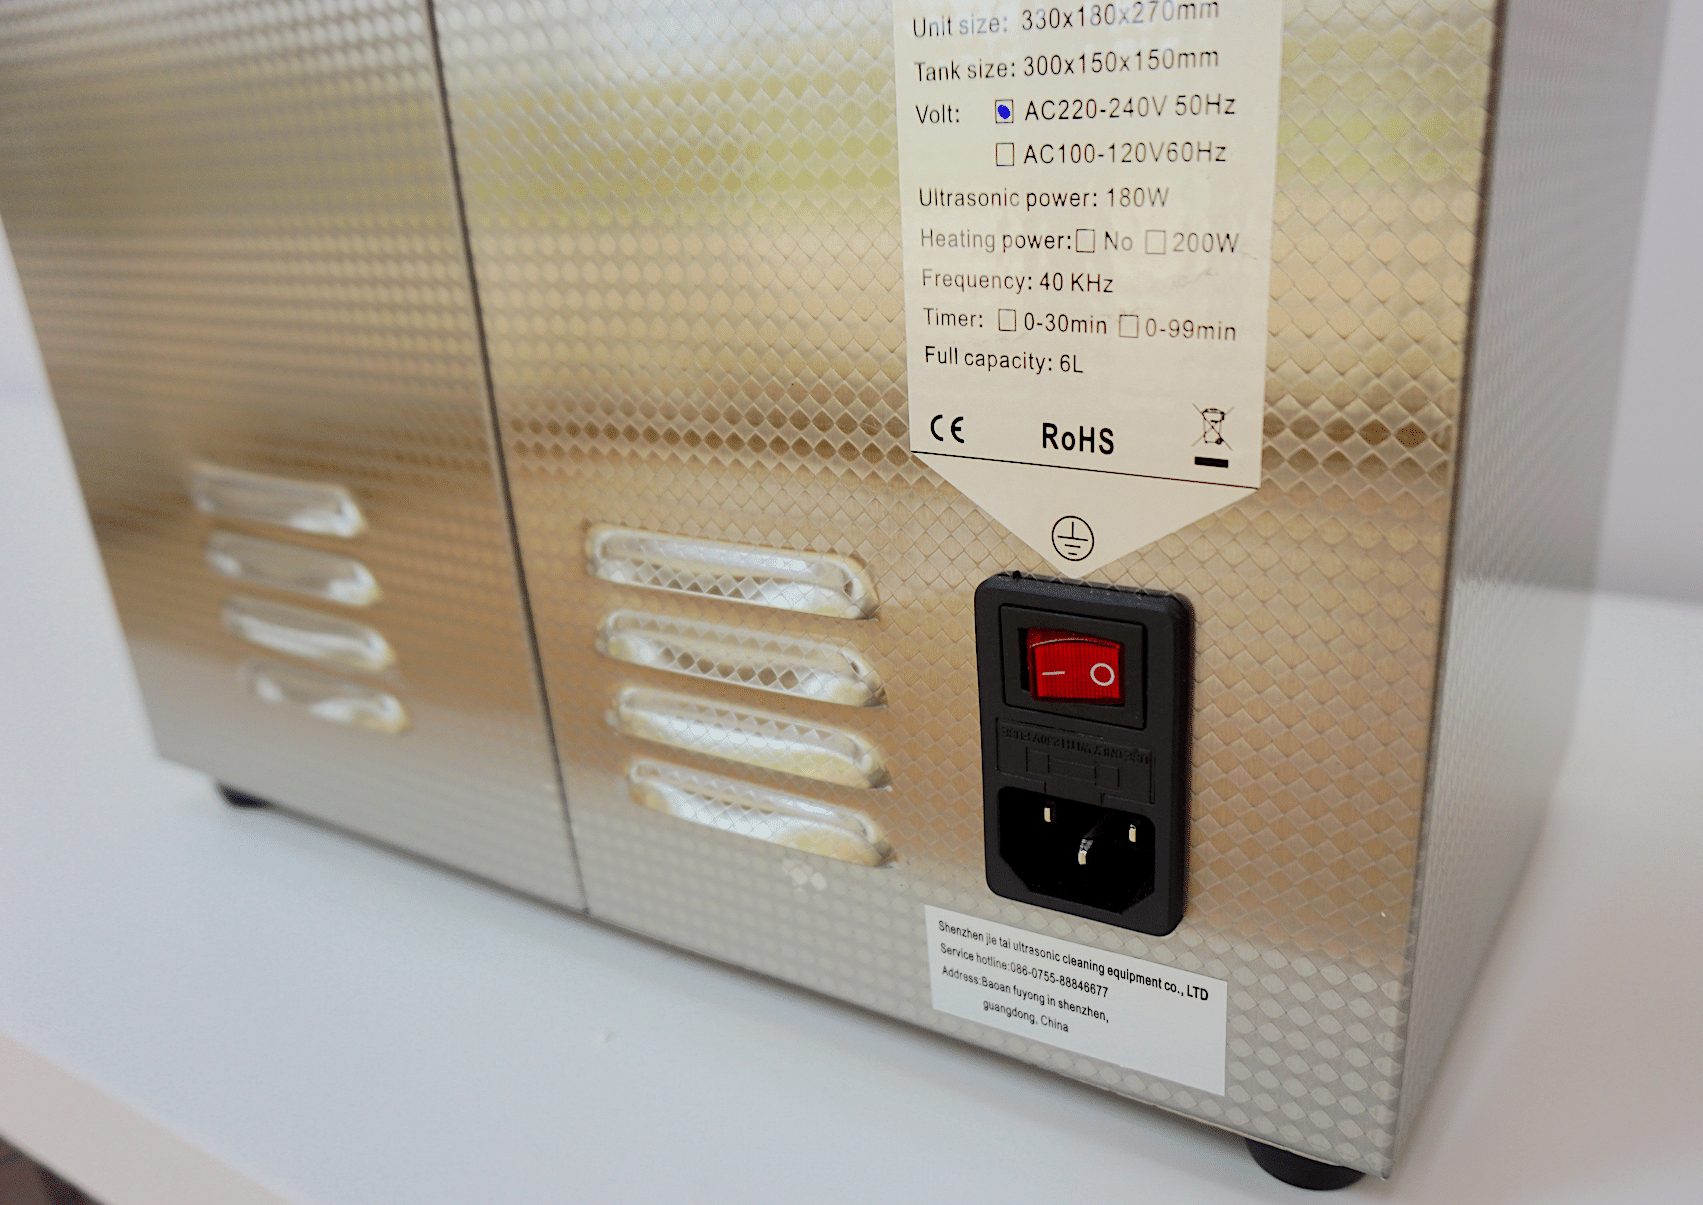
The majority of the construction of this cleaning machine is ‘bought in’ from a third party and has no direct connection to Record Cleaner Pro at all. More to the point, Record Cleaner Pro is not in control the part of the RCM that does the actual cleaning. That’s left to the GT Sonic Digital Ultrasonic Cleaner. This is a separate and independent item. It arrives with a six litre bath, adjustable timer and heat settings and can be bought, on its own, from Amazon for £104.39 (the price stated going to press) HERE. This is but one outlet for the bath. Lots of other people sell it too.
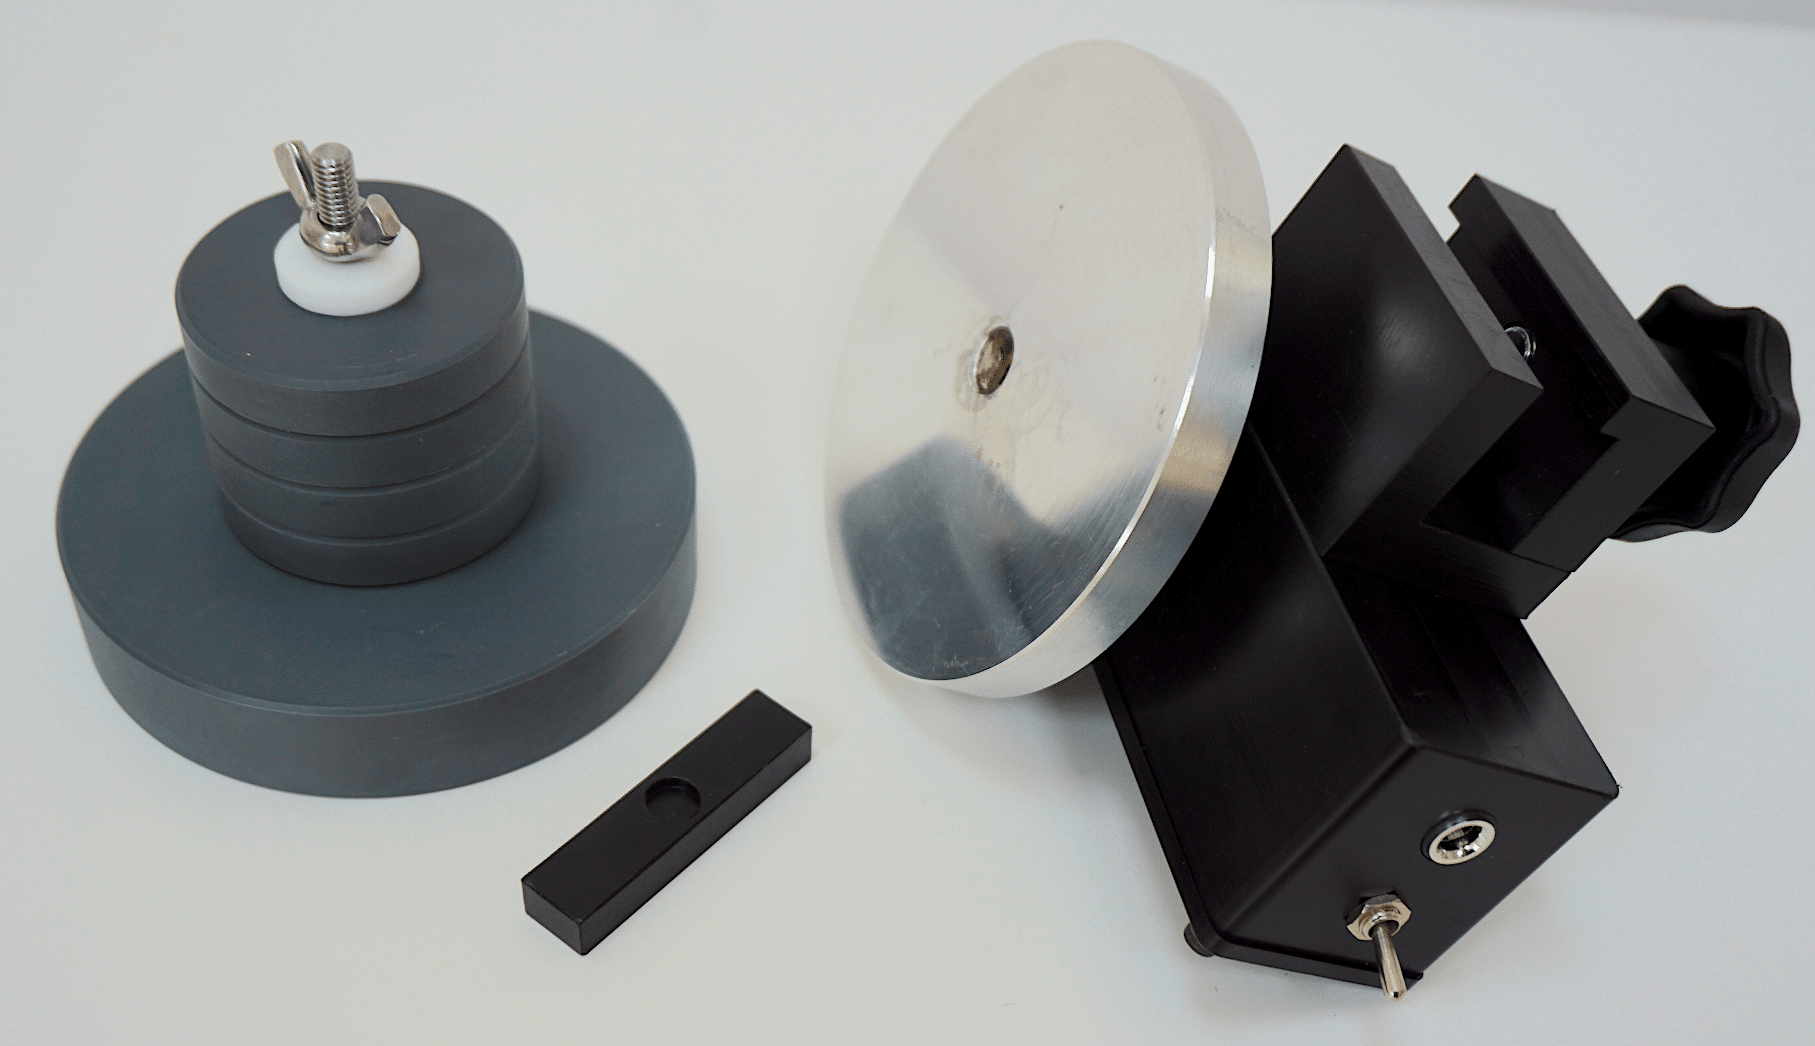
Thus, what you are actually buying from Record Cleaner Pro is a motor assembly (see image below), attachments and vinyl holder that adds to and changes the nature of the original GT Sonic product from a general cleaner for, say, jewellery to a vinyl record cleaner. To confirm then, you need two products: the bath created by GT Sonic and the motor assembly from Record Cleaner Pro. Both can be purchased from the company or you can just buy the vinyl-specific additions.
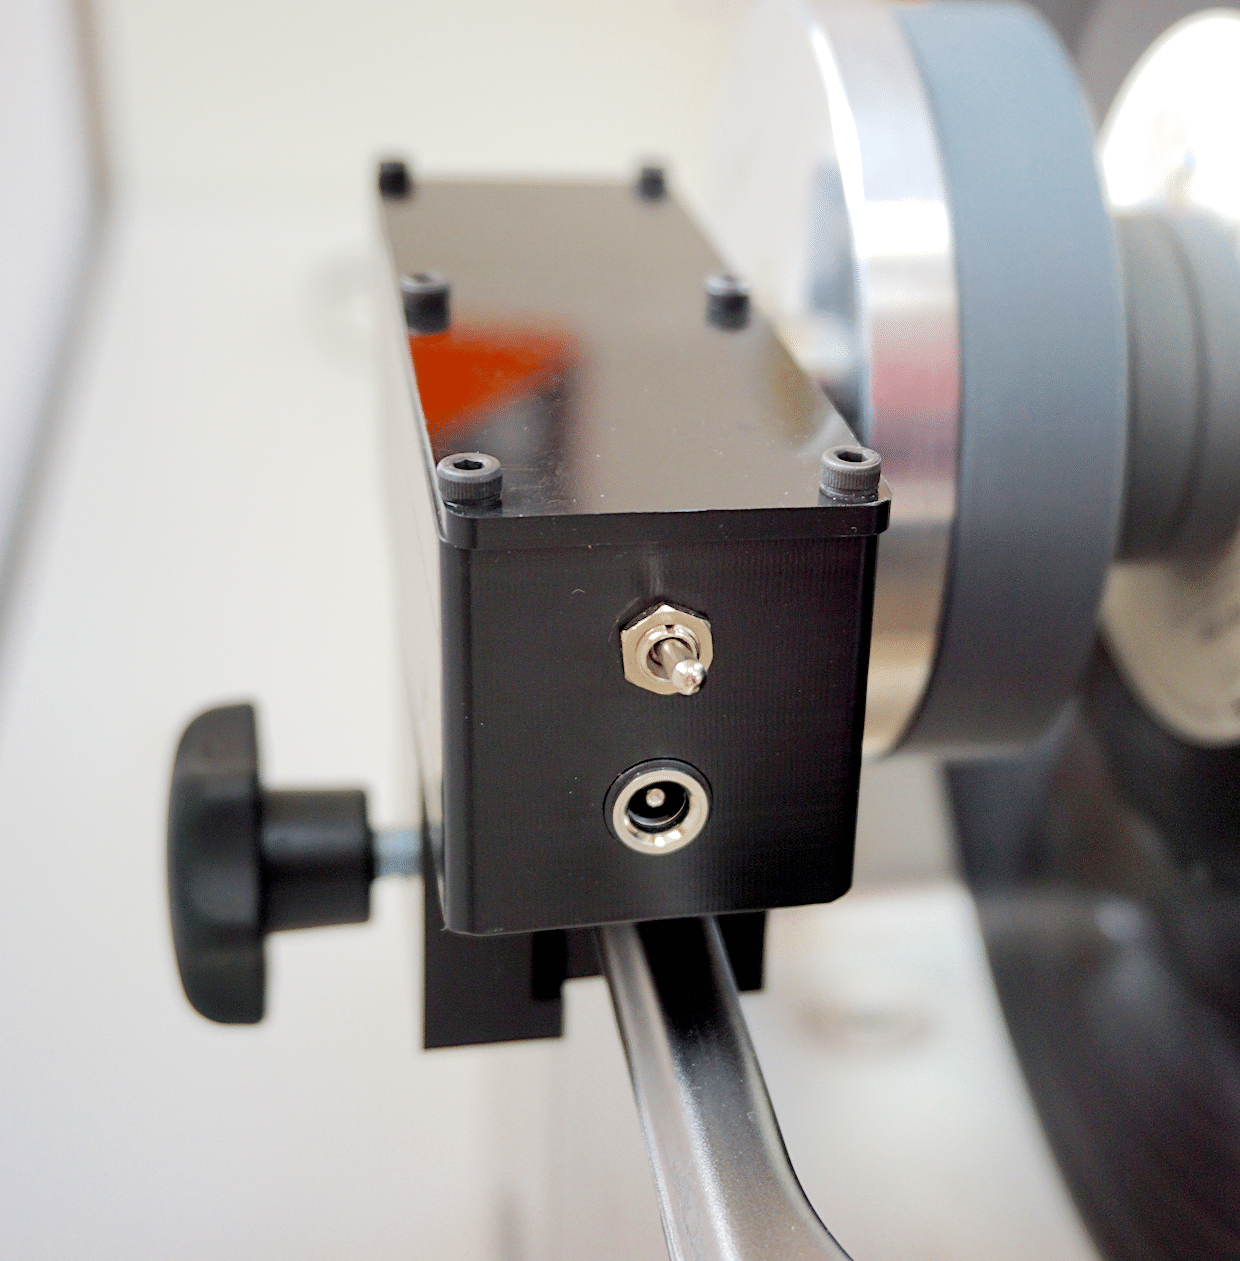
The record holder is connected to the motor unit via a magnet. The ‘shim’ block [lower centre] is required to properly connect the motor unit to the GT Sonic bath, further emphasising the lack of integrationUnlike the Audiodesk which has a single cable and power switch, the Record Cleaner Pro has two power switches: one for the motor assembly and one for the GT Sonic bath. More than that, it needs two power cables.Having two power cables means more mess, more fuss and the use, of course, of two power sockets. You need to decide whether that, in itself is a problem.
In addition, I don’t have an immediate concern but I am also just a little perturbed that the motor assembly’s power socket is relatively near the opening of the bath and all of that liquid. Call me paranoid – and I’m probably being needlessly over anxious about this – but that, in itself, rings a tiny alarm bell.
To use the machine, you fill the bath with Record Cleaner Pro’s concentrated cleaning liquid called Wet Stuff. You receive a small bottle when you buy the RCM. The 100ml of concentrate is diluted into distilled water and is apparently good for up to 25 uses. This liquid apparently uses alcohol as a surfactant to break surface tension and improve cleaning. Many readers will see alcohol as an aggressive medium when used with vinyl and would rather not use it at all. Record Cleaner Pro (the company) did state that the amount of alcohol volume, when mixed with the bath of distilled water, is so small that no damage will occur over the short or long term.
I used to have a zero tolerance with isopropyl alcohol and its use with vinyl records but new research may prove that tiny amounts of the stuff, mixed with large amounts of distilled water, may have some significant, non-aggressive, cleaning benefits within the vinyl groove. The jury is still out, in terms of my own conclusions because I’m still researching this area so you must make a judgement here for the immediate future and this machine.
The point is easily moot, though because you can just bin the alcohol supplied and use your own surfactant. Which solves the case there and then.
That said, as this liquid is part of the product and I’m here to test that product, I did utilise this liquid during the sound tests with a ‘spare’ vinyl disc.
Unlike the Audiodesk which automatically sets the physical amount of liquid used in the bath to clean the record but protects the label from a good soaking, the Record Cleaner Pro does no such thing. That is, you have no real idea how high to fill the bath with liquid. There are no markings inside the bath that act as a guide. You will need trial and error here to find the correct liquid level.
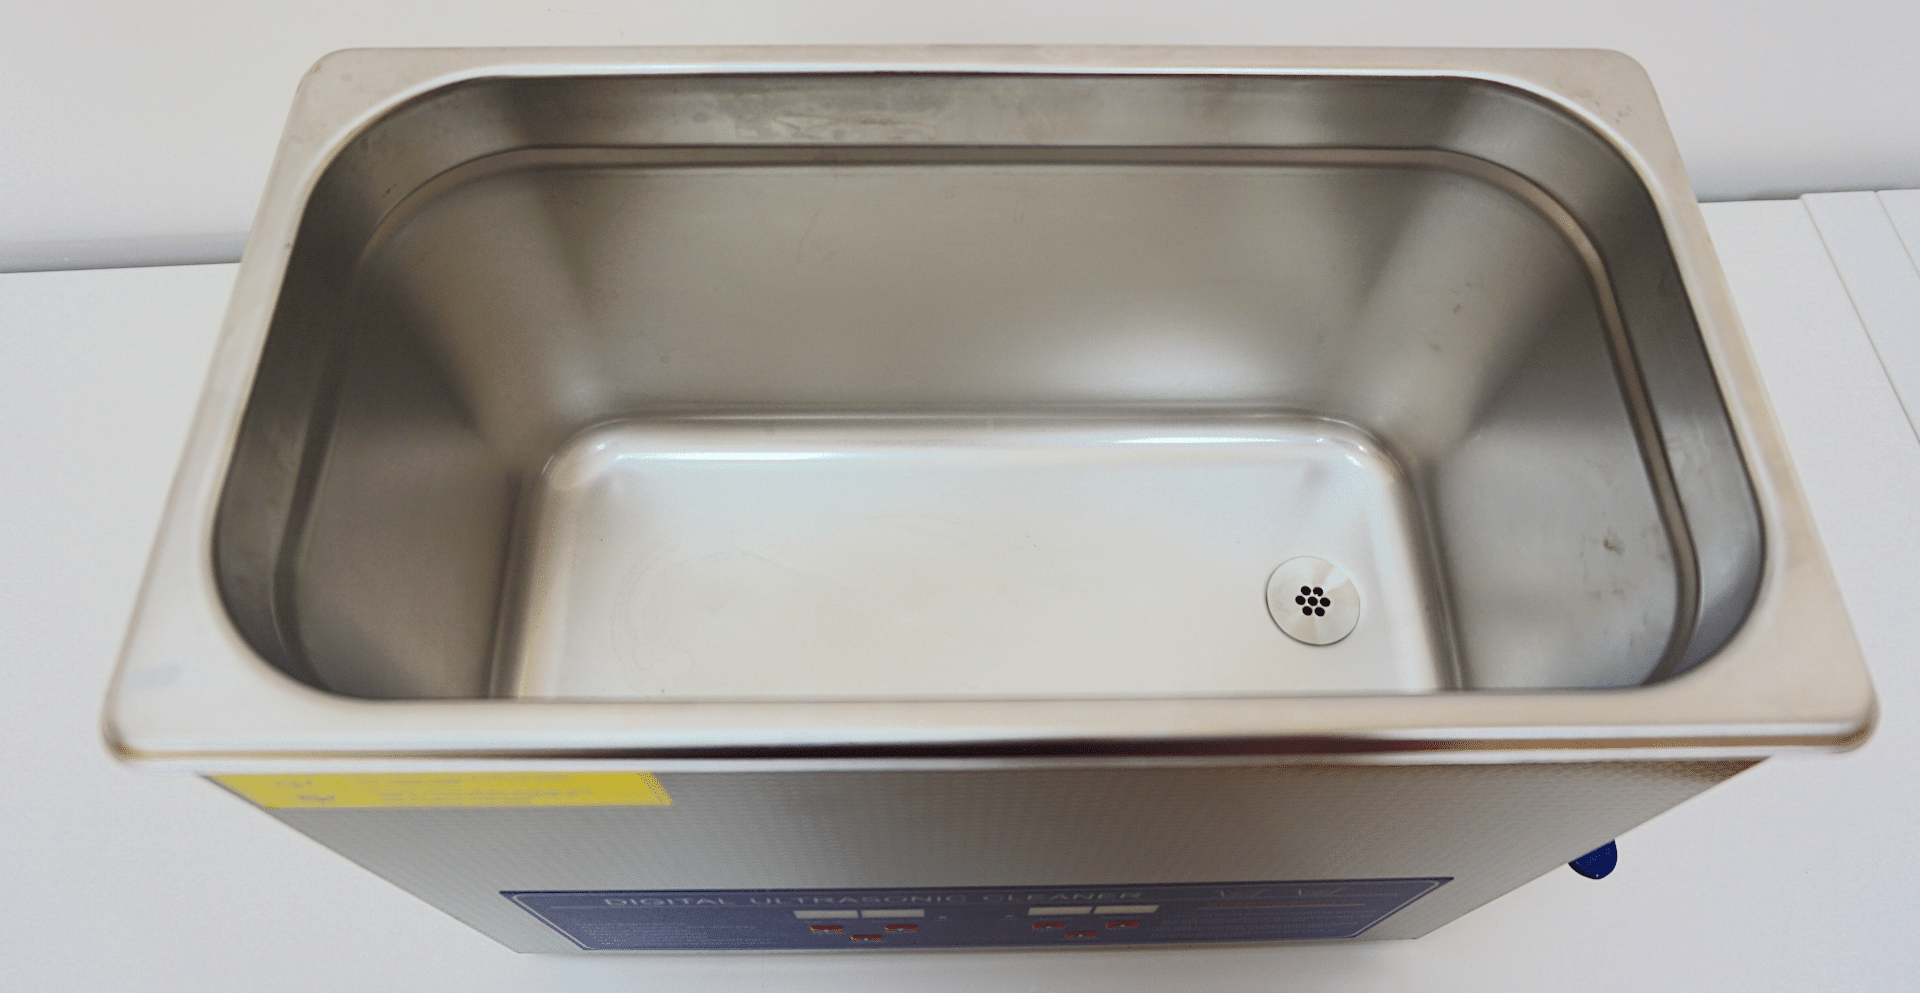
The reason for the lack of markings can be found via that Amazon link image. The GT Sonic bath is designed to be used with a basket. The idea is to place the dirty items in that basket and then you cover them with distilled water. In this way, the bath/basket created its own, rather practical, level. That is, as long as you cover the offending item, you’re fine. Take out the basket, put in the vinyl and you’re guessing.
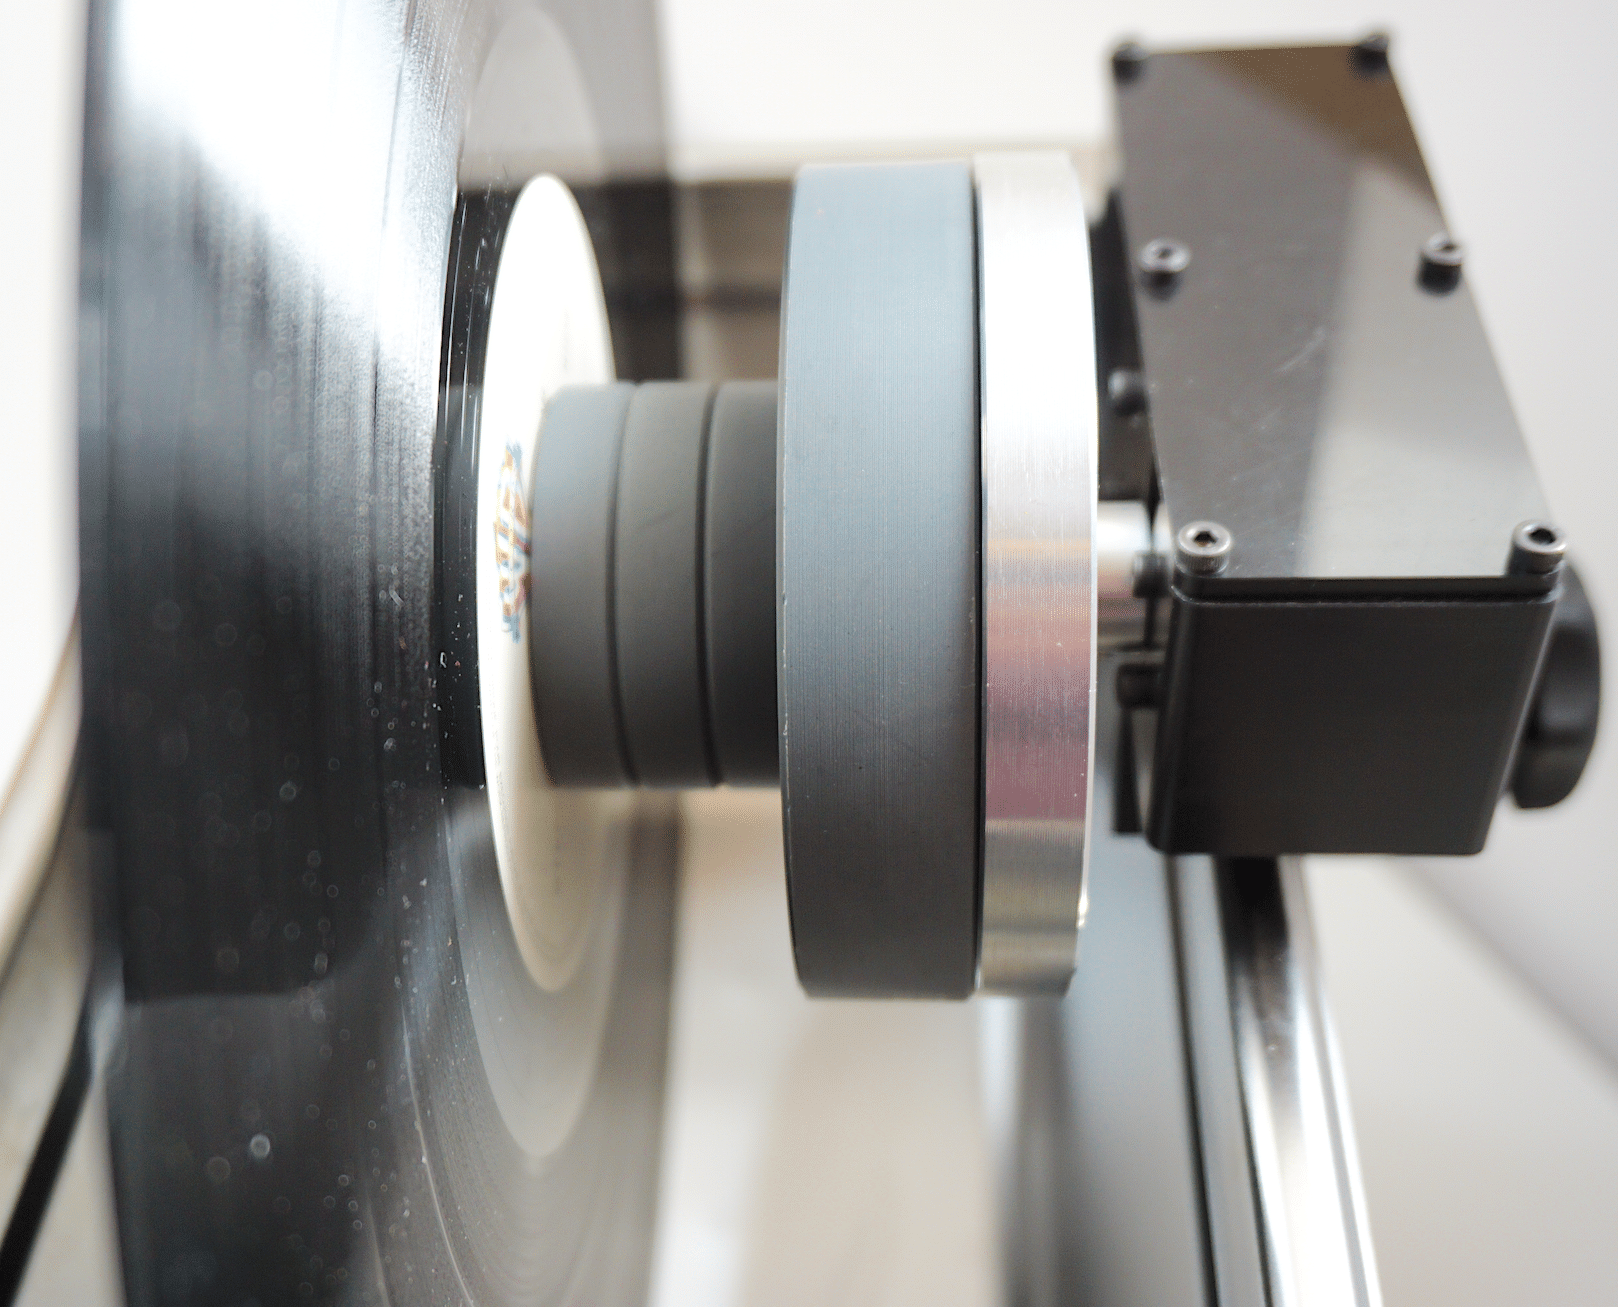
Once assembled, you undo the vinyl holder’s wing nut and slide off up to four small pucks. These pucks partly cover the record label (see image above) but also hold the vinyl in position during cleaning. I say “partly cover” and I mean that. There’s no protection against the liquid from the pucks themselves. Which means that finding a proper water level is doubly urgent.
Once the vinyl (up to four discs can be loaded) is in place and the wing nut has been re-applied and tightened, the tank’s own timer is set for a recommended 12-15 minutes while the temperature is set for up to a recommended 25 degrees Centigrade (the Audiodesk offers no temperature options and its cleaning cycle is only a few minutes long). After cleaning, you are advised to leave the records to stand in a rack to dry.
Record Cleaner Pro also adds the suggested option to clean the record with a microfibre cloth (not supplied).
There are issues here. In this bath, after cavitation, you would hope that most of the grime would fall into the bottom of the bath, clearing the vinyl and preventing recontamination. Drying the surface of the record with a light pressure application of a microfibre cloth is a good idea because it will lift liquid into the cloth (along with vagrant bits of grime) without leaving lint. I wonder if that is enough, though. I would have liked to have seen the additional of a manual cleaning kit to further ensure that recontamination is minimised, at least as an optional extra. Something akin to the new Kirmuss RCM, for example. The latter includes cloths, brushes, washes and more in an attempt to minimise the reintroduction of dirt.
To be honest, though, recontamination threats are an issue with most ultrasonic RCMs. Audiodesk, upon finishing its cleaning cycle, drains the liquid through an internal filter and dries the LP with its own internal fan drier. This system opens itself up to several recontamination questions but the Audiodesk still, in the end, works wonderfully, at least in sonic performance terms.
There are other points of note here for the Record Cleaner Pro. Firstly, you have to carefully position the motor assembly every time you reattach it (say, after changing the liquid) because that assembly doesn’t fit into a prepared slot, it is freely clamped on the bath’s rim. You need to gently rotate your vinyl to make sure that it doesn’t hit either side during cleaning. The Audiodesk fits into a pre-prepared position with no adjusting necessary.
Next, in operation, the cavitation process from the Record Cleaner Pro is relatively noisy. The Audiodesk is not silent but is nothing like as aggressive sounding.
There is a final but possibly more fundamental issue with the GT Sonic bath. It’s the fact that it is aimed at general use, not cleaning vinyl records. It’s own sales pitch advertises it as being able to clean “Jewellery, Rings, Watches, Eyeglasses, Dentures, Coins, Metal Parts, Lab Tools…”
Which begs the questions, how does the Record Cleaner Pro perform?
SOUND QUALITY
I loaded the machine with one LP, Vic Damone’s On The Street Where You Live and played the title track. It was full of low level Rice Krispie noises which were a steady and consistent interference throughout the song. I played this track several times to make sure that the noises were a true fixture and would not be loosened by the action of the stylus alone.
I then plunged the LP into the Record Cleaner Pro bath and set the timer for the recommended 15 minutes and the temperature to 25 degrees, the upper level of the recommended settings. You will find that the temperature will rise slowly. For example, with 10 minutes to go, the temperature had risen to 18 degrees and 19 degrees with eight and half minutes to go.
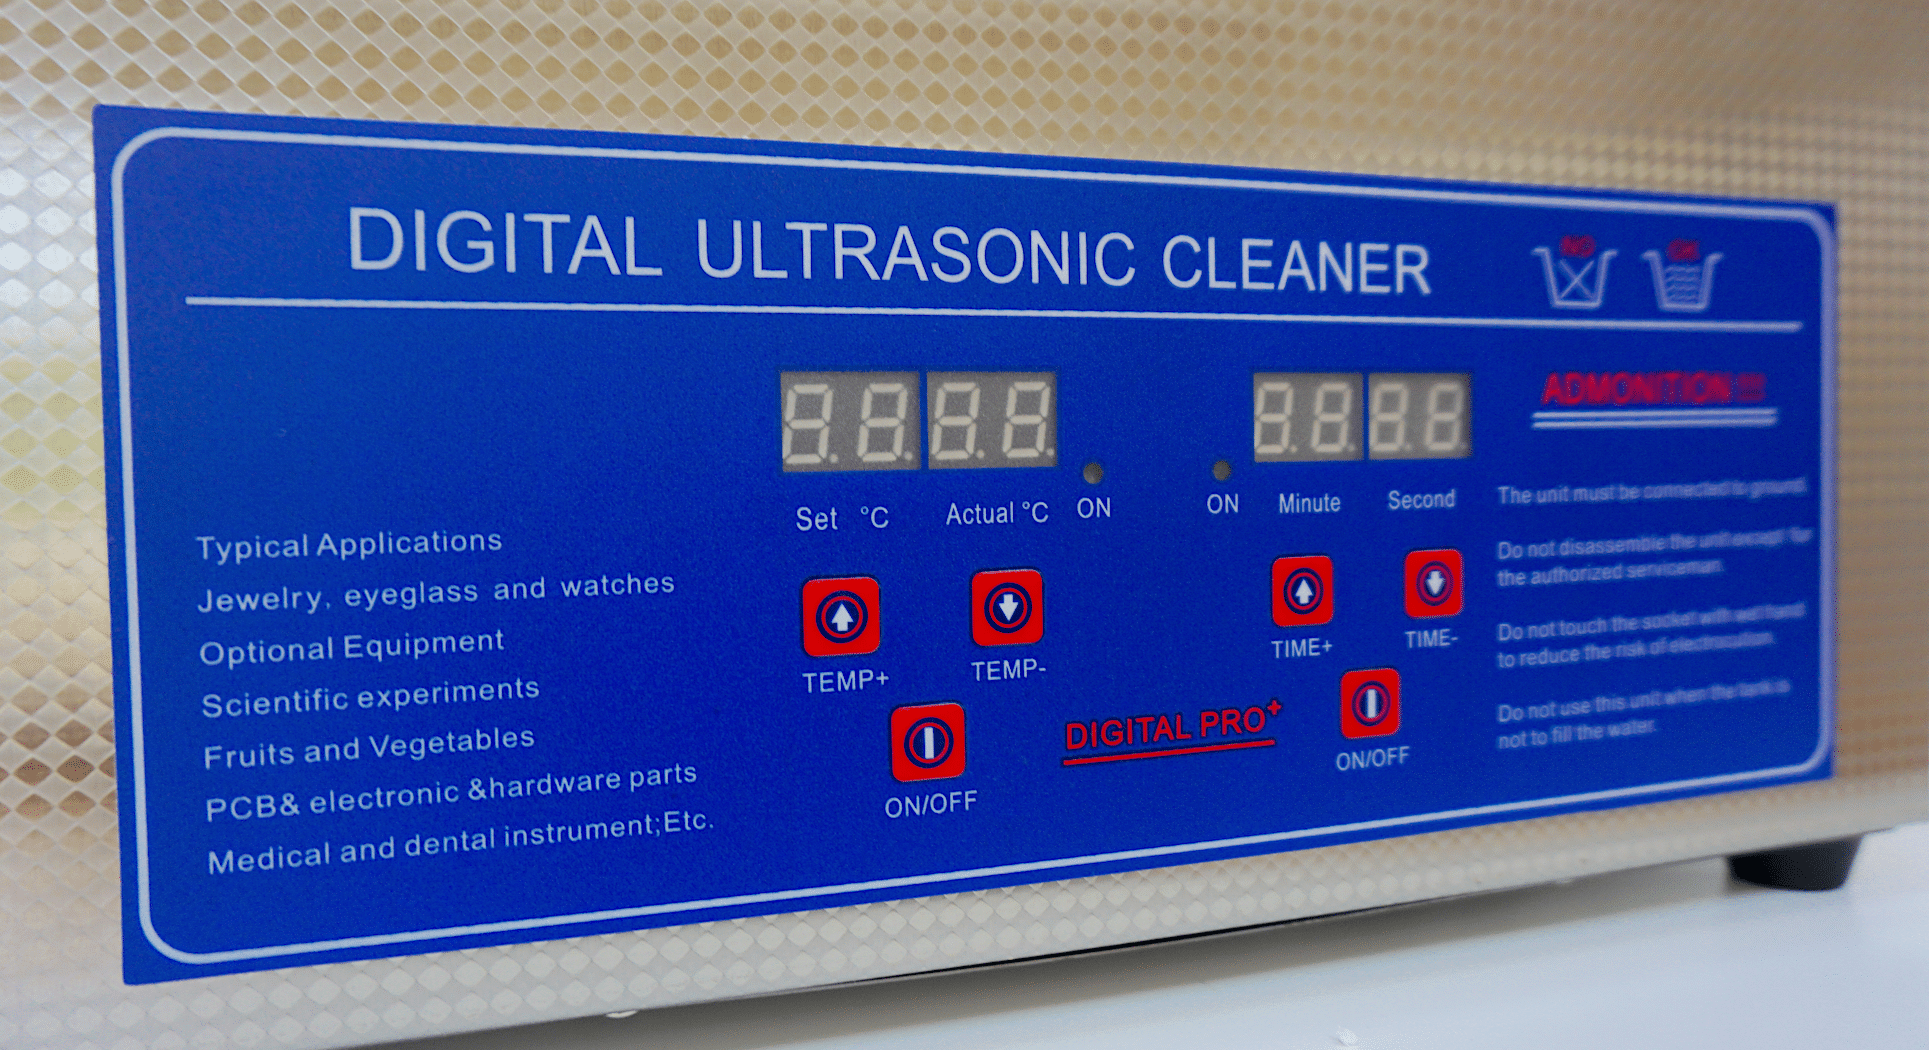
After the RCM had completed its clean and the disc had dried, playing the very same record revealed that the Rice Krispies remained but in much reduced manner.
Possibly more important, though, was the increase in overall sound quality as the soundstage was opened up, midrange dynamics were extended, bass was fuller, more air was present around the soundstage while the backing orchestra sounded more vital and alive, less muffled and subdued.
I cleaned the record a few more times to hopefully reach a set plateau in which you would reasonably expect no extra performances benefits to arise from the Record Cleaner Pro and then cleaned the disc in the Audiodesk, just to see if the more expensive machine would add anything at all to the cleaning process. It did. Basically, it moved the sonic improvements further on down the road, adding more of everything. Items of note included the emergence of extra bass, extra clarity in the lead vocals, the further reduction of the low level noise (the Rice Krispie noise effect was further improved) and a more mature sonic balance. That is, instruments and voice seemed to fit logically and easily together.
CONCLUSION
I’ve given this RCM a relatively low rating but that’s because of the design issues, not solely because of its inherent performance.
What I mean is that the Record Cleaner Pro feels like two constrasting and sometimes conflicting products. Not an integrated RCM. That, in itself is my principle issue with this RCM, along with the fact that the bath has not been modified to work with vinyl. It remains an ultrasonic bath for general use.
In effect, the Record Cleaner Pro company has had to ‘make do’ with the supplied ultrasonic bath and adapt its own technology to that bath. Which causes compromises.
As I mentioned at the beginning of this review, those design areas are there for a reason: to cut corners and thus reduce the price which, when it comes down to it, is fine if you buy this RCM with your eyes wide open. Those design issues are sometimes irritating or they make the job harder or longer but they do enable you to enter into ultrasonic territory, especially if the budget is low.
In performance terms, the cleaning action of this RCM is good – not wonderful – but good. After all, the GT Sonic, the bit that does the actual cleaning, is a low cost, budget product.
Despite the low rating, this RCM does work, it does do the job and the sound quality of treated records does improve. The Record Cleaner Pro is a useful entry point to the world of ultrasonic cleaning.
RECORD CLEANER PRO ULTRASONIC RECORD CLEANING MACHINE
Price: £239 ; £110 extra for the tank
Website: www.phonographsystems.co.uk
GOOD: price, good cleaning performance, sonic improvements
BAD: instructions, power cables, vinyl rotation position, no bath liquid levels, noisy
RATING: 6
[Don’t forget to check out my Facebook Group, The Audiophile Man: Hi-Fi & Music here: www.facebook.com/groups/theaudiophileman for exclusive postings, exclusive editorial and more!]
REFERENCE
Origin Live Sovereign turntable
Origin Live Enterprise 12″ arm
Van Den Hul Crimson XGW Stradivarius Cartridge
Icon PS3 phono amplifier
Aesthetix Calypso pre-amp
Icon Audio MB845 Mk.II monoblock amplifiers
Quad ESL-57 speakers with One Thing upgrade
Tellurium Q Silver Diamond cables
Blue Horizon Professional Rack System
Harmonic Resolution Systems Noise Reduction Components
All vinyl was cleaned using an Audio Desk’s Ultrasonic Pro Vinyl Cleaner

Thanks for the review. Am i right in thinking the audiodesk is around ten times the price of the review model? If i read a review of a ford escort i dont normally expect to see it compared with a lamborghini. Still, lots of food for thought. In your opinion, would this be considerably better than things in a similar price range; audio revita looks good, knosti? okki nokki? Have you sincefound better ultrasonics in the same price range? Thanks v much in advance.
Hi Phil – thanks for your letter. Yes, the price discrepancy is large but this is a new market and one that is growing, evolving and improving fast – very fast. So in a market where there are very few viable ultrasonic machines for vinyl fans, any new entry has to be viewed as a possible advancement on what has gone before and, in terms of price, there has to be a comparison just in case the expensive model is suddenly found to be grotesquely over-priced, all of a sudden. Instead, what I’m finding is that the ultrasonic market has, thus far, split into two wholly contrasting sectors with no middle ground: the expensive bespoke market and the cheapo DIY market.
In general terms, ultrasonic cleaning is the way to go. It walks all over established vinyl cleaning methods. Even this fairly average ultrasonic release is better than the Knosti and Okki Nokki.
Finally, look out for my upcoming (and rather large) Kirmuss ultrasonic RCM review, the machine tries to straddle both Pro and DIY markets and looks to fill that middle area.
Buying any actual ultrasonic cleaner by a reputable brand (like Branson, Tuttnauer, Sonicor, Elmasonic, L&R, etc.)
The Audiodesk might have some fancy outers that make it a dedicated vinyl cleaner, but there’s really no such thing as a “vinyl” tweaked ultrasonic cleaner.
Furthermore, while related, the frequency is not the only factor in cleaning ability, but the power of the transducers, their quantity, and the ability of the generator and transducers to properly distribute the frequencies into the tank.
As you go up and down in frequency, you have a trade off between acoustic and implosive forces, with lower frequencies implodingmore strongly in general.
I think a perfect analogy to simplify this very complicated concept is the following, and it shows why a moderately high frequency (60-80khz) with high amplitude is best (read the studies on particle dislodgment yourself):
A low pitched sound has a lot of power to it – you can physically feel it, and even when it’s quiet, it travels better. A low pitched sound, when loud enough, has the ability to rupture your esrdrums, to send shock waves. Thinka big “boom.” A high pitch sound, done softly, doesn’t carry as well, especially not through solids. When a high pitch sound gets very loud, nothing is rupturing, nothing is crumbling apart.
I’m oversimplifying some things, as high frequencies can obviously be damaging as well, but this is fairly accurate in most cases.
35Khz is likely very damaging to vinyl. Powerful 40khz machines will destroy metal tools over many cleanings.
hi use this ultrasonic pro cleaner ,my solution is 30ml of alcool ( ) and ilfotol 8ml with demineralized wather ,i heat up the wather before cleaning (30 C) and run it for 20 minutes ,afther that i spin clean it ,then dry it with my nitty gritty machine ,take it with the lint free cloth of the spin clean and let it dry for a couple of minutes .and they sound super .that may be overkill as away of doing thing but i have those machine at my disposition so wy not use them.
I applaud the reviewer for stepping out and giving this affordable RCM. I find the review a bit disingenuous. I should mention that I am a Manufacturing Engineer and as such I develop processes and write process instructions for very expensive components.
A Ultra-sonic bath is not that complex. I am not in agreement about having a one size fits all record cleaning ultra-sonic bath. This bath is a simple, affordable unit. It wouldn’t take a rocket scientist to figure out the proper water level. Place the record on the motor spindle, fill the bath so that is below the label and make a mark in the tank. Problem solved. Money saved.
The solution used will have an impact on the cleaning ability of the bath. Pick your favorite solution or do research on what works best.
Bath Temperature and Time in the bath are important. Less is often more. Here’s my biggest beef with the review. Unless there is an electron microscope available, the efficiency of the cleaned groove or determining the damage to a record’s groove is just a guess, nothing more, nothing less.
An ultrasonic cleaner is very efficient and fast. It would have been more revealing if the reviewer had access to a electron microscope, and camera to capture the before condition and after result s
I have a similar system to that reviewed. But in addition, I use a vacuum cleaning contraption to suck up the (home made) cleaning liquid from the freshly cleaned record. I then rinse the record in distilled water, before using the vacuum system to remove the water. I then leave the record to dry in a warm room, or outside if it is warm weather and I’m using the cleaner outside, for around 3 minutes, before placing back in its sleeve.
The cleaner cost around ¬£180 from an east European ebay seller. It arrived in 3 days. The rotating motor and bracket was around ¬£45 from China. I drilled the (cast aluminium) bracket and fitted (self-tapping) thumb screws to tighten it to the rim of the cleaner. The discs which came with my cleaning motor/bracket are slightly larger than a record label. And I bought rubber jar seals from Ikea which are the same diameter as the discs. When tightened, they form a watertight seal and protect the label. And once I found the sweet spot for the liquid level, it wasn’t hard to scratch a line onto the side of the tank for future reference.
I have my cleaner set to 12 minutes. It has several clavination settings, and I keep it on “full wave”, which is basically full-on for the 12 minute cycle. For six litres cleaning solution I use 9 parts 99% pure distilled water (5.4ltr) to 1 part 99% pure isopropyl alcohol (600ml). 30ml of a wetting agent (Ilford Ilfotol) is added as a surfactant to break surface tension. After a cleaning session, the solution is drained through 2 separate filters to remove as much grime as possible. It is then filtered again when being reused. The distilled water rinse is also filtered in the same way.
The main issue with ultrasonic cleaning is that the temperature continues to rise whilst it is doing its job. The very act of clavination, ie the forming and exploding of millions of tiny air bubbles, produces heat. Setting the cleaner to, say, 25 degrees is pointless, as the temperature will be in the mid 30’s after cleaning just 10 records. There are no all-day sessions with these machines. And I really can’t see how any ultrasonic cleaner, regardless of price or pedigree, can maintain a steady temperature, unless a cooling system is employed. This would push the price even higher. And yes, I have checked that the machine isn’t faulty by setting a maximum temperature and then leaving it for several hours. The temperature has stayed more or less constant, with maybe a few degrees either way, depending on the ambient temperature of its location.
This weekend I have cleaned almost 30 records. Most have been brand new, bought over the course of the last 6 months, with the rest being up to 45 years old, from my own collection. After washing, the sound quality of brand new records can only be described as CD-like. No crackles or pops (or snaps for that matter). But it is the old records I have been most impressed with. Yes, some anomalies remain after cleaning. With records this old, and which I played to death in my youth, I would have been shocked if there weren’t. But I don’t believe repeated cleaning will remove very much more grime or grit than the initial clean. Probably because of the strict cleaning regime I employ. And I am talking about miraculous changes in sound quality, not just a perceived difference. Maybe not brand new-like, but certainly belying their age.
I couldn’t afford an ultrasonic machine costing thousands of pounds. I could just about afford the setup I have now. And I am totally happy with the results I get. One change I would make would be to use a rotating motor of between 0.5 and 1 RPM, rather than the 5 RPM one I am using now.
All in all, I think you’re being extremely picky about a diy solution costing a huge amount less that professional models.
Thanks for that, Michael. Check out my own Cleaning Guide here: https://theaudiophileman.com/vinyl-cleaning-guide-part-1-manual-cleaning/ to see if that’s interests you. Part 1 is aimed at manual cleaners but the tools/liquids and vinyl prep I use for ultrasonics too. I’ll be using this for Part 3, the part devoted to ultrasonics.
As you know, an ultrasonic machine isn’t a silver bullet on its own. It’s the best cleaning tech out there but I wouldn’t use it on its own and expect miracles. It’s one tool in a toolkit – the rest are just as important in my opinion although the ultrasonic machine is obviously the most expensive part of the kit. I’m happy to see you using a surfactant et al but I think you could possibly tweak your system to enhance your cleaning performance. Just a thought.
New vinyl should sound better than CD (although, of course, that depends on the individual vinyl master/pressing, etc!) I was wondering, is your own system different to my own? Do you follow a similar prep? For example, I wonder if I might be taking longer to prep my vinyl in between cycles. That will give more time for the machine to cool in between cleaning cycles for example.
I would also look at lowering the cycle time. Twelve minutes is fine but you could get away with a lower time length which may also help in lowering the temp. Try 6-7 minutes, the efficiency will be just as high in cleaning terms.
Don’t forget to use your machine in a well ventilated room and make sure it has some air around it and it’s not cooped up in a corner somewhere.
As for my criticisms? Most of those could have been removed if the design of this budget model had been improved. My criticisms were not necessarily price based, they were design based. Other DIY designs out there might be more efficient and capable. Maybe I need to investigate a few more to find out.