The Article
Disco-Antistat Vinyl Cleaning Machine From Knosti
11th September 2020
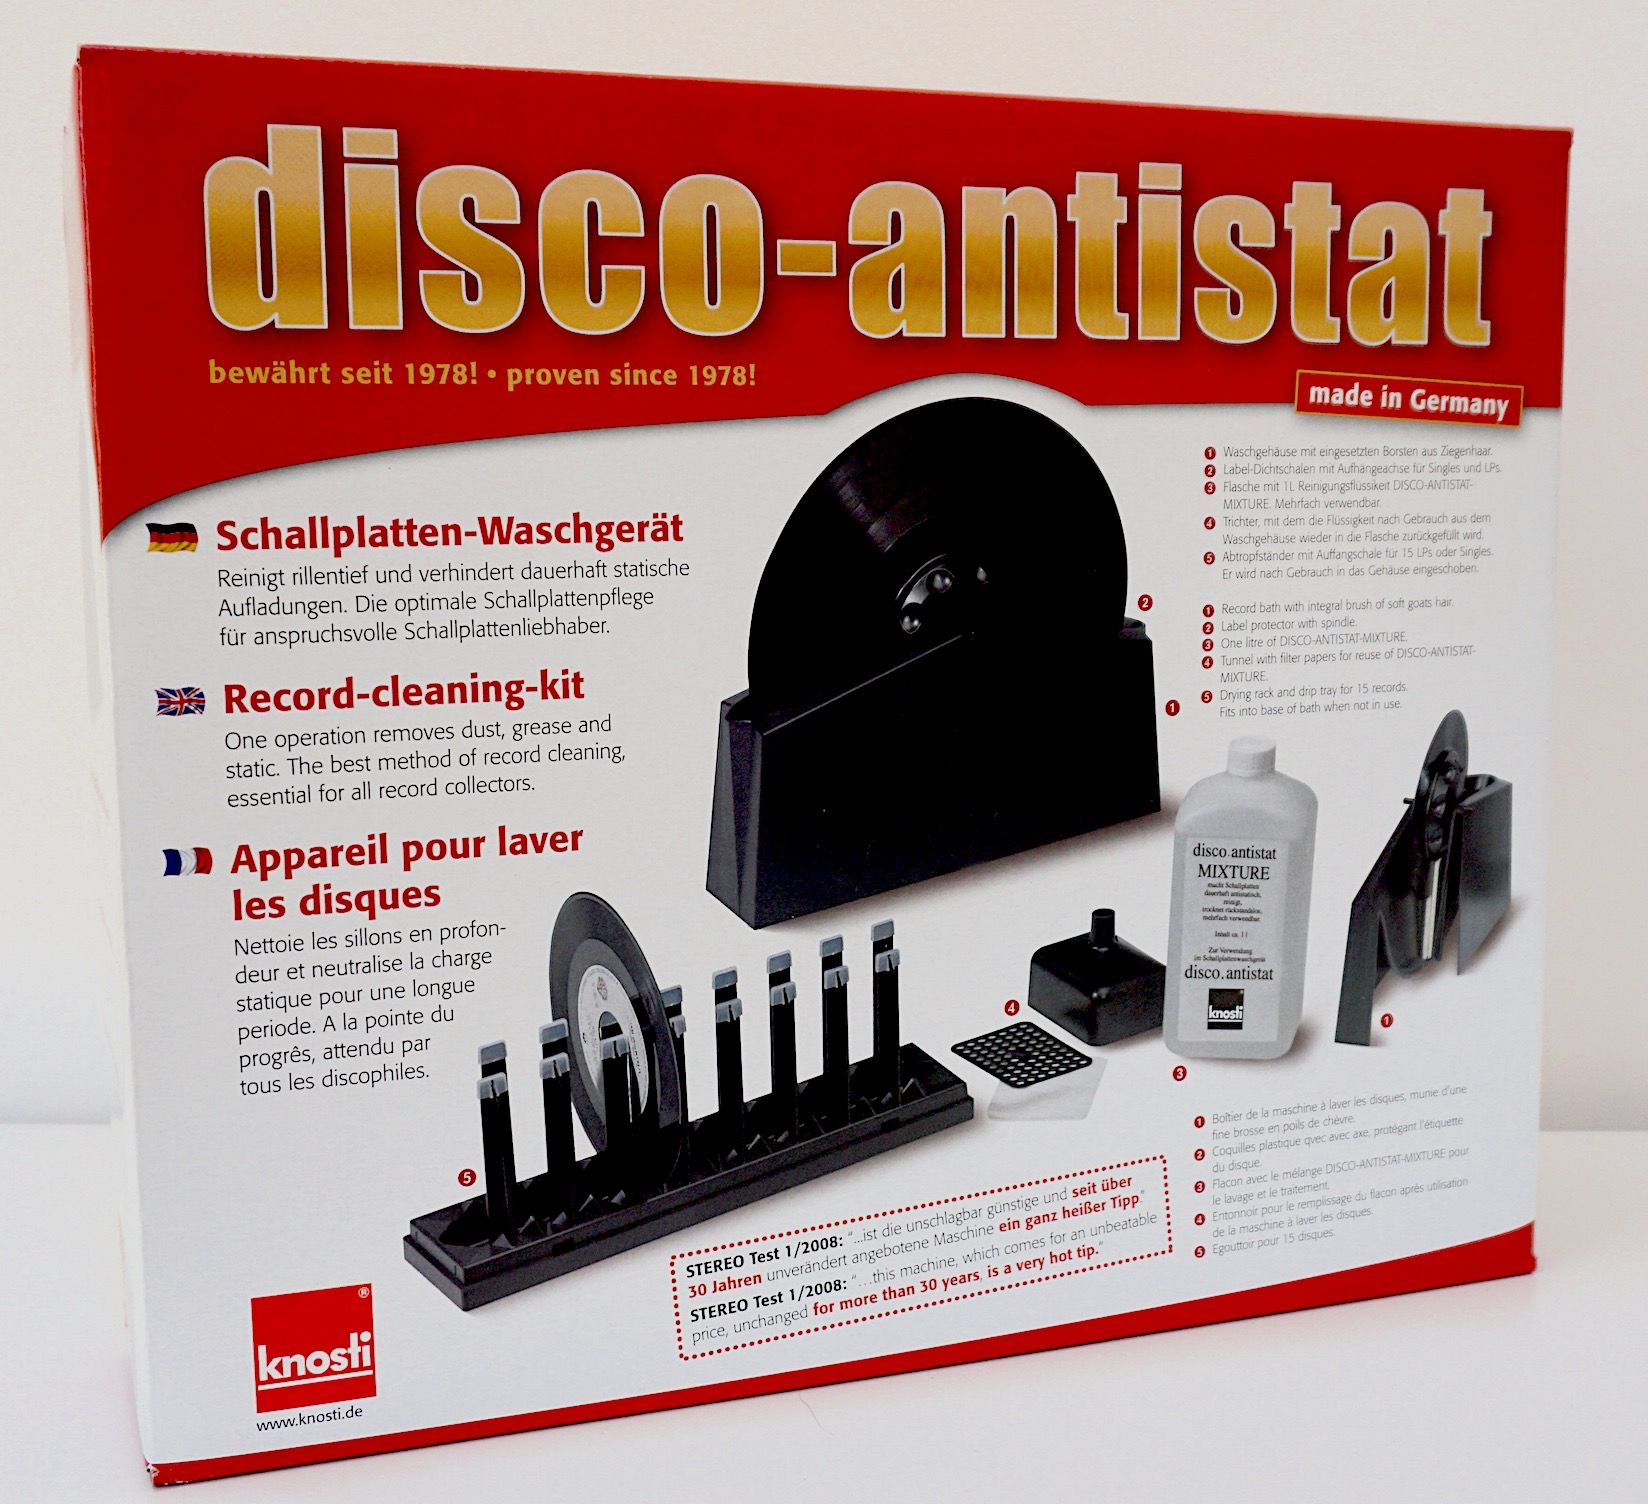
Offering a low-cost, manual vinyl cleaning solution, Paul Rigby readies his records for a quick wash and brush up
Blimey, we vinyl fans have a complex relationship with our records. Just look at one aspect of the relationship, cleaning the darned things. There are a host, a gamut of methods to clean vinyl discs. This format must be unique in offering so many cleaning solutions and so many complex ways to do it. I’ve never known so much effort to be placed into, what seems to be, a simple task.
Yet cleaning vinyl isn’t a simple task. If only it was, our lives would be so much simpler. Nevertheless, there is an odd sense of achievement, even fulfilment when you know that, not only have you cleaned your record well but the result of your hard efforts, has actually improved the sound quality to boot.
Spending serious time cleaning your vinyl collection brings with it solid, sonic rewards and thus is worth the time and effort involved.
I would say that vinyl cleaning is divided into three main categories: manual cleaning, cleaning via a RCM (Record Cleaning Machine) based upon a vacuum system and the high-end option, the ultrasonic cleaner.
Of course, as you might expect, manual cleaning is the cheapest option but often it’s the choice fraught with the most pitfalls. Mainly because this budget sector is filled with vinyl zealots who verge on the insane, cranks, conspiracy theorists, the militant and the downright weird. And that’s just my friends I’m talking about. Never mind everyone else. You don’t know who to believe, half the time. Some independent cleaning solutions seem guaranteed, not to clean you records, but melt them into a waxy lump
It’s a category filled to the brim with cleaning products that I wouldn’t touch with a barge pole. Its also a category that is filled with a plethora of home-brew options, urban myths and “recommended” cleaning solutions that are so scary to watch or hear about, they would give Edgar Allan Poe goosebumps.
More reliable manual record cleaning solutions still present a busy area though. It can be achieved by the use of different types of brushes, felt pads, gizmos and more with the help of a 1001 different liquid concoctions.
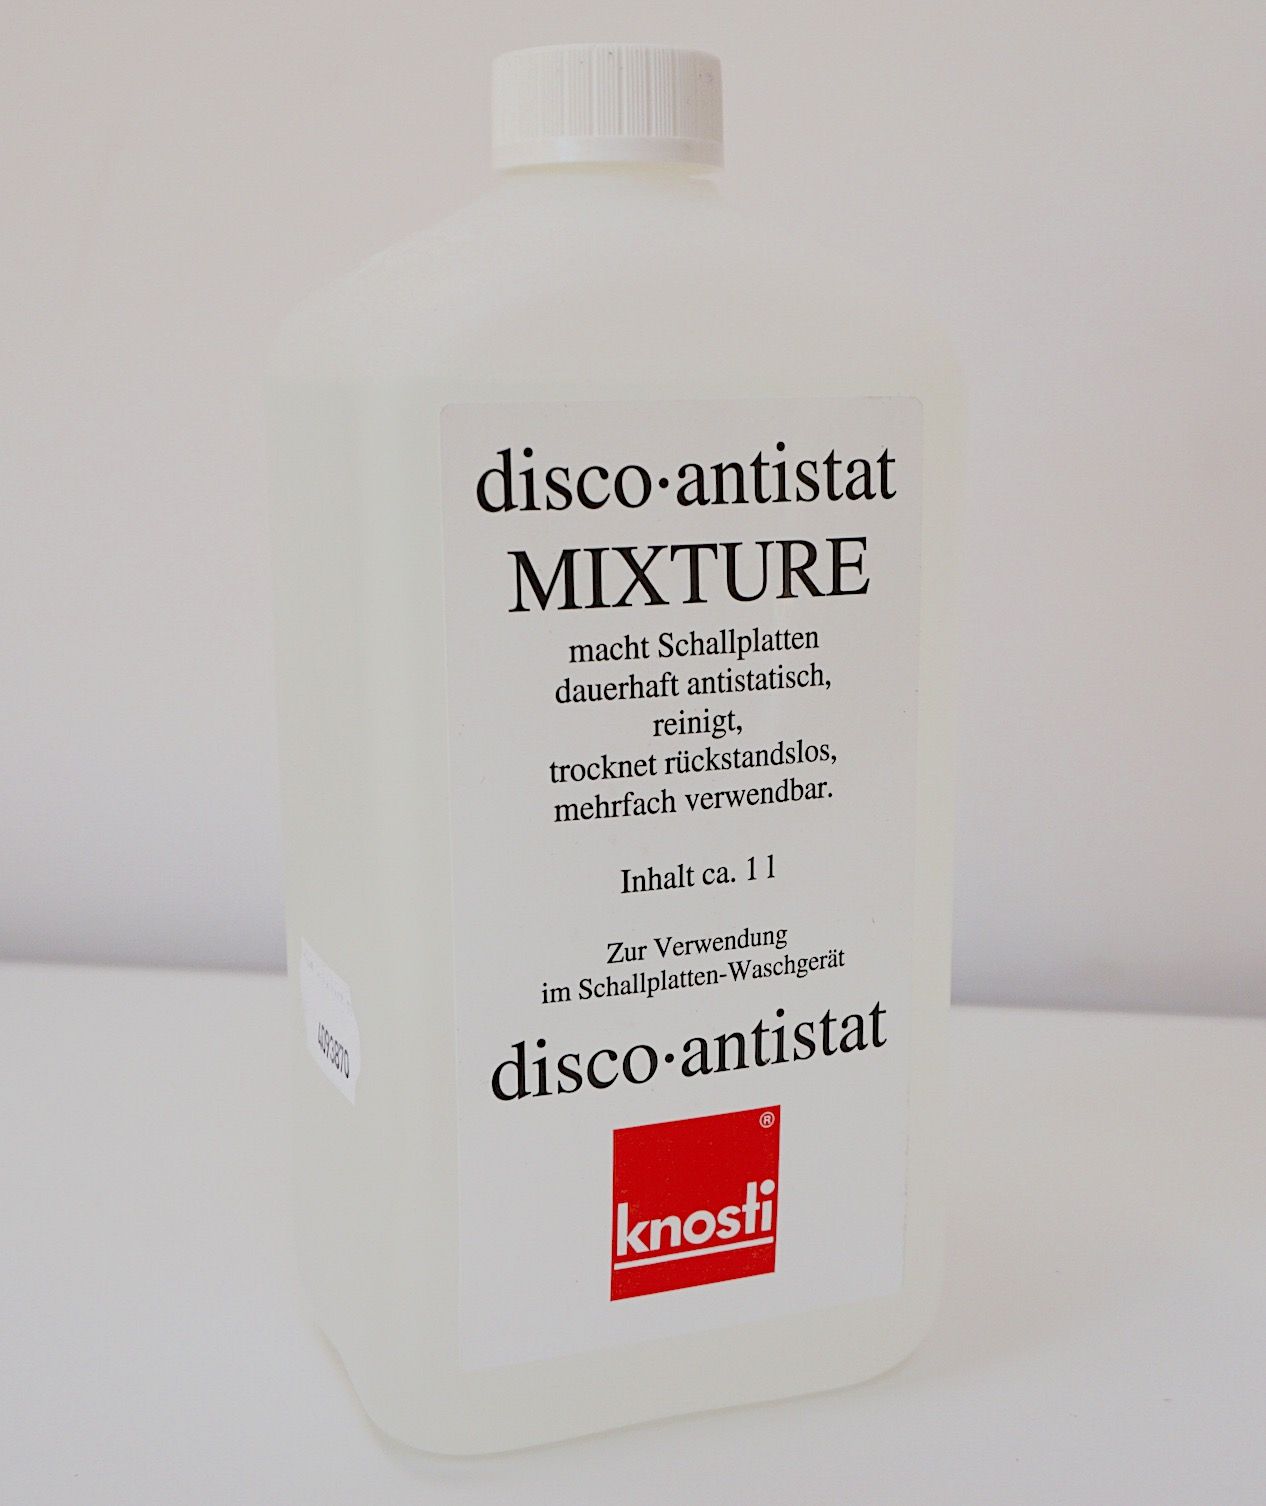
This is one of those proposed cleaning solutions. A cleaning machine that arrives with its own cleaning liquid. It’s been around for some time, I realise but I’ve never properly reviewed it. I thought it was about time.
This entry into the manual-cleaning field comes from Germany and has the wholly terrible name of Disco-Antistat. It’s true, I’ve never known such a poor appellation for any product of any stripe in my entire life.
That said, it’s a name you tend to remember. So…maybe that’s the point?
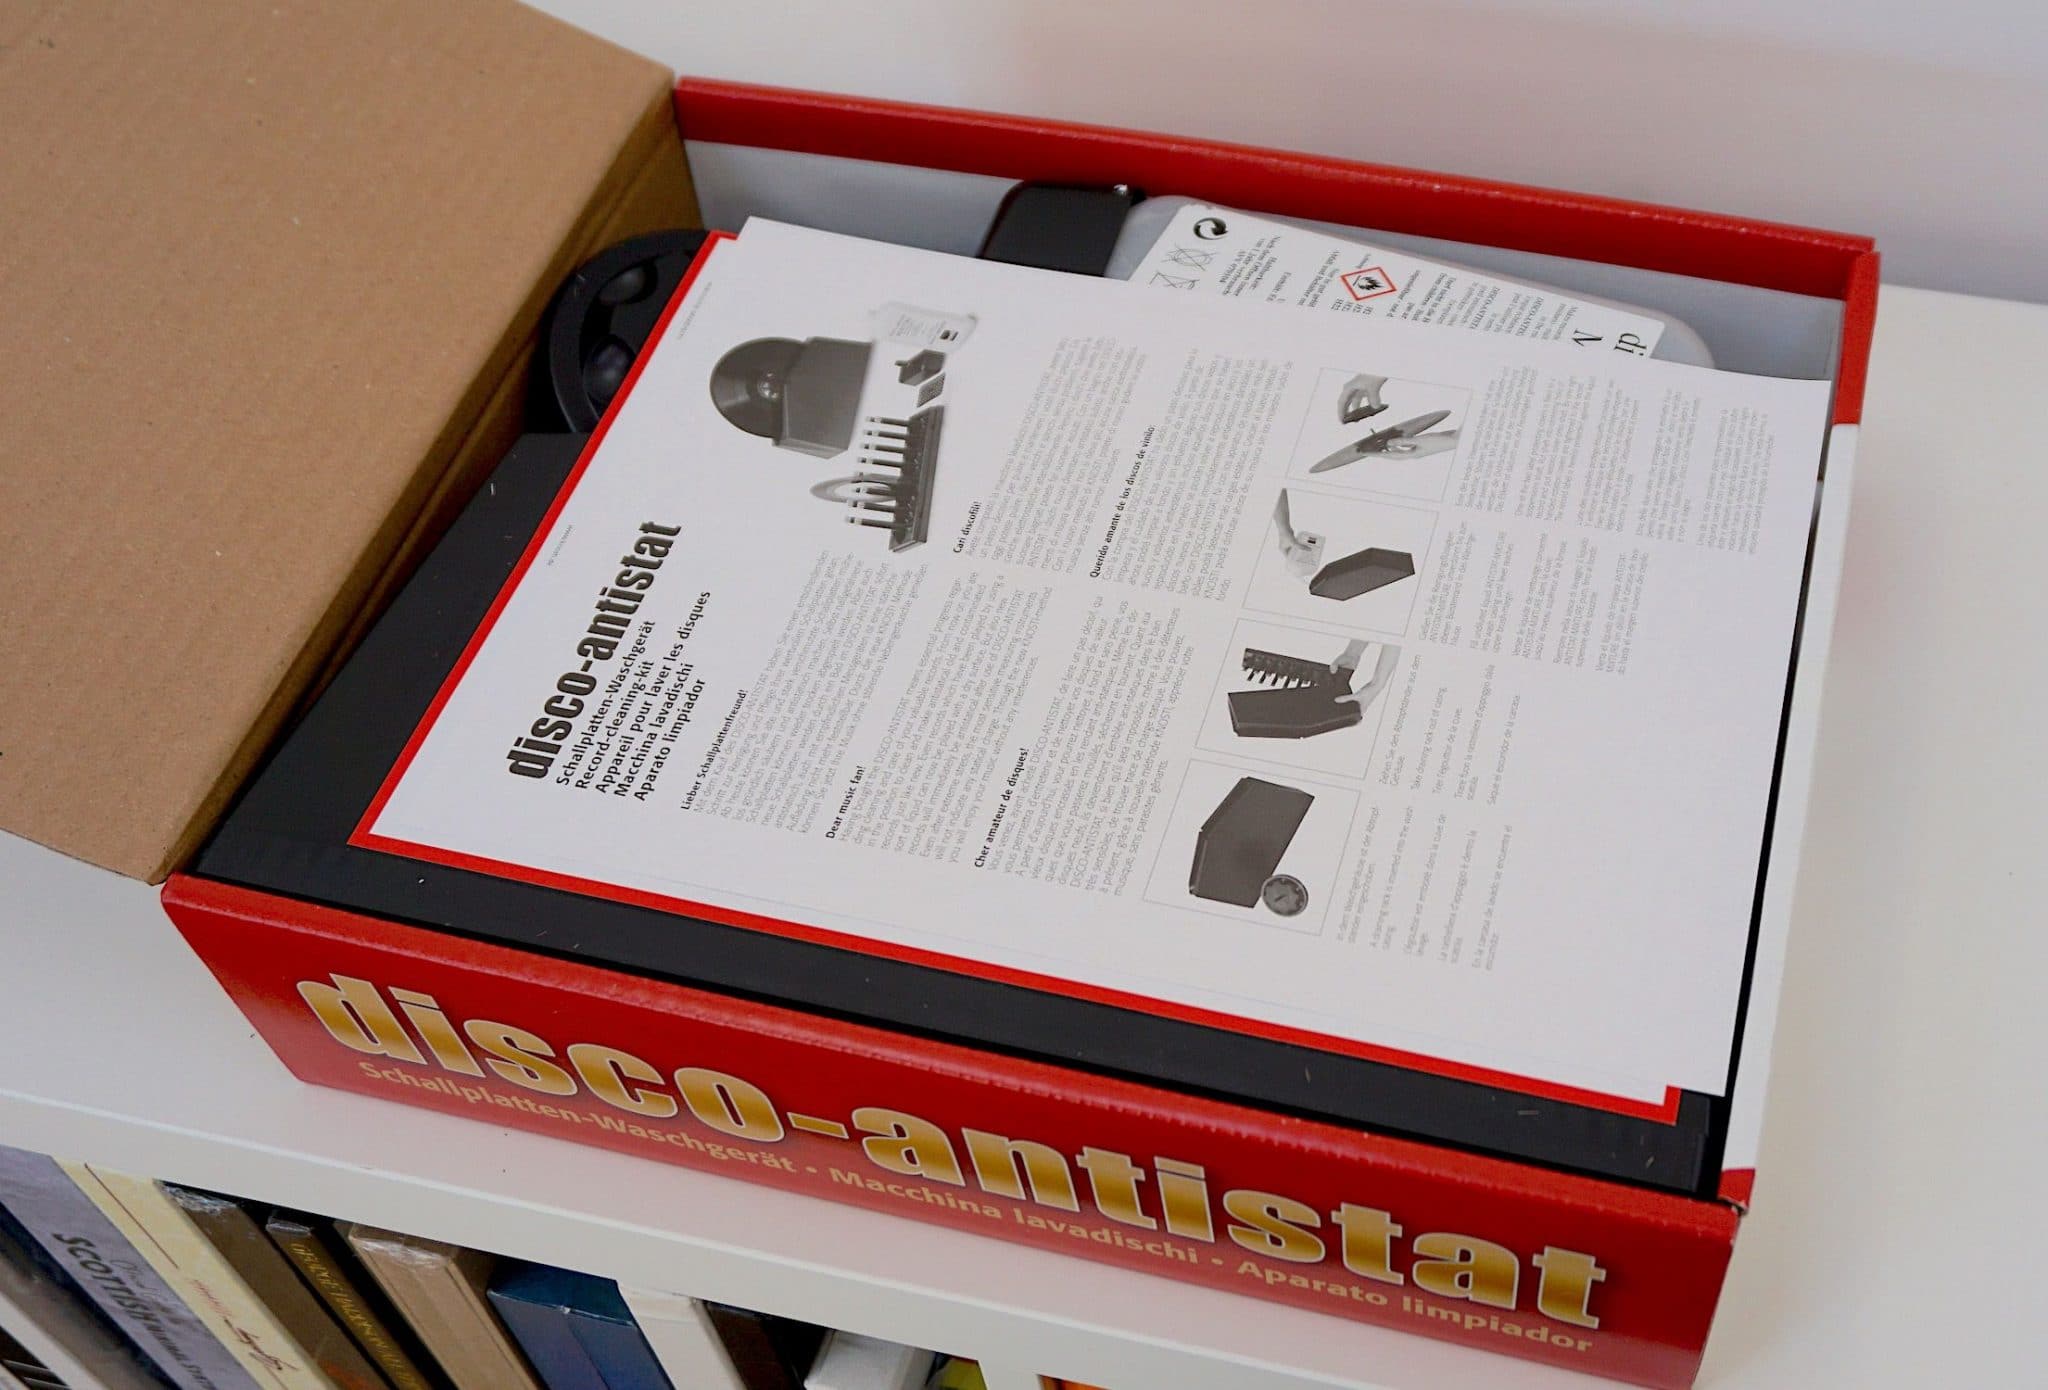
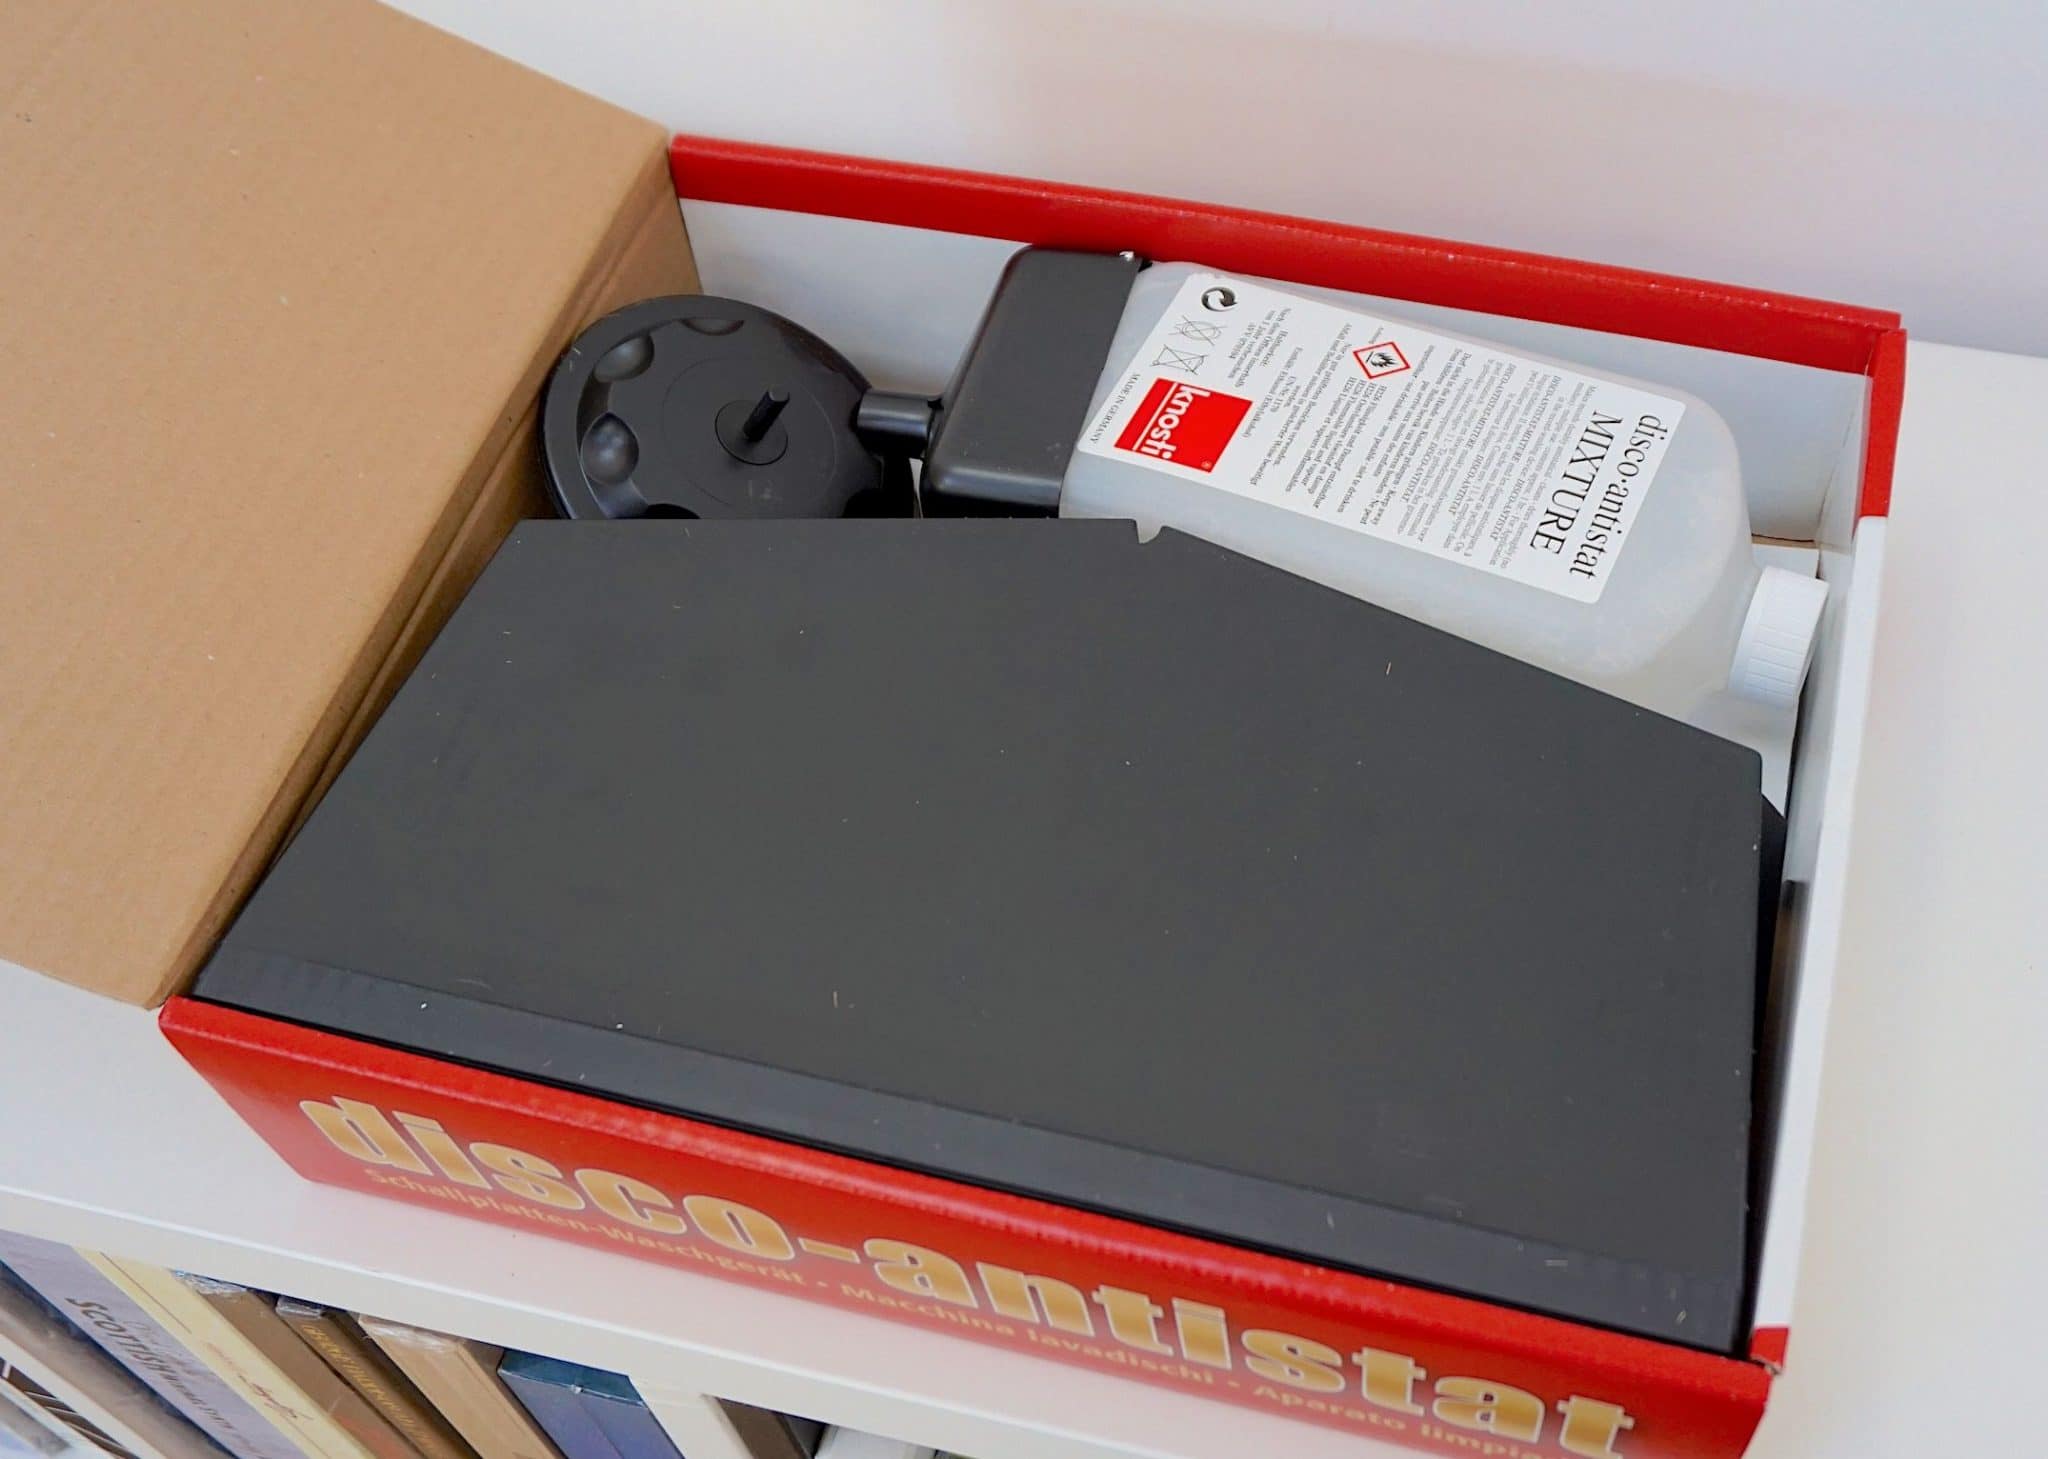
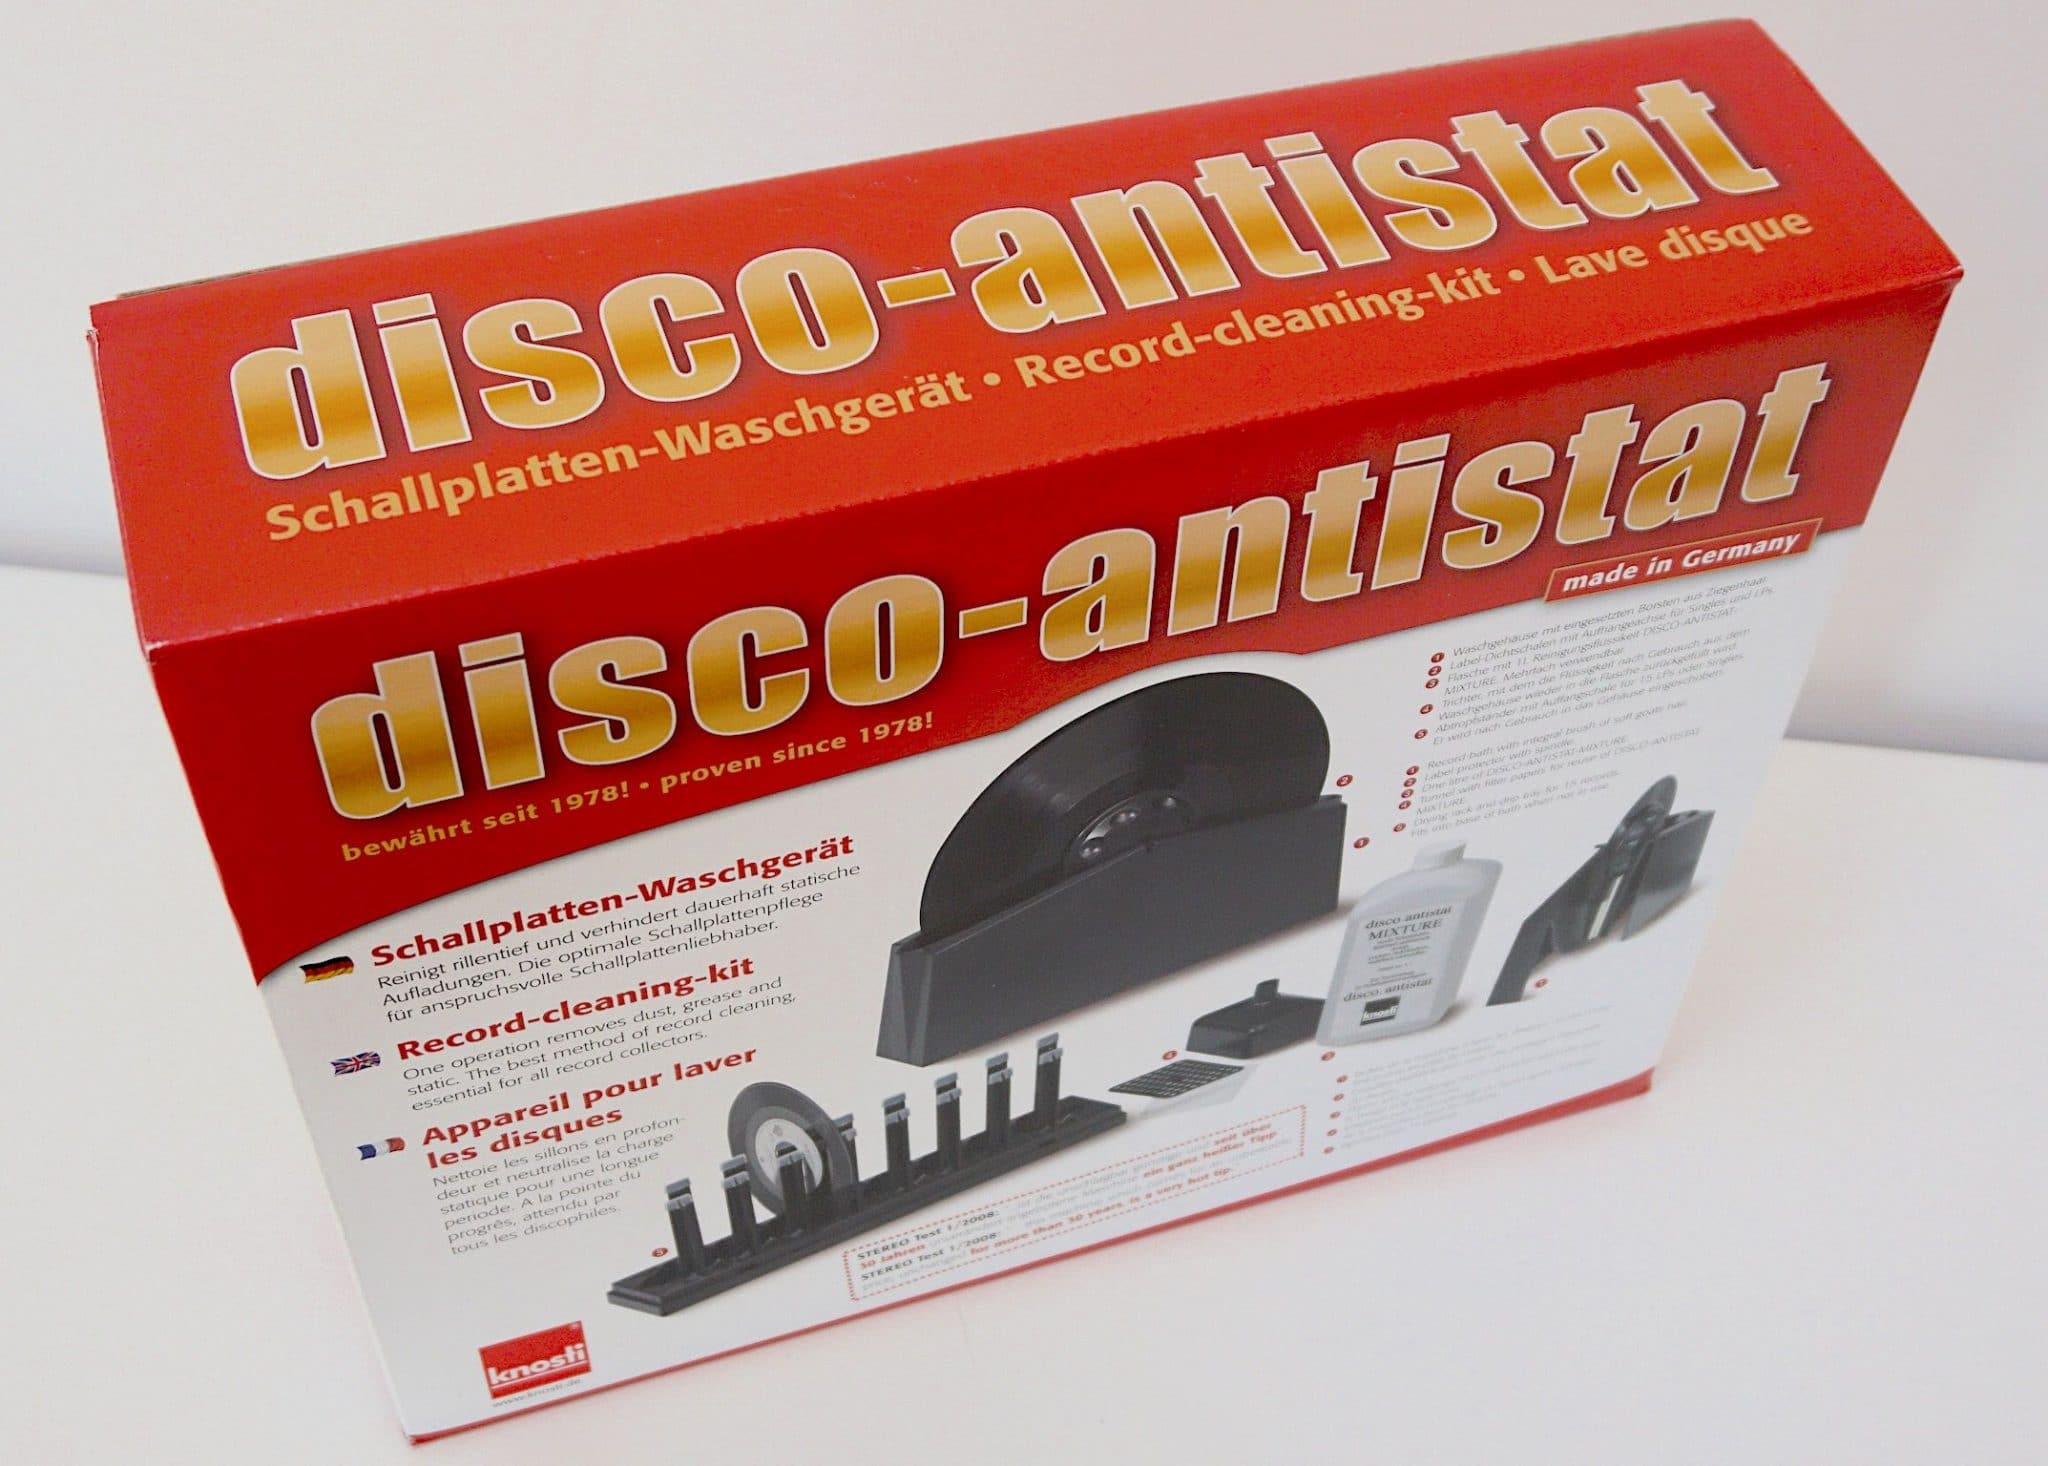
Arriving in a colourful yet solid box, the contents are neatly arranged, packed with plastic but again, feel solid and sturdy. There’s nothing overly flimsy in terms of structure and design here. Looking and handling the bits and pieces in the box, you feel that you’re getting your money’s worth.
INSTALLATION & USE
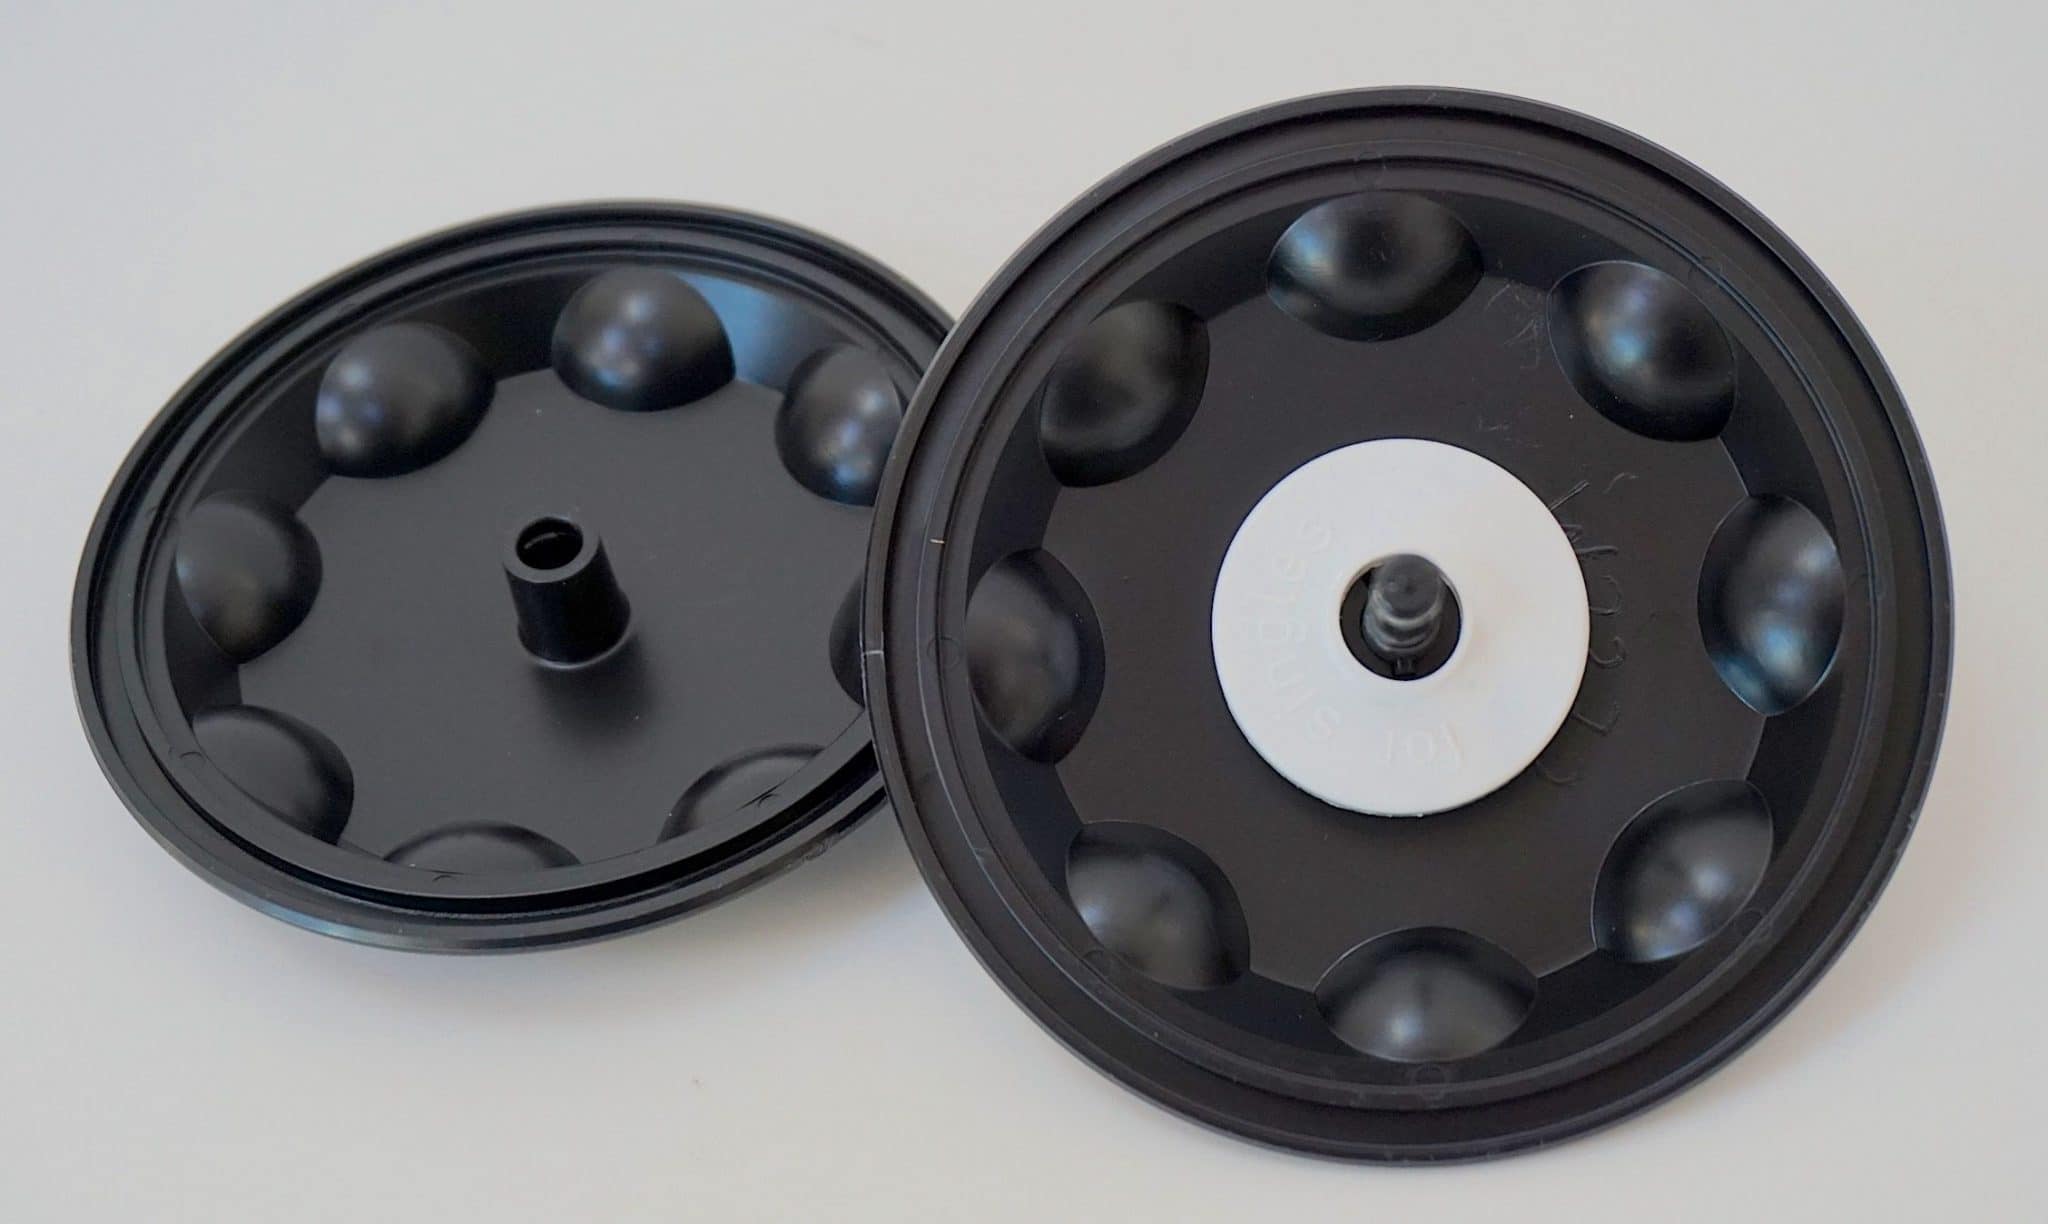
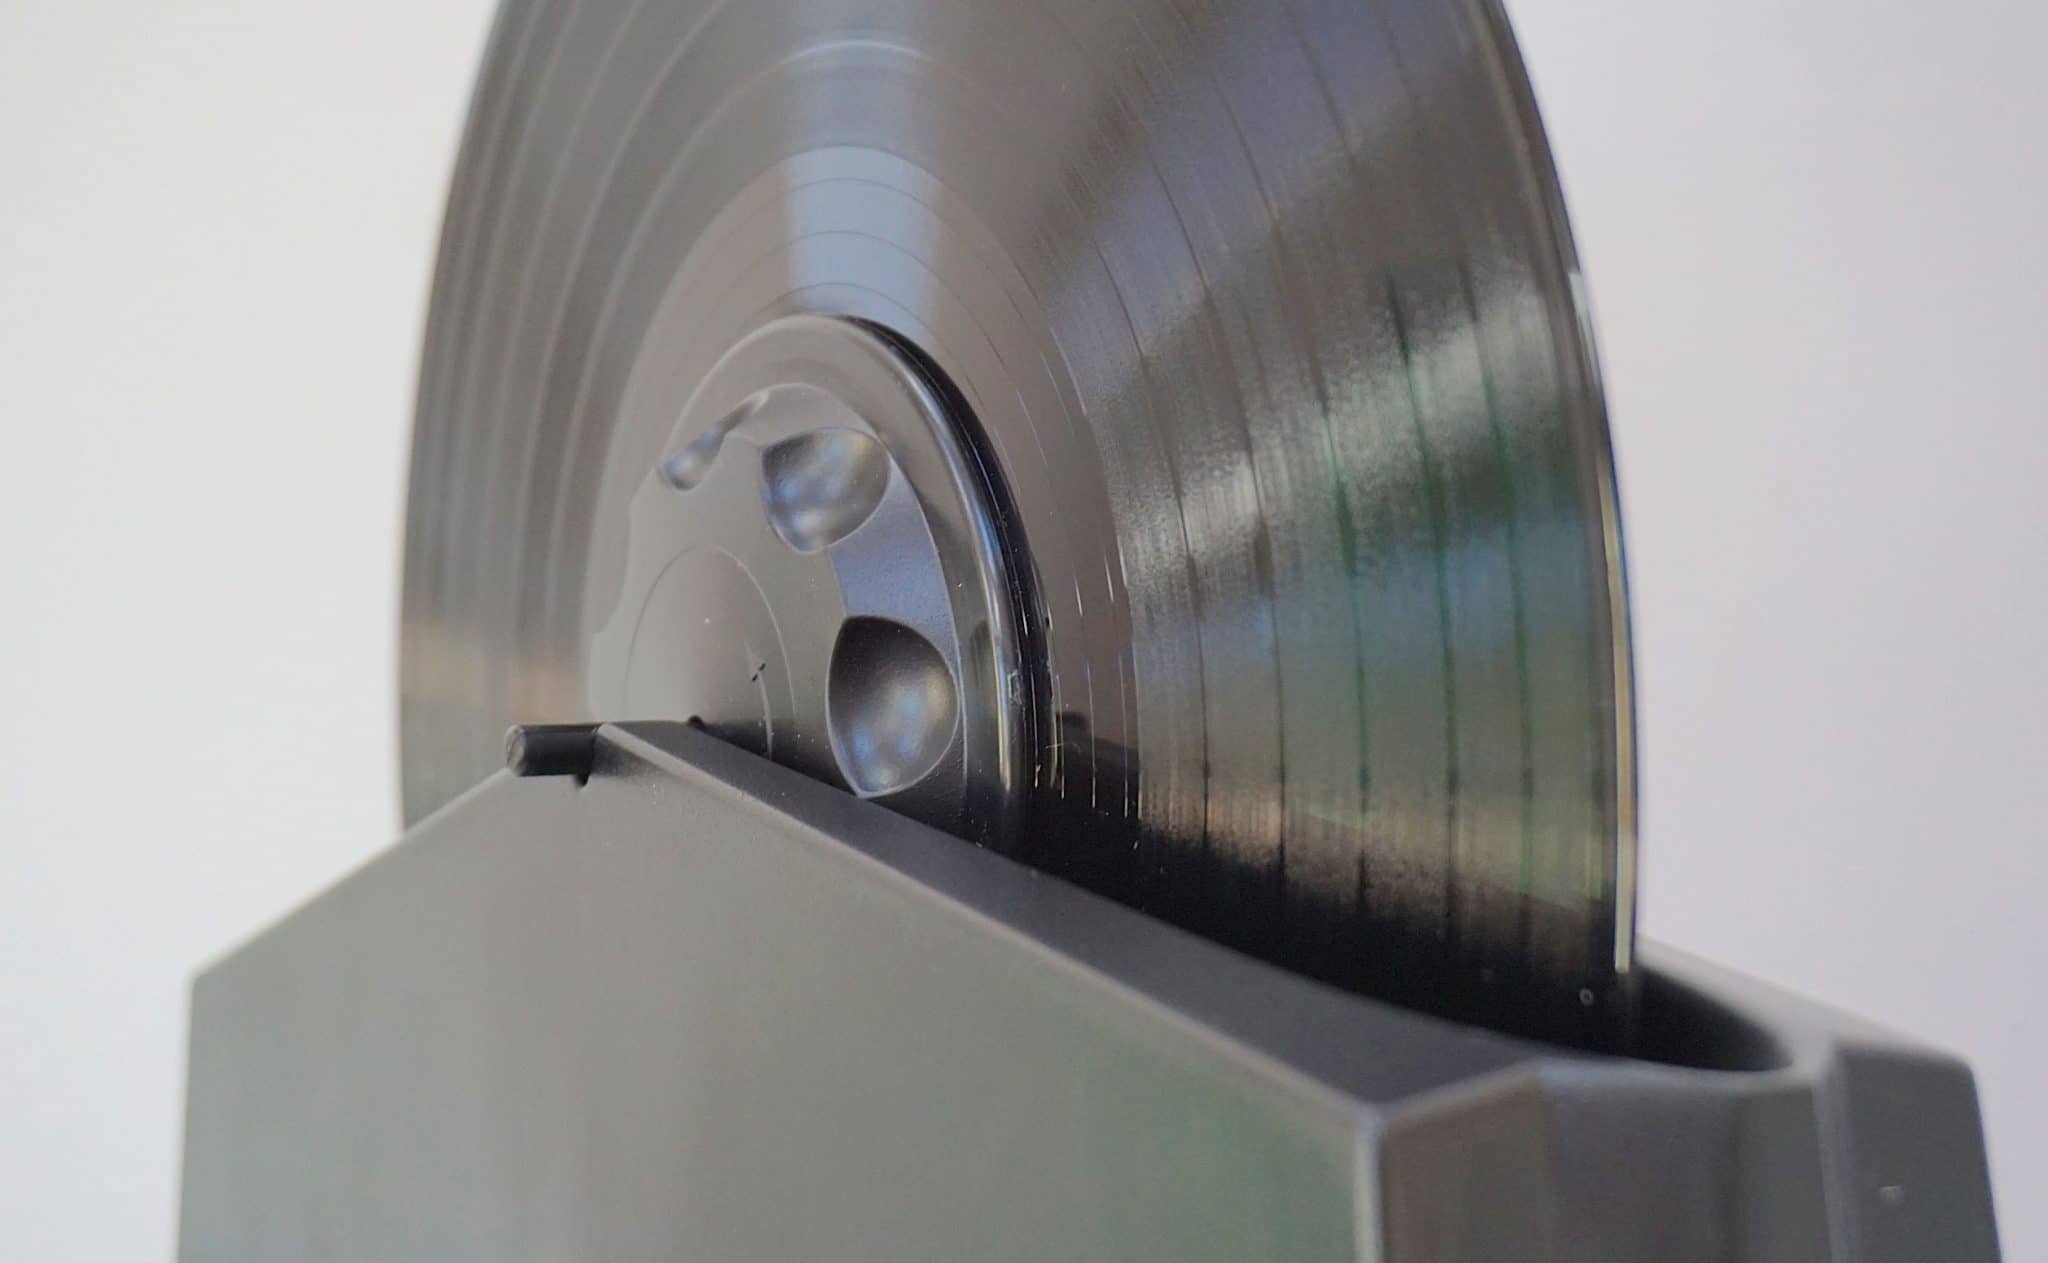
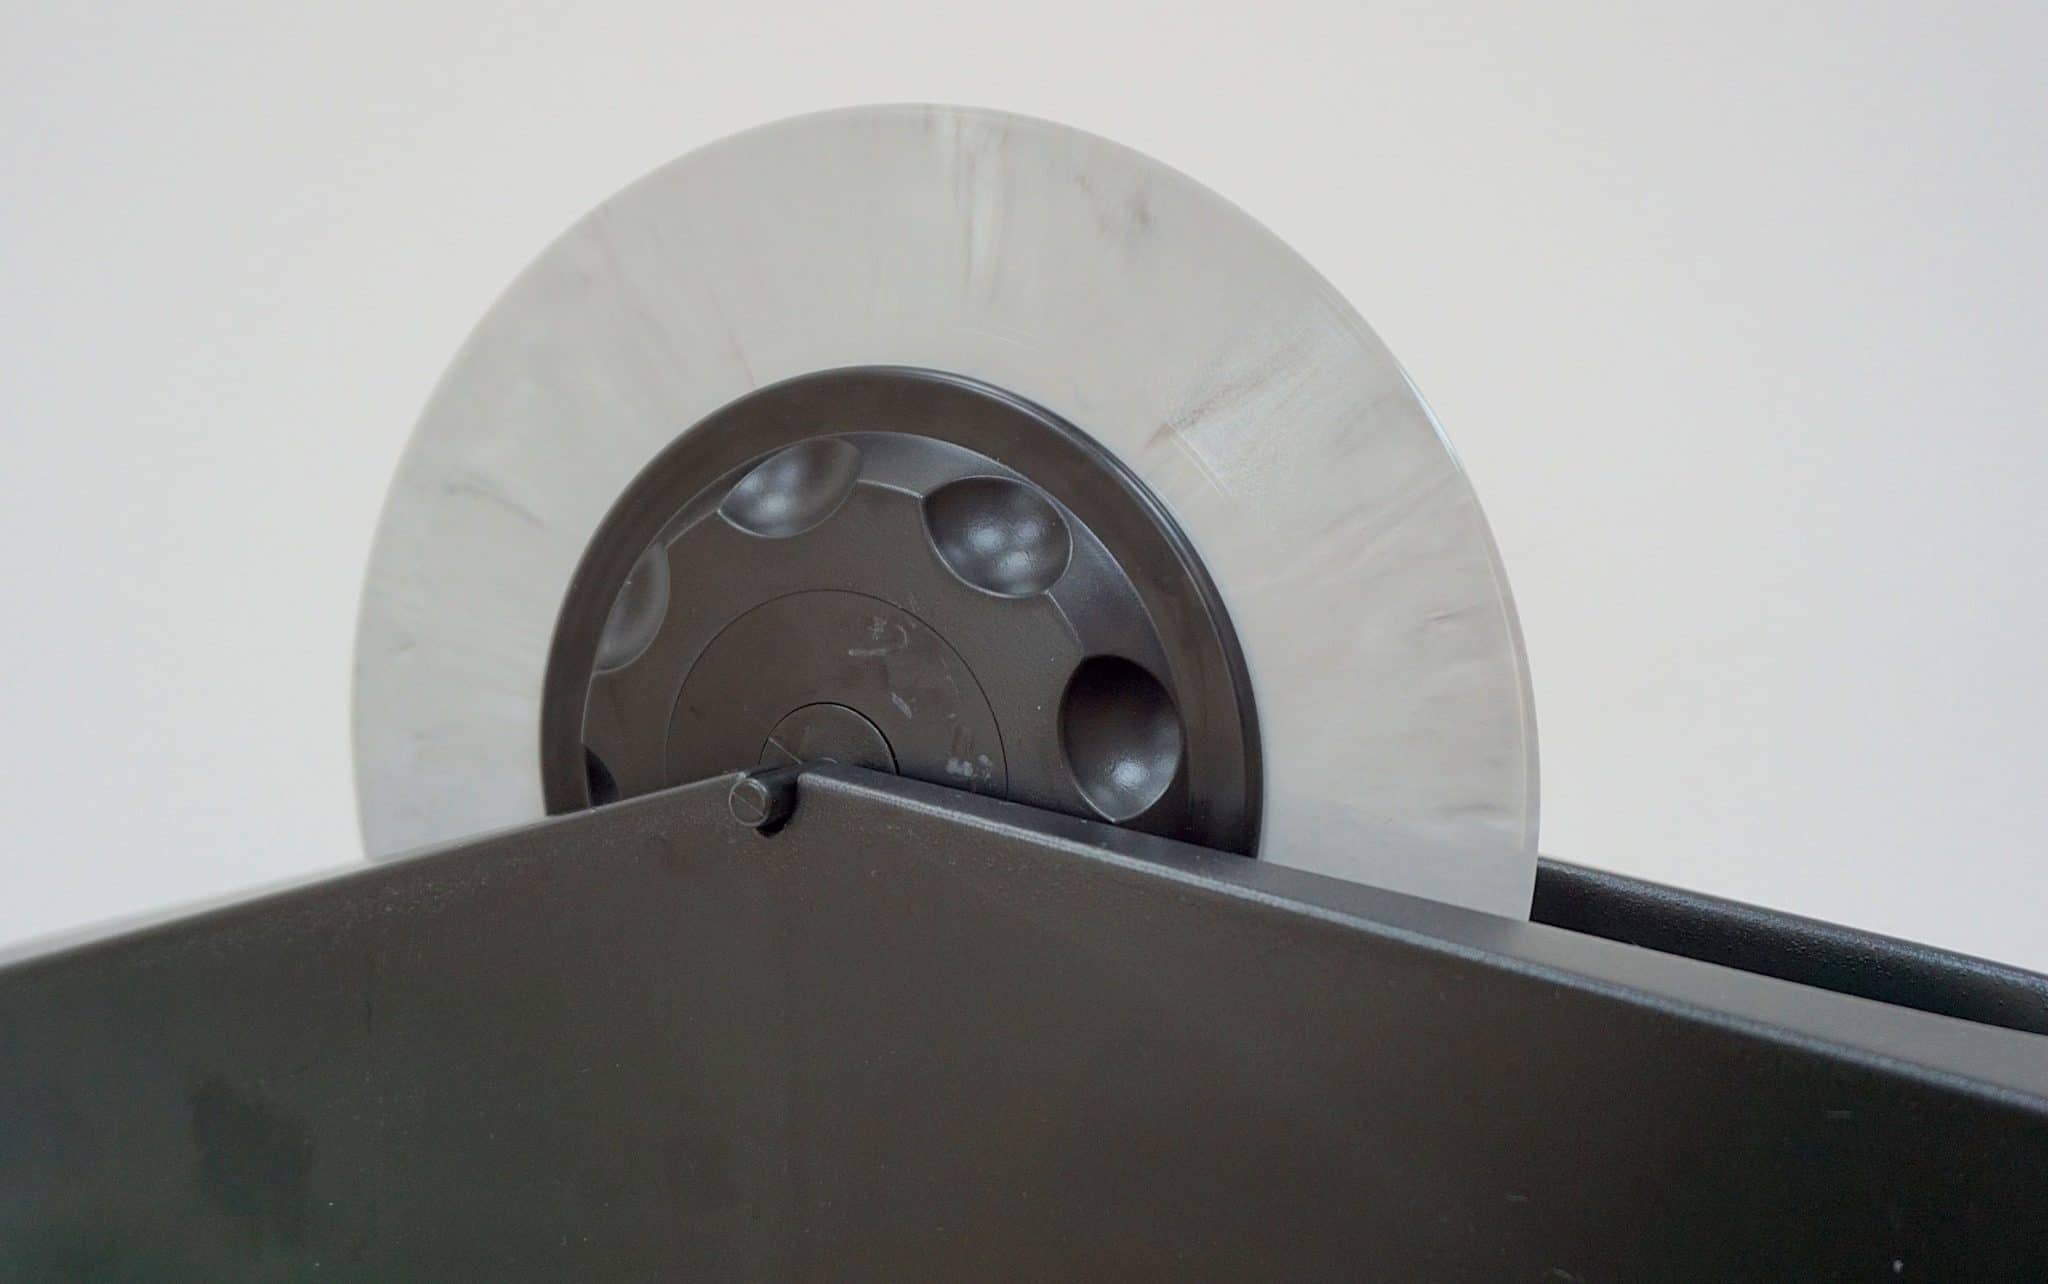
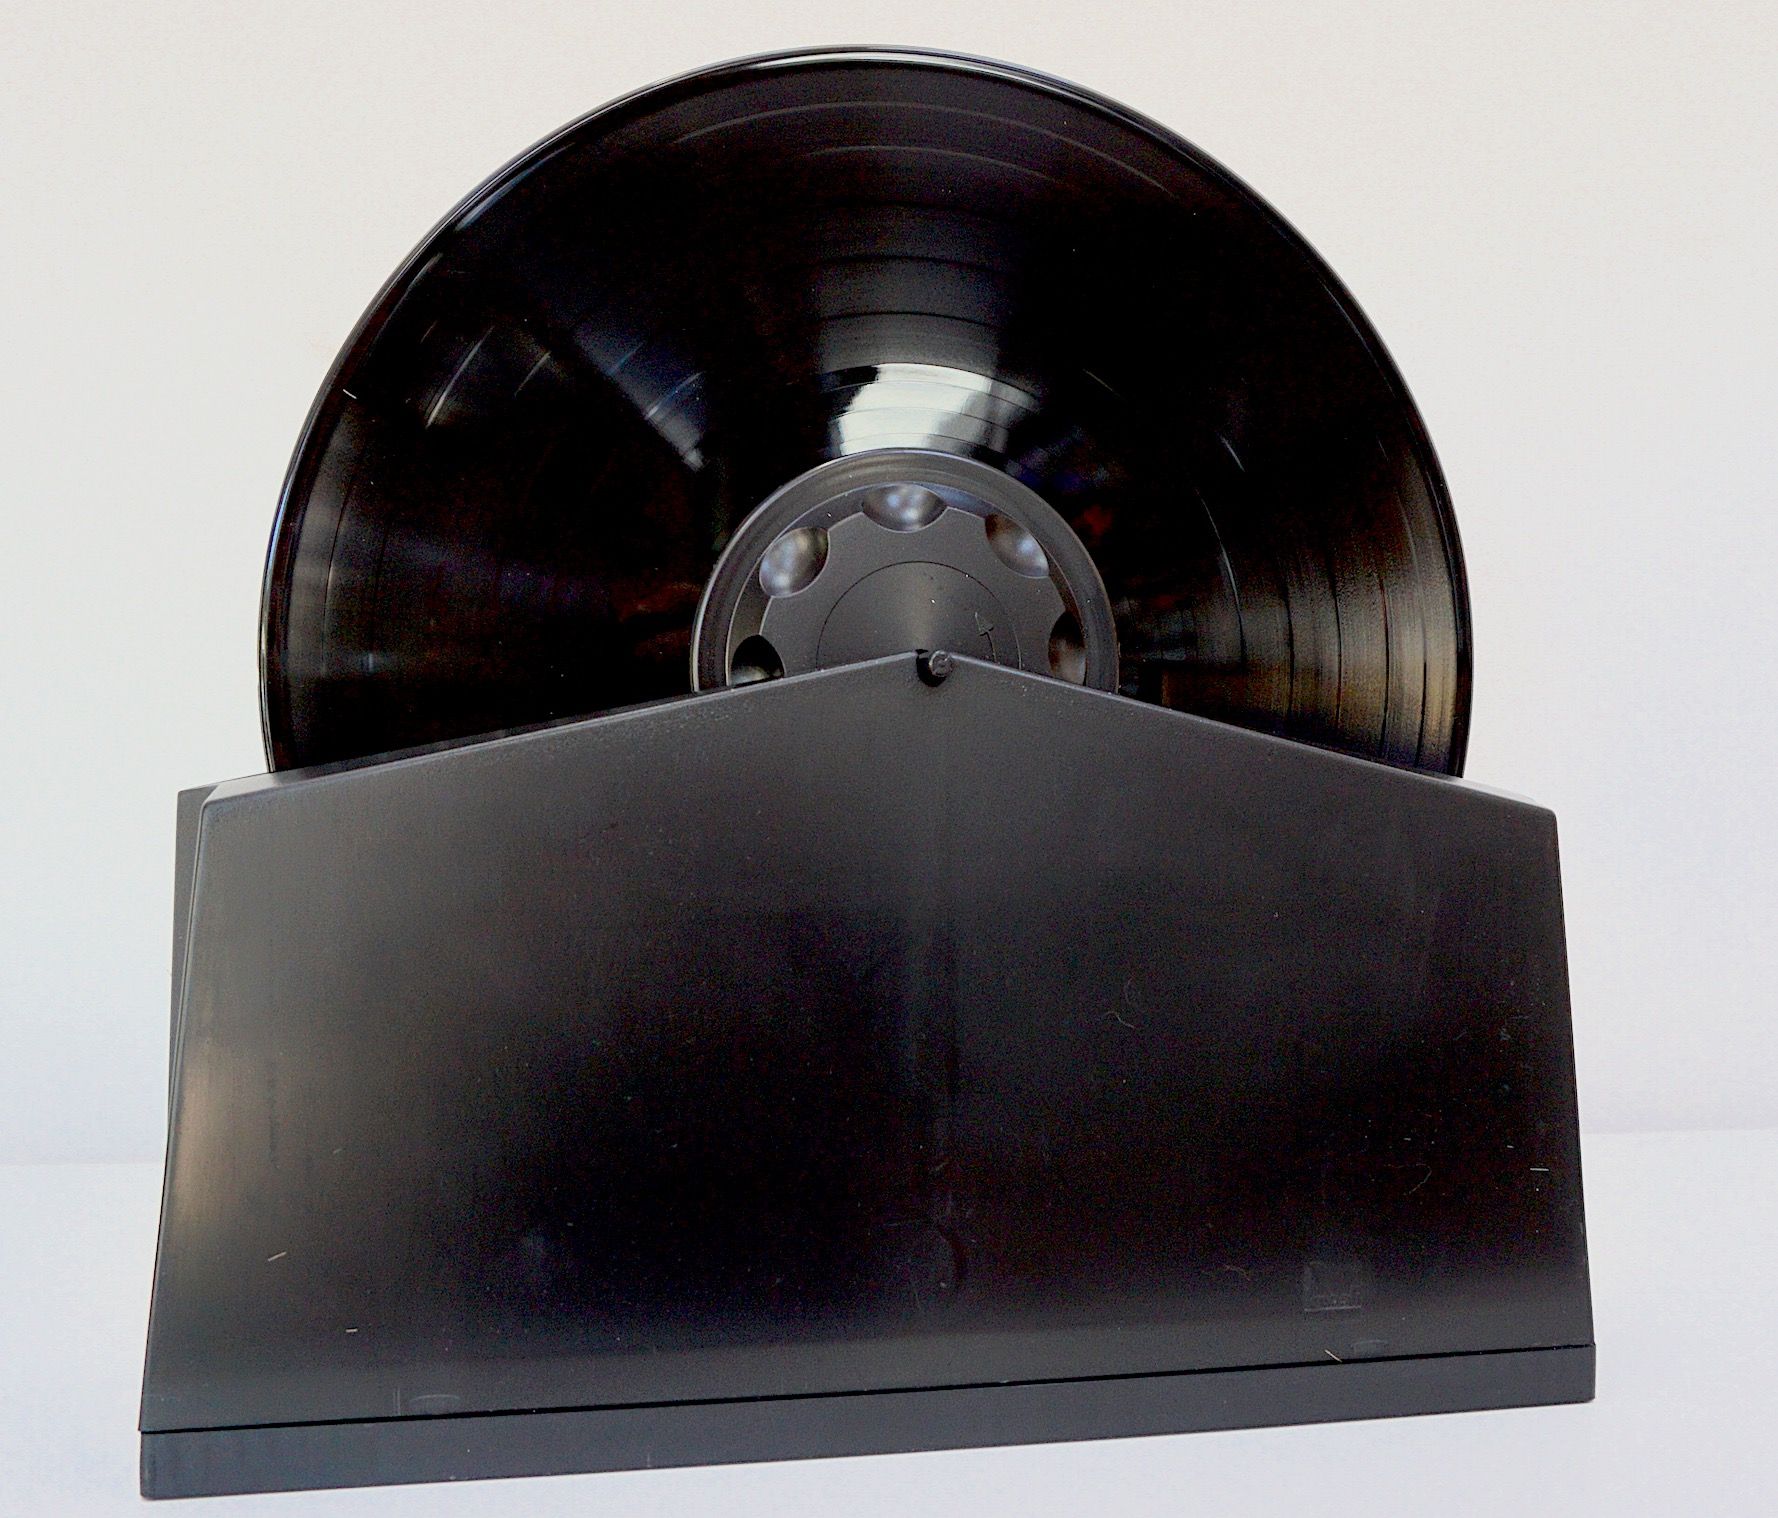
The parts are simple to use and the system is relatively easy to install. Out of the box, you will find the largest part, the bath. A one-piece structure. This is the part that will ultimately support the record while cleaning too. It’s easy to miss the fact that a drying rack is tucked ingeniously inside this bath. Turn the bath upside down and you will see the drying rack slotted underneath, pull that out and place it to one side for now.
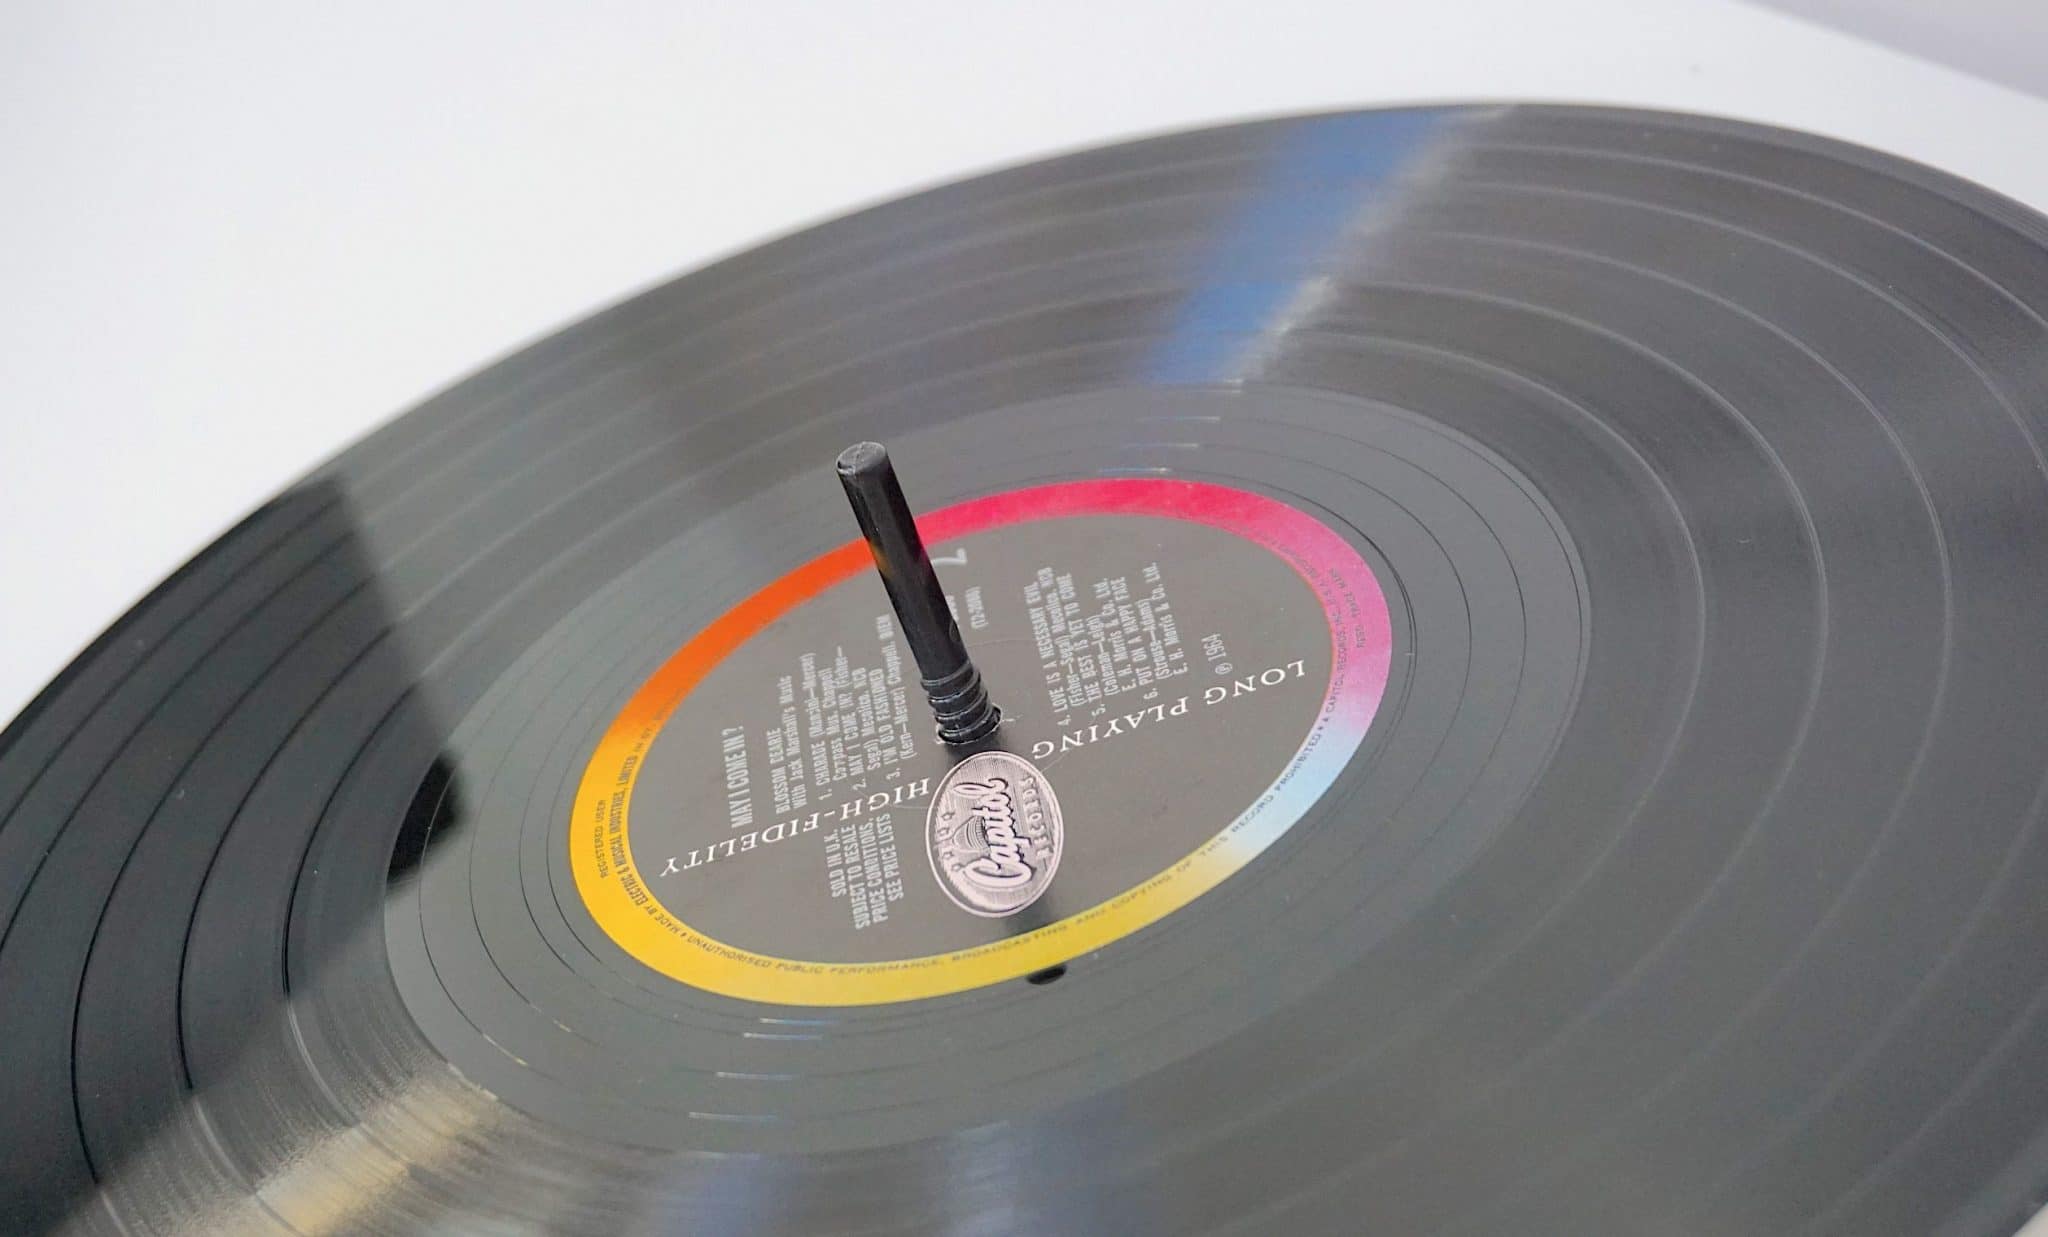
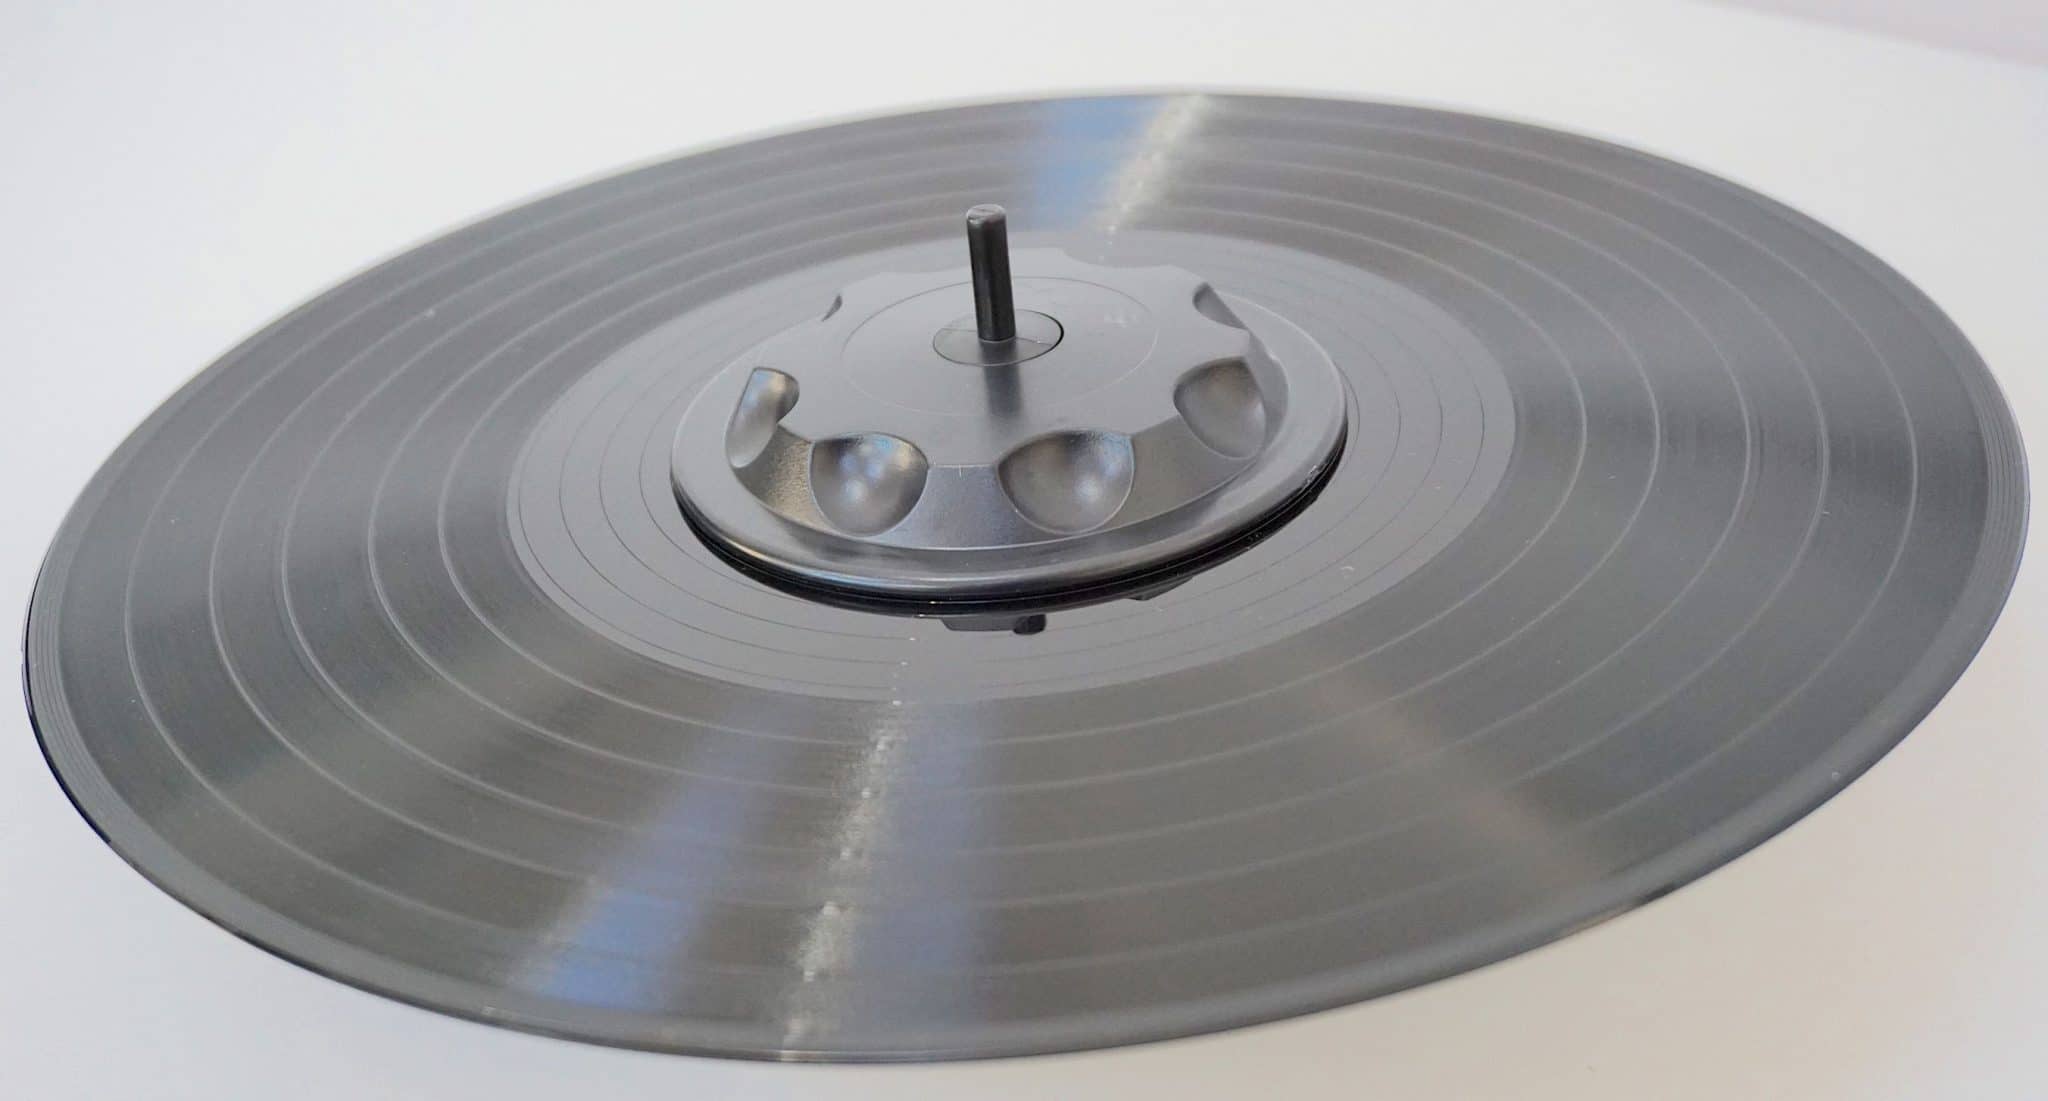
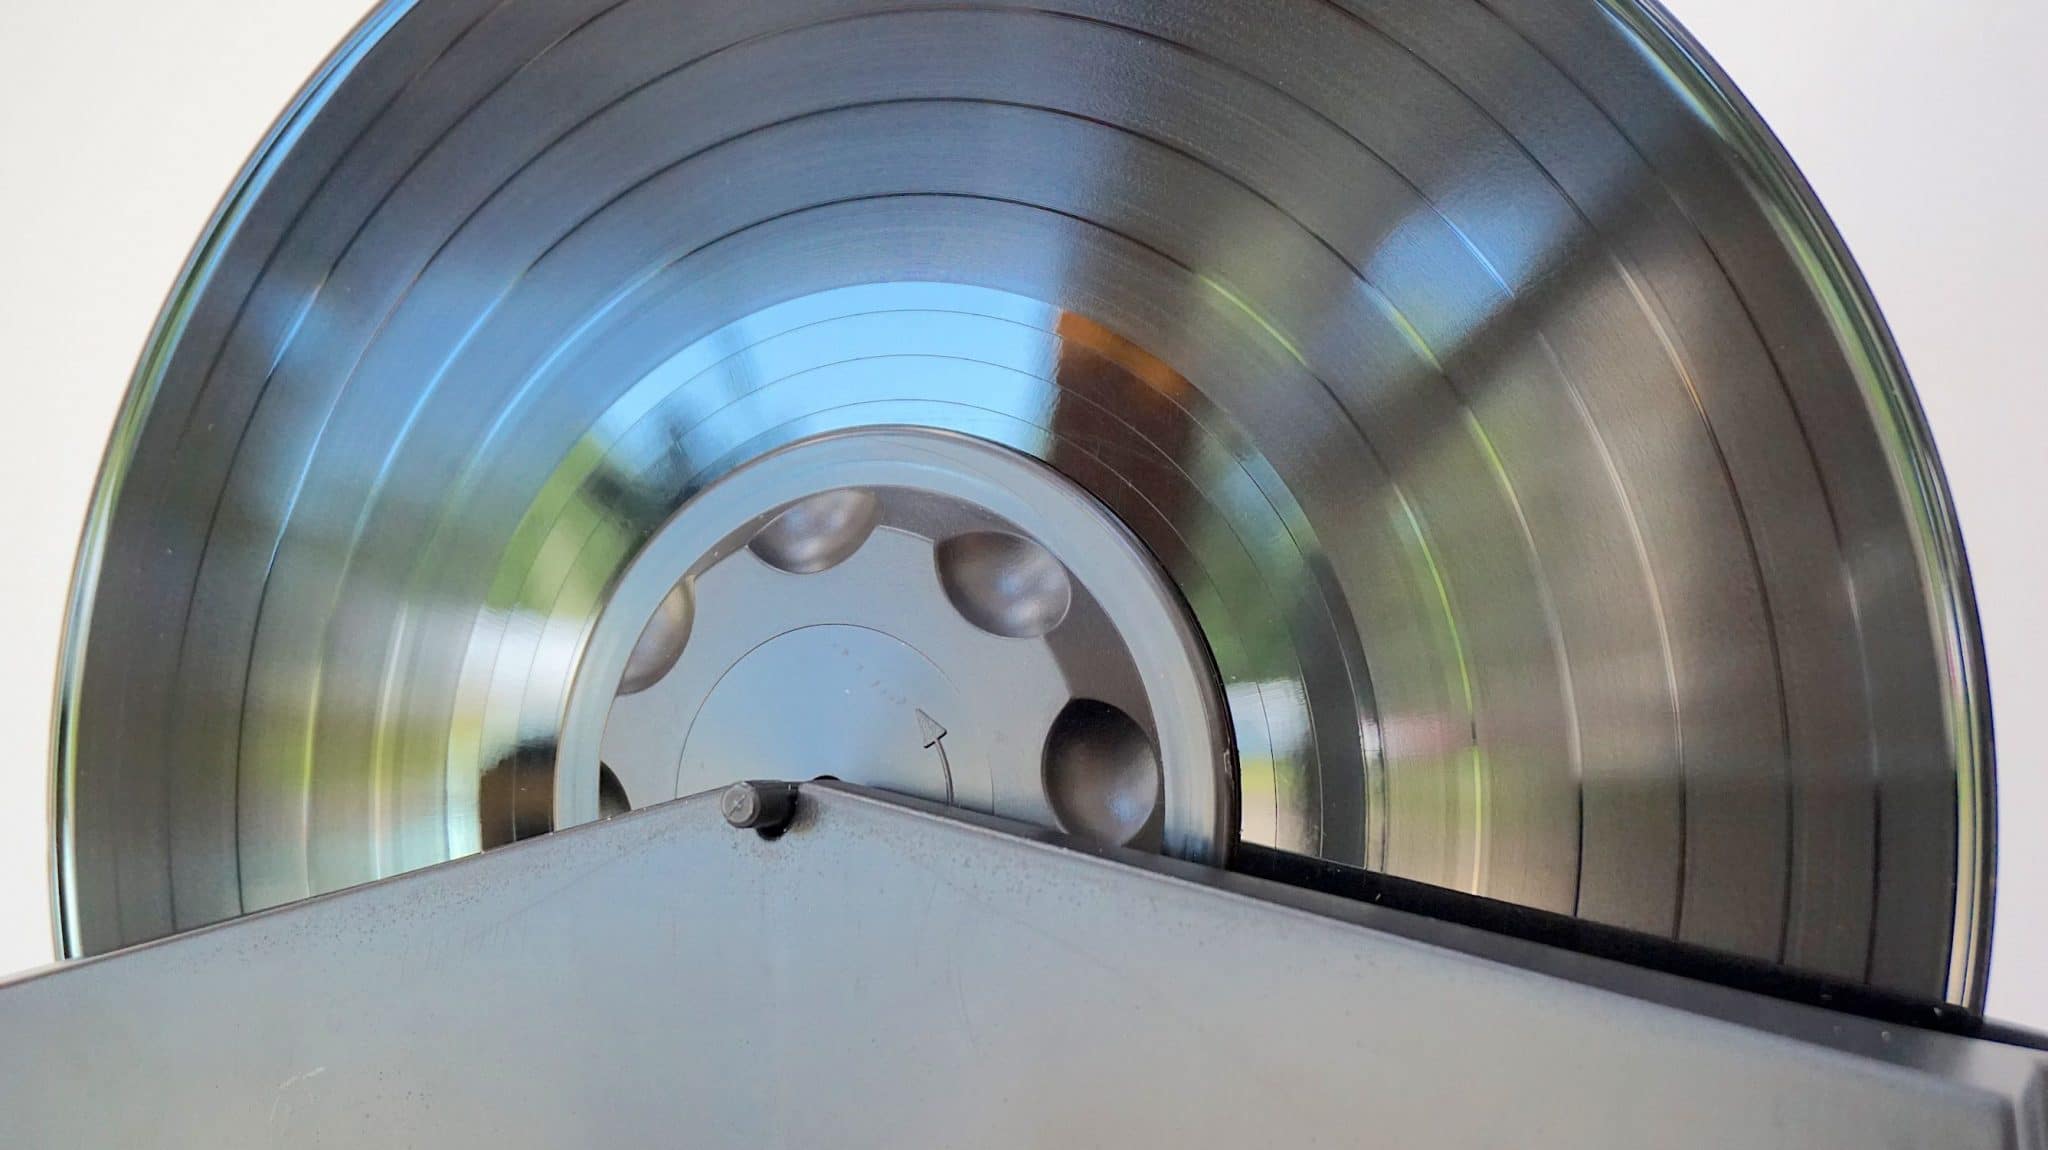
Other parts include a two-part clamp and funnel-filter. We’ll get to the funnel in a moment. One half of the clamp includes a bayonet axle. This axle pushes though the record’s centre spindle hole, the other side of the clamp screws over this axle while the vinyl record forms the meat in the sandwich.
Both sides of the clamp can then be screwed to tighten. You’ll find that one side of the clamp tightens in a clockwise fashion and the other in an anti-clockwise manner which makes adding and removing the clamp easy to do.
Once the clamp is securely on the the record, you will notice that the clamps provide two services.
Firstly, there are two outer axle ends that fit into the bath runnels that allow you to rotate the record while on the bath to facilitate cleaning. Secondly, with the clamp in place, note how the clamp itself covers the record label, keeping it dry during the cleaning process. Simple yet effective.
To clean, you add the supplied cleaning liquid, which has already been diluted and is ready to use, to the bath (I’ll talk more about the liquid later on). The manufacturer wants you to pour enough liquid until the level reaches the uppermost part of the brush. I would advise against that otherwise you risk running too close to the label area. I know the label is protected by the clamps but, even so, I wouldn’t tempt providence here.
That said, I’d do a dry run, if you can, for each and every record you clean in case there are variations in label position and size. See below for advise on storing the bath liquid elsewhere while you do this. On average, I would suggest leaving about half a centimetre of brush poking out of the liquid. That is, have half a centimetre of brush exposed and dry before you see the uppermost level of bath liquid.
You insert the record into the bath itself. The clamp provides full support. Then you rotate the record manually to clean.
The instructions are a bit on the wishy-washy side (no pun intended) when it comes to just how many rotations you need but, during tests, I found that six full rotations to the right are sufficient. When completed, reverse your direction. Complete another six rotations in the opposite direction and you’re sorted. Rotating the record in this manner allows the brushes to attack the groove grime from both directions, encouraging stubborn muck to be dislodged. You may require multiple cleanings, depending on the state of the record.
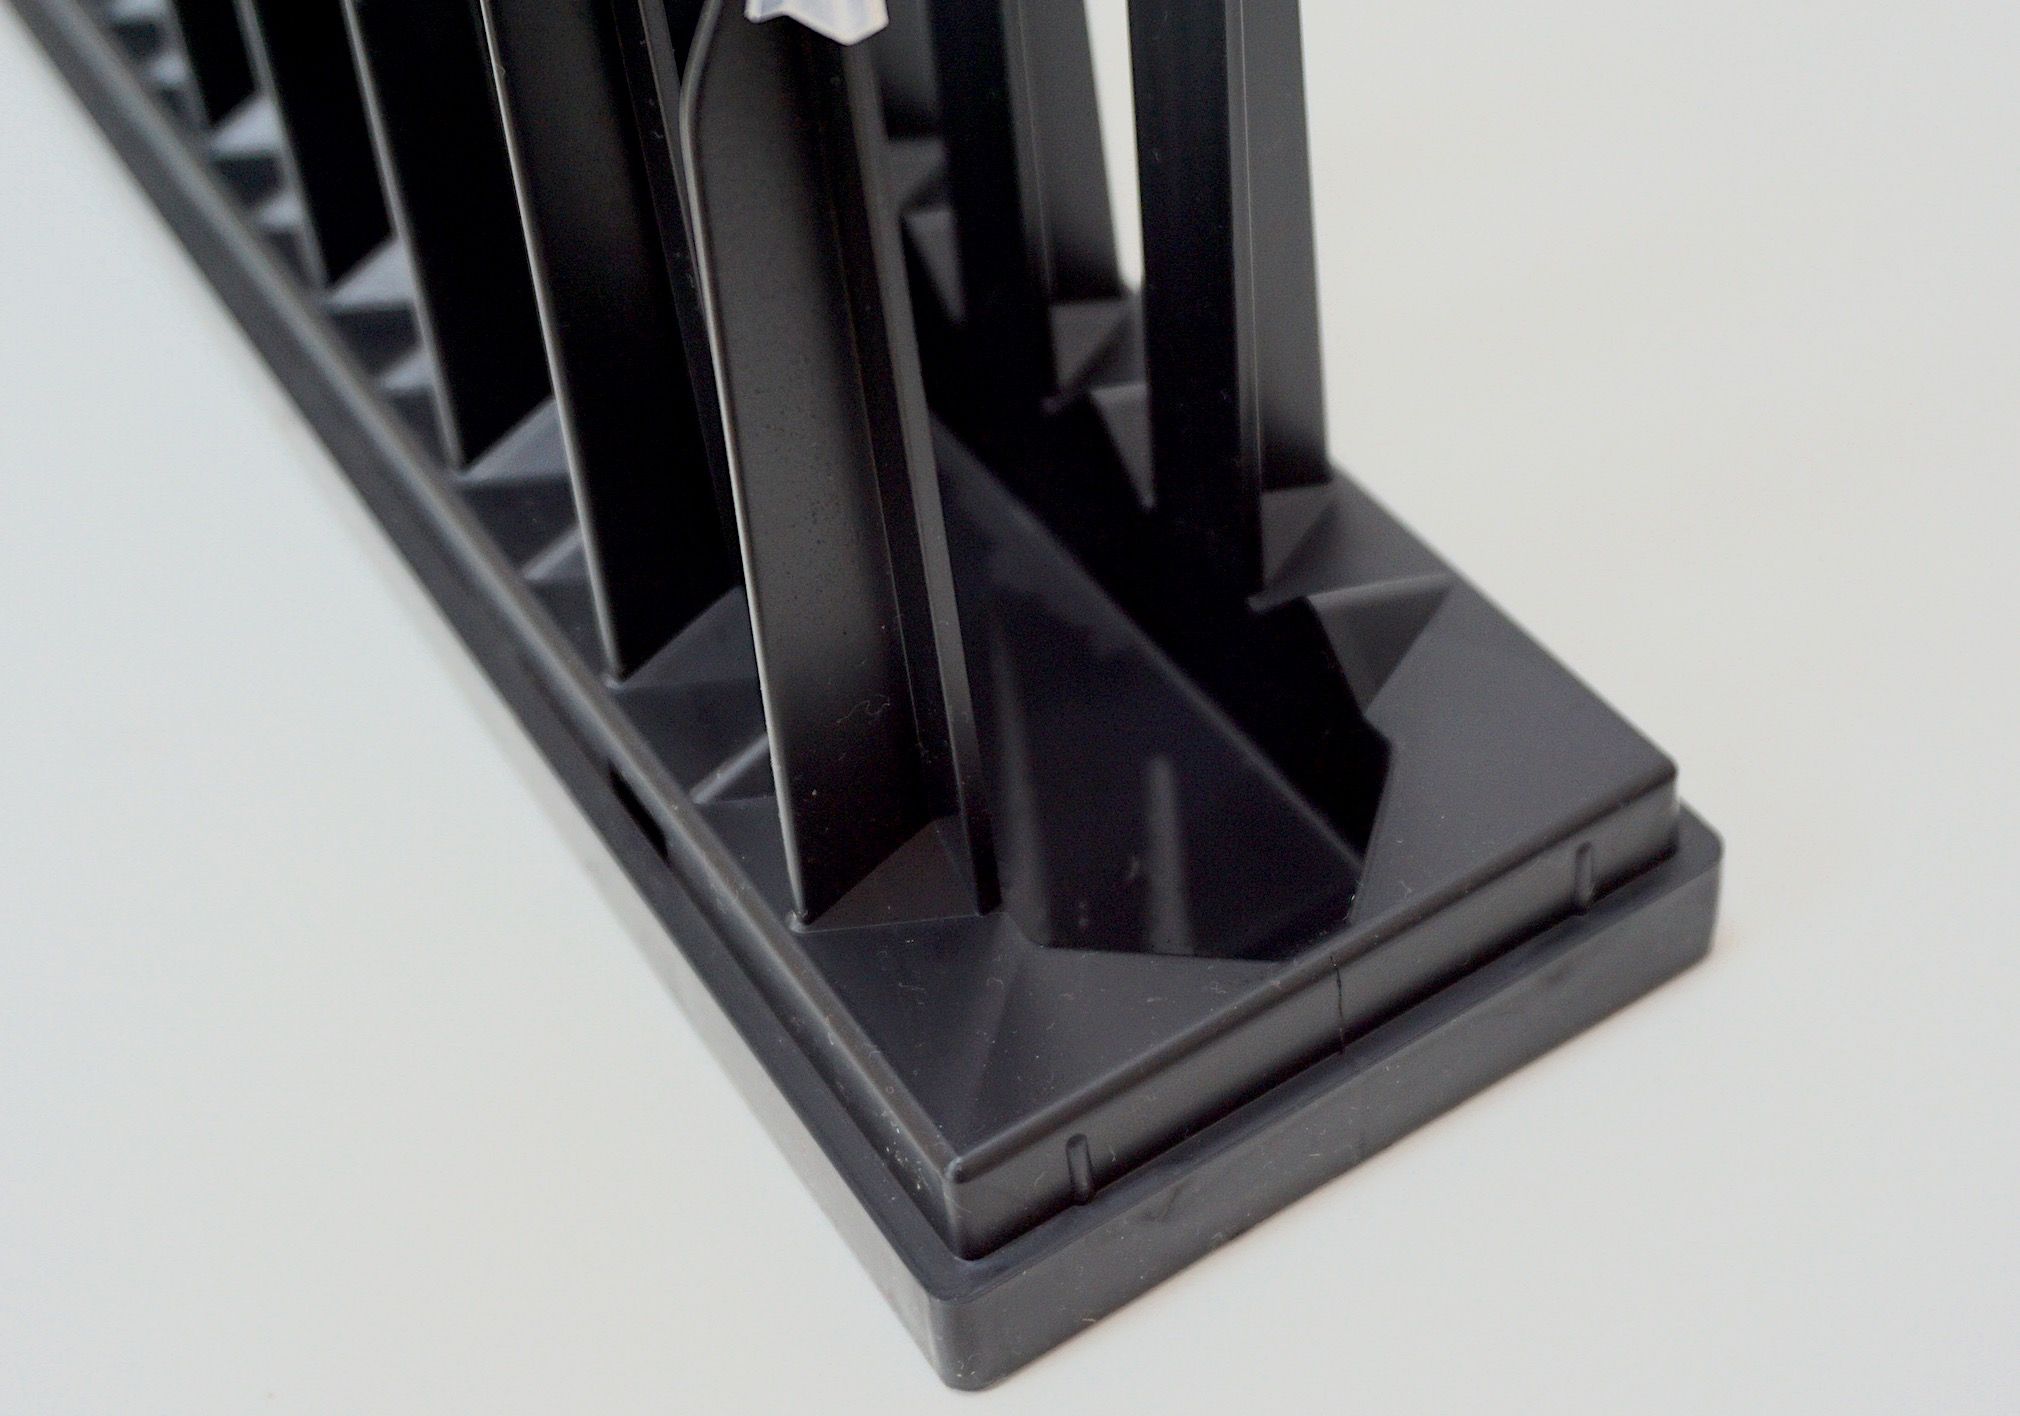
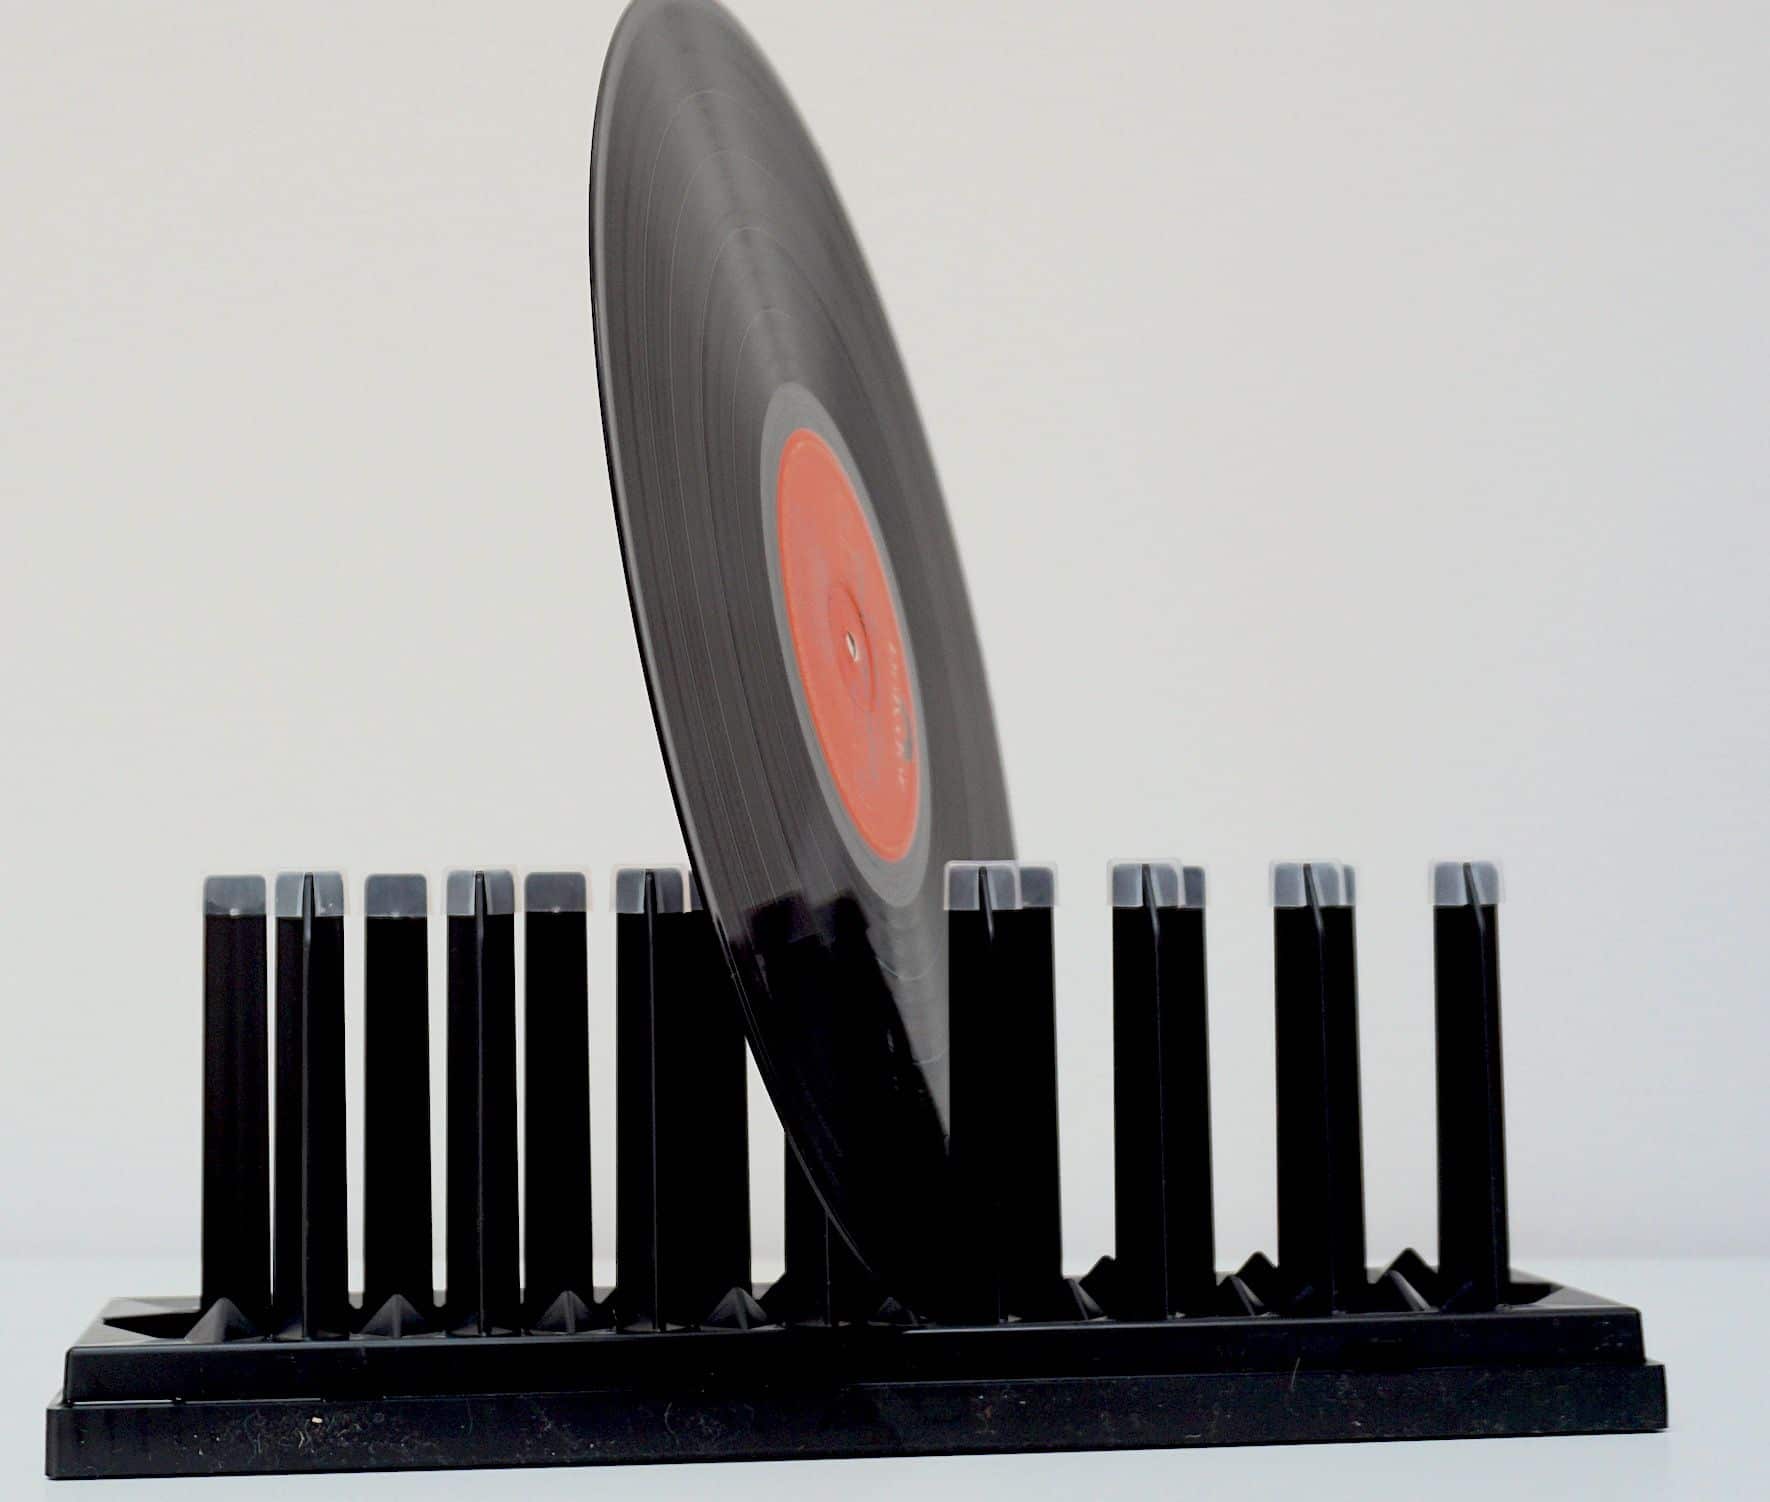
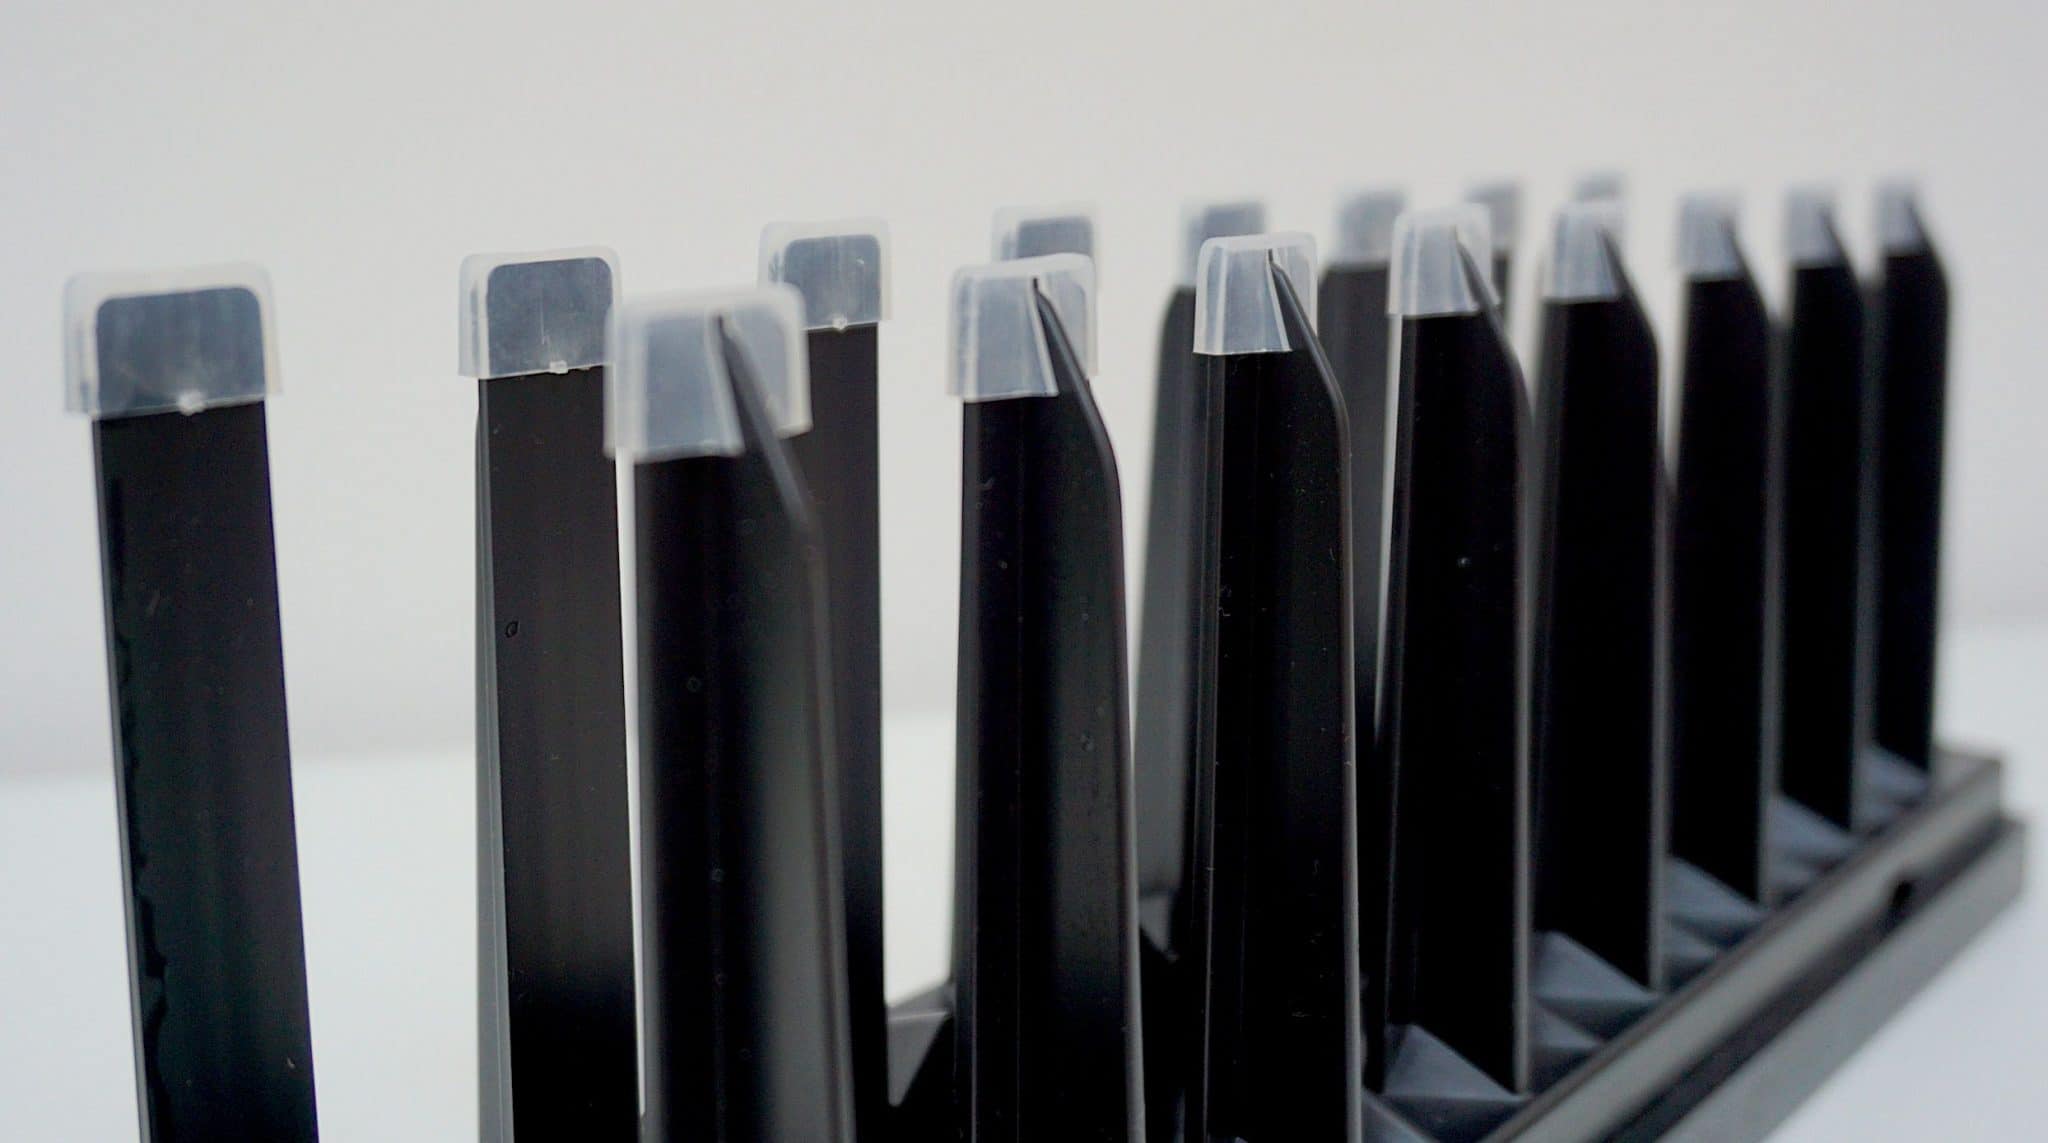
You need to then partially lift out the record by its clamp axles. Not all the way, allow liquid run-off to escape back into the bath and then twist off the clamp to remove it. Place the wet record vertically on the rack which will support the record featuring, as it does, a set of non-scratchy plastic pieces on the ends of each rack prong. Liquid excess will drip (from which it will no doubt eventually evaporate) into a channel cut out at the bottom of the rack.
Then you need to grab a coffee and wait for the record to dry.
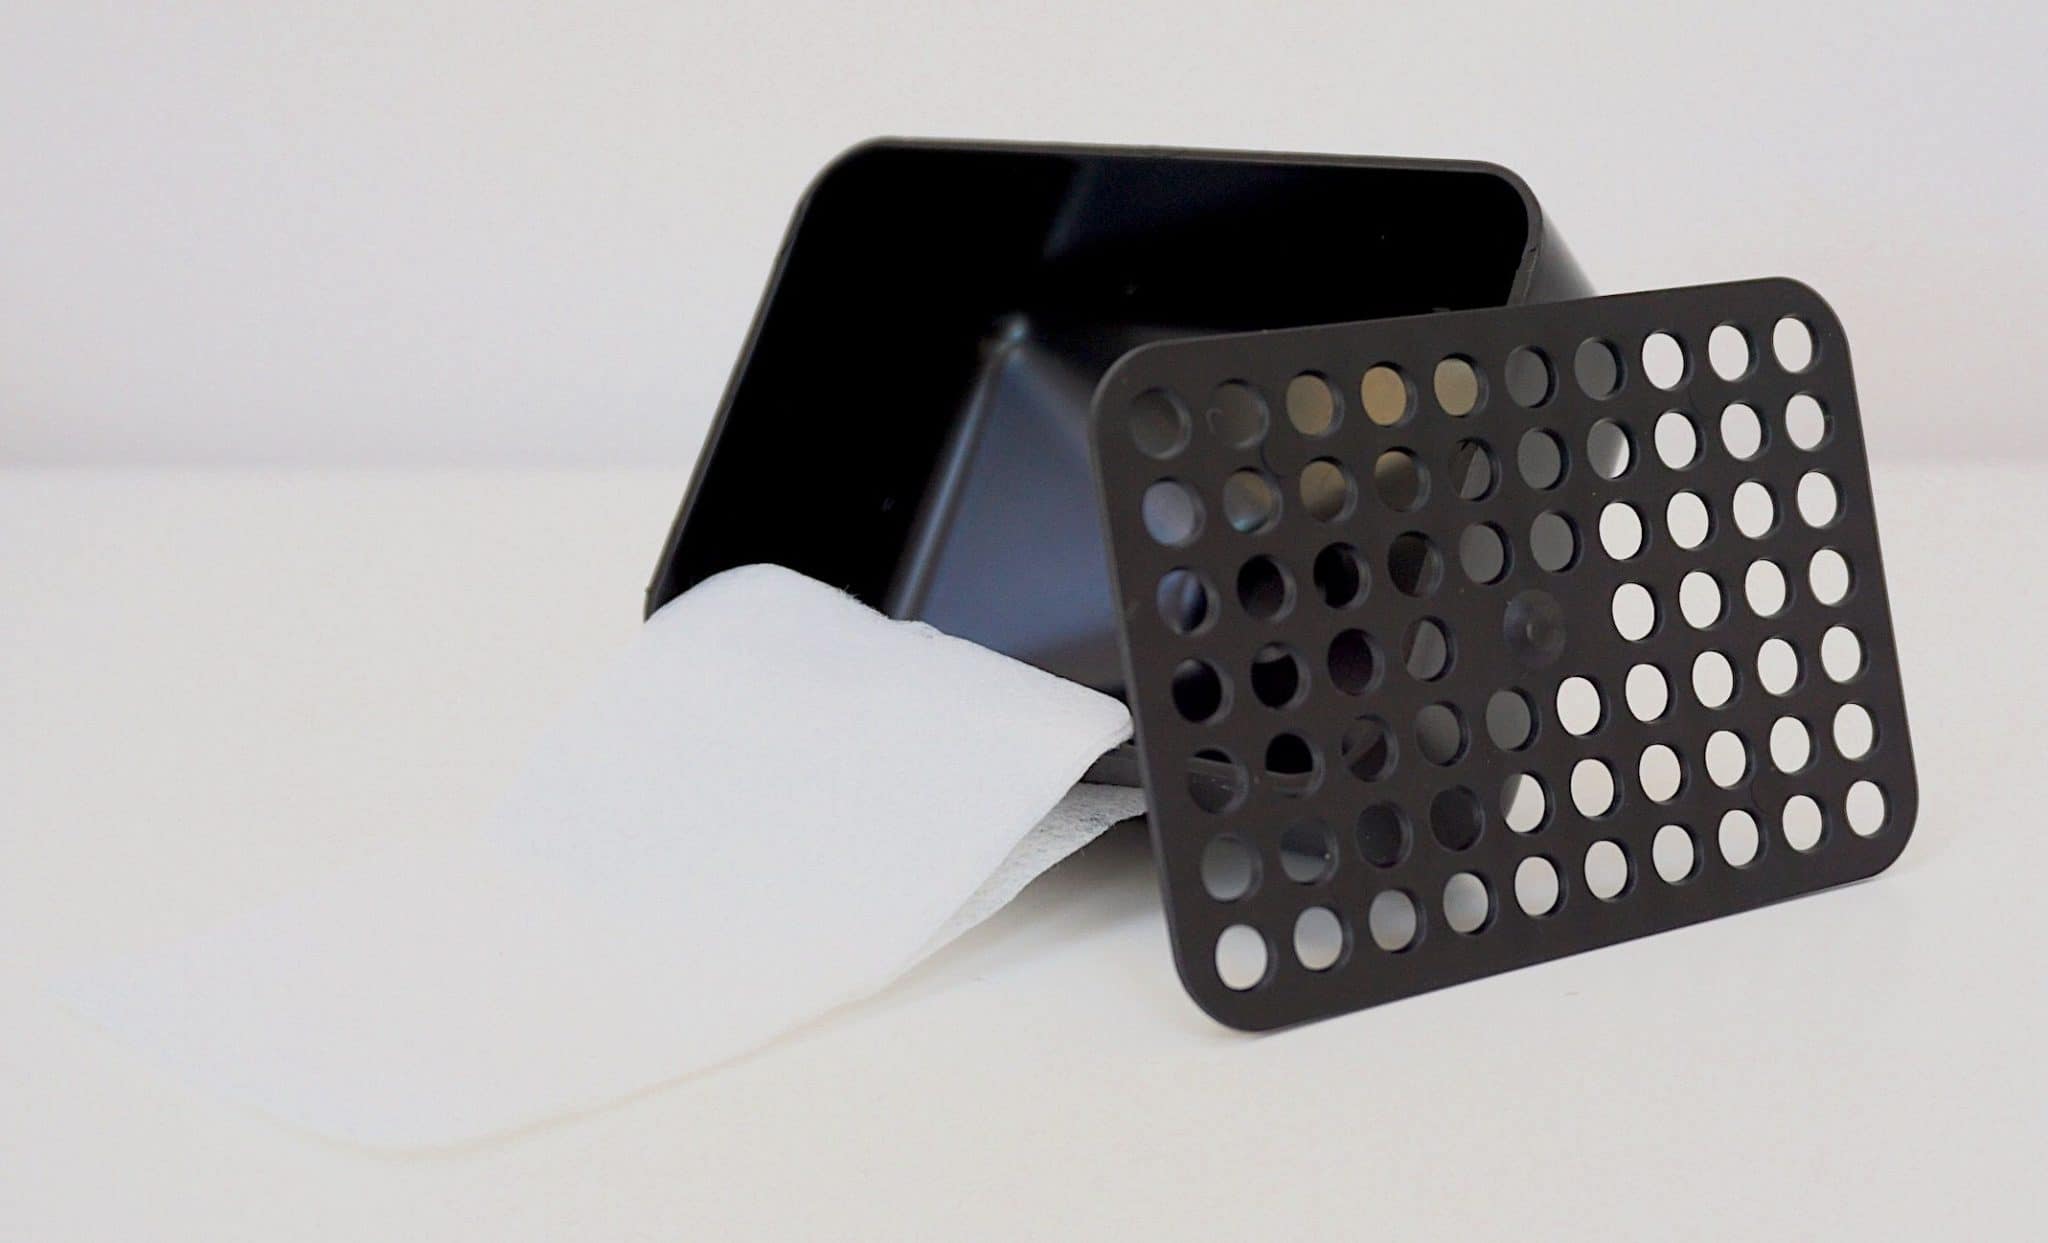
According to the instructions, you then place a filter in the supplied funnel, put the end of that in the end of the cleaning liquid bottle and return the bath liquid to the bottle while any muck will be trapped in the filters.
Really? It’s too much hassle and I wouldn’t bother. Depending on the grimy nature of your records, I would use the bath liquid until its too contaminated to use, and then dispose of the same. Then refill with new liquid. In between, to prevent airborne contamination, by all means cover the bath with a cloth or, a better alternative, shape a large piece of kitchen foil over the bath entrance which will be spotlessly clean (a cloth might not be), can be shaped into a rough bath shape and has an element of rigidity and weight so will stay put when the Disco-Antistat is not in use.
By all means use the funnel/filter combo as an interim cleaner but place the funnel over your own, seperate container such as a cleaned bottle and then pour the newly filtered liquid back into the Disco Antistat’s bath, cover and you’re done. If you do take this path, make sure you clean your temporary container bottle or somesuch and then swill it twice over with distilled water to remove any hidden impurities. Then cover the container when not in use. Again, foil is a good choice because a cloth can deposit tiny dusty bits, lint and the like.
SOUND QUALITY
I began with a tough cleaning task. I didn’t want to mess around here. Tough because this record – Barclay James Harvest’s Time Honoured Ghosts (Polydor) – exhibited none of the usual dirty record characteristics of snap, crackle and pop. Play was silent. The music sounded good. Yet, I wanted to see if the Disco Antistatic could improve the sound from that point. This record had never been cleaned by myself so I wondered if there was room for improvement.
Any by gum there was, absolutely. The improvements were stark, immediate and wide ranging.
Principally, the soundstage hit me first. It now sounded larger, wider, higher and definitely more spacious. The amount of space in and around the soundstage really allowed the band to roam now. In contrast, the soundstage sounded claustrophobic before the Disco-Antistat cleaned the record. Also the lead vocal had a slight edge, an unpleasant upper midrange attack that made listening at high volumes uncomfortable. That had gone now. After the clean, the lead vocal was balanced in its presentation but there was more than that. The ear could better pick up the contrasting reverb hanging off the lead vocal and the backing harmonies. The latter was drenched in the stuff while the lead vocal was drier and now detached from the band. This sort of subtle detail was always there but the Disco-Antistat clean had made the effect more obvious. The ear had to work less to catch the effects, basically.
Instrumentally, bass offered more character and tonal accuracy while new detail emerged from the guitars. In fact, a rhythm guitar was pushed further forward into the mix, adding rich layering to the music.
During cleaning, what I loved about the mechanical process was the inclusion of the brushes themselves. I hear that these are goat-hair brushes which offers enough stiffness to get deep into the grooves.
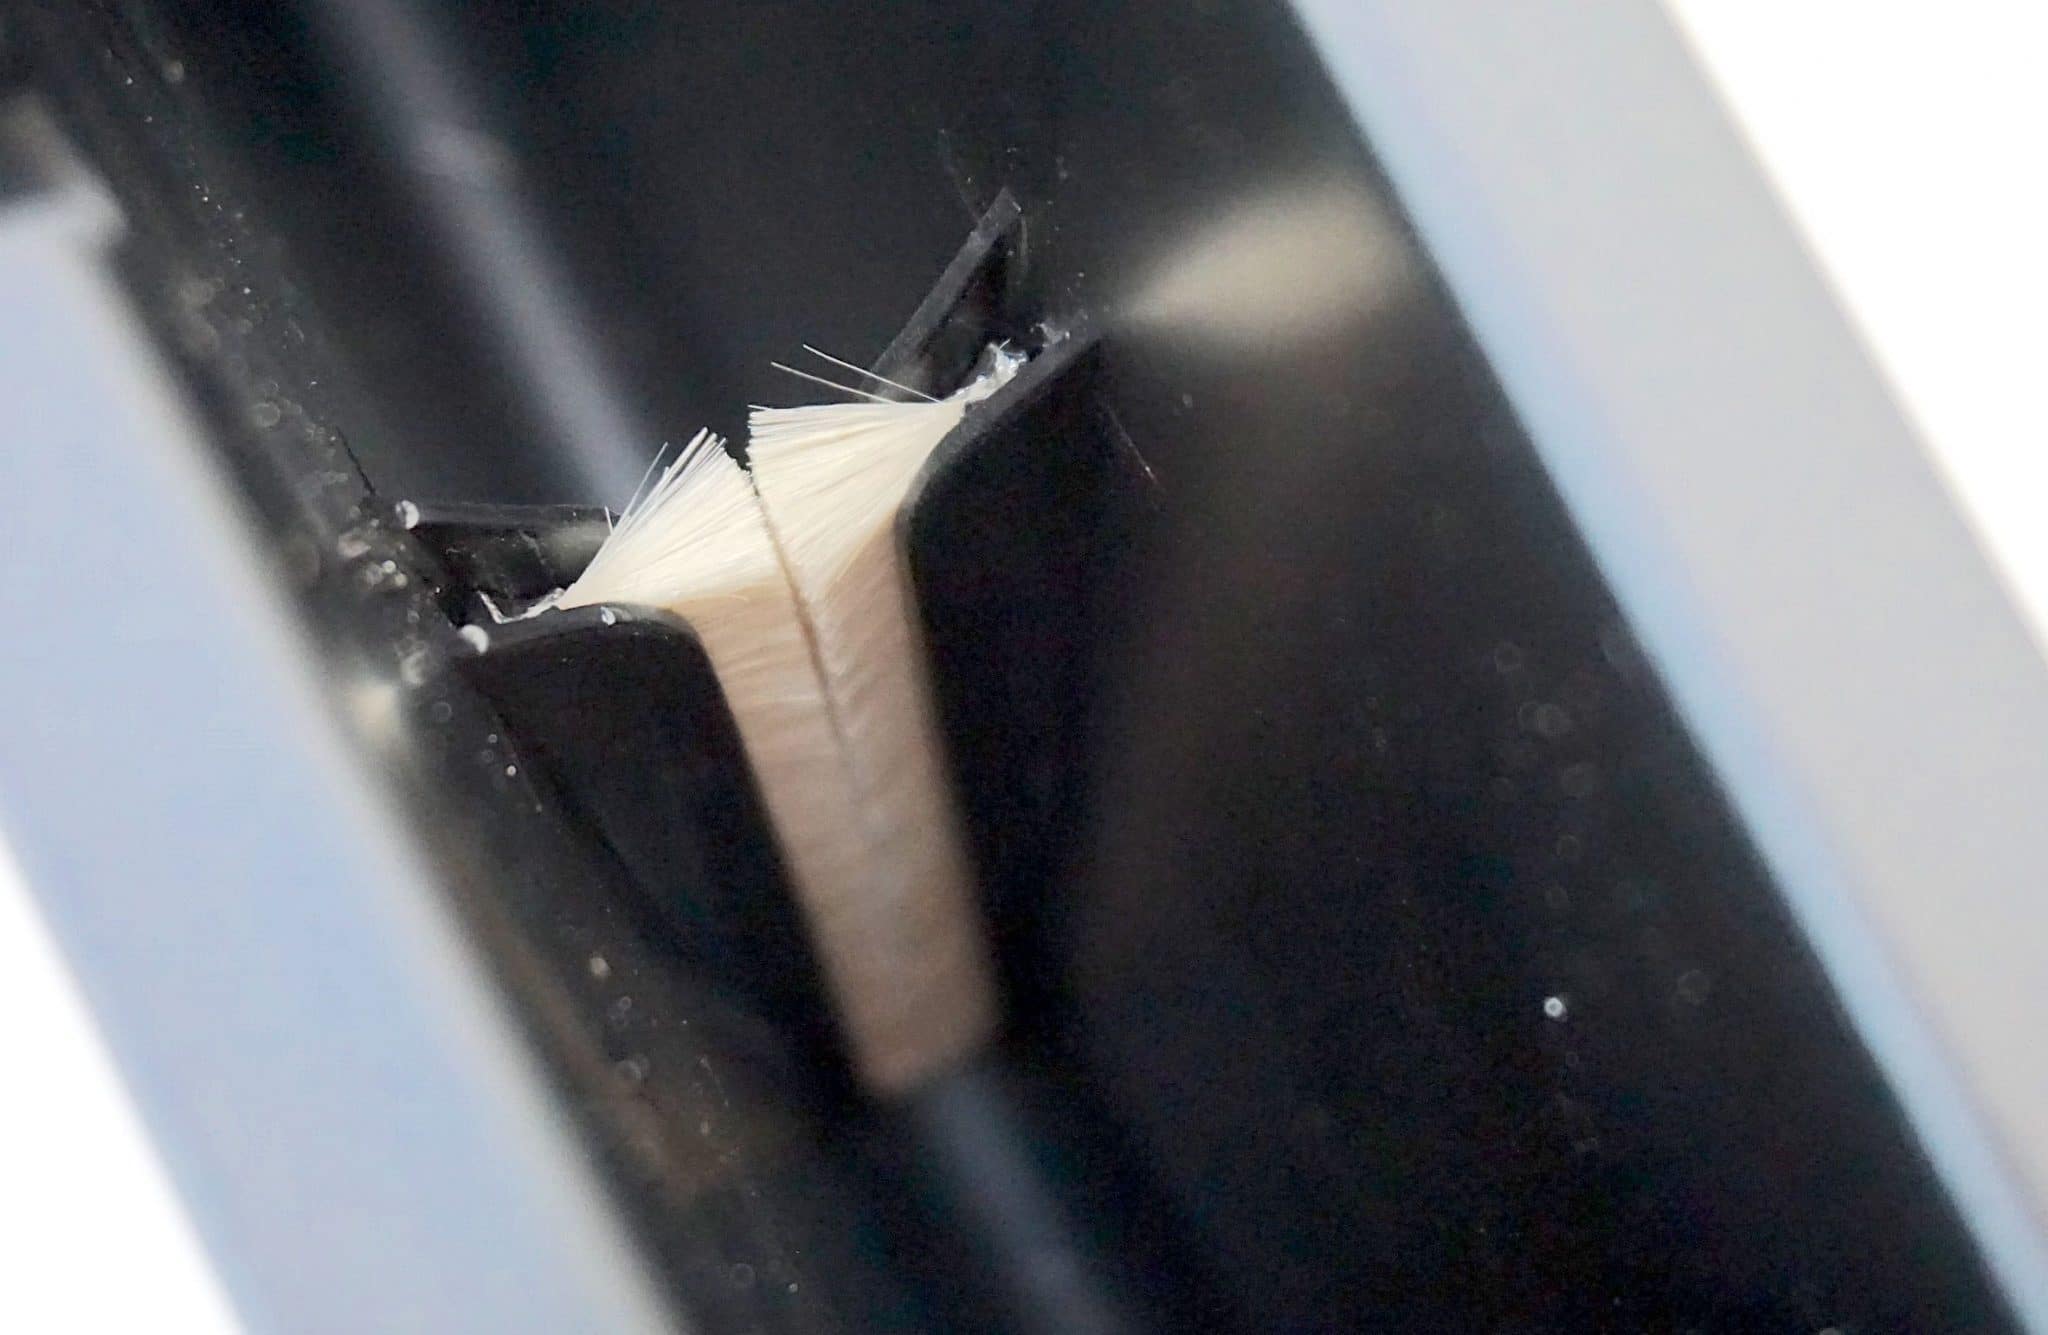
It’s these brushes that are, for me, the stars of the Disco-Antistat show. The general design is a good one. It’s simple to use. Sure the cleaning liquid helps a lot to help remove muck and grime but there is a certain degree of attrition (of a gentle nature of course, but still…) from the brushes that helped to remove as much baked-on oil from the groove walls and floor as possible. This is the oil that naturally leaches from within the vinyl itself and serves as the mythical ‘release agent’ to aid extraction from the record press. Because its never properly removed though, it tends to harden over time and it’s tough to remove in its entirety. It’s the latter that is the toughest obstacle to eradicate from any groove and these brushes do a great job in that respect. Certainly in terms of the price you pay. Attrition is a much neglected subject when vinyl cleaning is discussed but it’s critical, absolutely critical to successfully clean your records. The Disco-Antistat is actually one of the very few cleaners out there that accommodates this cleaning action type.
VS THE SPIN CLEAN?
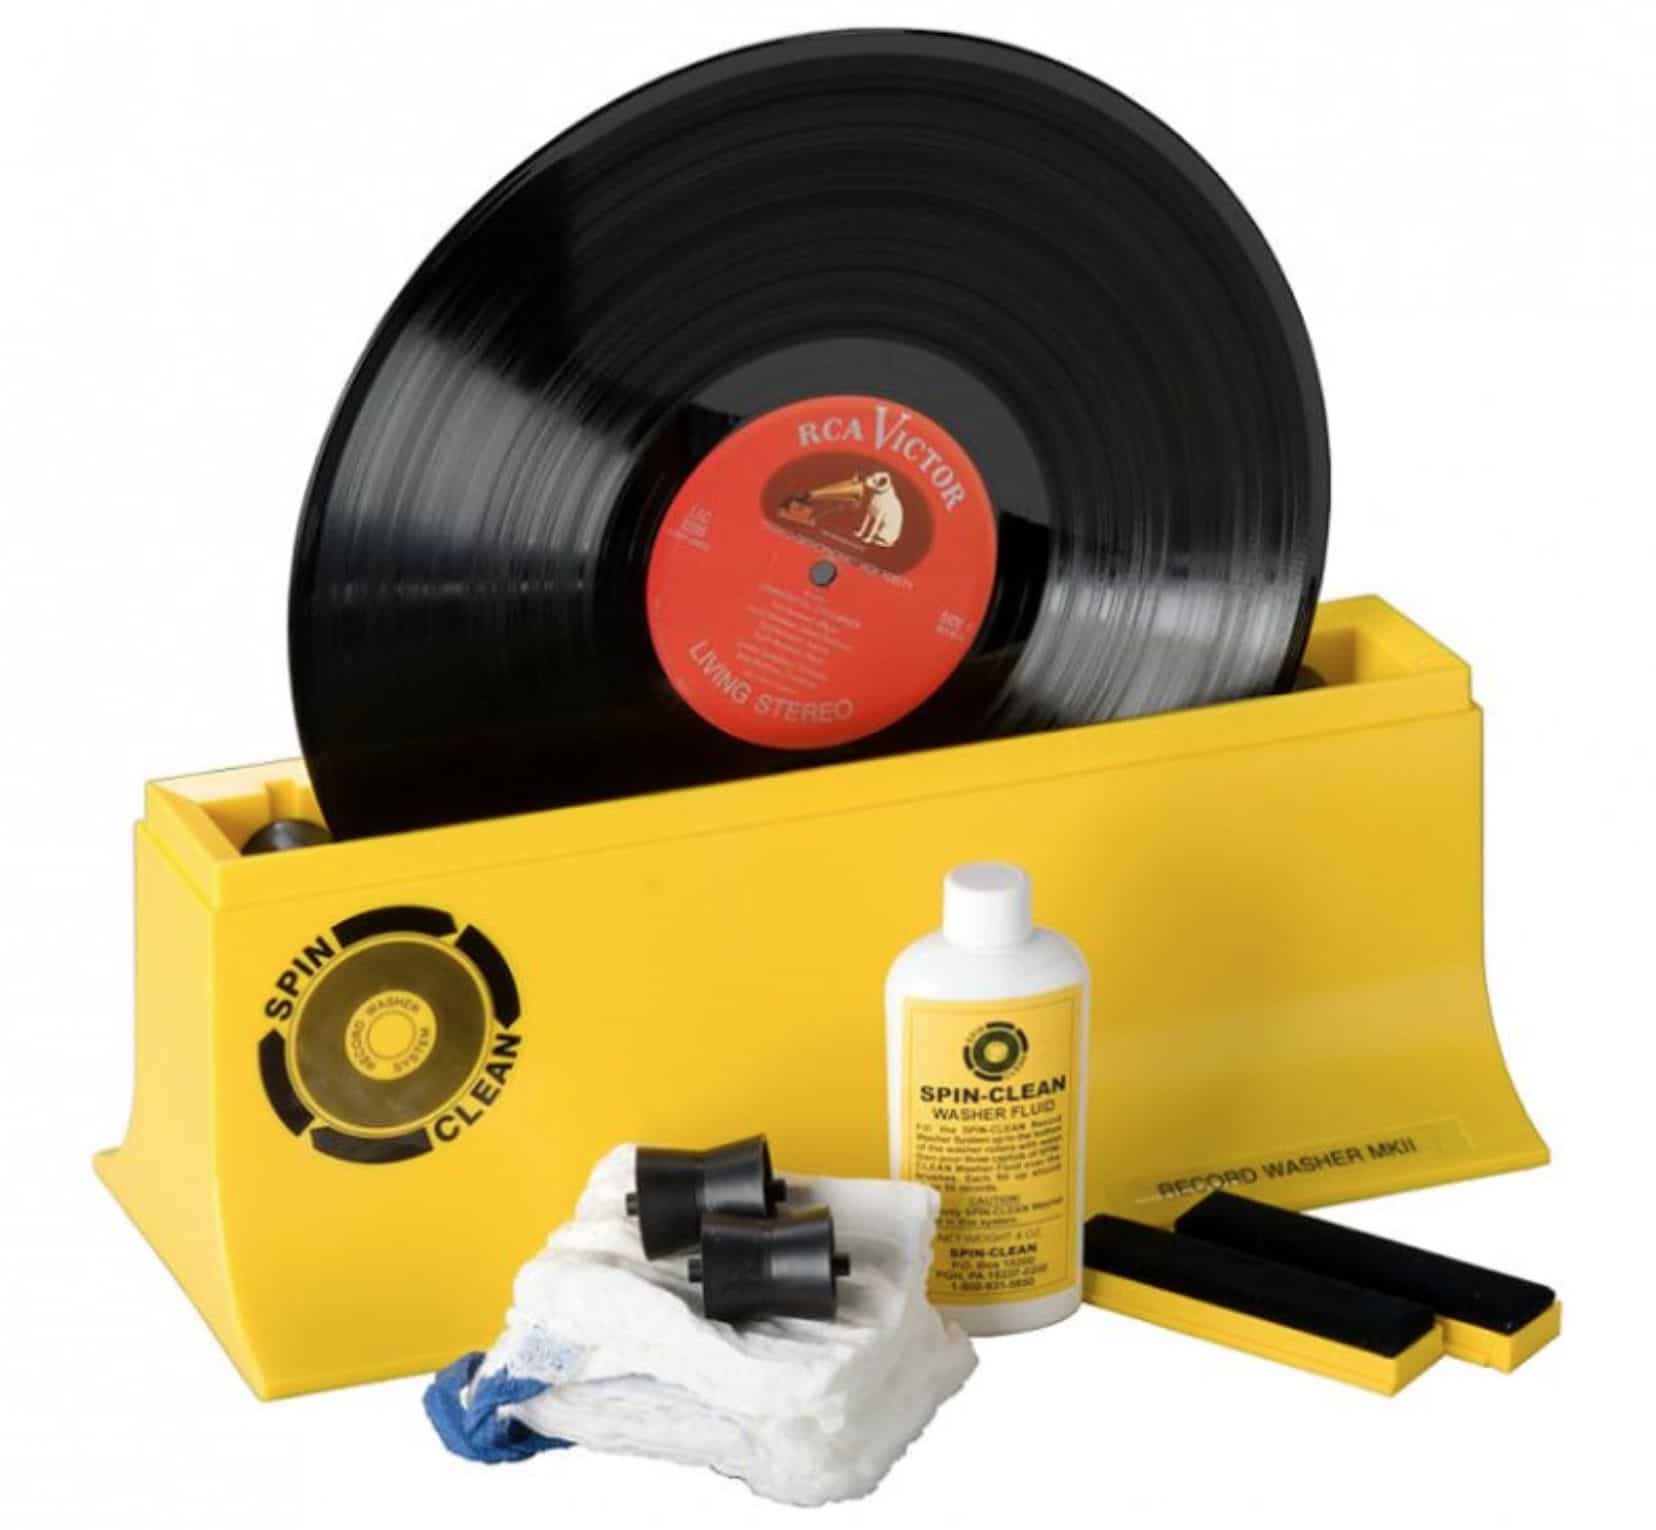
Using my sound tests, its attritional abilities is also why I rate the Disco-Antistat above competitors like the more expensive Spin Clean Record Washer which, instead of a set of brushes, relies on pads to do the scrubbing. Pads just don’t cut it in cleaning terms. Strike that, they’re ok. Just not wonderful. They offer little or no attrition.
I performed a direct A-B comparison between the Disco-Antistat and the Spin Clean system, which looks very smart but uses those pads I mentioned instead of the brushes and the resultant cleaning performance was easy to hear. The Disco-Antistat was ahead in terms of sonic improvement.
Testing both jazz and rock, the Disco-Antistat produced a transparent output, more space in the soundstage than the Spin Clean. The Spin Clean produced improvements across the frequency spectrum, sure. It did improve the sound but I wanted more. The Disco-Antistat did go further in the production of a higher degree of reverb-infused, fragile moments like cymbal taps, for example.
To repeat, the Spin Clean did do an admirable job. It’s not bad, in any way. It’s just that the Disco-Antistat is a better cleaning system. Again, point at the brushes for the reason for that.
DEPOSITS
I did have an issue with the Disco-Antistat liquid, though. Nothing sonic. More physical, I suppose. I have used the Disco-Antistat liquid in the past and I’m reviewing it now. And now, just as then, the liquid forms a deposit on the stylus as it plays. Which means that you’re constantly cleaning your stylus after every side of vinyl play. You can even see a build up after one single album track is played through. After cleaning my stylus, I repeated the play process. Same side, same LP and yes, there was more residue stuck to the stylus which demanded another clean. Which is irritating.
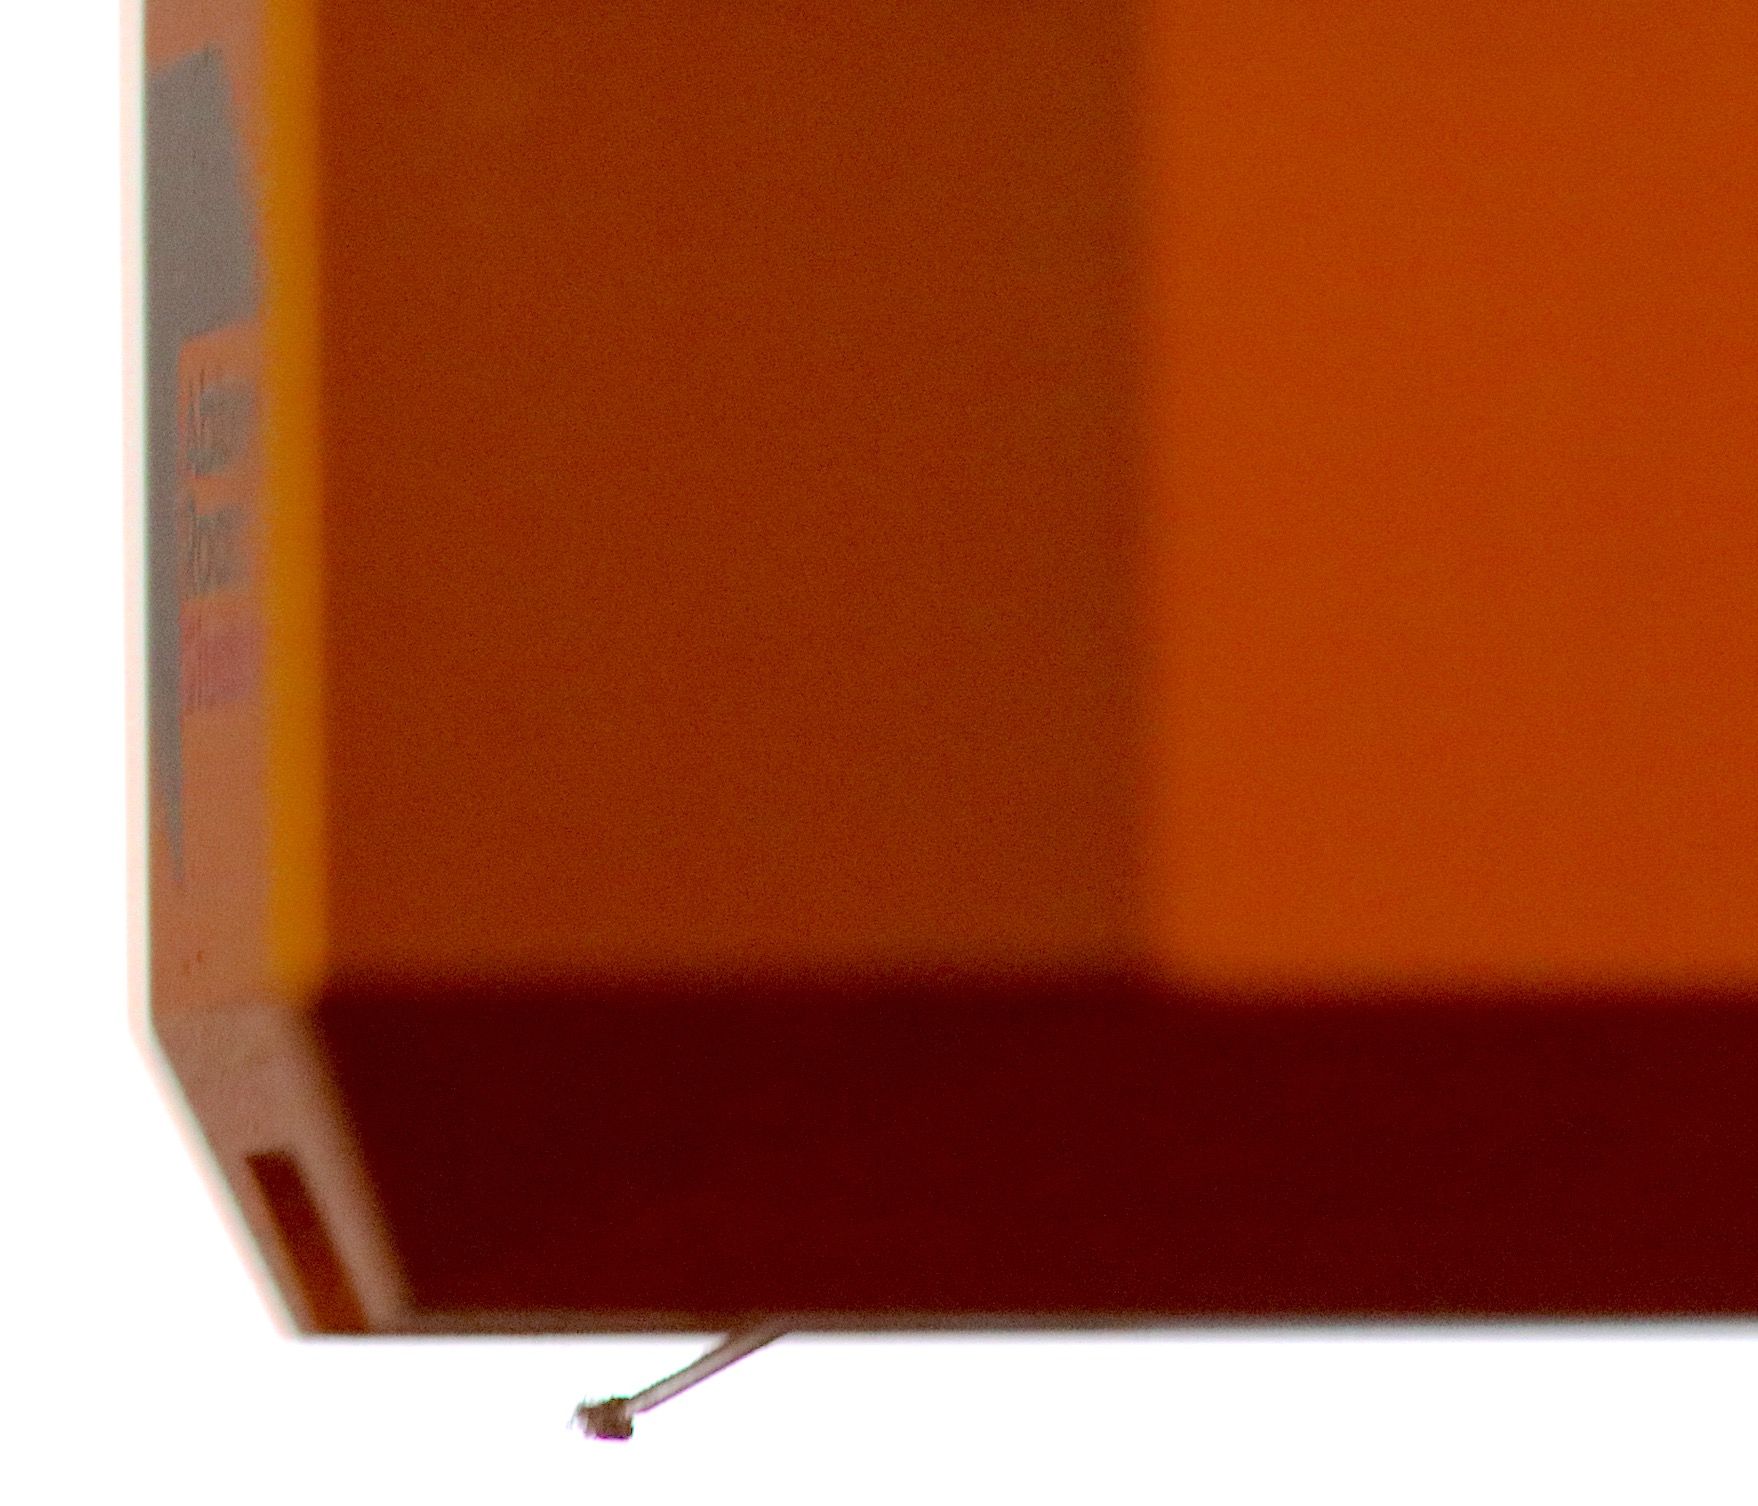
More than that, if your stylus is scooping up a residue off the groove walls and floor then that means the stylus is not as close to the vinyl itself and may very well be ‘playing’ the Disco antistatic liquid.
Just how many times would I have had to allow my stylus to run through these grooves before this residue stopped collecting? I wasn’t going to find out. Action needed to be taken.
It also indicated that, quite possibly, performance could be improved still by the Disco-Antistat machine if a replacement formula could be used instead.
This is why I flew in my go-to bath liquid. A simple affair that I utilise when cleaning liquid in an ultrasonic cleaner, I use it in my ultrasonic cleaner’s bath. That is, pure distilled water plus 7% isopropyl alcohol.
I firstly cleaned the Disco-Antistat bath with distilled water and repeated the sonic tests. The results? No residue! Hurrah!
The sound also showed an increase in imagery around the central stereo image plus enhanced bass performance. Not excessively but enough to provide a better tonal balance. So the vocal now had a slight extra weight which gave the lead singer’s voice more structure and body. Bass guitar was prominent in the mix, allowing the ear to easily track it throughout while percussion had heft and power now. Even the vocal harmonies had a sense of chocolate smoothness that was missing earlier.
The extremes of the upper mids offered a touch of extra insight. Cymbal taps sounded like symbol taps and less like a snake hissing in the rear of the mix. That said, there was a fly in the ointment, a touch of hardness at times in the upper mids.
Nevertheless, I wanted to see if I could address that and possibly enhance the sound still further by bringing in my favourite surfactant combo. A mixture of distilled water, Glycol and Tergikleen (a Tergitol concentrate diluted into the water). I applied the solution directly to the disc with a Kabuki brush and pipette and spent a few moments pushing the surfactant deep into the grooves to remove any possible surface tension and to increase the cleaning effectiveness. The bath liquid remained the earlier alcohol/distilled water mix.
The sonic results were, for a manual cleaning machine, quite breathtaking. The sheer complexity of the information now on offer was absolutely magnificent. It was the delightful combination of dynamic reach and detail that was, at least initially, overwhelming. My ears darted here and there in an attempt to take it all in.
The lead vocal now had nuance and emotive intricacy instead of the earlier one-dimensional monolith that I was hearing before. The backing harmonies were packed with texture and a layered delivery. Percussion was tonally balanced and organic with it but retained power, guitars offered a weight in resonance terms but also a beautiful midrange insight and…well, I could go on for three sides of A4. I really could.
Oh and before I ended? I grabbed two old, pretty ragged records: one from Peggy Lee and another from James Taylor. Both exhibited cracks and pops during play and both needed some TLC. Both received it from the Disco-Antistat too. Cracks and pops reduced dramatically after the cleaning process. The play wasn’t completely silent sure but I noticed a second clean improved matters further and additional cleans would surely improve the sound down the line while I wondered if a few of those pops may very well have been the result of vinyl damage. Neither of my records – brought in from car boot purchases for the sake of this test – were in great condition. Physical damage is something no vinyl cleaner can fix. Still, the differences were stark and welcome after treatment.
And let me add now, the final rating I will apply is for the machine itself, not the liquid. I see the liquid as a bonus extra only. And you should see it that way too.
CONCLUSION
Easy to assemble and use, sturdy and strong in terms of build but with an affordable price to boot, the Disco Anstistat might not arrive with the perfect cleaning liquid but everything else about this vinyl cleaner is about as near to perfect as you’re going to get for the asking price.
Once you sort the correct preparation and cleaning liquid, the amount of information reaching the ear is impressive indeed. Giving the music you listen to an incredible maturity. If you do grab a sample, it will reward you with a quite stunning cleaning and sonic performance. I see the Disco-Antistat as the market leader in manual vinyl cleaning and, because of that, I’m giving it a rare full marks rating and a Golden Groovy award.
KNOSTI DISCO-ANTISTAT VINYL RECORD CLEANER
Price: £46.50
Website: www.tonar.eu
TO BUY CLICK BELOW:
EUROPE – https://amzn.to/2HXyDpS
GOOD: sonic performance, build, ease of use, feature set, cleaning brushes
BAD: bundled cleaning liquid, instructions
RATING: 10
TO BUY, CLICK BELOW:
FOR THE UK: https://amzn.to/3dyJH8I
FOR EUROPE: https://amzn.to/31dRBQ9
FOR THE USA CLICK: https://ebay.to/3bLMvi2
[Don’t forget to check out my new Patreon Page at www.patreon.com/audiophileman, for exclusive postings, giveaways and more!]
REFERENCE
Origin Live Sovereign turntable
Origin Live Enterprise 12″ arm
Icon PS3 phono amplifier
Aesthetix Calypso pre-amp
Icon Audio MB845 Mk.II Monoblock Amplifiers
Quad ESL-57 Speakers with One Thing mod
Audio-Technica AT-LP140XP turntable
Blue Horizon Professional Rack System
Harmonic Resolution Systems Noise Reduction Components
Gutwire Consummate Grounding Cable
Air Audio AC-2K Balanced Transformer
All vinyl was cleaned using an Audio Desk’s Ultrasonic Pro Vinyl Cleaner


KNOSTI, sorry!
Thanks Paul!
It’s this or the Degritter.
Knosti looks a bit like a toy and only 40hz so perhaps it’s worth the extra.
Looking forward to your new cleaning update too.
Paul
Hi Paul,
I want to thank you for all your posts here and on YouTube. Their very helpful and informative. I’ve enjoyed your interest in Prog and love in music in general. I’ve just recently renewed my interest in vinyl after about 30 years of cd’s and the like. Really enjoying myself thus far. Love the analog sounds of vinyl. I’ve recently purchased the Disco Antistat and am impressed. It does a decent job right out of the box. My question is …Can I add L’Art du Son directly to the basin with distilled water ? The cup measures 20 milliliters, Do I empty that into a liter Glass bottle filled with Distilled water ? What about the Glycol you recommend ? And, btw, how do you come up with 7% Isopropyl alcohol ? What is the dilution process ? Thank You.
Cheers,
Larry
Hi Larry – have you seen this feature I published a while back? It may provide some assistance and answer those questions: https://theaudiophileman.com/vinyl-cleaning-guide-part-1-manual-cleaning/
Yes, Paul. I have read and viewed that article. I may need to revisit it. I do remember however hearing that you had at one time used L’Art du Son with the Disco Anistat. Just wondered what your procedure was. Any tips are appreciated. Thank You
Larry
I used to use L’Art du Son but changed to the regime in the article which I found to be superior. L’Art du Son remains a good cleaning liquid though. I still rate it. I wouldn’t put it in the bath, it will only be diluted. I would advise applying it direct to the vinyl surface. I’ve never used Glycol with L’Art du Son so don’t know how it will react or behave with it, I’m afraid. I wouldn’t use alcohol with it either, which kinda goes against the reason for using L’Art du Son in the first place. Distilled water only in the bath would be better for this one.
As I say though, for a superior blend of liquids, I’d recommend running with the advice in my feature.
Thanks Paul. Fot now, I’ll just use the L’art du Some with the distilled water in the Anistat reservoir for a good wash. Then,rimse. Maybe,give your solution a go after the du Son runs out.
Absolutely, Larry – the L’Art du Son liquid should provide a good clean in the meantime. Oh, when you put L’Art du Son on the vinyl surface, work it in with a Kabuki brush (as seen in my Guide). That will help to make the clean more efficient.
Hi Paul. Thanks for your extensive record cleaning articles, they are inspiring. Just wanted to comment on the Knosti article since I gave mine a new life ad the washing machine in combination with TergiKleen. Tried lots of things, but this works best. Degritter i use after the Knosti for rinsing/deep clean. Running my 40 year old Knoxti now with an external Chinese motor made for Ultrasonic baths, Regards Wouter
Hi Paul (and others who read this post),
I’m just wondering if I am unlucky, or if there’s anything I’m doing wrong, but I think the Knosti disco anti-stat has a bit of a design flaw.
My clamp seems to be a little “lopsided” so to speak, and every time I spin it, it grates against the inside of the tank. This leads to flakes of plastic getting into the washing mix and thus onto the record via the cleaning brushes.
So, instead of trying to fix it, I rushed into buying the Generation 2, thinking it would be better (and the crank is a good idea – I don’t know why this wasn’t included in the original).
But I get the same thing – not as much scraping as the first gen, but it’s still there.
Another issue though, is that the Generation 2 clamp fits the generation 1 tank. The only difference is that the Gen2 tank has special screws for flaps to keep the clamp and crank in place as you spin it. But this is not important as you can just hold down the clamp with your finger as you crank-spin it.
So, my suggestion for anyone considering the upgrade – is to just buy the crank as a separate part (they are sold separately as replacements) and use it on your Gen1 tank. This will save you a fair bit of cash.
However, back to my original problem – I wonder if I am the only one this is happening to, or if there is a solution.
Cheers,
I’ve never heard of that before – are you able to post images or links to images?
Hi Paul,
Here is a link to the video I made for this reply: https://youtu.be/BKCiubzE16k
After using the Generation 2, there is the slightest of scraping occurring on the inside of the tank, but this seems to be only on the “arrow” picture that is embossed on the clamp, and not the actual clamp itself (as you can see from the video).
Another issue I found with the Generation 2 clamp after a few uses is that the label protection design is not as good as the first one. I’m actually getting some water leaking into the labels, and it has damaged one or two already.
I noticed also that when I turn the crank counter clockwise, sometimes the crank won’t spin the record but instead will unscrew from the other side of the clamp, letting a little bit of water leaking in. I guess I have to be really careful when spinning the records!
Oh well, I hope this information helps.
Good video – thanks for that. Looks like a moulding error. I would advise returning the Mk.I and requesting a new one. As for the Mk.2? The clamp doesn’t appear to have been closed all of the way. If you compare the 2 with the 1 you can see a bit of a gap. Can you screw the 2 any further to close that gap?
This is not something I’ve experienced and I have three tanks. What I have done, however, is to grind down the edges of each side of the clamp and glued craft foam (the mk2 clamp uses O rings to achieve something similar) rings on. This helps reduce the amount of water leakage onto the label.stock soluto
As to cleaning fluid, I use a home-brewed version of Tergikleen: Tergitol 15-S-3 and Tergitol 15-S-9 in equal proportions, (2 drops of each per litre) plus Benzalkonium Chloride (BAC50) @ 0.4ml per litre. The BAC50 has antifungal, antibacterial and antistatic properties. For flocculant, one can also add some aluminium sulphate at 1 gram of the solid per 10 litres (best to make 1% stock solution – 1 gram per 100ml and use 10ml per litre of cleaning solution). IPA is an optional extra @ 1-2% – 10 to 20 ml per litre of cleaning solution.
Hi Paul,
Just a follow up in the TEFLON O-ring story. I contacted Knosti suggesting they replace the current O-rings with TEFLON O-rings. They were not interested and merely referred to your communication. Since then I have put the TEFLON O-ring fitted clamps through more than TEN cycles with no problems. After assisting the initial bedding-in with Olympus photograghic grade silicone grease the rings seem to have found their “feet” and are bedded in.
If any other readers are interested in replacing O-rings as I have done they are available from O-ring-Stocks.eu – Technoparts: Item Number 53599 O-ring 94×3 – PTFE Teflon – White – FDA, price €14.2727 plus €10.00 shipping costs.
Cleaning vinyl records properly can be tricky, but this service makes it easy. Professional, thorough, and careful—they really know how to handle delicate items. Highly recommend for anyone who wants their records cleaned safely and effectively.