The Article
KA-RC-1 ULTRASONIC FROM KIRMUSS PT.2
17th January 2019
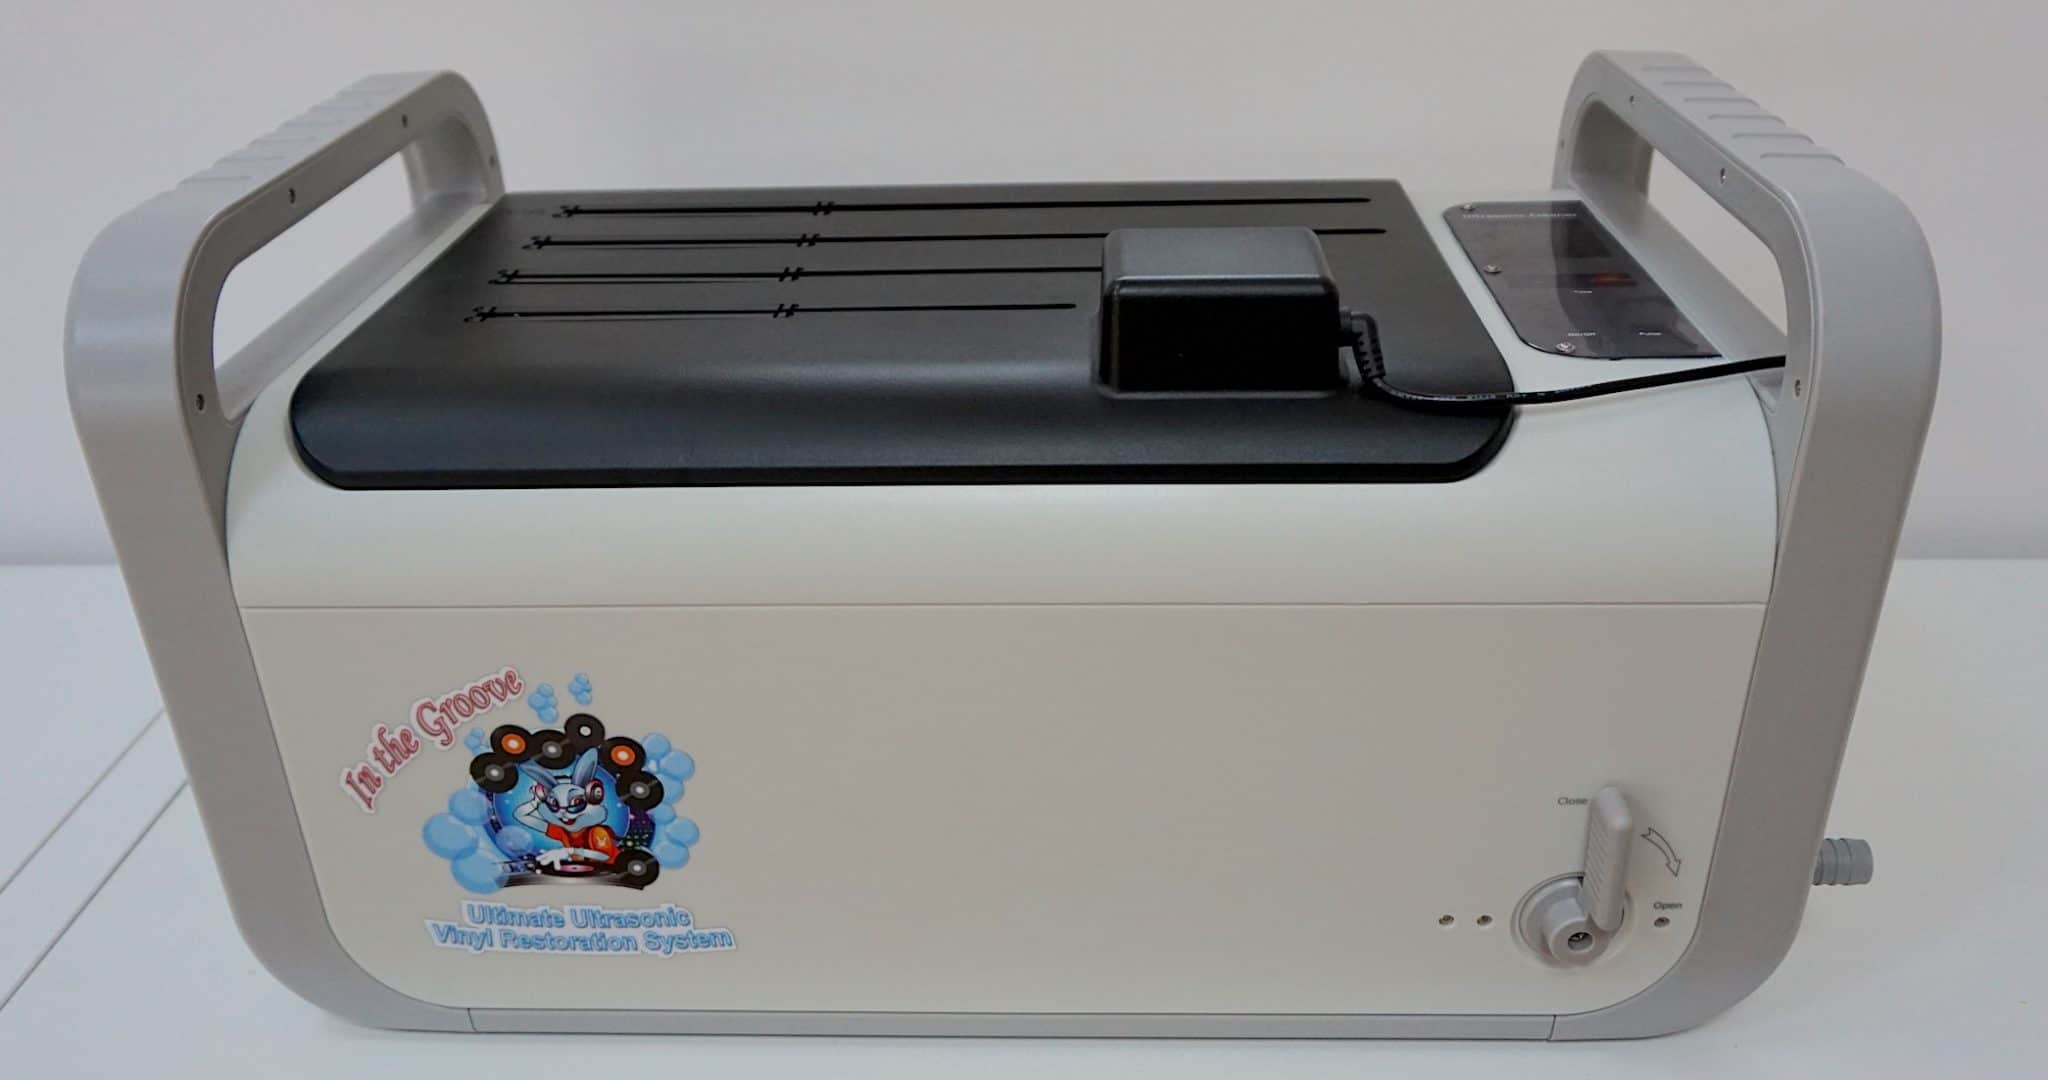
Positioning itself as a midrange product, Paul Rigby exhaustively reviews the Kirmuss KA-RC-1 ultrasonic vinyl record cleaner. This is Part Two of a two part review.
To repeat, this is the second of a two part review on the Kirmuss KA-RC-1 ultrasonic vinyl record cleaner. If you have yet to read the first part then I would strongly advise you to do that now by clicking HERE. Otherwise, you may be a tad confused by the following.
One of the issues with the KA-RC-1 cleaning cycle as a whole is the length of time that’s required to attend to each and every record. Kirmuss might add, “Well, if a job’s worth doing, it’s worth doing well.” And that the time taken is worth the final result.
I wondered about this.
A major slice of time is taken up with Kirmuss’ After Care system. When you finally take the record out of the record cleaning machine and that record has completed its ultrasonic cleaning cycle, you would think that the cleaning process would be over at that point. Not so. In fact, Kirmuss has plans for you and your record. There’s further cleaning steps to be completed before Kirmuss will let you go.
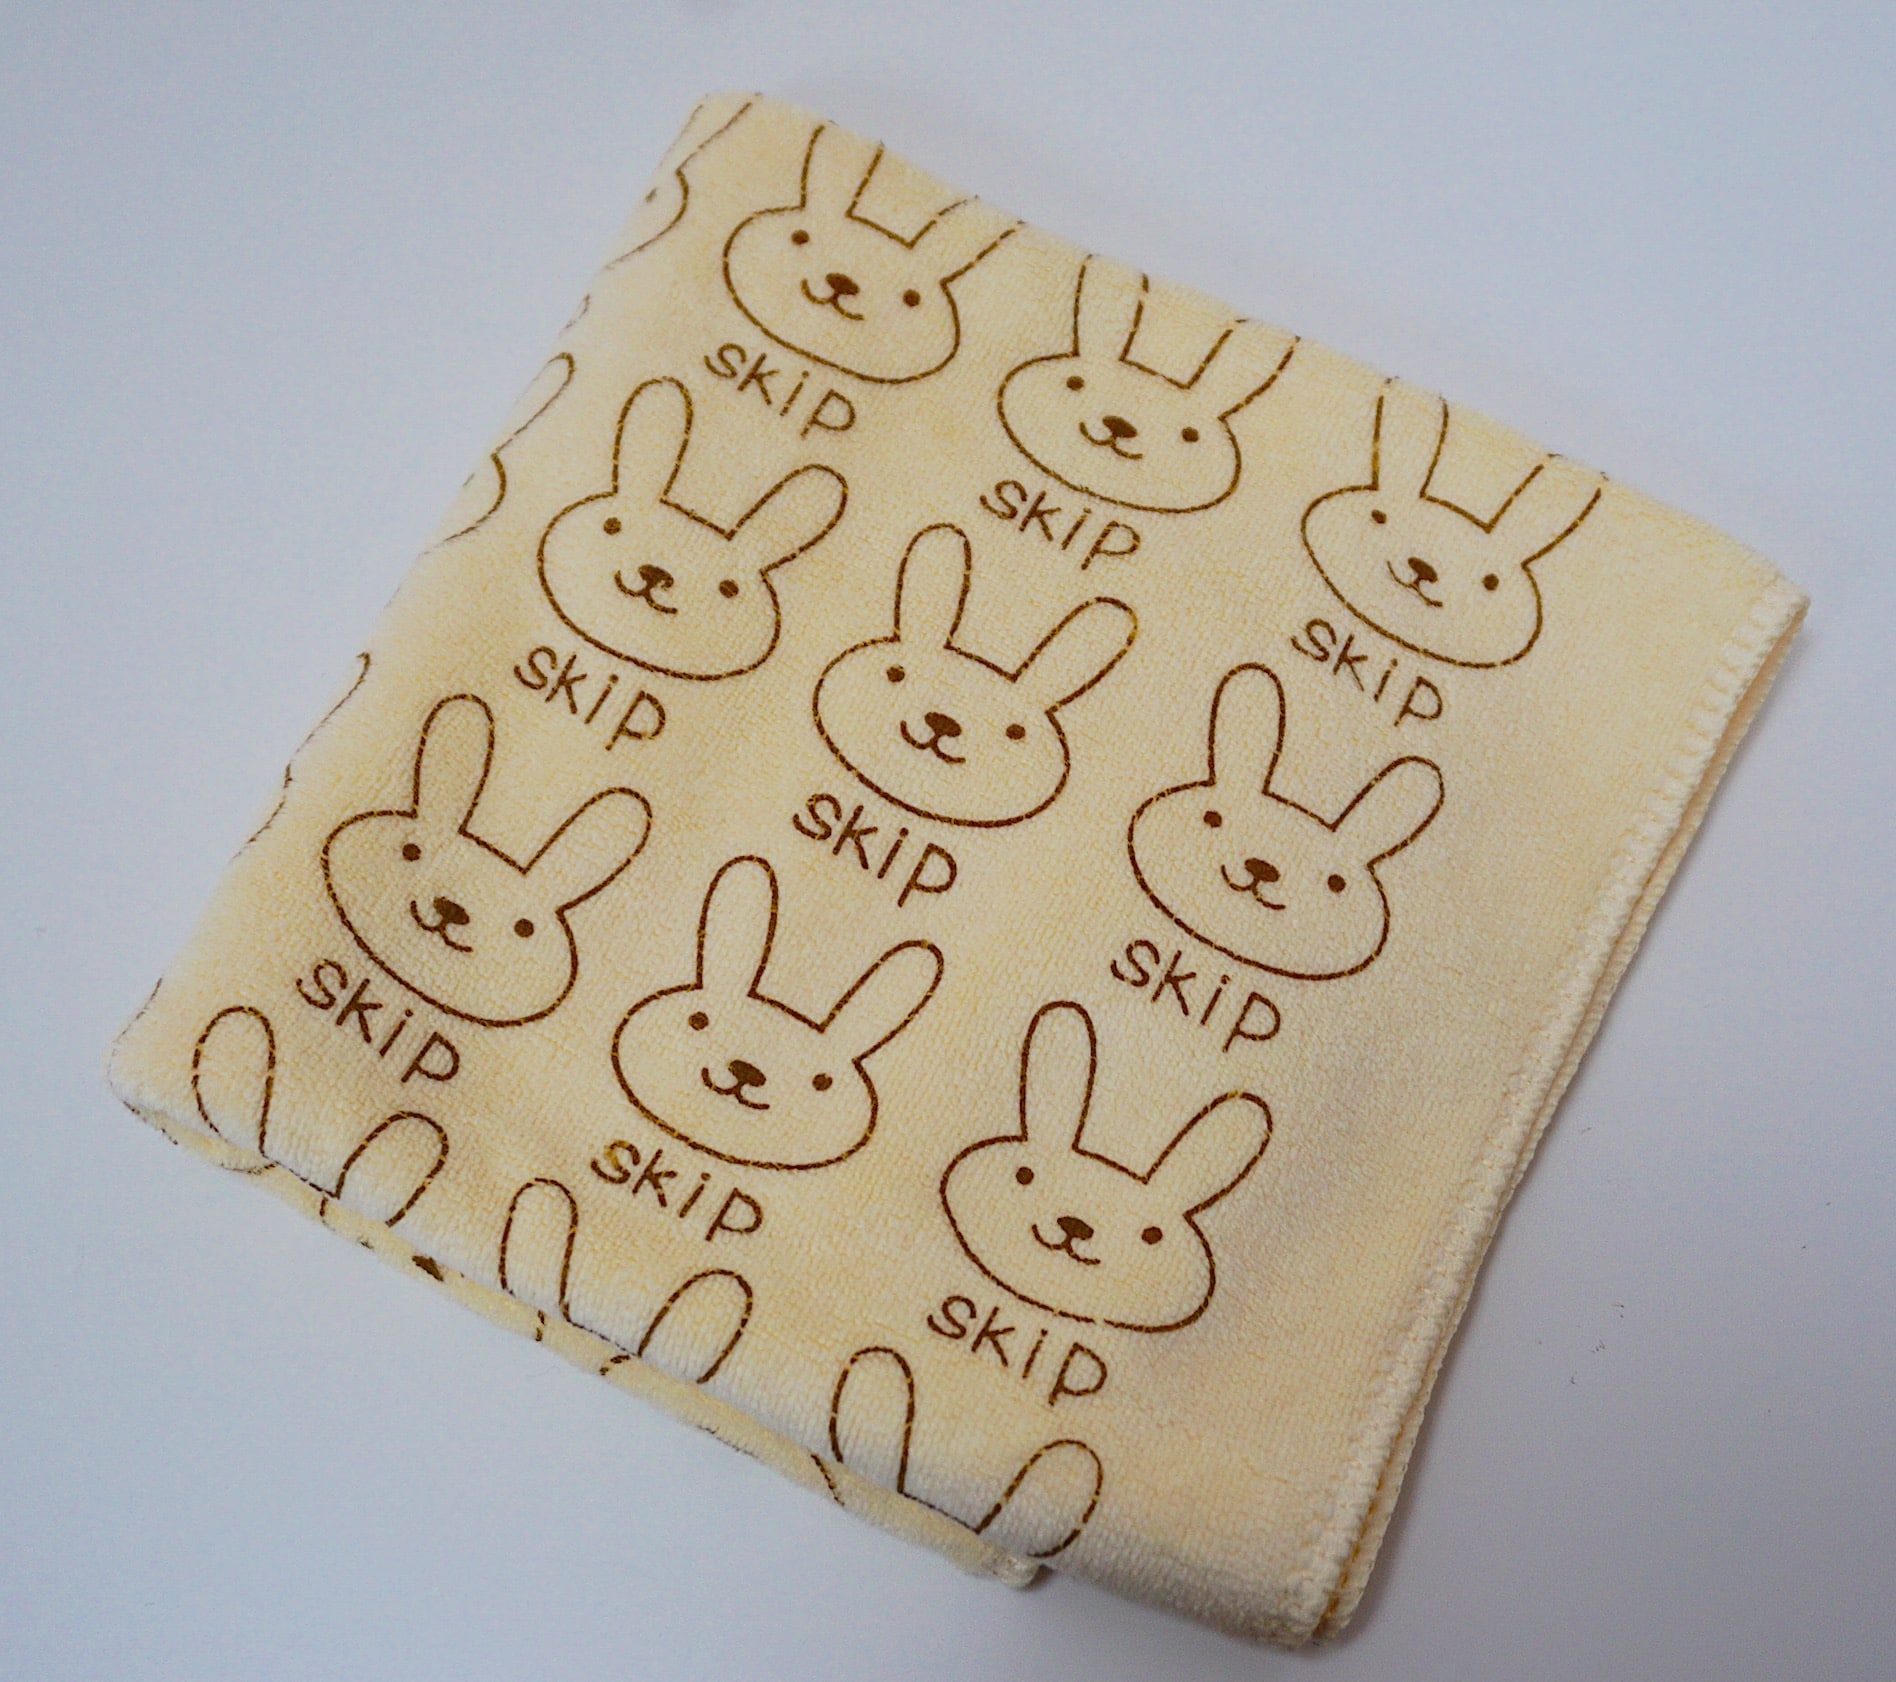
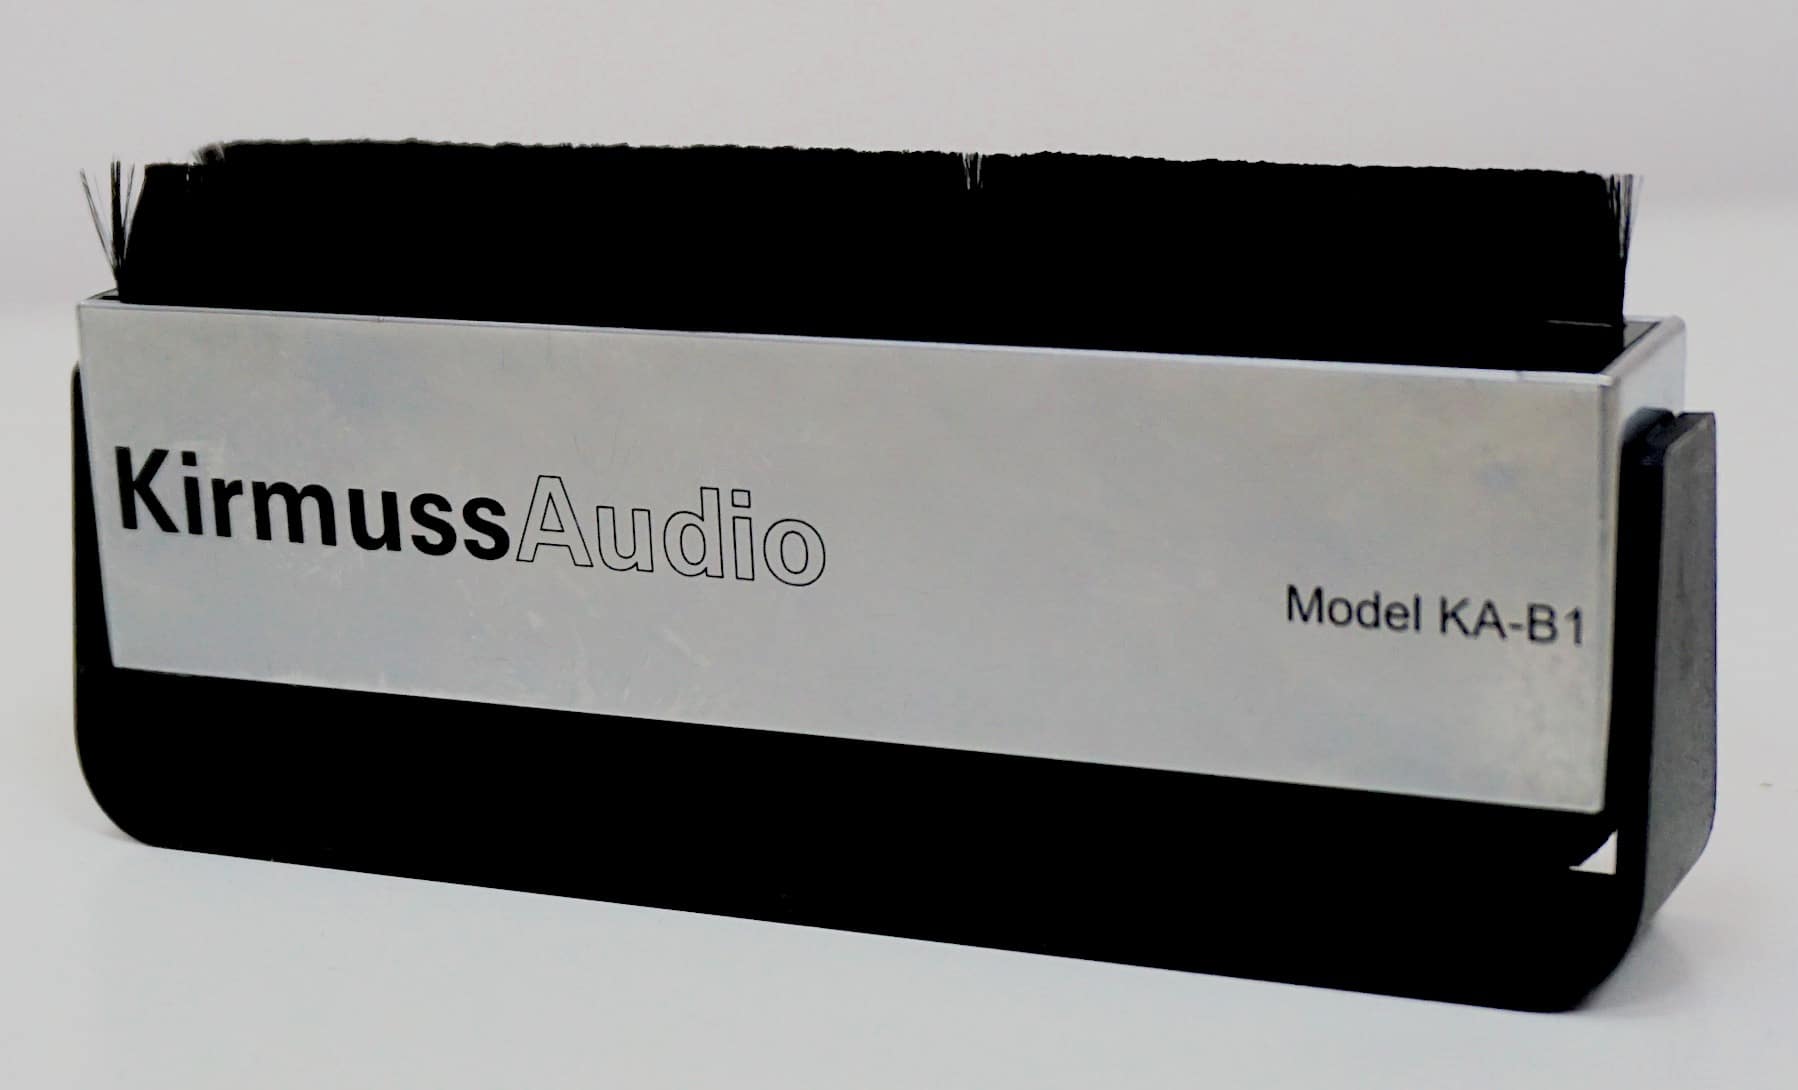
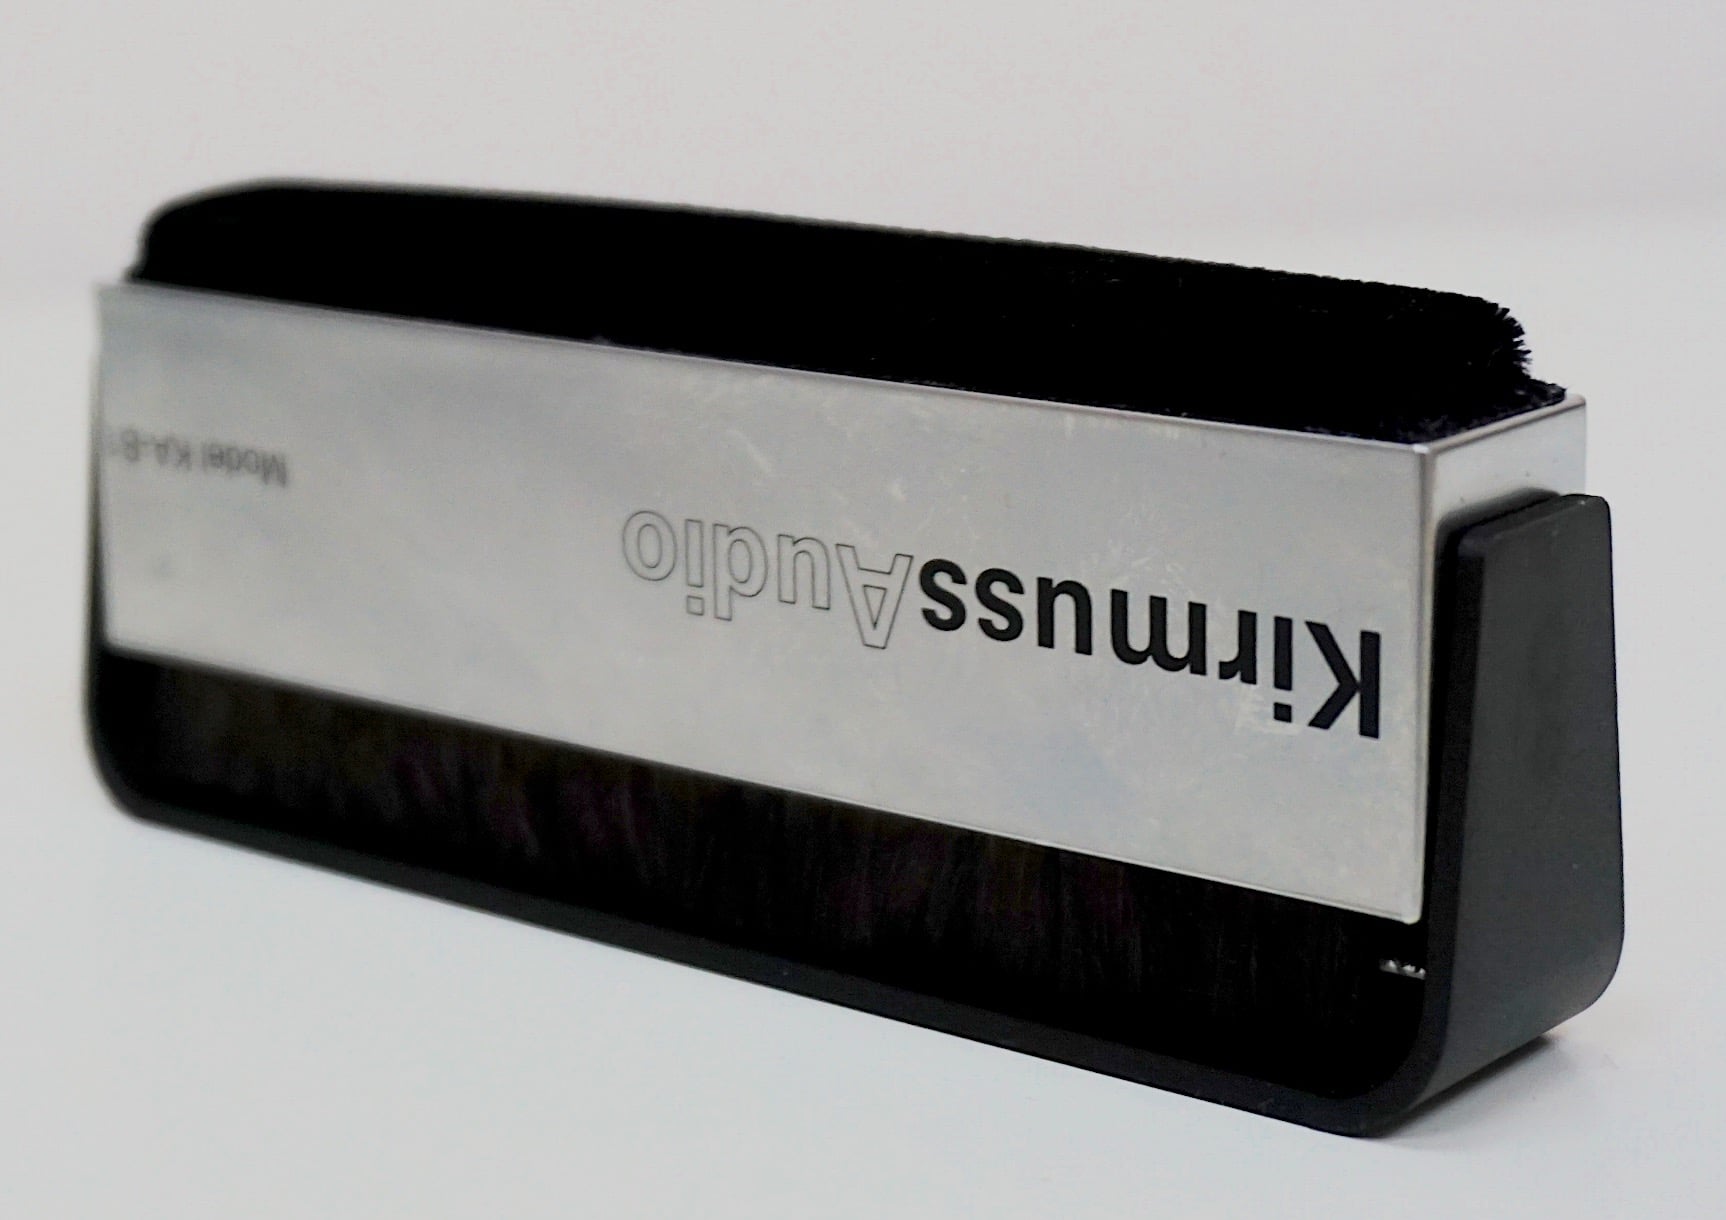
Before I begin, allow me to describe the After Care toolkit. You are suppled with a small mat, upon which you’re supposed to place the record while performing the After Care. There’s a couple of small microfibre cloths, the type you might receive free with a new pair of glasses. There’s a Kabuki brush (a stubby, dense bristled brush commonly used by ladies for make-up purposes) that is used to both apply surfactant and, later, a ‘rinse’ of distilled water. You’re also given a combo carbon fibre brush/felt sponge on a flip-over swivel axle. To use the desired brush or sponge, you rotate the brush. A thick cloth bedecked with pictures of bunny rabbits <sigh> is also supplied which can be used to help in drying your hands and cleaning the Kabuki brush from time to time. A bottle of blue stylus cleaning liquid is also supplied (I would recommend ignoring it and using a sticky pad system, such as the DS Audio ST-50 or one of several other specialist items currently on sale).
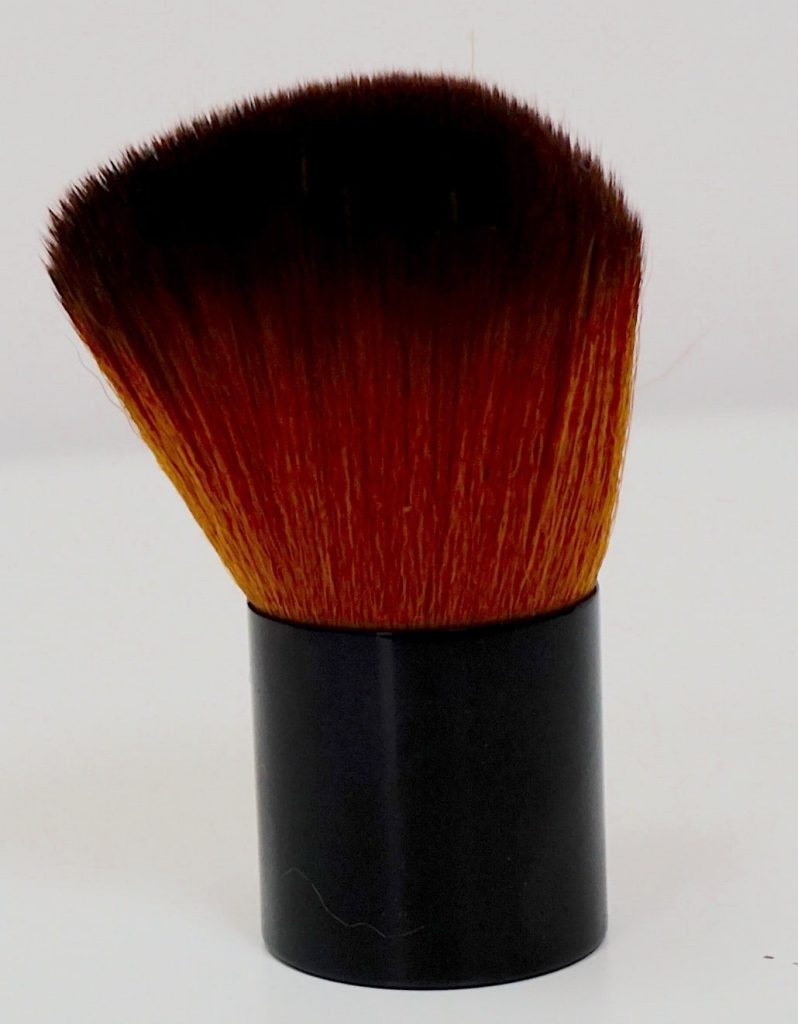
For the After Care section, you are asked to place the record on the miniature mat (felt side uppermost). You spray your record with distilled water (which you must buy – I bought a small empty hand spray bottle from the local chemist to do this bit). The distilled water is then worked into the grooves to, as Kirmuss says, “rinse” them by the Kabuki brush. That water is then dried and mopped up with the microfibre cloth. Then the sponge side of your combo brush is run around the record’s surface to lift excess water. After that, you add a touch of surfactant to the brush. Only a tiny amount is added. You do this by spraying into the air and then pushing the brush into the cloud which coats the tips with a small amount of the liquid. The brush is then run around the record. The reason for this, says Kirmuss, is to prevent static electricity build up. After that, you then run the carbon brush side of your combo brush around the record.
Of course, that’s a single side of vinyl record application. You’ll then need to flip the record over and repeat the entire process again on Side B. Even typing this process is exhausting. Never mind doing it.
Nevertheless, I had issues with most of this, I’m afraid
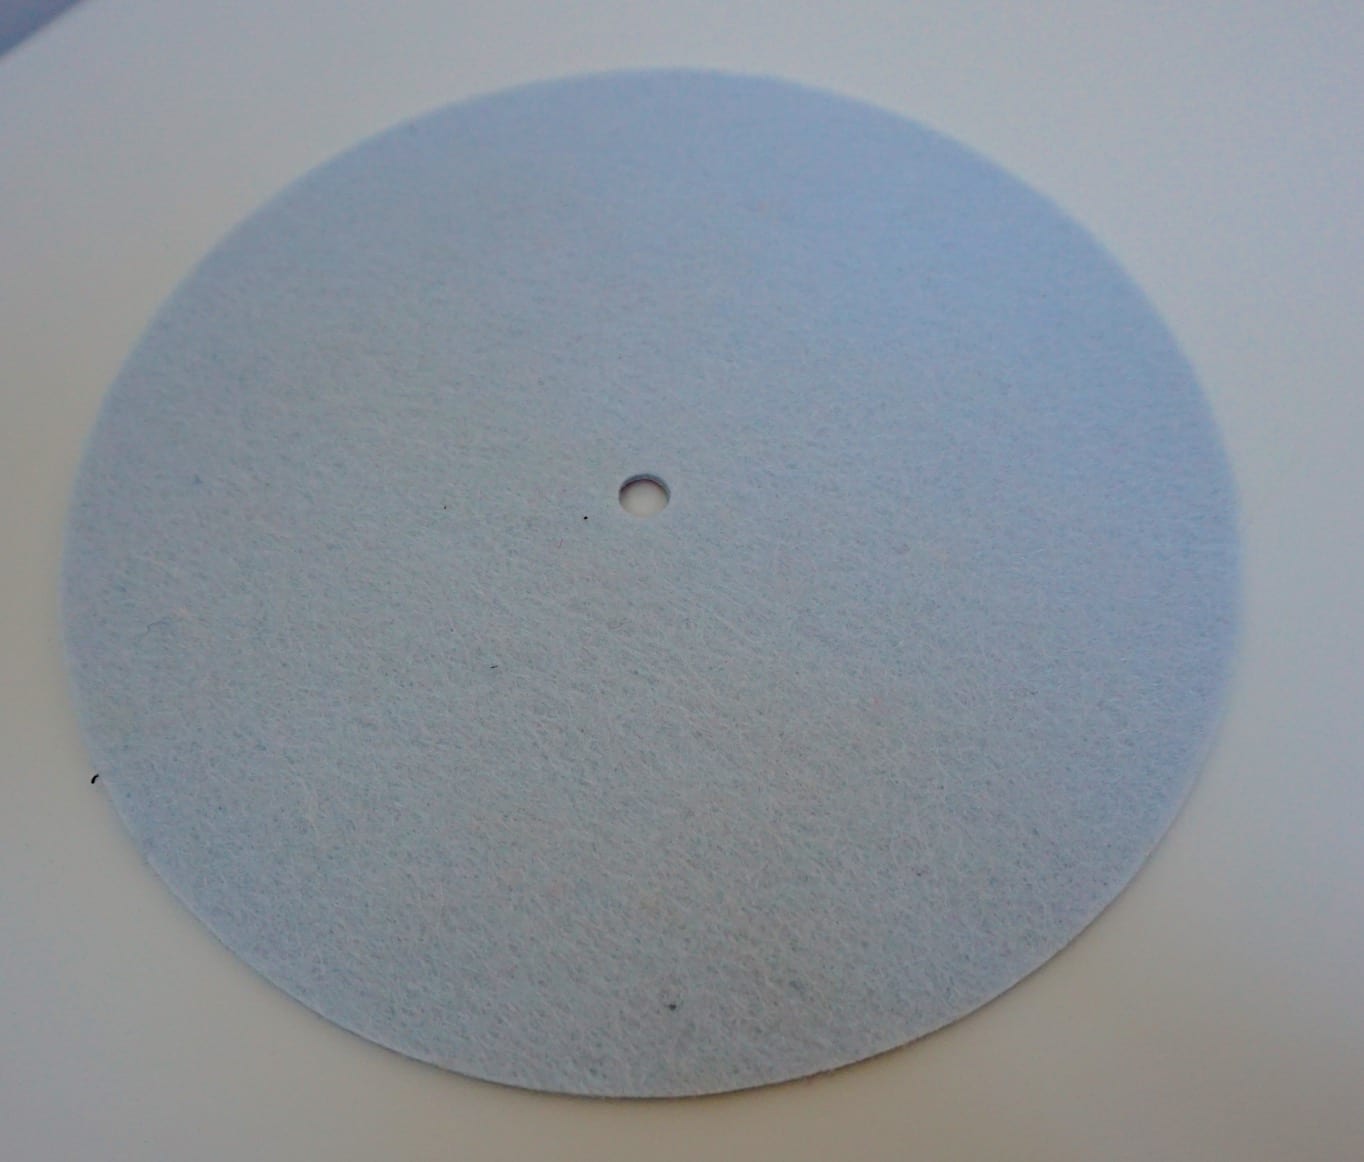
Firstly? Your work mat, the little felt mat that you’re supposed to place your vinyl disc upon to do all of this After Care work? It’s too large. There’s a risk too of re-contamination of the vinyl grooves from the felt mat. The solution? Either measure a circle diameter with a compass and trim or find an alternative. I’m still looking. Does anyone out there with Kirmuss experience have any ideas?
Next? The use of the microfibre cloths and the sponge side of the 2-in-1 brush may soak up excess water but you do find that you physically press on the grooves to do this. Isn’t there a threat, therefore, that any fragments of dirt hanging onto the grooves for grim death may then be pushed back into grooves, recontaminating them? Aren’t all of these actions counter-productive, to the cleaning process, therefore?
Then there is the recommended “rinse”. Initially, I wondered why you needed to rinse the record in more distilled water. Haven’t we just cleaned the disc? Hasn’t the surfactant supposedly melted away and fallen into the water? Hasn’t the alcohol now evaporated from the disc upon emerging from the KA-RC-1? What exactly are we trying to rinse here? I have to also ask, how does dousing the record in water and then mopping it up with a lint-free cloth constitute a rinse?
I’ll talk more of this later.
As for the application of small levels of surfactant to the vinyl surface once more for anti-static purposes, haven’t we just been using the KA-RC-1 to try to remove as much gunge, muck, dirty and dried crud? Why then are we once more adding surfactant to the grooves? The same stuff that apparently can only be removed from the grooves if dissolved fully in water and ultrasonic bubbles? Even if the general idea is to prevent static, aren’t you also adding a new substance to the grooves? Doesn’t that partly defeat the entire reason for using the KA-RC-1 in the first place?
If static prevention is the aim, why not promote the use of a Zerostat or the anti-static Furutech brush or Furutech DeStat? After use, none of these devices leave a residue on the groove surface.
SOUND TESTS 2
To see if the After Care process affected sound in any way, I cleaned my old Ritchie Havens record in the KA-RC-1. I had already cleaned this LP via the Kirmuss 10+ times so that the record was a clean as it was ever going to get.
I then did two things. I cleaned the record again, applied the full After Care treatment and listened via my reference hi-fi. I then cleaned the record once more, ignored the After Care and then did nothing more than air dry the record in a rack, used the carbon fibre brush to dislodge and final bits of rubbish and then played the record again.
The result? As I feared, the After Care-affected record added a veiling layer to the record surface. The midrange, especially the upper mids, was slightly blunted and a little rolled off at the extremities. Dynamic range was snipped at the far end while treble was a little dull.
I put the blame for the veiling directly at the final application of the ‘anti-static’ surfactant. Once the veiled record surface was cleaned again by the KA-RC-1, the surfactant was dissolved and washed away and the dynamics were restored again.
If the surfactant is added during this time to act as an anti-static application, not only do you add a sonic veil but your stylus then scoops the stuff up and collects it onto the tip. You then spend more time cleaning your stylus tip.
HIGH DOSAGE
More than that, if you add surfactant earlier, during the basic cleaning cycles using the above-mentioned spray applicator then way too much is added to the grooves. The dose is too high. It takes a long time to get rid of this stuff. You’ll find that it will collect on your stylus for some time to come. Because of the spray action, I had to introduce a separate active rinse cycle, spraying the surface of my record with distilled water, brushing it in and rinsing the record again in the KA-RC-1 for up to 10 minutes. Not practical.
Because of my earlier health concerns (see Part One for the full story) and because I binned the spray, replacing it with an eye dropper pipette, I was able to reduce the surfactant dose. Instead of three large sprays in the 12, 4 and 8 o’clock positions, I recommend almost painting a thin line of surfactant with the tip of the eye dropper at the 12, 3, 6 and 9 o’clock positions. The amount of surfactant is vastly reduced and much less is dumped in the grooves. I found next to no surfactant collected on my stylus after this treatment.
AIR DRY OR NOT?
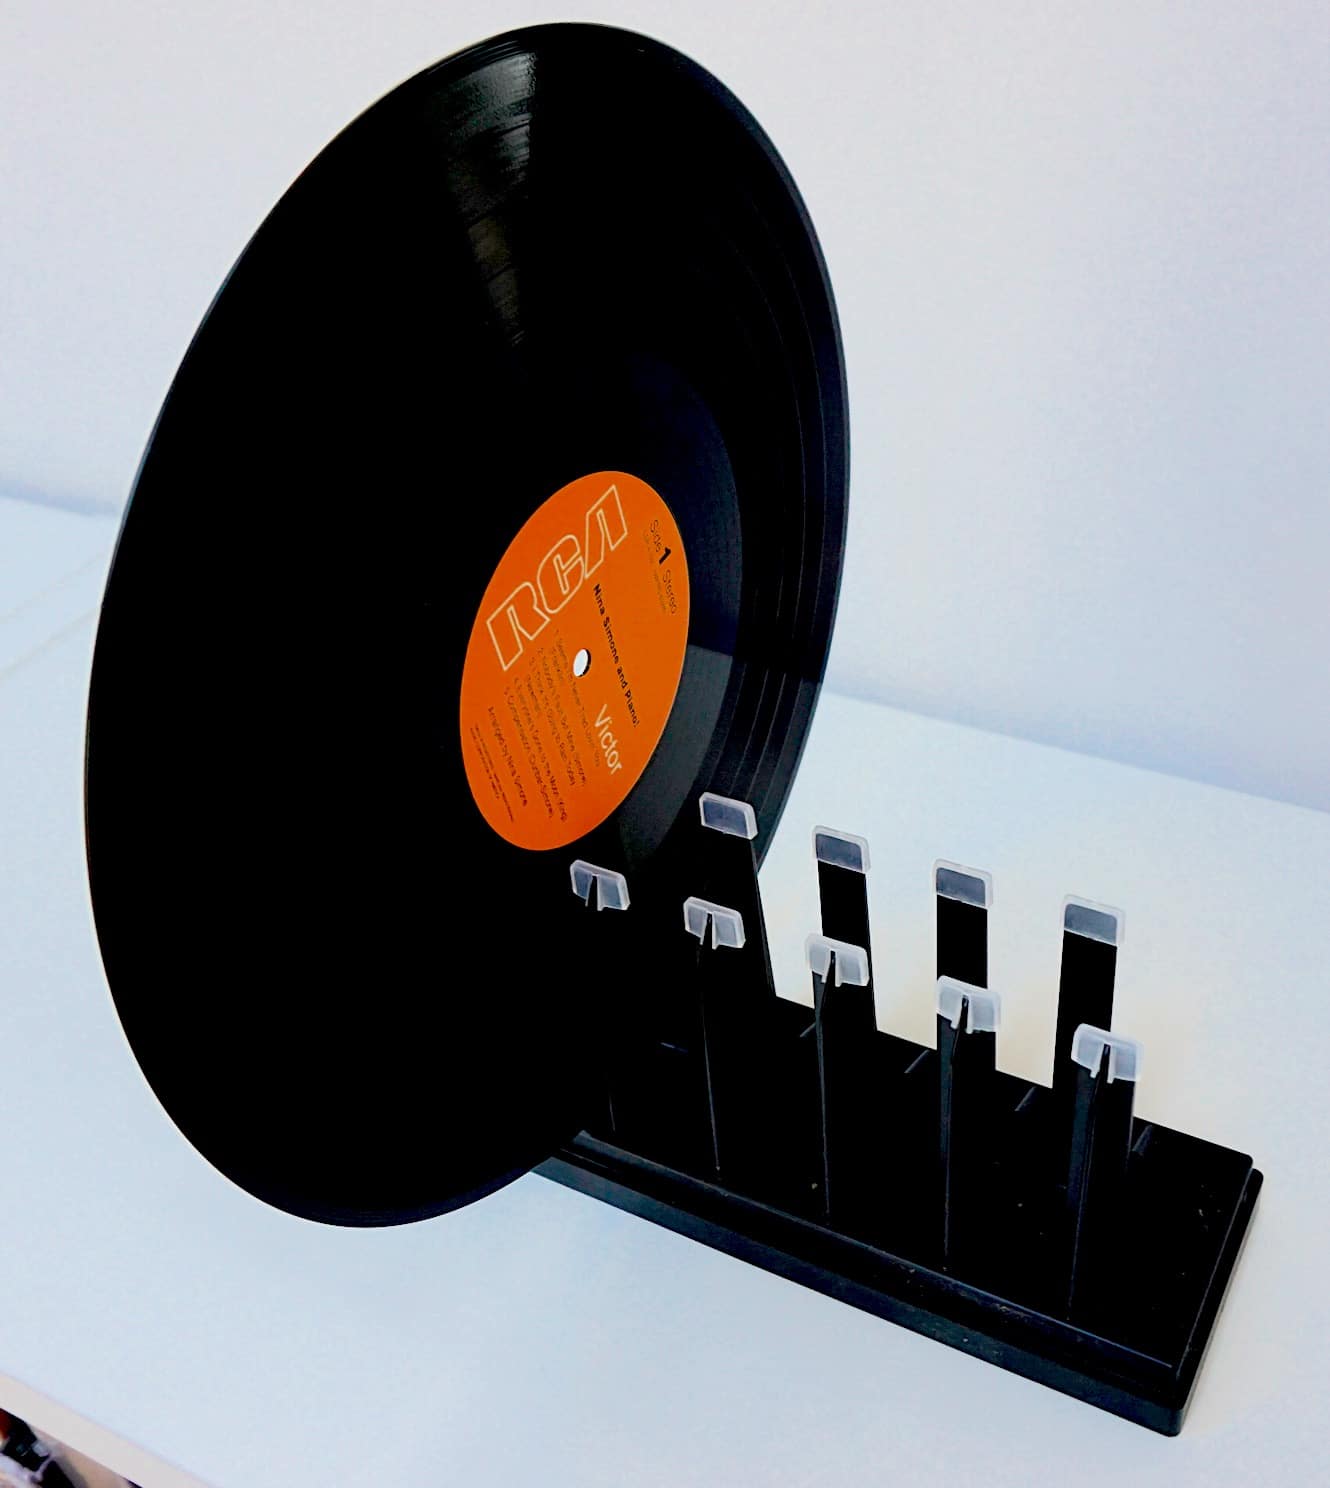
Once you remove the wet record, instead of pushing the muck back into the grooves with the Kirmuss-recommended cloths and sponges, you can air dry in a rack. You can use a rack that you may have fashioned yourself or, if you happen to have a Disco Antistat, that manual washer has an excellent drying rack. The rack prongs that are not too high, keep the records vertical but, at least for 12” records, only touch the run out grooves with plastic tips on the end of the racking prongs.
There is a better and higher-end option here: use the vacuum pump from a ‘spare’ RCM or, indeed, buy one in especially for the purpose. This vacuum RCM will cut drying/waiting times to a fraction, will remove the liquid plus any loose material hanging around the grooves and further reduce latent gunge collecting on the stylus. Something like a Moth, VPI or similar. If you do use a machine like this, take extra care not to reinfect the grooves with the vacuum arm’s felt layer. The bit that comes into contact with the record. I would recommend cleaning this felt after each and every record side. Also, as the Kirmuss rinse cycle cleans and wets both sides, be sure to dry the vacuum RCM turntable with a dry cloth before you flip the record over.
My luxury choice, though, was a Loricraft RCM which has the best vacuum system currently on the market. The vacuum pump never actually touches the record surface and addresses each part of the record slowly and carefully. You’re talking a hefty piece of spare cash for a Loricraft but, if the option is there, then I’d go for the Loricraft just for its vacuum option. Thinking about it, a combo KA-RC-1/Loricraft or KA-RC-1/VPI or KA-RC-1/Moth or whatever combo you choose compares favourably in cash terms with an Audio Desk ultrasonic cleaner. So maybe the idea is not so silly, after all.
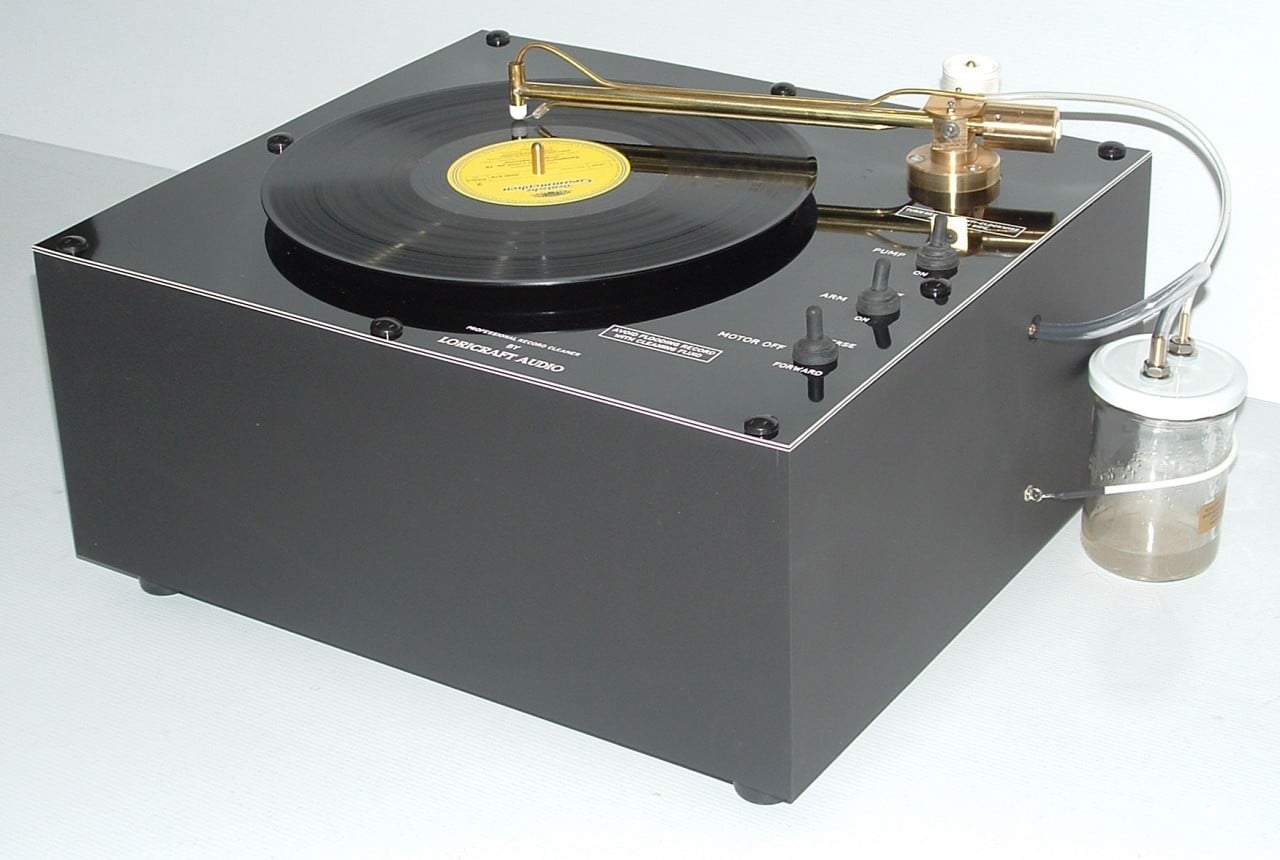
So what’s the recommendation for the Kirmuss After Care session? By all means use the carbon fibre brush for a final physical clean of extraneous dust or lint before play but, apart from that, bin the rest of the stages. They’re a waste of time and they cause issues. Then think carefully about the drying action in terms of air drying or bring in a vacuum RCM.
AN ALTERNATIVE SURFACTANT
If you buy a KA-RC-1, what happens when you run out of surfactant? You will need to buy another bottle. According to my research, each new bottle of Kirmuss surfactant costs £20 for just 60ml, which is extortionate! Kirmuss needs to look at this.
If you want to consider another option then I have an alternative that I thought was as good as the Kirmuss system, during my own sound tests.
Oddly enough, it includes the liquid supplied by competitor, Audio Desk for its own RCM. This liquid includes a surfactant. Audio Desk asks you to buy a little bottle of concentrate for £14. You then dilute this concentrate in five litres of distilled water. Instead of using that to fill an Audio Desk RCM, I would advise applying small amounts to the face of a vinyl record as an external surfactant. I would fill one of my favourite pipette bottles with just a small amount from that five litre source (which will last for ages).
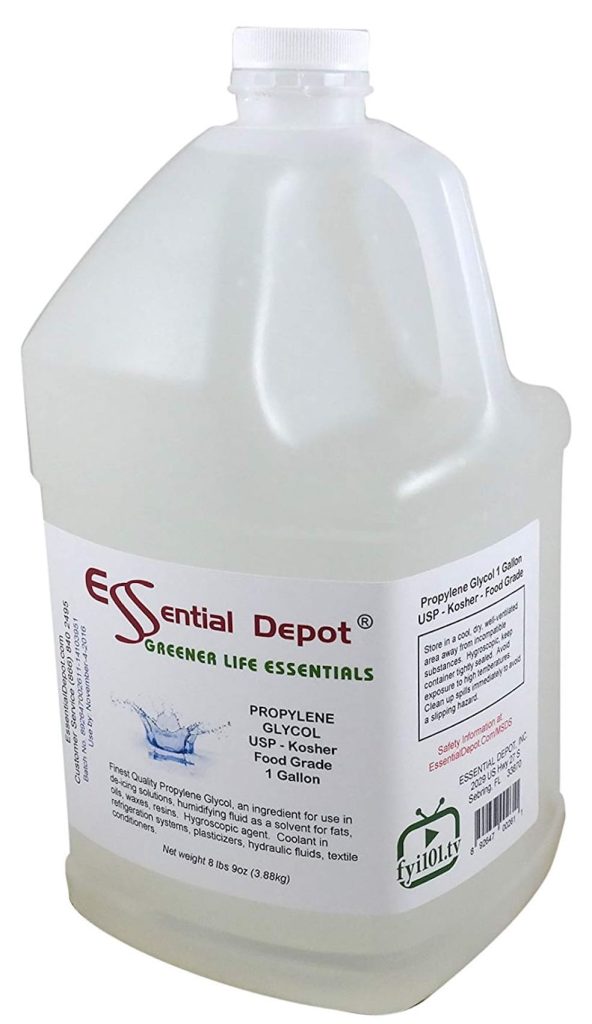
Once done, I would then add half a pipette of Propylene Glycol (as discussed in Part One of this review) which can be bought HERE. This bottle will also last for ages. The Propylene Glycol will give the Audio Desk liquid a bit of bulk. When added, you shake the bottle to mix the two liquid.
When mixed, apply a full pipette around the record surface in a circle. Keep the record surface level for now and using the Kabuki brush work it into the grooves, follow a circular motion, covering the entire surface. Do that three times. Then grasp the near end of the brush to form a stiff bristle and work the surfactant into and along the grain of the grooves. Work in a spiral manner along the groove direction. Then repeat on the flip side and the record is ready for cavitation.
If you find that, during play, the stylus is accumulating gunk, you’ve probably added too much Glycol. Just back off on the quantity a bit and make up a new bottle. You’ll have plenty to use for experimentation.
The Propylene Glycol will keep the surfactant in place in the grooves until cleaned by the cavitation and alcohol. Using a minimal amount of Propylene Glycol will mean less will collect on the stylus tip.
Doing it this way, each 60ml bottle should cost you around 25p instead of £20 as Kirmuss demands.
Before I move on, if you decide to buy larger value packs of Propylene Glycol to make your own surfactant be careful that you purchase the correct liquid. Make sure that you buy Propylene glycol. Do NOT – I repeat, do NOT buy Ethylene glycol. The latter is nasty, can cause major problems if ingested, breathed in and the like. I’m talking central nervous system issues…brain problems…how about coma? You catch my drift on this one? Oh, and if your pets drink it accidentally, it will kill them. So then, double check that you’re buying the correct formula, eh? Propylene glycol is fine. Ethylene glycol is not.
SOUND TESTS 3
How effective can the KA-RC-1 be? How efficient is it? What are its potential cleaning possibilities? How far can it go? I wanted to test this area using, not just a dirty record but one that is full of hard, encrusted gunk.
I came across one such LP in my own collection. It was a Sarah Vaughan album on the Mainstream label, a live show in Japan. I cleaned it twice on the Kirmuss, on both occasiobs, I used surfactant scrubbed into the grooves and a total of two cycles of five minute ultrasonic cavitation.
Kirmuss says that such bunged up records can be spotted by the grease-like substance that emerges on the grooves surface when the surfactant is worked in by the brush. I must admit that I didn’t see that at all. Nevertheless, if my eyes missed this so-called Kirmuss effect, my ears spotted it immediately. Playing the record immediately afterward two separate cleaning cycles was a horrendous experience! Truly poor. It sounded like the stylus was caked with muck. Yet, upon inspection, the stylus was clear. What was it? It was muck and grime that was slowly lifting off the groove floor and sides because of the early cleaning cycles and rising inexorably to the surface. It just hadn’t got there yet. So, in effect, the sound quality was worse than when I began. If this happens to you, don’t panic. In fact, see it as a good thing. A work in progress, you might say.
So I gave the record two more cleaning cycles. The results were better but not perfect. Another two cleaning cycles were employed (now, six in all). And that did it. The record sounded a little damaged around the edges but startlingly brilliant in broad terms. A RCM cannot repair a damaged record but the final sound was superior than the sonic experience I had previous to the clean. There were some beautiful upper midrange highlights here with a bass that could be actually heard for once. Instrumental separation now existed for the first time and the soundstage offered a genuine 3D depth. Hurrah!
The moral of this tale? Be prepared to experiment, tweak and thoroughly mess around with your records and this RCM to get the vinyl performance you want. You may have to keep at it, though. I had to clean this record six times but be prepared for more.
DISCLAIMER
I finally felt that I was getting somewhere with the KA-RC-1 but one thing bothered me. The KA-RC-1 did as well as the Audio Desk RCM in terms of removing gunk and muck but the Kirmuss sounded better in sonic terms. As I said in Part One, I felt the reason for that was the use of a tiny amount of alcohol in the bath in the Kirmuss RCM. The Audio Desk didn’t feature any alcohol in its bath when I compared it earlier.
What if I added alcohol to the Audiodesk then? Would that enhance the Audio Desk’s sonic performance? How would an alcohol-fed Audio Desk perform against the KA-RC-1? Wouldn’t that be a fairer comparison between the two? The ultimate shoot out?
That’s what I did but I don’t recommend that you do it. Why? Because, apparently, adding the tiniest drop of alcohol into an Audio Desk RCM will remove the warranty on the affected machine. So, officially, I would encourage you NOT to add any alcohol to the machine at all. DON’T DO IT! If you use alcohol in the Audio Desk vinyl cleaning machine and you later suffer a technical hitch to your Audio Desk RCM but the machine is rejected by the host company because of your prior alcohol use in the RCM then BE IT ON YOUR OWN HEAD. Don’t say that I didn’t warn you.
Going against the grain and breaking rules is part of my job, though. So in went the alcohol in my machine. The same amount: 0.43% of the total water volume.
SOUND TESTS 4
My first test will probably enrage Audio Desk but it was an option I had to try to cover all of the options fully. The Kirmuss uses 0.43% of alcohol in its bath. So I did the same to the Audio Desk. That is, I added 0.43% of alcohol to the Audio Desk bespoke cleaning liquid/distilled water combo and listened to that.
I played my Ritchie Havens track again and the result was pretty good. The sound opened up from its previously rather dull offering to one where the vocal was more expressive and emotive. Previously, the guitar strums dragged a bit, slowing the track. Now, the attack was more immediate and the transients were faster. I gave the LP a second cleaning cycle in the Audio Desk but found no obviously beneficial extra sound quality from this second cycle.
Then I moved on to the next level. I totally drained the Audio Desk-based liquid, cleaned the internals of the RCM and refilled it with nothing but distilled water and 0.43% alcohol. The Audio Desk bespoke liquid was not added this time. That is, Audio Desk’s own cleaning liquid was not part of the bath’s contents.
I played Emmylou Harris and You’re Free to Go from the album, Thirteen. The sonics improved still further. The upper mids where now extended as was the dynamic range. The resultant sound was never harsh nor bright but was just a tad edgy. There was a beautifully transparent quality to the sound but there was a slight, just a slight sharpness to the sound.
Next, I added Kirmuss surfactant to the surface of the Emmylou Harris LP to see if this step added something to the sound. It certainly did. All of the above sonic qualities remained but the soundstage appeared to extend left and right while the sound now had a richer, more mature aspect. It was balanced with, critically, no edge or sharpness.
Repeating this cycle a second time, including a second application of the surfactant improved matters still further. Mids were smooth, treble was extended and more information was available.
OK then, so here’s the crunch. Using the two-cycle process of surfactant application to the vinyl surface followed by an ultrasonic clean, which RCM was the best in sonic terms? The Kirmuss or the Audio Desk?
The results were interesting. The Audio Desk was the best in terms of control and maturity within the midrange, treble offered better structure and bass was tonally more interesting. The Kirmuss could be a little wayward in how it handled the overall frequency range. The Audio Desk was rather more coherent in this respect.
That said, the KA-RC-1 remained excellent in terms of its sonic performance. In purely sonic terms, there was plenty of detail on offer, clarity and transparency were both excellent the dynamic reach was impressive.
What the Audio Desk had up its sleeve was a chassis and mechanism that was wholly bespoke to the task of cleaning vinyl. This test proved that the chassis and all that mechanical gubbins inside really does matter. That’s what the Audio Desk is made to do – that’s why you pay so much cash for it. The Kirmuss, may I remind you, uses an off-the-shelf model that was tweaked for vinyl use. I feel that the tailored design of the Audio Desk told in the end. So, to repeat, given a level, alcohol-soaked, surfactant-strewn, playing field, the Audio Desk is the obvious and clear winner. Records sound better from the Audio Desk under these conditions.
That said, I’ve been using a ‘naughty’ version of the Audio Desk for these tests, complete with alcohol and surfactant. An Audio Desk from the wrong side of the tracks, you might say. An Audio Desk from the Dark Side.
Hence, officially, this test doesn’t exist because Audio Desk rejects the use of alcohol and doesn’t sanction the use of an external surfactant. Audio Desk wants you to use its own cleaning liquid. So, in official terms, at this stage of the game, the Kirmuss is the clear winner. And that’s how it’ll be (officially) until Audio Desk changes its mind and its focus. If and when it does, though…
CONCLUSION
There is just a touch of the P.T. Barnum about Kirmuss. I say that with a smile on my face because I have no wish to insult or denigrate the company. They mean well but the outfit brings this feeling upon itself.
If you attend one of its demos, you’ll see the man in the white coat, the Ringmaster’s badge of supremacy, acting like the barker Billy Bigelow in the Hollywood musical, Carousel. He’s designed to impress.
The company offers thrills and spills. It scares you with its warnings about encroaching fungus, tales that will keep any vinyl fan up at nights, a substance that threatens to cover your vinyl as Jeff Wayne might describe the Red Weed in his version of H.G. Well’s The War of the Worlds.
There are magical illusions such as the never-ending emergence of magical grease from the vinyl groove that forever spews forth like multi-coloured handkerchiefs from the mouth or some sort of analogue ectoplasm that requires the immediate assistance of the Kirmuss Ghost Busters.
There’s even the mysterious Charles Kirmuss, the man of a thousand talents, his wonders to perform (according to his adoring staff).
And it doesn’t help. None of it. Despite what Kirmuss might think. The above adds a sense of the suspicious to the company. A nervous element. You wonder how far you can trust this lot.
Yet, from what I can gather Kirmuss, as a company, has the best of intentions. I’ve talked to them a lot and that’s my feeling. It just tries too hard and it comes out wrong. It doesn’t really need to. Kirmuss has a good product here. They could turn it into a great product. They could even turn this product into a minor industry all of its own. If Kirmuss would just step off its marketing pedal with it’s eccentric manual and its slightly bizarre website and its overly quirky persona then the green gas would clear and we would all see that.
My tests prove it to me, at any rate. The core KA-RC-1 is a good product. It does the job and it does the job well. Yes, the footprint of the KA-RC-1 is very large, yes you really don’t need the After Care gear, yes you need to tweak the cleaning system to fit your circumstances and yes the basic design of the machine looks like a 12 year old’s toy but the price is about right, the performance is bang on and the core research from the design team is thoughtful and even innovative.
This new machine will – or should – inject the flowering ultrasonic market with a few shivers. The competitors need to look closely at what Kirmuss is doing right. They need to consider the flexibility of the Kirmuss technology. They need to re-look at the use of alcohol as part of the cleaning process.
The KA-RC-1 isn’t perfect, though. The more expensive machines out there do some things better: they offer a smaller footprint, an automatic cleaning system that people actually like with an assured feeling that the machine has everything in hand. This approach can be comforting to many. This is an important factor for many buyers. If you look at the Kirmuss tests above and wonder if it’s all too much effort and trouble, then avoid the KA-RC-1 and stick with a product like the Audio Desk.
Your buying decision should be based on your priorities in terms of vinyl cleaning, as well as your budget.
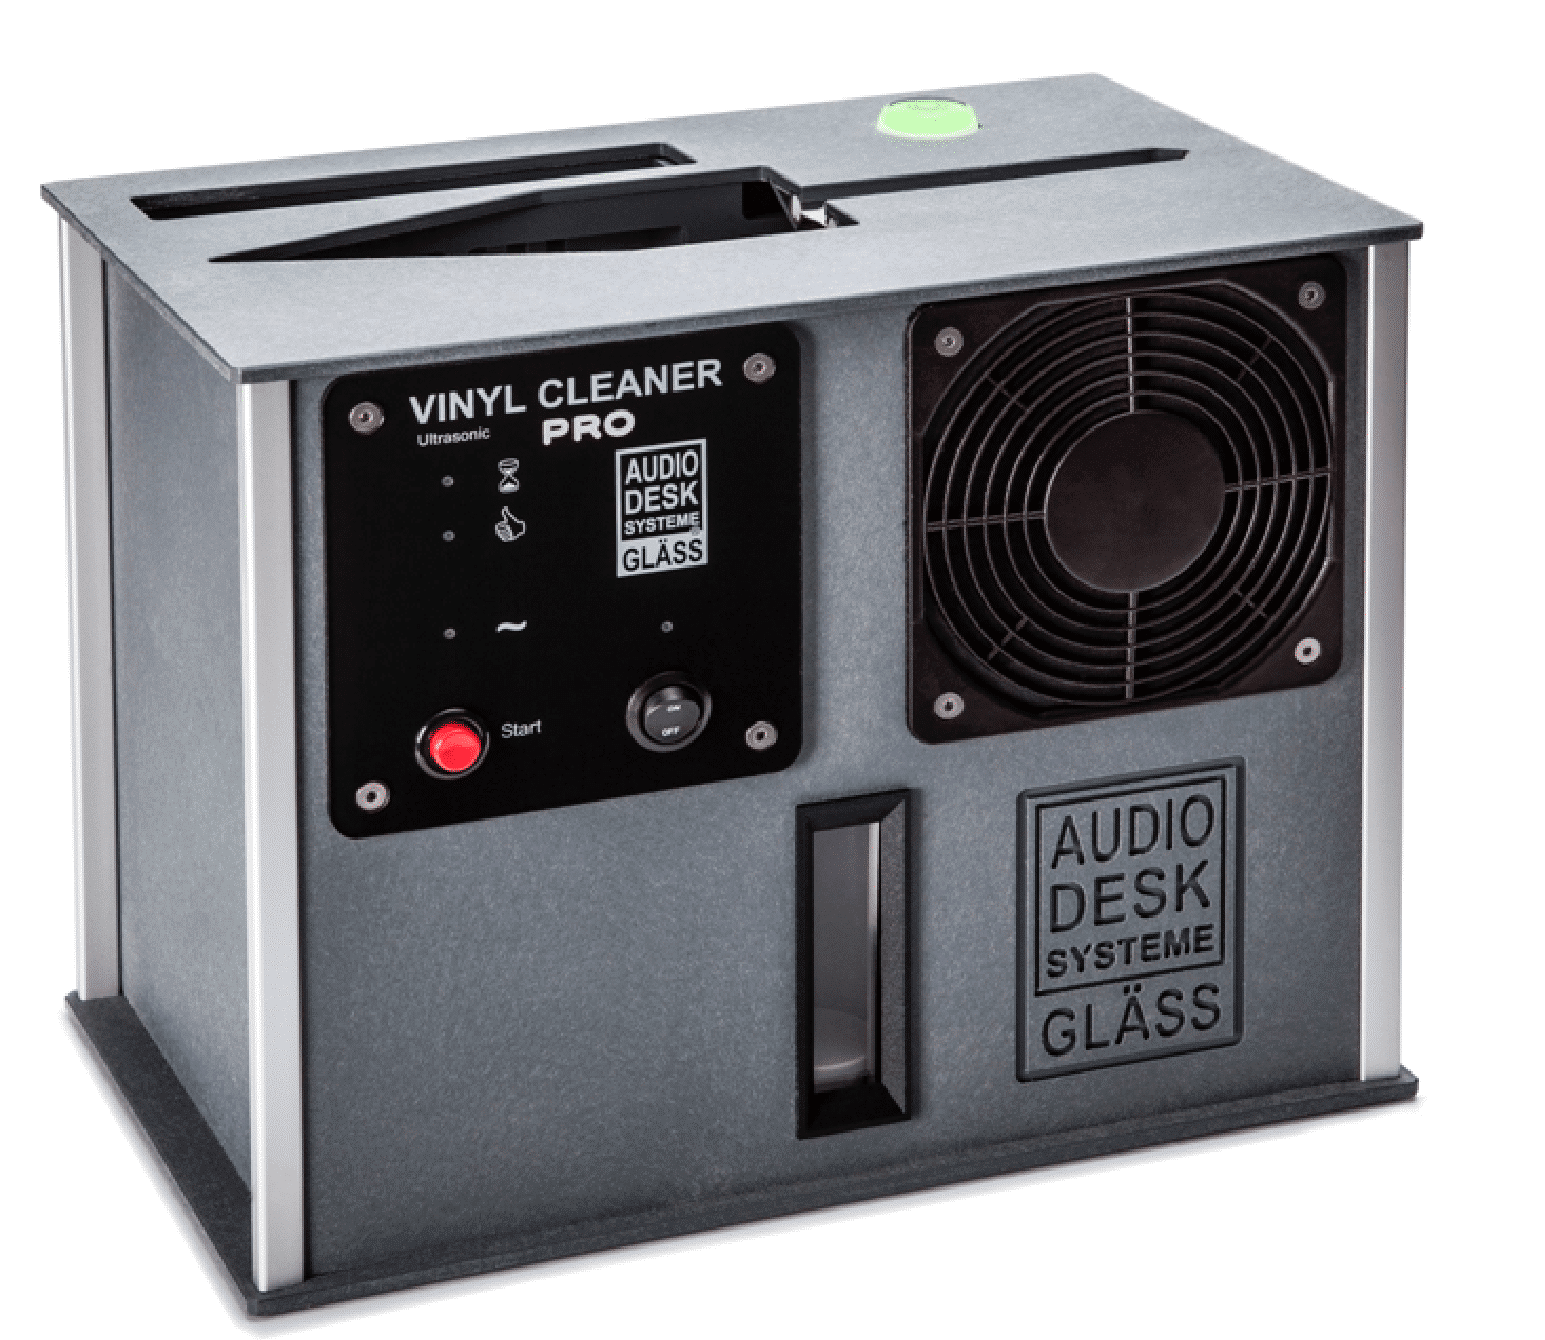
Think of it like this, the automatic RCM types like the Audiodesk are the Apple Macs or the iOS devices of the ultrasonic world. They are beautifully designed, offer a tailored and bespoke chassis and wall you off from the real world. They offer security but little freedom.
The open and flexible nature of the Kirmuss means that it represents a PC-like or Android-type of device. Imminently flexible and tweakable. With enough features and options to fit the needs of any audiophile who likes to dabble, experiment and doesn’t mind spending time on the machine to get it right while getting his hands dirty (or clean…this is a RCM, after all).
But there is that bottom line, isn’t there? One that needs addressing. And so I ask, is the Kirmuss a recommended cleaning machine? And the answer? Well, if you’ve read this feature all of the way through then you’ll know that the answer is a little complex. Firstly, because you’ve got to factor in Kirmuss the company who just insist on getting in the way and trying its best to undermine and diminish its own machine. A truly bizarre situation, via its eccentric and less than satisfactory cleaning recommendations. If pushed, at this specific moment in time, at this price point (very important), in terms of its flexibility and potential, the default format options available and in terms of its sheer sonic improving performance then the KA-RC-1 is recommended.
KIRMUSS KA-RC-1 ULTRASONIC CLEANER
Price: £1,197.60 (shop around, I have seen it on sale for £995)
Website: www.kirmussaudio.com
GOOD: cleaning performance, sonic qualities, default disc formats, carry handles, tweakability
BAD: manual, after care stage, the company itself
RATING: 8
[Don’t forget to check out my Facebook Group, The Audiophile Man: Hi-Fi & Music here: www.facebook.com/groups/theaudiophileman for exclusive postings, exclusive editorial and more!]
REFERENCE
Origin Live Sovereign turntable
Origin Live Enterprise 12″ arm
Van Den Hul Crimson XGW Stradivarius Cartridge
Soundsmith Paua Mk.II cartridge
Icon PS3 phono amplifier
Aesthetix Calypso pre-amp
Icon Audio MB845 Mk.II monoblock amplifiers
Quad ESL-57 speakers with One Thing upgrade
Tellurium Q Silver Diamond cables
Blue Horizon Professional Rack System


Thank you Paul, for this exhaustive 2-part investigation into and comparison of these 2 Ultrasonic RCMs. I have the Audio Desk PRO, a Keith Monks and no money (!), so I will stick with them for the moment… Interesting about the alcohol…
Thanks for your comments John and yes, I learned a lot re. alcohol myself. I never thought I’d ever use the stuff but I do now. Only that half a per cent but, even so, I shocked myself I must admit 🙂
Great article. When you mix the propylene glycol with the Audio Desk cleaning fluid/distilled water solution, what are the recommended percentages? Thanks again!
Thanks Richard – check out this Cleaning Guide. The first part, devoted to the vinyl prep before cleaning, should provide you with that info and a better option than the Audio Desk liquid – I’ve moved on since then 🙂
Click https://theaudiophileman.com/vinyl-cleaning-guide-part-1-manual-cleaning/
Have you also soured on the Kirmuss?
For the price, it’s a useful machine. It’s compromised (in price terms, necessarily) because of that cheap Chinese bath which is why the price is lower than Audio Desk, Degritter et al.
Saying that, all budget models, DIY machines, home brew machines, etc, are like that. They’re no different. You pay for the Kirmuss top plate. That’s the point of the Kirmuss – that top plate. The rest is off the shelf, cheap and cheerful (in relative terms, at least).
This also illustrates how expensive ultrasonic cleaners remain in the HiFi industry and why, if you target vinyl cleaning with an ultrasonic cleaner, from the ground up, the resultant chassis design makes for a breath-taking, top flight price tag.
So the Kirmuss machine fills a useful slot and is worth a look, yes. It works.
I am trying to get a new Disco Antistat ultrasonic cleaner in which might replace the Kirmuss in that price slot. I’m working on it. I’m not sure of the status of that design.
If anything sours me it’s Kirmuss, the company. I dislike the smoke and mirrors and the fear-mongering propaganda pushed by the company itself which does damage to the vinyl community and spreads misinformation.
I’ve had more dealings with them after this review. When I think about Kirmuss, the company, I find the need to take a series of long, hot showers.
But that’s not your problem. If you like the look of the Kirmuss then I still recommend it as a budget (!) purchase for vinyl cleaning.
Thanks, Paul. Any modifications to the directions in your cleaning guide when using the Kirmuss?
If you’ve read Pt.1 of the Guide then I’d advise preparing the disc as in the Guide up until you the Disco comes into play. The use the Kirmuss as usual. I’d include 7% of alcohol in a bath of distilled water too as I assume you’ll be using Glycol, as per the Guide. The alcohol will help melt the Glycol during the clean.
Hi Paul. What do you think of the £400 ultrasonic cleaners going around that do up to ten discs. Thanks george
Hi George – here’s a review of that sort of machine. It’s in that general area: https://theaudiophileman.com/record-cleaner-pro-ultrasonic-review/
Cheers Paul. Think I actually read that before. Thanks anyway good second read.
Hello
Many thanks for your review. Maybe a simple way to use less surfactant would be to dilute it with distilled water, still using the same spray bottle ?
Hi Fr√©d√©ric – yes indeed, you could do that. Is this is reference to build up on the stylus? I think that’s more to do with the Propane Glycol levels rather than the surfactant – they’re two separate things. The Glycol tends to hold the surfactant in place in the grooves and its the Glycol that you really want to reduce, not the surfactant.
Great article and amazingly detailed.
Price aside, have you looked at the Degritter? I’m curious how their cleaning results may compare. https://degritter.com/
It runs at 120kHZ and the manual says the tank is Ethanol proof.
Thanks Joseph – I have yet to look at the Degritter, I’m afraid.
Probably worth checking out, especially after you reading the comment battle in this thread. It’s a long read, but very entertaining.
https://www.analogplanet.com/content/axpona-2019-turntable-round
First time I’ve seen this, Joseph. I see I make a cameo appearance too 🙂 Thanks. I have been in contact with Degritter – I hope to grab a sample in the future. May be a while until I get the time to look at it closely, February possibly. I have quite a review queue to tackle first you see.
Under the headline “Sound Tests 4” you wrote: “Next, I added surfactant to the surface of the Emmylou Harris LP …”. What surfactant did you use here? The Kirmuss surfactant, or your own “alternative” surfactant, (which you say is as good or even better, and definitely cheaper, than the Kirmuss surfactant)?
Good point A.E – it was the Kirmuss surfactant. I’ve updated the text. Thanks. I wanted to maintain a number of fixed variables to make sure that the sonic differences related to the RCMs and not the liquid.
Thanks Paul great review
Sorry if I am being thick but your recommendation from start to finish would be to clean record in ultrasonic with distilled water and touch of alcohol then apply surfactant pipette method and cycle through ultrasonic twice before using your RCM to dry
How long can you keep the distilled water alcohol solution and how many records can you do before changing the solution
Thanks again for your kind words, Neale. For an ultrasonic, I’d be looking at adding a surfactant directly to the record before a clean. The cycle would be surfactant/clean, surfactant/clean then dry. Hence, two cycles. Some records may need up to eight cycles, though. I had some that were four, six and eight. Depends what’s in the grooves, does it sound right?, etc.
For the bath change? I wouldn’t give you a ‘sell by’ date because it depends how dirty your records are and how many cycles you use. I’d keep an eye of the bath and, when there’s lots of bits floating around in there – stuff that might attach to a record you might pop in there for cleaning – then change the water.
Thanks again
Is there anyway we can help out financially for you Review’s as a lot of work goes into these
Thanks again
That’s very nice of you to even suggest that Neale, thank you. Actually, I do have a long term project that I’m working on. I did consider the Patreon-type route but I felt that it was a bit cold…not particular engaging. I wanted to involve my readers more than the Patreon-type model allows. I reckon I still have a year to complete my fiendish plans but I hope the final model I offer will be more interesting to you and others who might be interested. The next stage in the plan is an official YouTube channel. More a talking head thing offering thoughts, ideas, a hi-fi clinic, general advice, etc, than reviews (that works better here, I think). Once that is up and running, I’ll be looking to announce a structured plan a bit further down the road.
Hi Paul, I use a loricraft PRC-4 with decent results. Sometimes, I need to clean the record more than once to get rid off the pops. My friend sold his very expensive Keith Monk (not any of the new ones made by his son) after he purchased the KLAudio ultrasonic cleaning machine that only needs distilled water! If you get a chance, you should review, from my experience with both the Audiodesk and KLAudio, I believe the KLAudio is a much better product. Like the Audiodesk, it has a small footprint, easy to clean and use; just drop in record, take out and play. We both also use the SK-EX and then play.
Hi Joe, thanks for your thoughts and yes, I’d love to check out the KL Audio machine. I must hassle them 🙂
Hi Paul
For your alternative surfactant, you say “add half a pipette of Propylene Glycol” to the small bottle (60 mL). More precisely, what % of volume does this represent, because “a pipette” is not a unit very standard … ?
Many thanks
Hi Fr√©d√©ric – true. The surfactant is a bit of a variable that I’d like you to monitor and tweak because you may or may not get stylus build up because of the Glycol. The more Glycol you use, the more build up you *may* get. Depends on how effective the Glycol is for you and your records. The amount of Glycol was too small for me to measure using my vials but half a pipette is about right. Basically, this area doesn’t have to be exact.
Thanks for the review. I bought one of Kirmiss record cleaner at the AXPONA audio show last year (Chicago). So I’ve had it for almost a year. It’s the best record cleaner I’ve owned but it is labor intensive especially w used records in not great shape. I also had some issue with the after care and jettisoned it. I do use the spray (they say it deals with fungus that can be in grooves. I usually put the record in the tank, take it out rinse with a spray bottle of distilled water dry with microfiber clothes (I bought a lot more as they get soaked). Then spray that glycol solution and scrub it in with the barber shaving brush. I do both sides then let it sit. I figured if it’s fungus I’m addressing it needed a little time to work, I then run it in the machine again and rinse and dry. A minimum of two times per record. An older record in poor to middling condition I might run 4-5 times. I rarely use the mat they provide. I developed a technique of holding the record against my body by the edge. I can apply the fungal spray and brush it in. And I can rinse and scrub dry. Somewhere I read that the physical scrubbing was actually recommended as best way to clean but I couldn’t give you the reference. Could you clarify what your using for surfactant? Glycol but what’s mixed with it?
Elton
Hi Elton – thanks for your mail. I wouldn’t think too hard about the fungus thing. I think Kirmuss over-fixate on it. In my research, I found that fungus is only an issue for badly stored records in a damp atmosphere for records that might have been untouched for a long, long time. I see the fungus point as a scare story used by Kirmuss who desperately want to separate themselves from the competition and use a possible fungus issue to do that. And I think it’s an unfortunate tactic.
Nevertheless, you’re right to apply multiple clean cycles because sometimes there is very hard-to-shift gunge in the grooves. But it’s well worth doing so. I’ve experienced some incredible transformations in vinyl sound. The labour-intensive point you made is one I’m still working on now, though. I’m not absolutely happy with the sheer amount of work you have to do and wonder if there’s a combo of liquids and techniques that could reduce the time demanded.
I’m currently experimenting with differing solutions to this. A week ago, I tried upping the alcohol from -0.43% (as tested in the review) to 3%. That’s still not the answer. I’m going to go to 6% and possibly 10% (but no further) and I’m also looking at experimenting with different surfactants too. But that’s all part of my ongoing tests. I hope to write up a full report later which may be of use to you and also others. It may take a bit of time because I’m doing those tests in between other work.
Your general cleaning methods sound fine to me and I’ve also utilised that ‘body by the edge’ technique which enables you to add a bit of useful but even pressure, I think.
As for the surfactant I currently use (as I say, I haven’t decided fully that this will be ‘the one’ but I’m experimenting with it for now) was the option I mentioned in Pt.2 of the Kirmuss review. That is, I grabbed a bottle of concentrate from Audio Desk (there’s a ‘buy’ link in the PT.2 review I think), dilute that as recommended with distilled water and add some to a pipette bottle (a spray should be fine too if you want to use that) add two half pipettes of glycol to the mixture. Shake well. Then apply as a surfactant. By all means experiment with the amount of surfactant you apply to the vinyl surface during cleaning. There’s no hard and fast rule here, I’m still learning too 🙂
One additional point, Elton. Another piece of Kirmuss propaganda, I’m afraid but the Glycol spray is not an anti-fungal spray. I know why you might think this and I blame Kirmuss for this mislabelling. The spray is a surfactant *only*. Nothing else. It reduces surface tension to allow the ultrasonic bubbles and water to get closer to the groove wall.
An effective anti-fungal treatment means removing static from the vinyl surface to attract less dust which may, under certain atmospheric conditions, cause fungal growth. For this, you’re best relying on a non-contact treatment such as a Zerostat or the more expensive Furutech DeStat (which I’m in the middle of reviewing).