The Article
Degritter Ultrasonic Record Cleaning Machine
12th August 2020
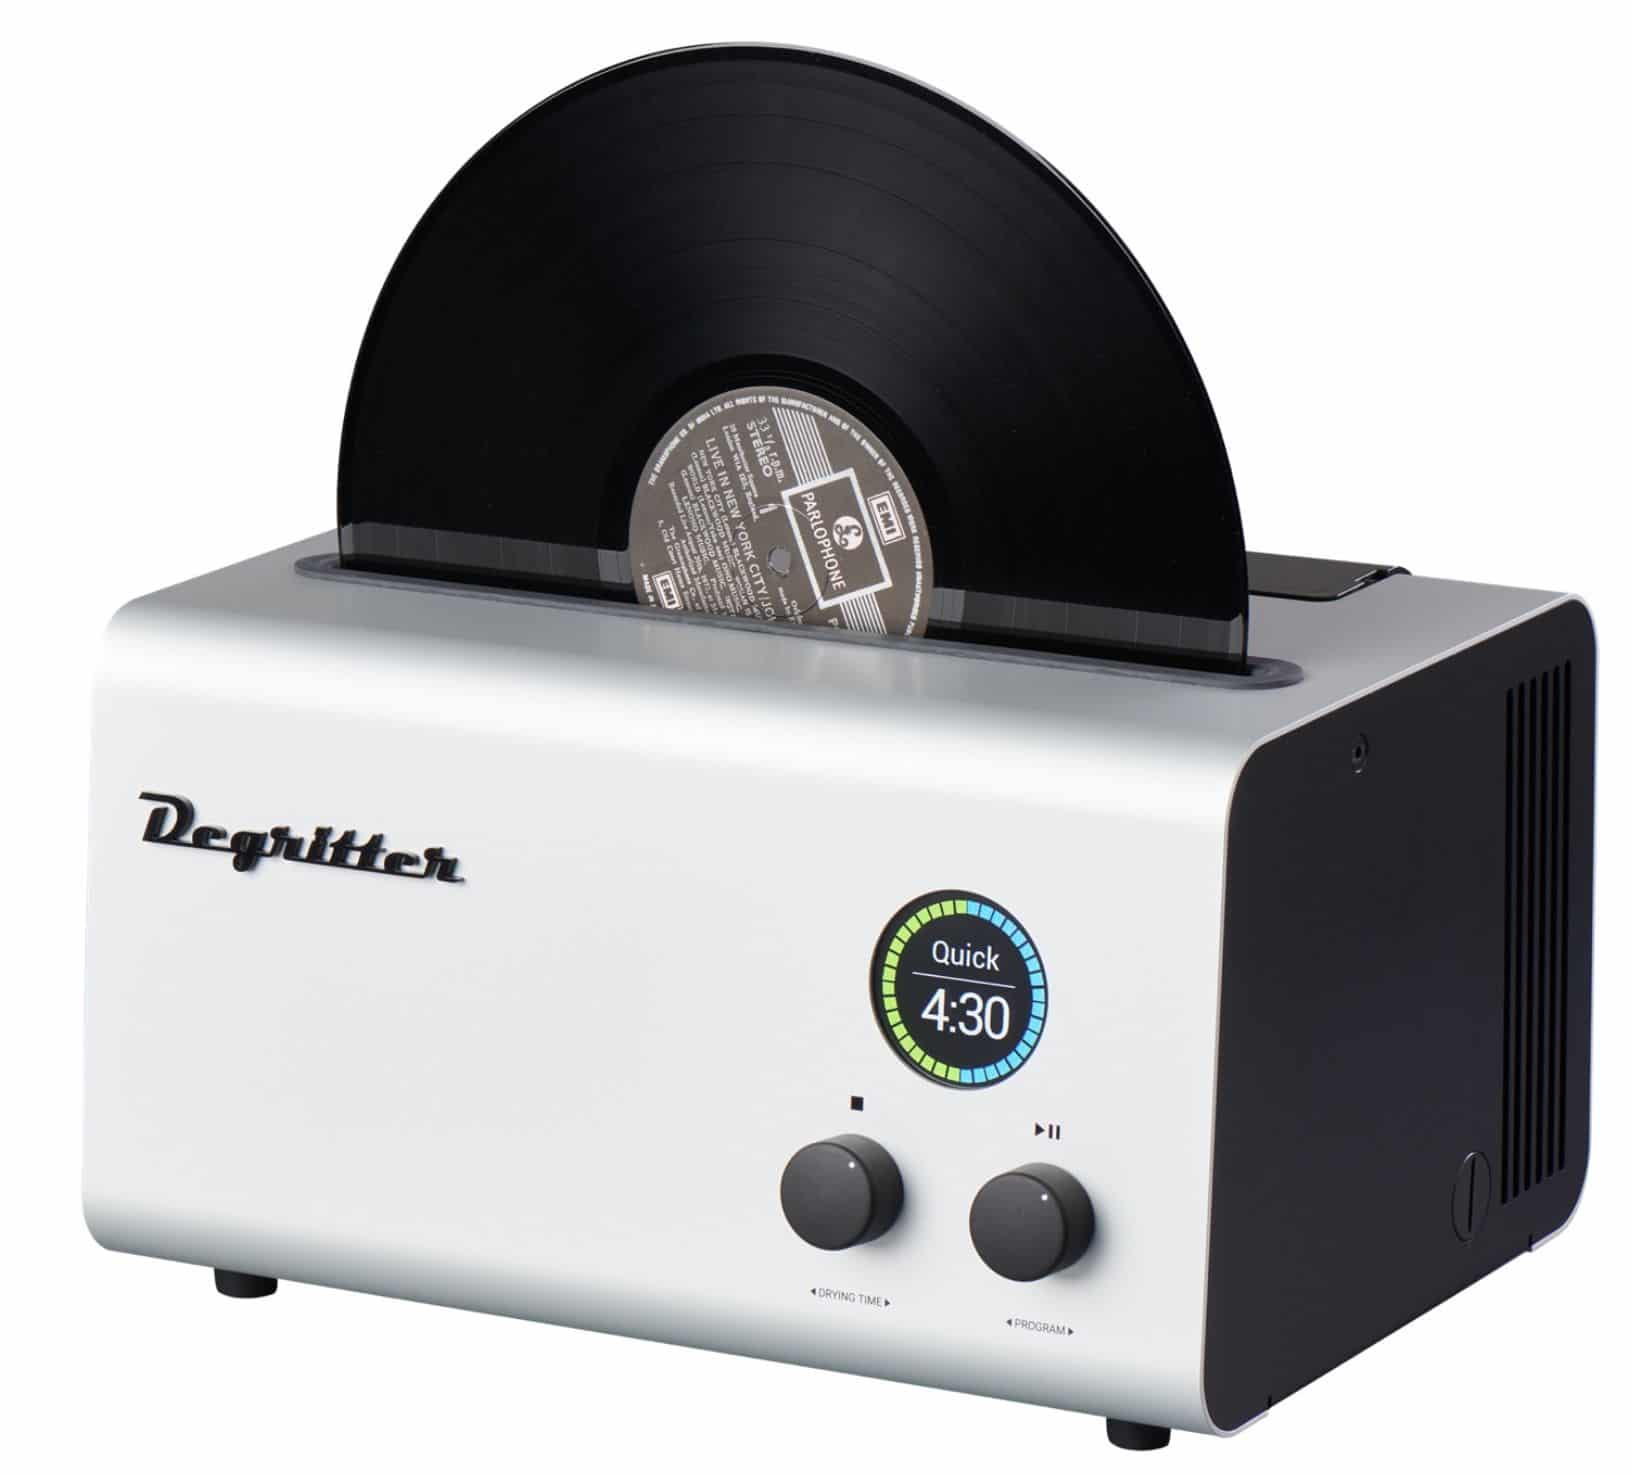
The latest bespoke ultrasonic vinyl cleaning machine on the market, Paul Rigby cleanses his grooves with bubbles
Right now, as I write these words, ultrasonic cleaning technology is the fastest changing part of the hi-fi hobby. Faster, I would say, than any digital technology I could name. Why? Because the technology is so new. New for hi-fi, at least. Because, to this point, the technology has been in its early stages and evolving and improving with speed.
I say “to this point” because I wonder if that situation has finally changed.
For some reason, I tend to reserve my longest reviews for vinyl cleaning products. Maybe its because many of them are complex beasts or – especially of late – they try to push a few boundaries and that needs in-depth investigation. Also, there is often so much to test and many questions that need answers.
During this test, I fired questions at the company. Hence, during my long review, whenever I hit a point of order, I’d quickly send an email and the company was kind enough to address my issue. And I want to thank them for their patience and for fielding my many queries. Sometimes I can be just like one of those irritating kids who spend their waking hours doing nothing but asking, “Why?”
One quick point before we progress. For this review, I wanted to cut to the chase and focus on the Degritter itself. This review is long enough as it is to also dwell for too long on the basic technologies.
Ultrasonic cleaners do a superior cleaning job than any manual cleaning method you care to mention. You’ll pay for the privilege, sure. Nevertheless, they’re superior. They also leaves the basic vacuum cleaning machines in the dust. Even the expensive variants like those offered by Loricraft. In pure sonic terms, that is. Hence, I’m not going to repeat those sonic tests here, once more. Check out my past ultrasonic machine reviews to see and hear all about those A-B tests. Just scan this folder to find them: theaudiophileman.com or ask me direct questions on the same here, on my YouTube channel or social media.
As for the ultrasonic process itself, what it is and what it does, click on the following YouTube video. Yes, it’s aimed at viewers more interested in industrial equipment but it serves as a basic technology overview. Don’t compare the machine you see in the video with the Degritter. The machine in the video is aimed at cleaning items like tensile steel, it’s large and noisier and runs on a different set of specs than the Degritter. Again though, it does provide basics for those interested in ultrasonics and in an easily digestible video form. Click here for the video: www.youtube.com. For a more graphical, Disney-esque guide, check out this video. It’s a touch irritating but also effective: www.youtube.com.
So grab a tea, coffee or something stronger, settle yourself into a comfortable state and we’ll begin.
120kHz
Before we get to the machine itself, I want to address two technology points which arise again an again when ultrasonic cleaning machines are under the spotlight.
Issue number one is the use of ultrasonic technology as a cleaning medium. Some people remain worried that ultrasonics can damage vinyl.
The second issue I wanted to broach was the use, by Degritter, of the 120kHz ultrasonic frequency band in its cleaning operation. Mainly because ultrasonic cleaning can be achieved at varying frequencies. In basic terms, ultrasonic technology produces cavitation which creates tiny bubbles that explode on impact, the dispersal of energy during the micro-explosion dislodges tiny amounts of grime and dirt that may be in the vicinity, such as that attached to the groove walls.
When you change the ultrasonic frequency, you change the size of the bubbles and the energy they produce. There have been many arguments out there about the ideal frequency and bubble size for use on vinyl.
Hence, you hear lots of conflicting chatter about the use of 120kHz on the Internet, some of it negative chatter. Then again, a lot of the negative chatter that I have personally read has been sourced from voices who have an obvious axe to grind or a competing product of their own to sell. Other, more genuine and worried comments, were from early adopters of the Degritter. I’ll address those concerns below, under the Past Break Downs sub-head.
I asked Degritter about its choice of the 120kHz frequency figure in its own RCM. An intriguing choice because many other lower cost ultrasonic vinyl cleaning machines use 35-40kHz. The latter is not a frequency of choice, though. Many budget machines use pre-built ultrasonic technologies to keep costs down. Those baths arrive with that figure firmly set in place while the frequency is not adjustable. These are general use machines and not actually designed for vinyl use. Not in a bespoke fashion, at any rate. You can see many of these for sale on Amazon right now.
But first? Let’s address that ‘ultrasonic damages vinyl’ worry.
“In 2017 we run some long exposure tests with our ultrasonic generator,” said Degritter, “and we studied the record surface under an electron microscope in University of Tartu and we found that when water temperature is managed and the record is moved in the cleaning medium then no damage can be seen on the record surface (moving the record prevents hot spots). From then on we have implemented small band Frequency Sweep functionality on our ultrasonic amplifier that further improves the cleaning energy distribution and prevents any hot spots from forming.”
And now onto the second question, that of the chosen ultrasonic frequency.
“The higher the frequency the more delicate the cleaning. This comes down to physics, as with smaller bubbles you have less kinetic energy that you can release on the bubble collapse. This has been studied and proven by multiple research papers and it can be seen by a simple aluminium foil test. If you put a sheet of aluminium foil in 40kHz and 120kHz ultrasonic tanks, then the one in 40kHz tank will develop holes much quicker than the one in 120kHz tank.
“The 40kHz tanks are most commonly used because the technology is widely used and these amplifiers are cheaper. In order to use 120kHz frequency, we had to design our ultrasonic amplifier from scratch as there were very few off-the-shelf products around. Available units were very expensive and also they would not suit our application. With the 120kHz, we got a more finer and delicate cleaning effect, ultrasonic cleaning energy distribution is a bit better and there is less audible noise for human ears.”
Choosing the ultrasonic frequency was one of the main issues when designing and building the Degritter. The second issue was where to put the frequency generators. The things that generate bubble growth, “In general purpose cleaners, the transducers are attached at the bottom of the water tank and the cleaning energy is strongest near the bottom. In our device we wanted to address the flat surfaces of the record and had to design a tank that directs the cleaning energy onto the record surfaces.”
Hence, two transducers are placed vertically, on either side of the vinyl record, to better address the vinyl surface.
PAST BREAK DOWNS
When this record cleaning machine (RCM) originally emerged onto the market it did so, not so much with a bang, but a slightly contentious kerfuffle. I’ve spoken to a couple of early-adopter Degritter users who struggled with the early models, listened to their complaints and troubles and then presented those to the company for comment.
The entry onto the market was not a smooth one for the company and its teething troubles were rudely exposed to public view, as the company explained to me, “Yes, we had a few teething issues with the retail model,” said Degritter, “that had not come out with our Beta Testing program.
“Firstly, the initial water level sensor that was detecting if water is pumped out from the ultrasonic cleaning tank deteriorated over time and required cleaning by the user for it to work properly. In July 2019 we replaced it with a maintenance-free solution that has not had problems.
“Of the initial motors we used for revolving the record, some had problems with working in an environment with high humidity and they ceased working properly. Resulting in record that was not revolving. In August-September 2019 these were replaced with a new model.
“We were not content with the pumps we used in the machine in 2019 as some of these stopped working on the machines. All of the pumps were replaced with a new model from a new manufacturer at the end of 2019.
“Machine software was improved to make it more foolproof and we also gave it an overhaul with larger fonts to improve readability in the middle of 2019.
“Apart from these, there have been other smaller alterations in the machine internals but the goal of these have been to simplify the assembly process.”
When faced with my questions on the early hardware issues, the company could have easily and brazenly blustered its defence in a cack-handed manner but it has chosen, instead, to openly discuss and address the teething problems it has had. Which I appreciate.
More than that, to show confidence in the machine that they’re selling right now though, Degritter is providing every machine with a two year premium warranty. And that means? It means that, with any failures, the company will replace the machine with a brand new unit. Not only that, it will organise and pay for the replacement. All of which receives a large thumbs up from myself.
MEET & GREET
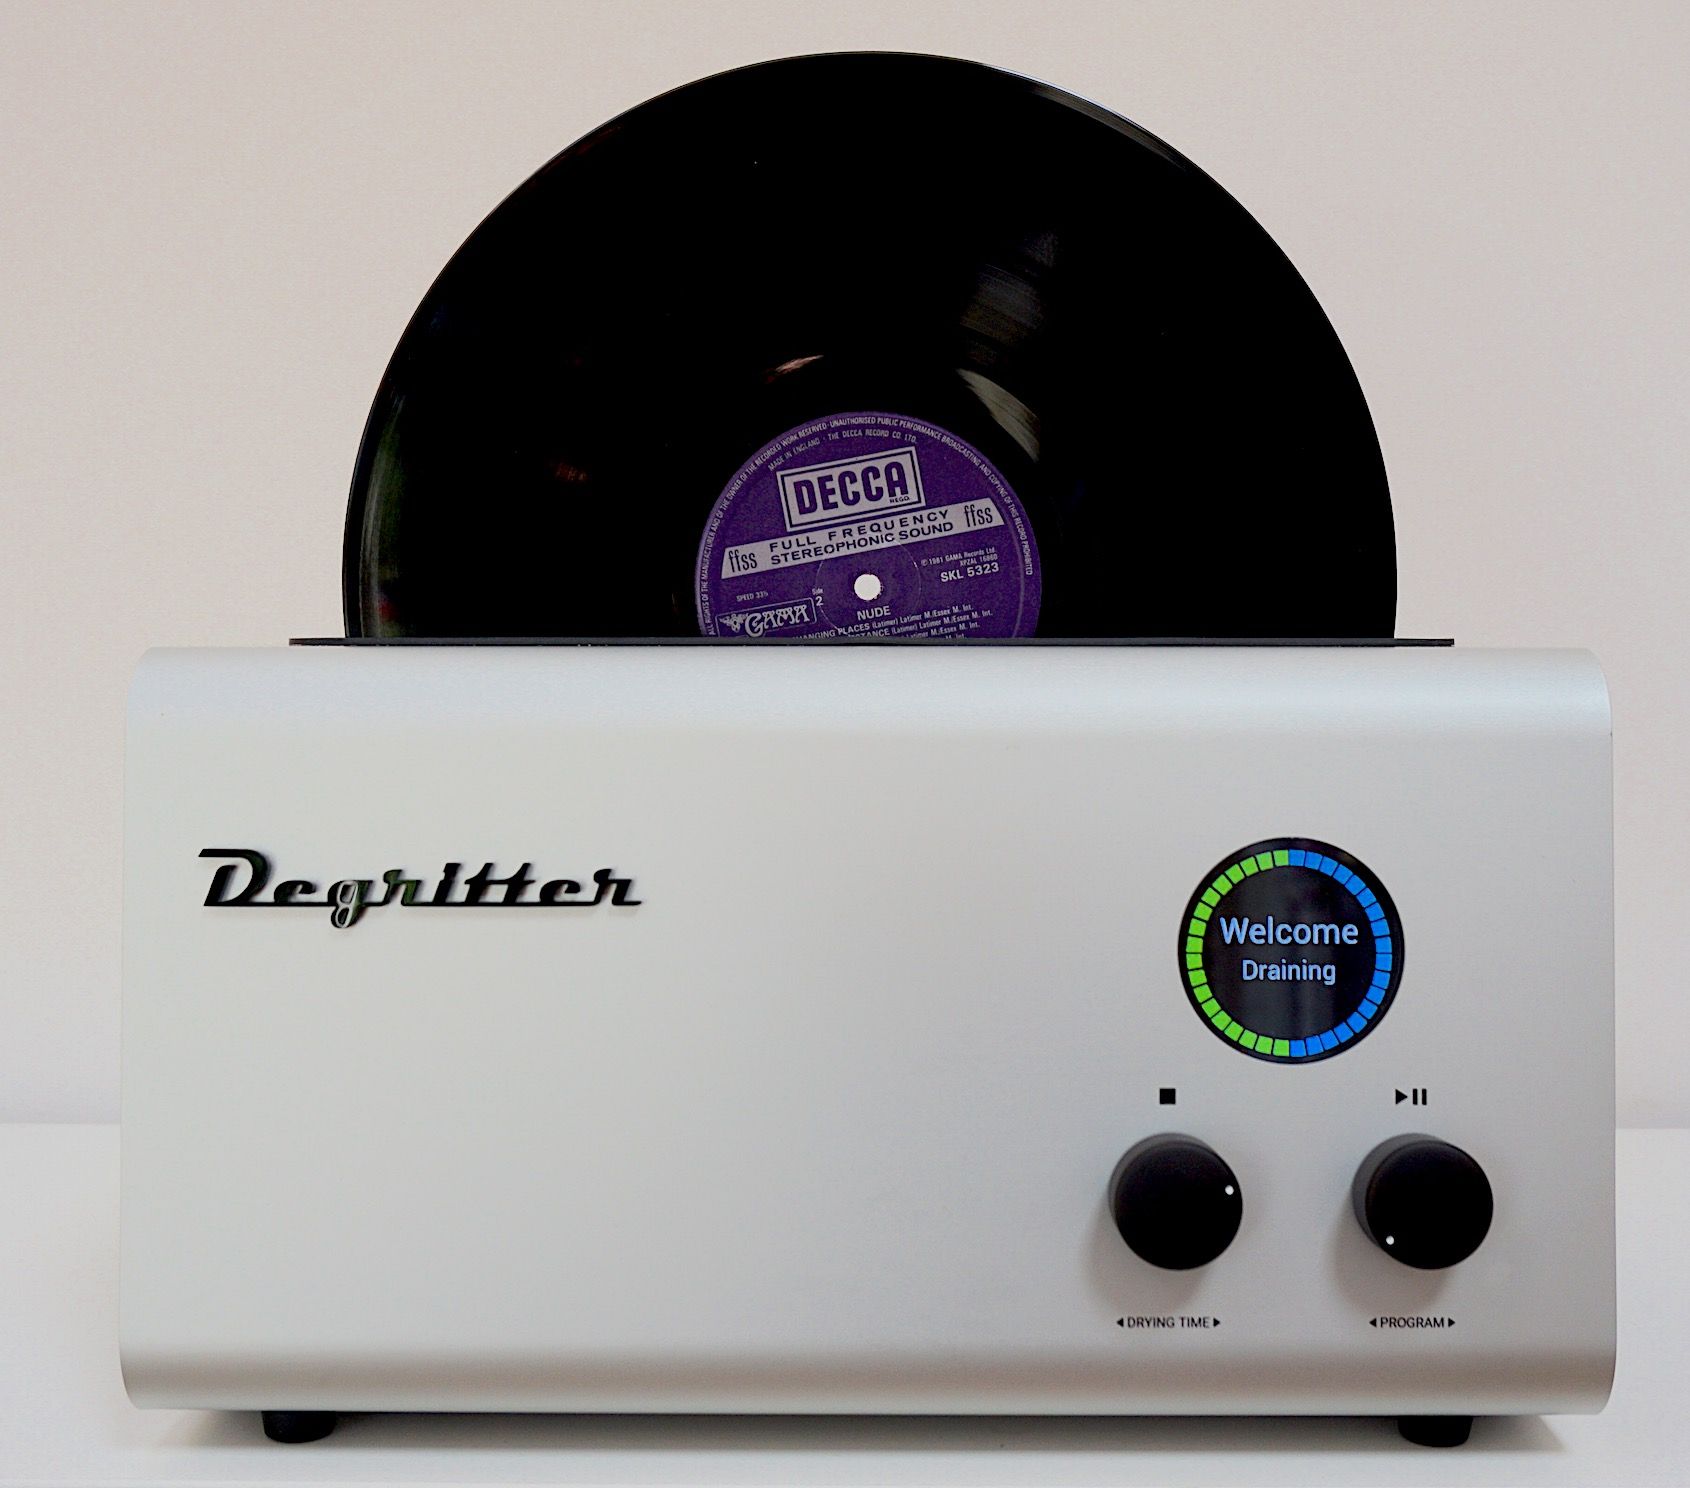
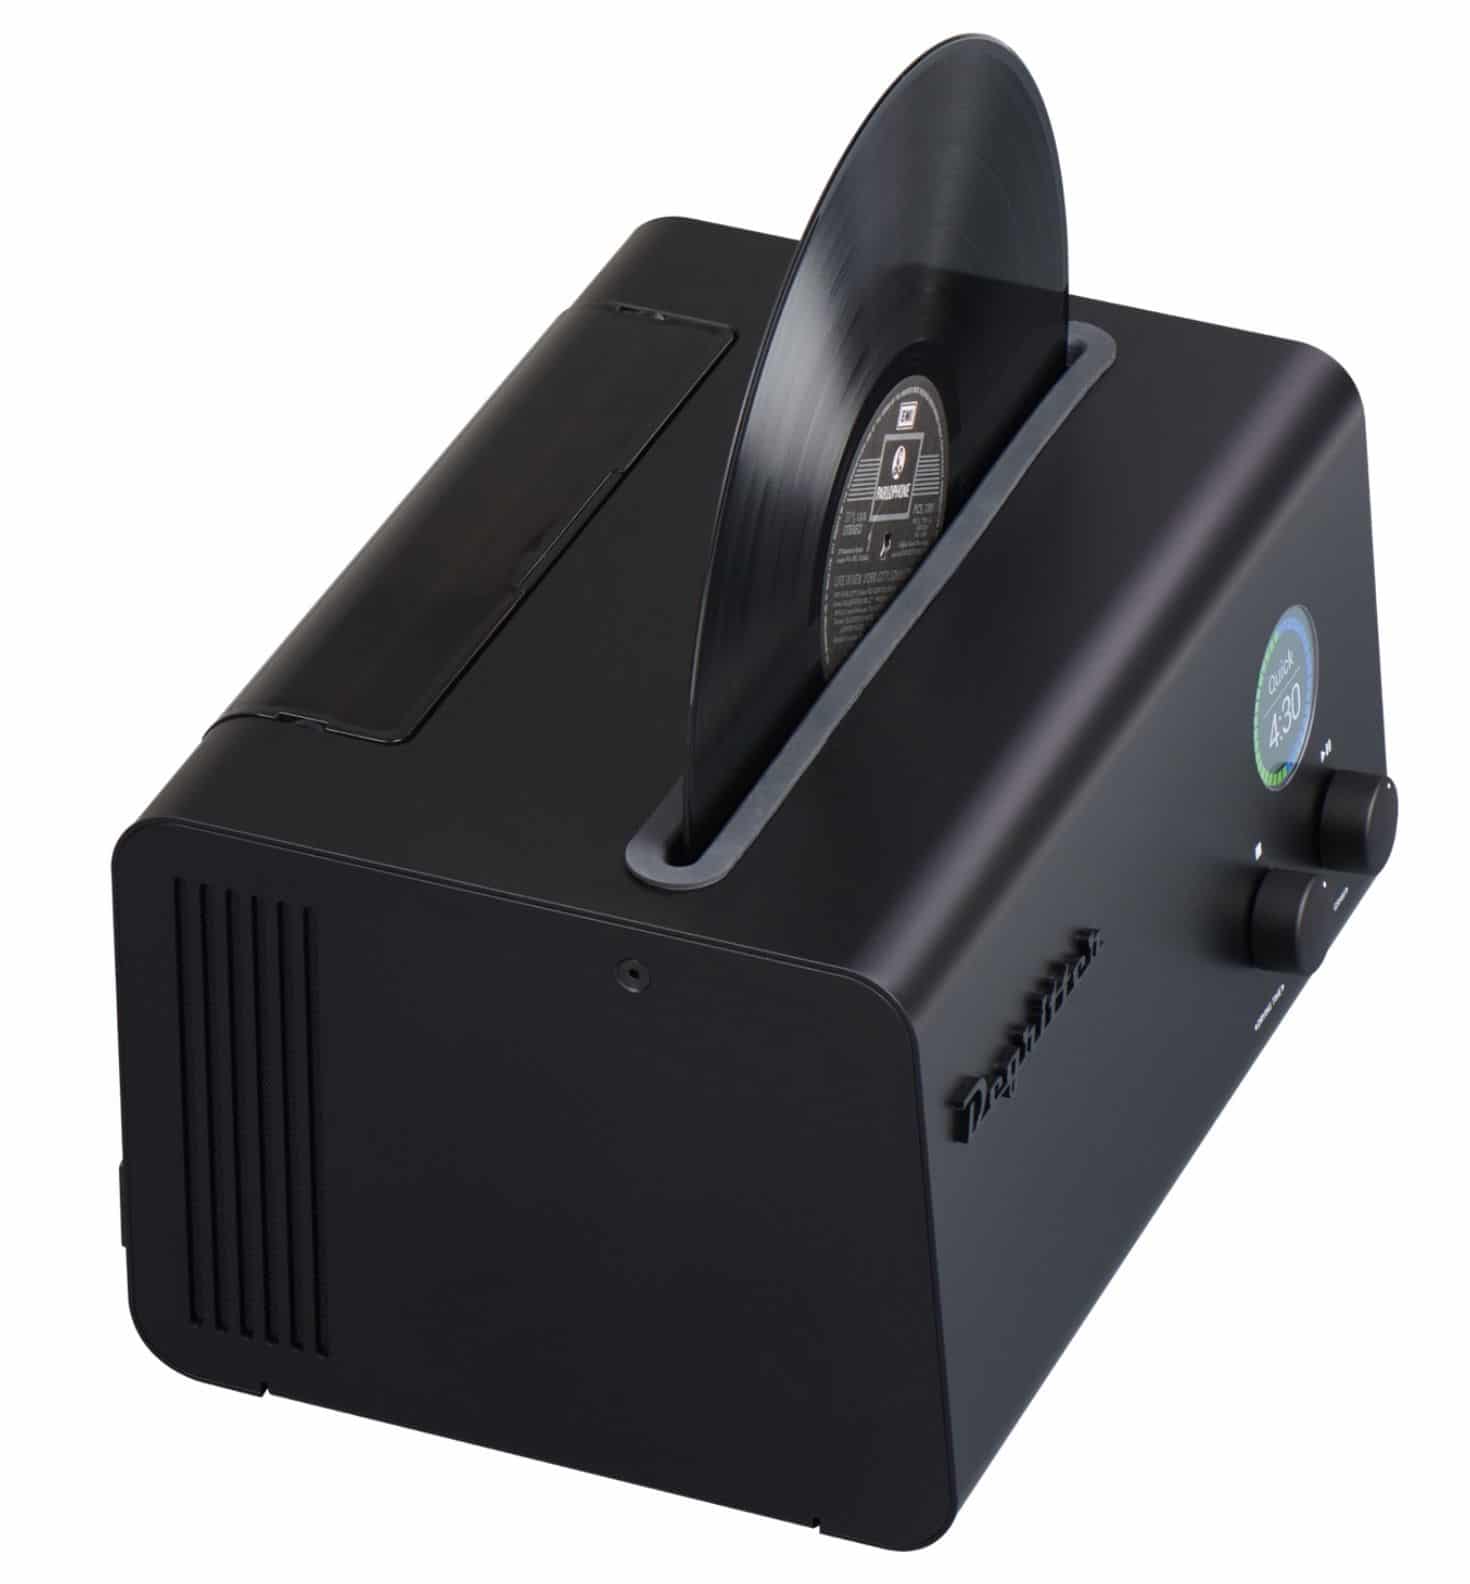
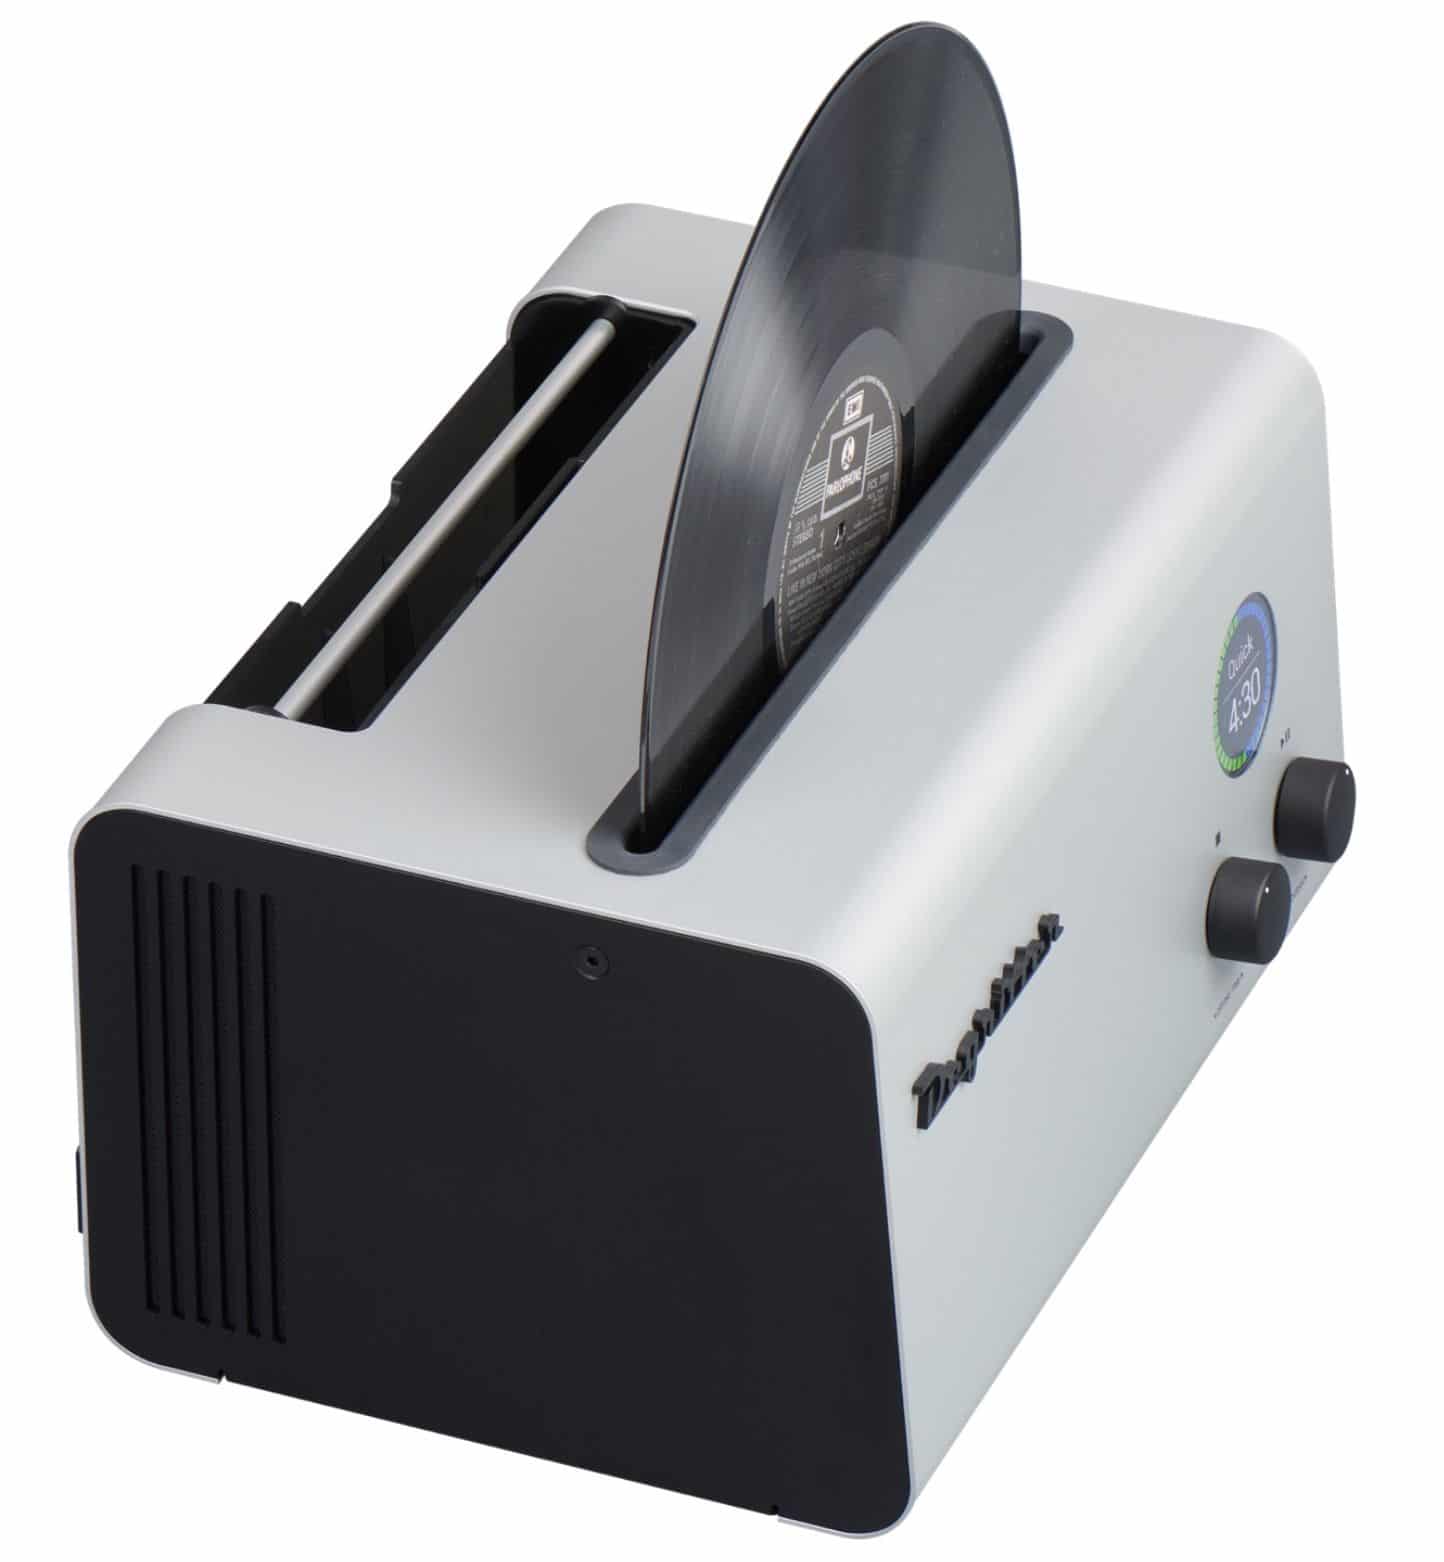
So what of my own review sample? The first test is performed after taking the machine out of the box. The meet and greet stage, you might say. The first impression. The Degritter certainly passes that test. It looks solid, feels solid (i.e. 370 x 280 x 210mm) and packs a weight (8.7kg) that screams, “Value!” It also arrives in a silver and black finish. I tested the silver variant.
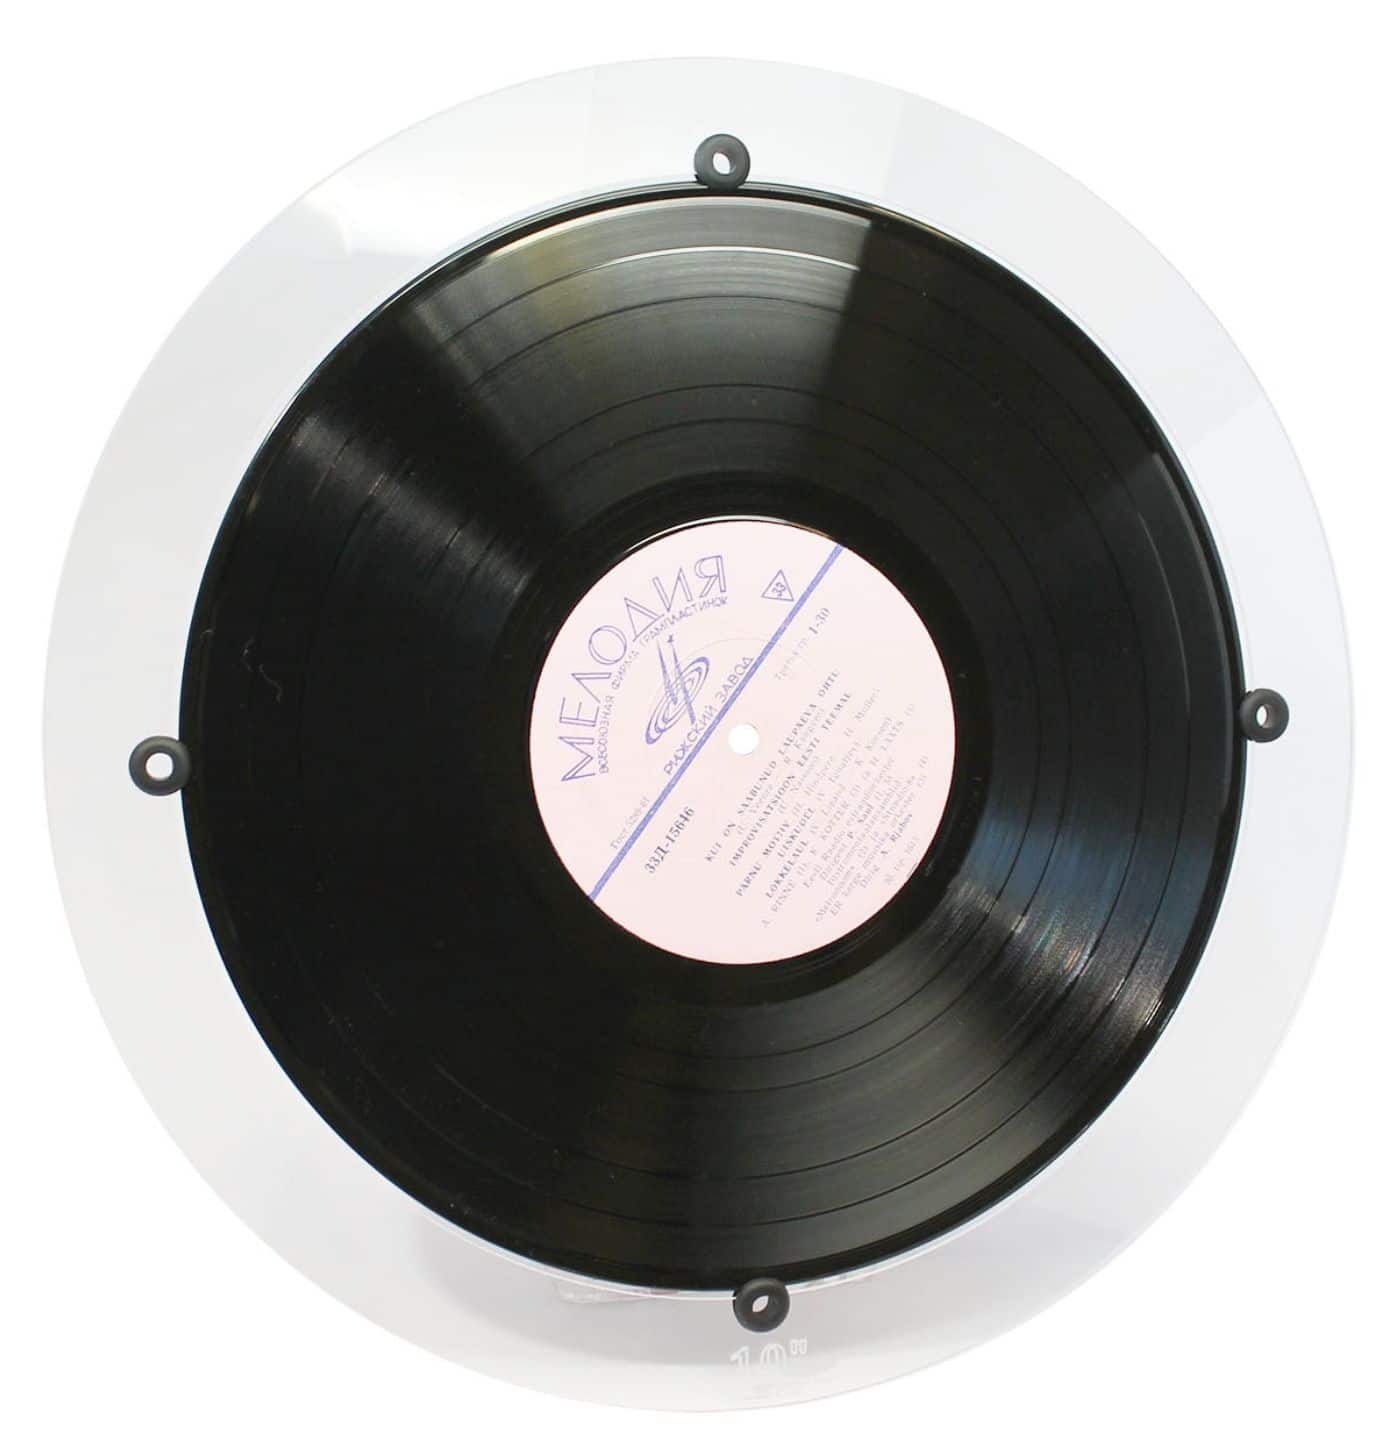
The Degritter is delivered enabling you to clean 12” records but there are 7” (€60) and 10” (€60) adaptors that you can purchase from the company. I wasn’t able to use those for this test but I hope to grab them for testing in the future.
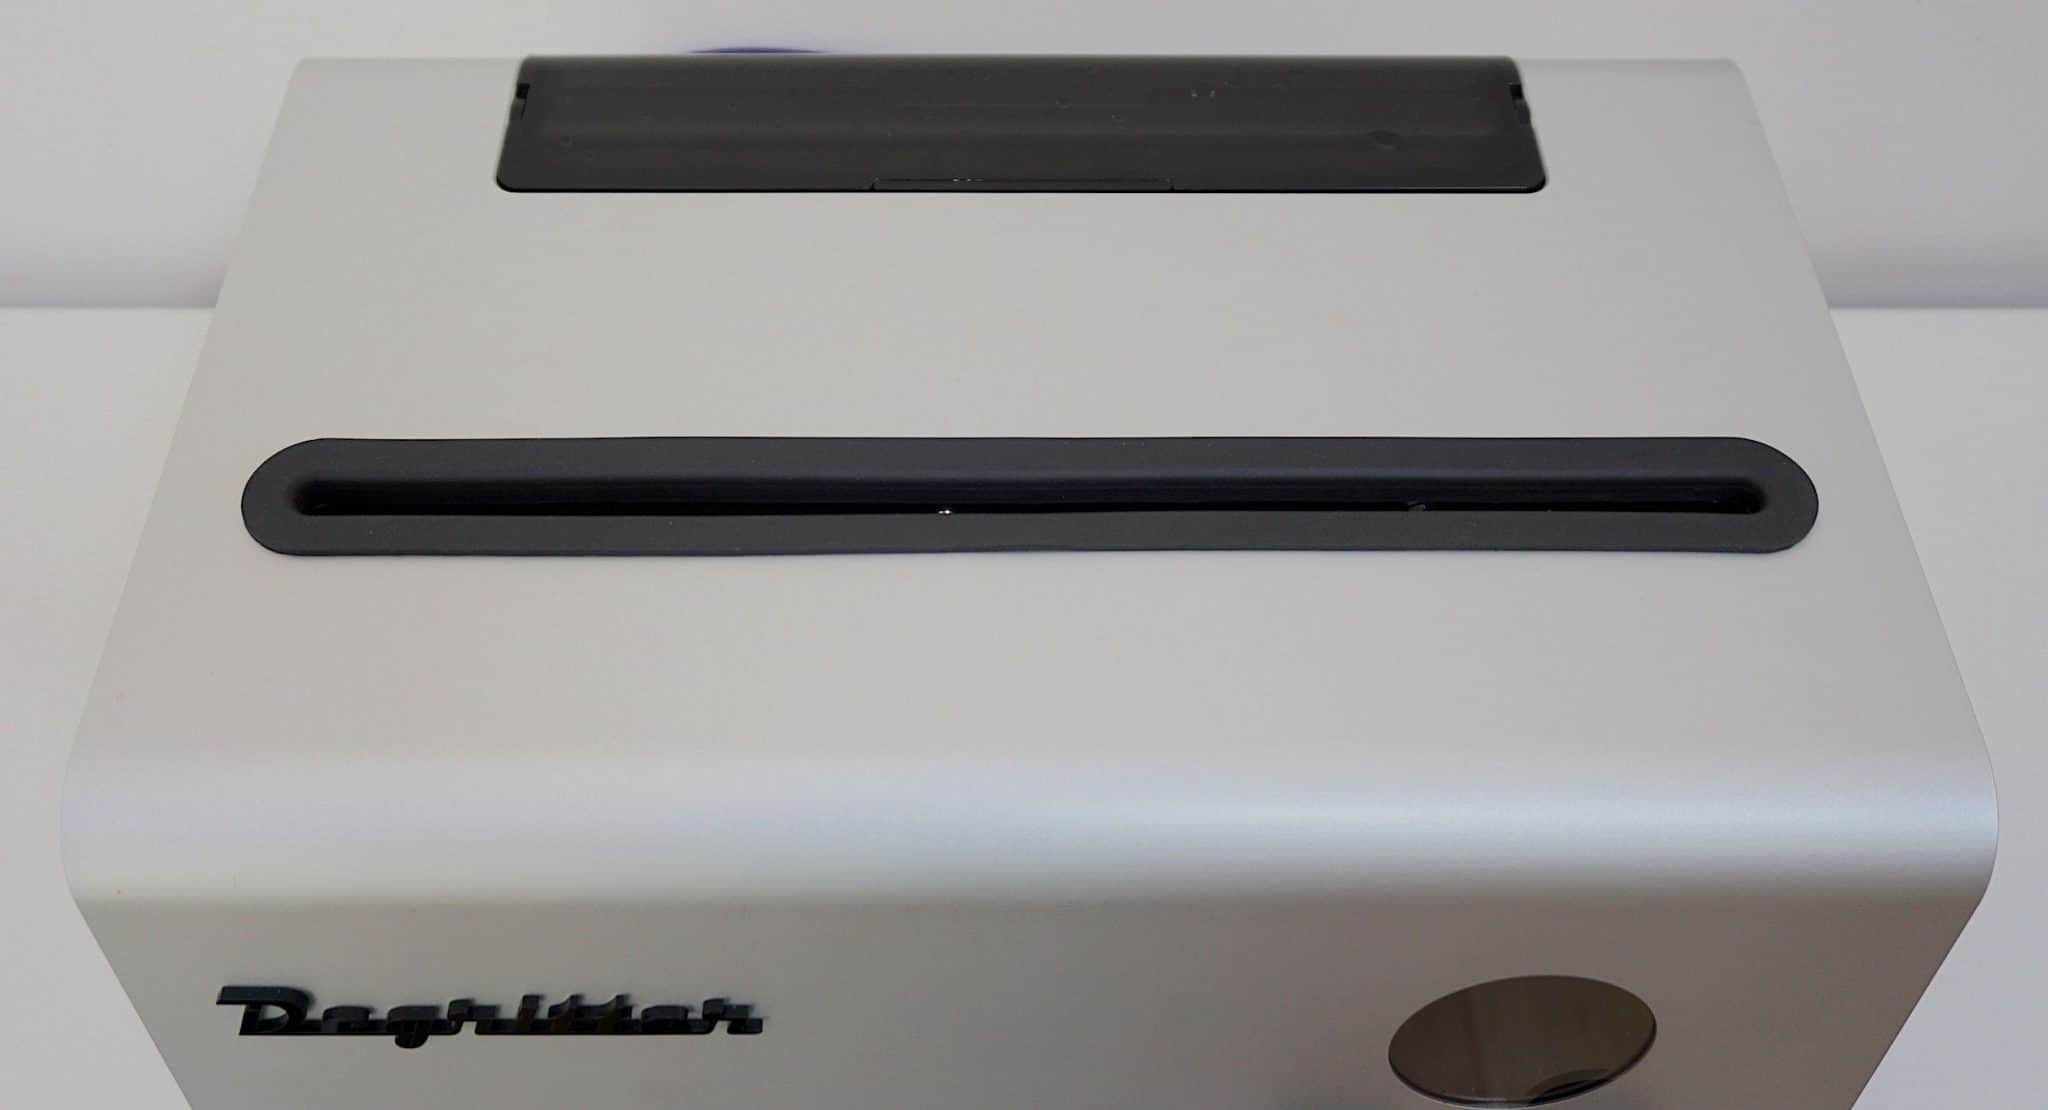
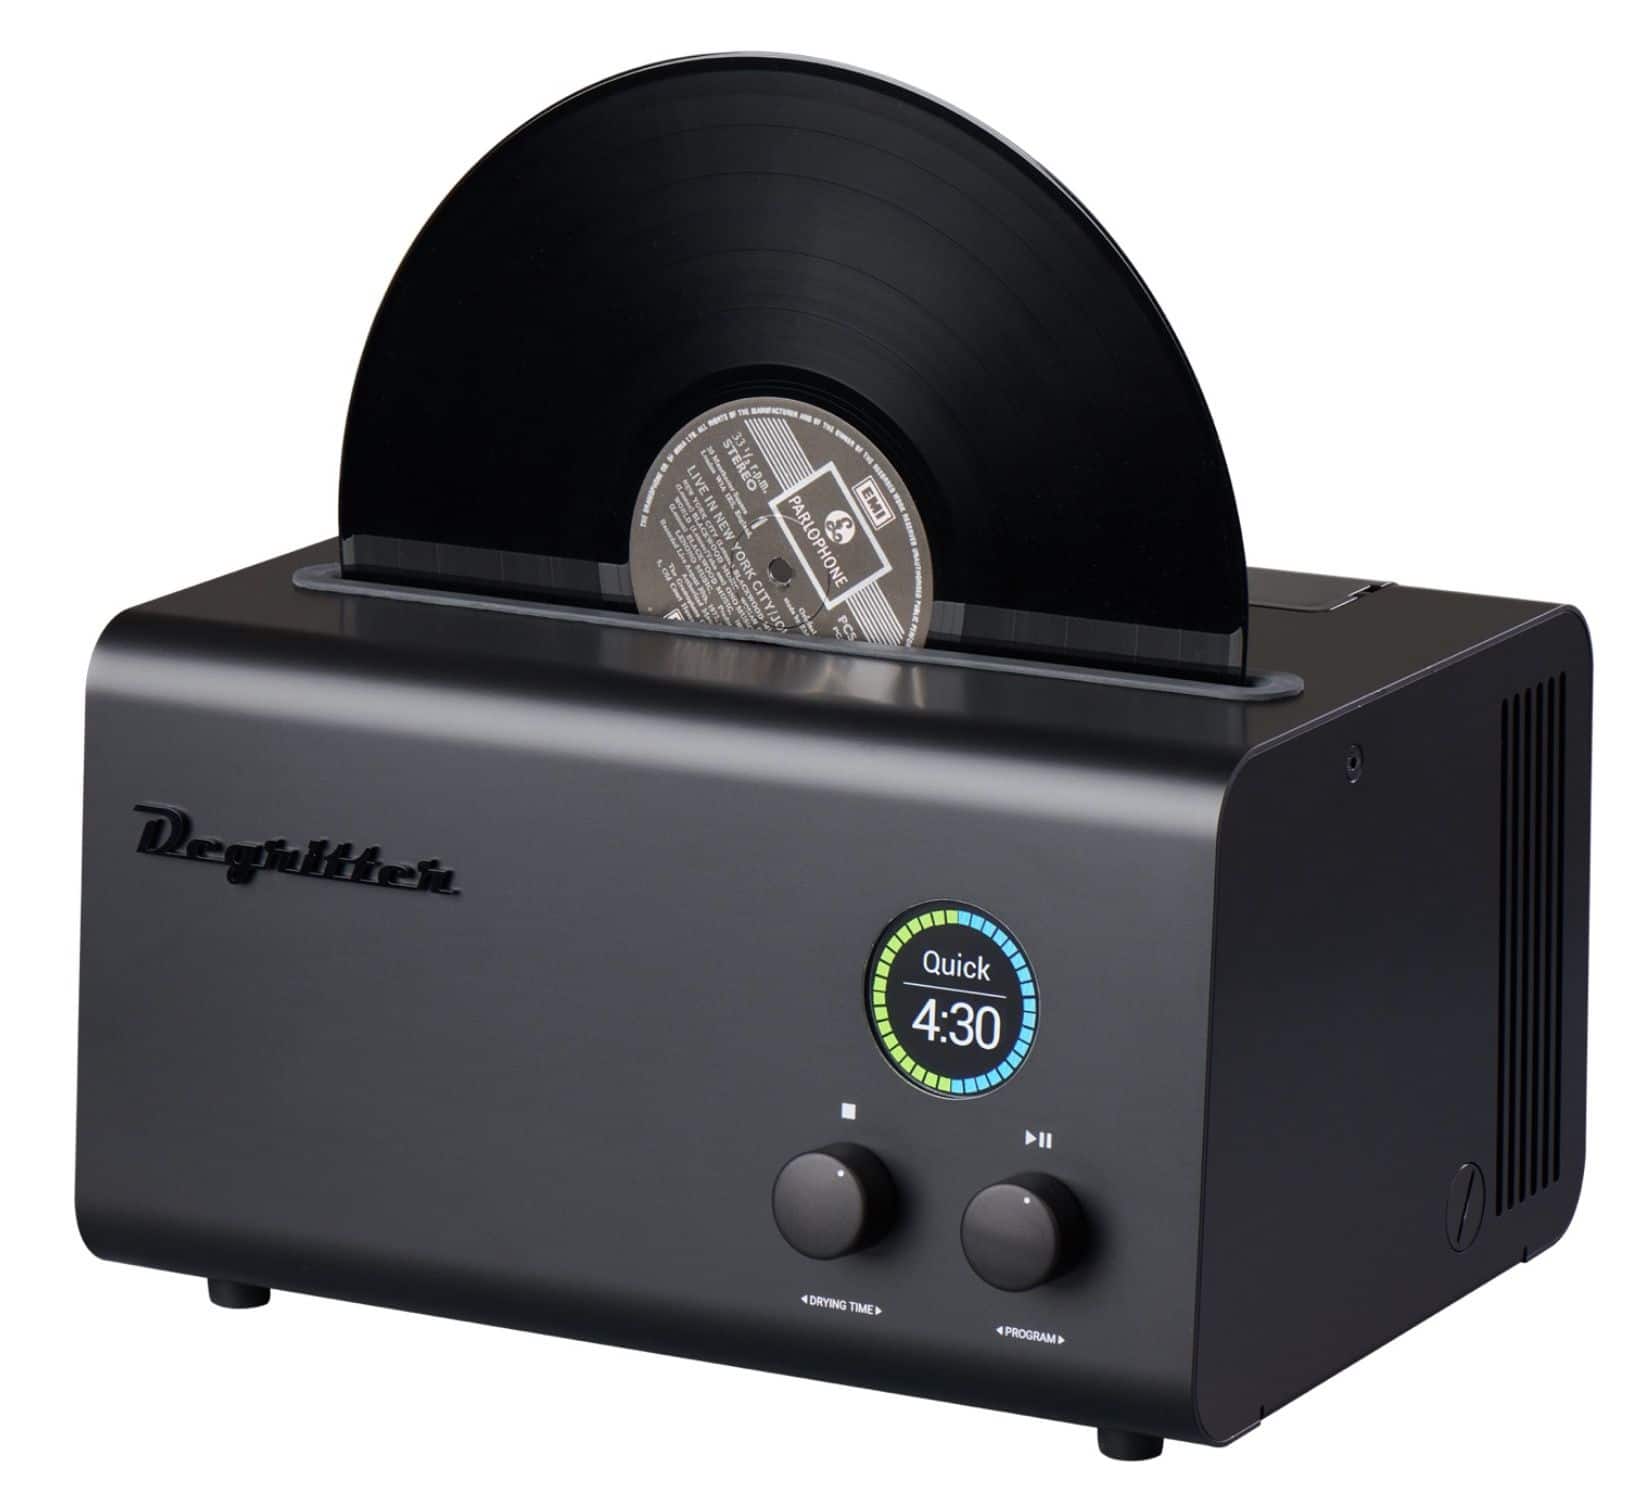
Also, if you haven’t seen the machine in person but are only familiar with the few press images issued by the company? Those images gave the Degritter a toaster-like look. In the flesh, that feeling is still there but slightly less pronounced. The front facia slants up and back but the rest of the chassis is more chopped-up girder-like in aesthetic terms.
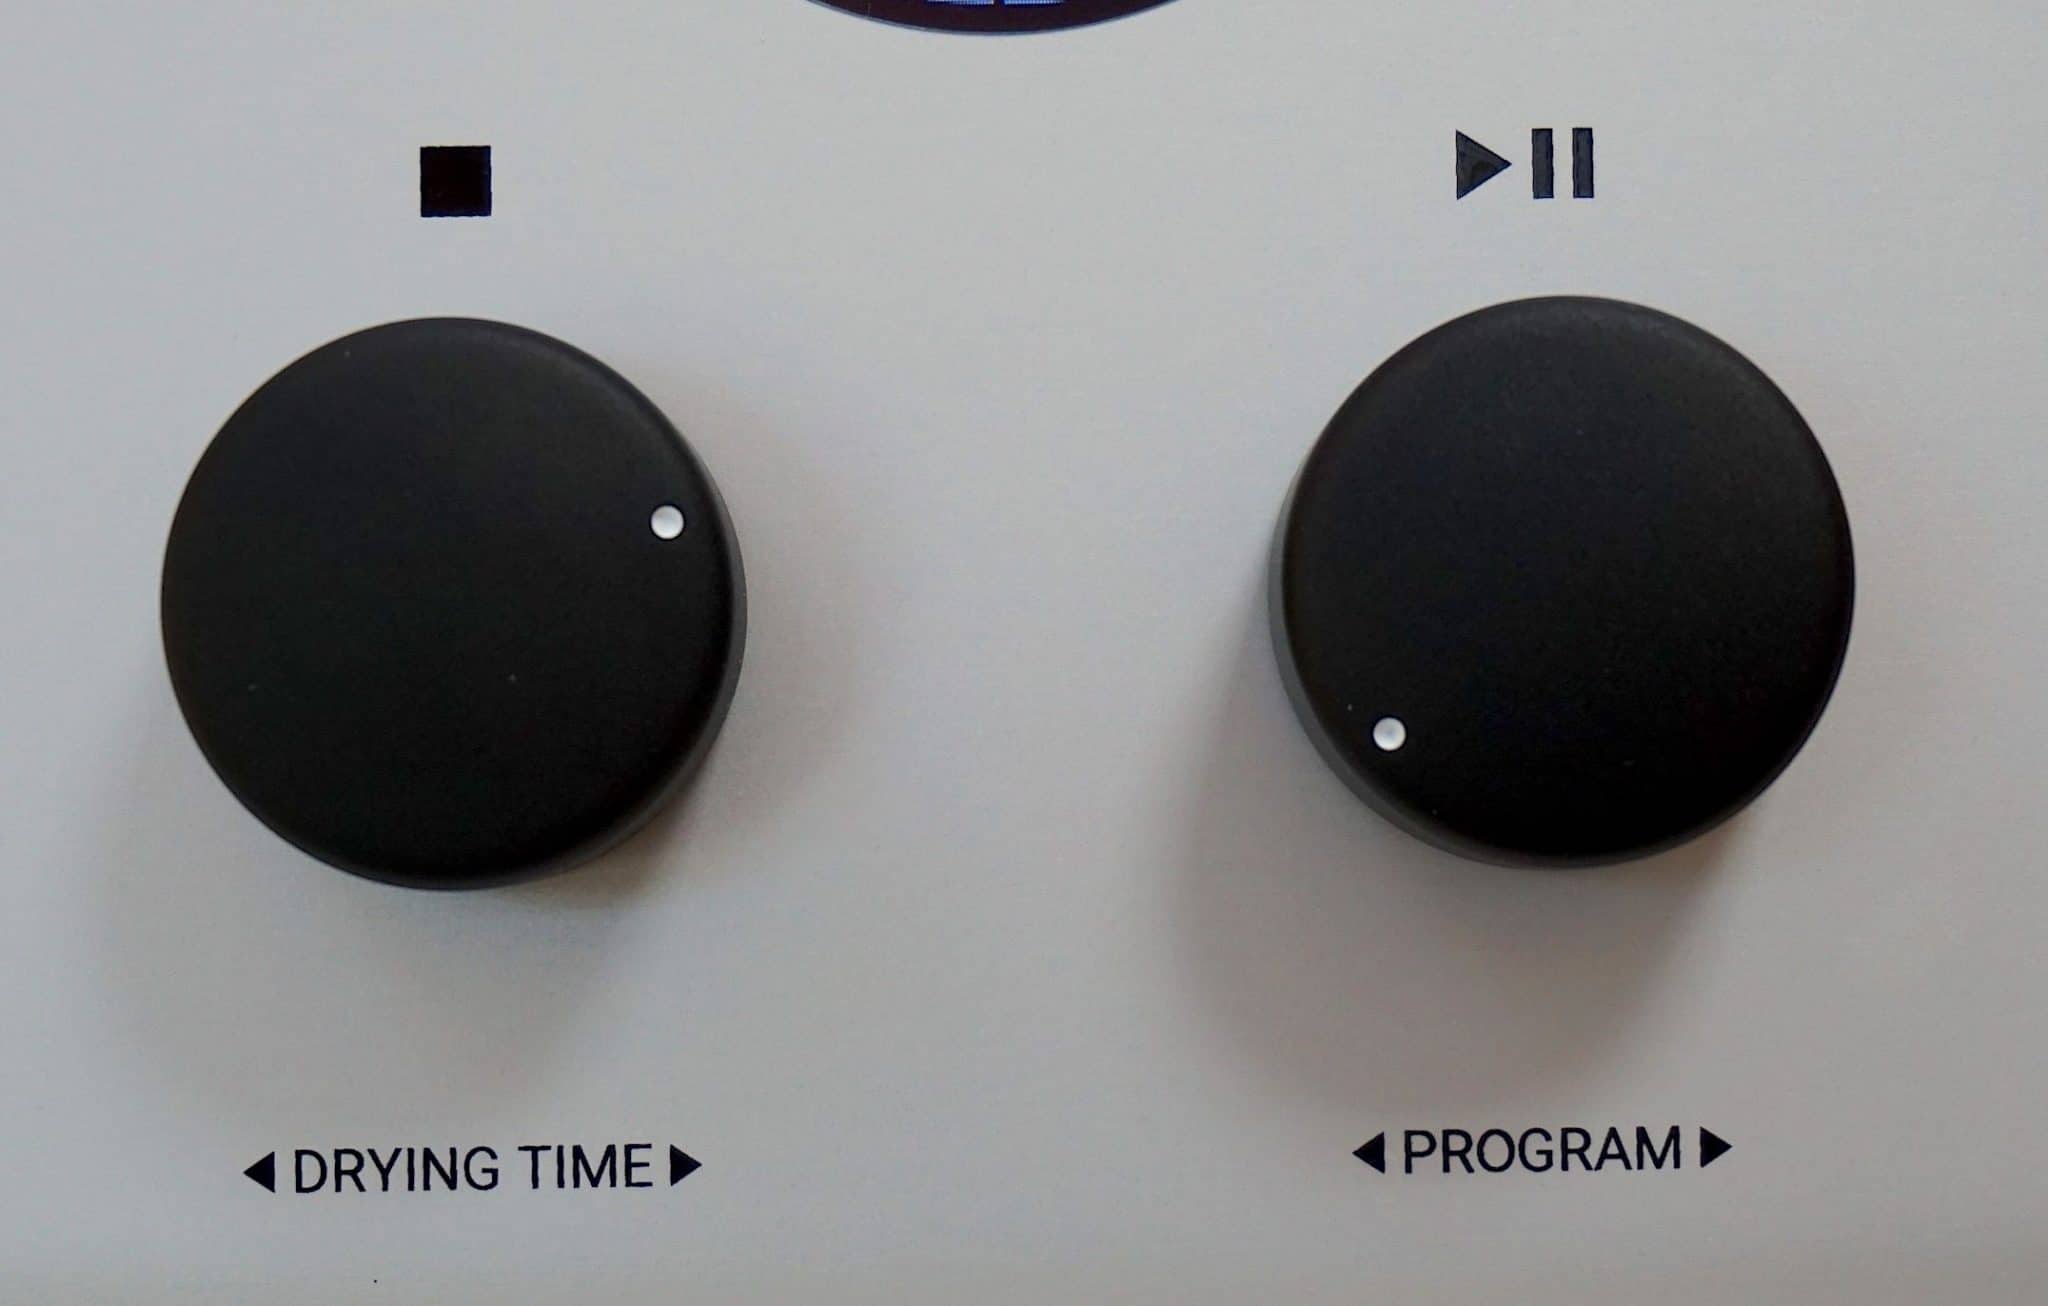
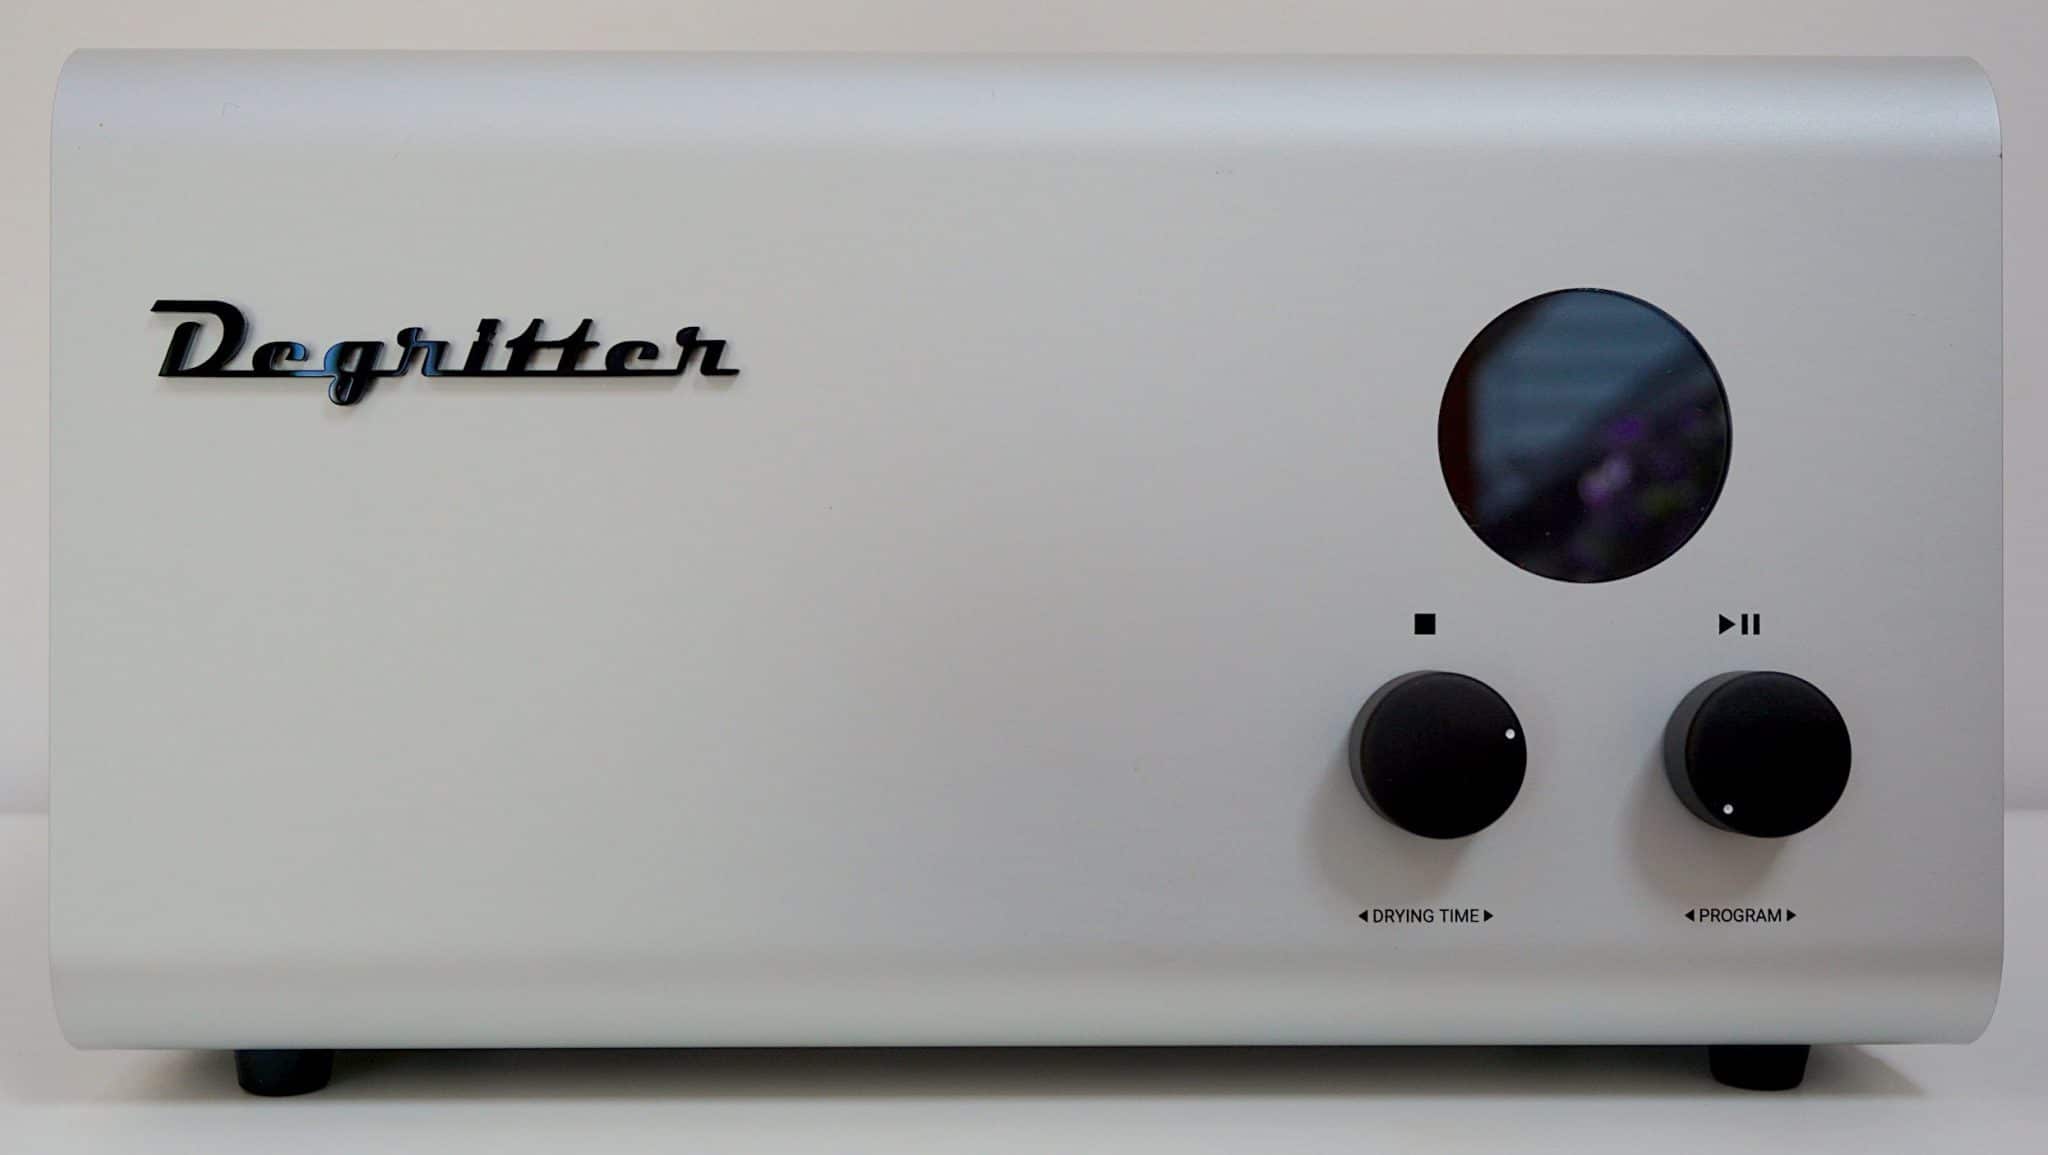
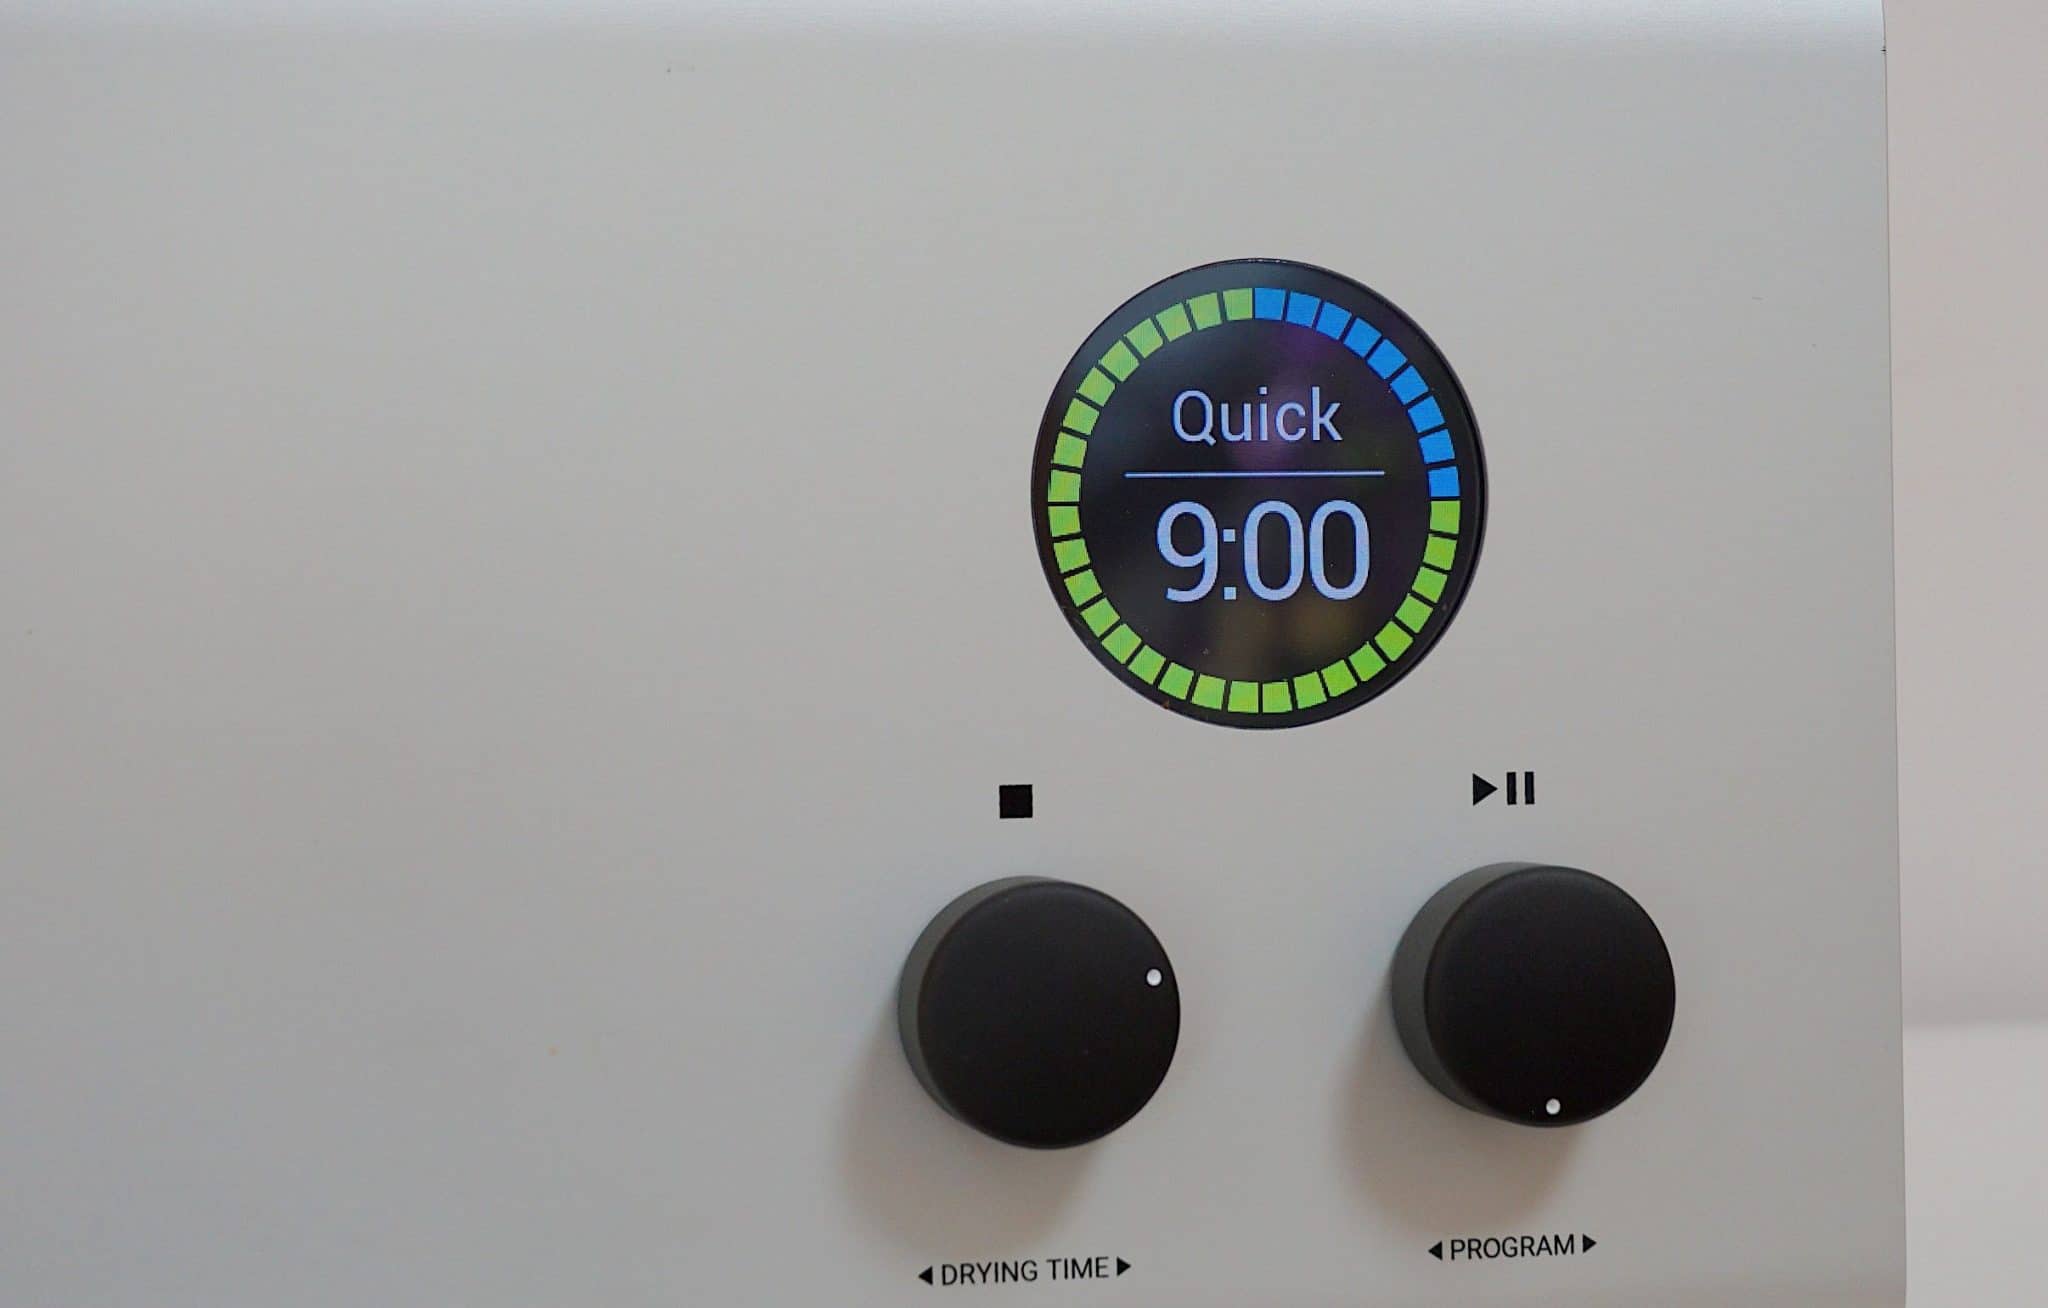
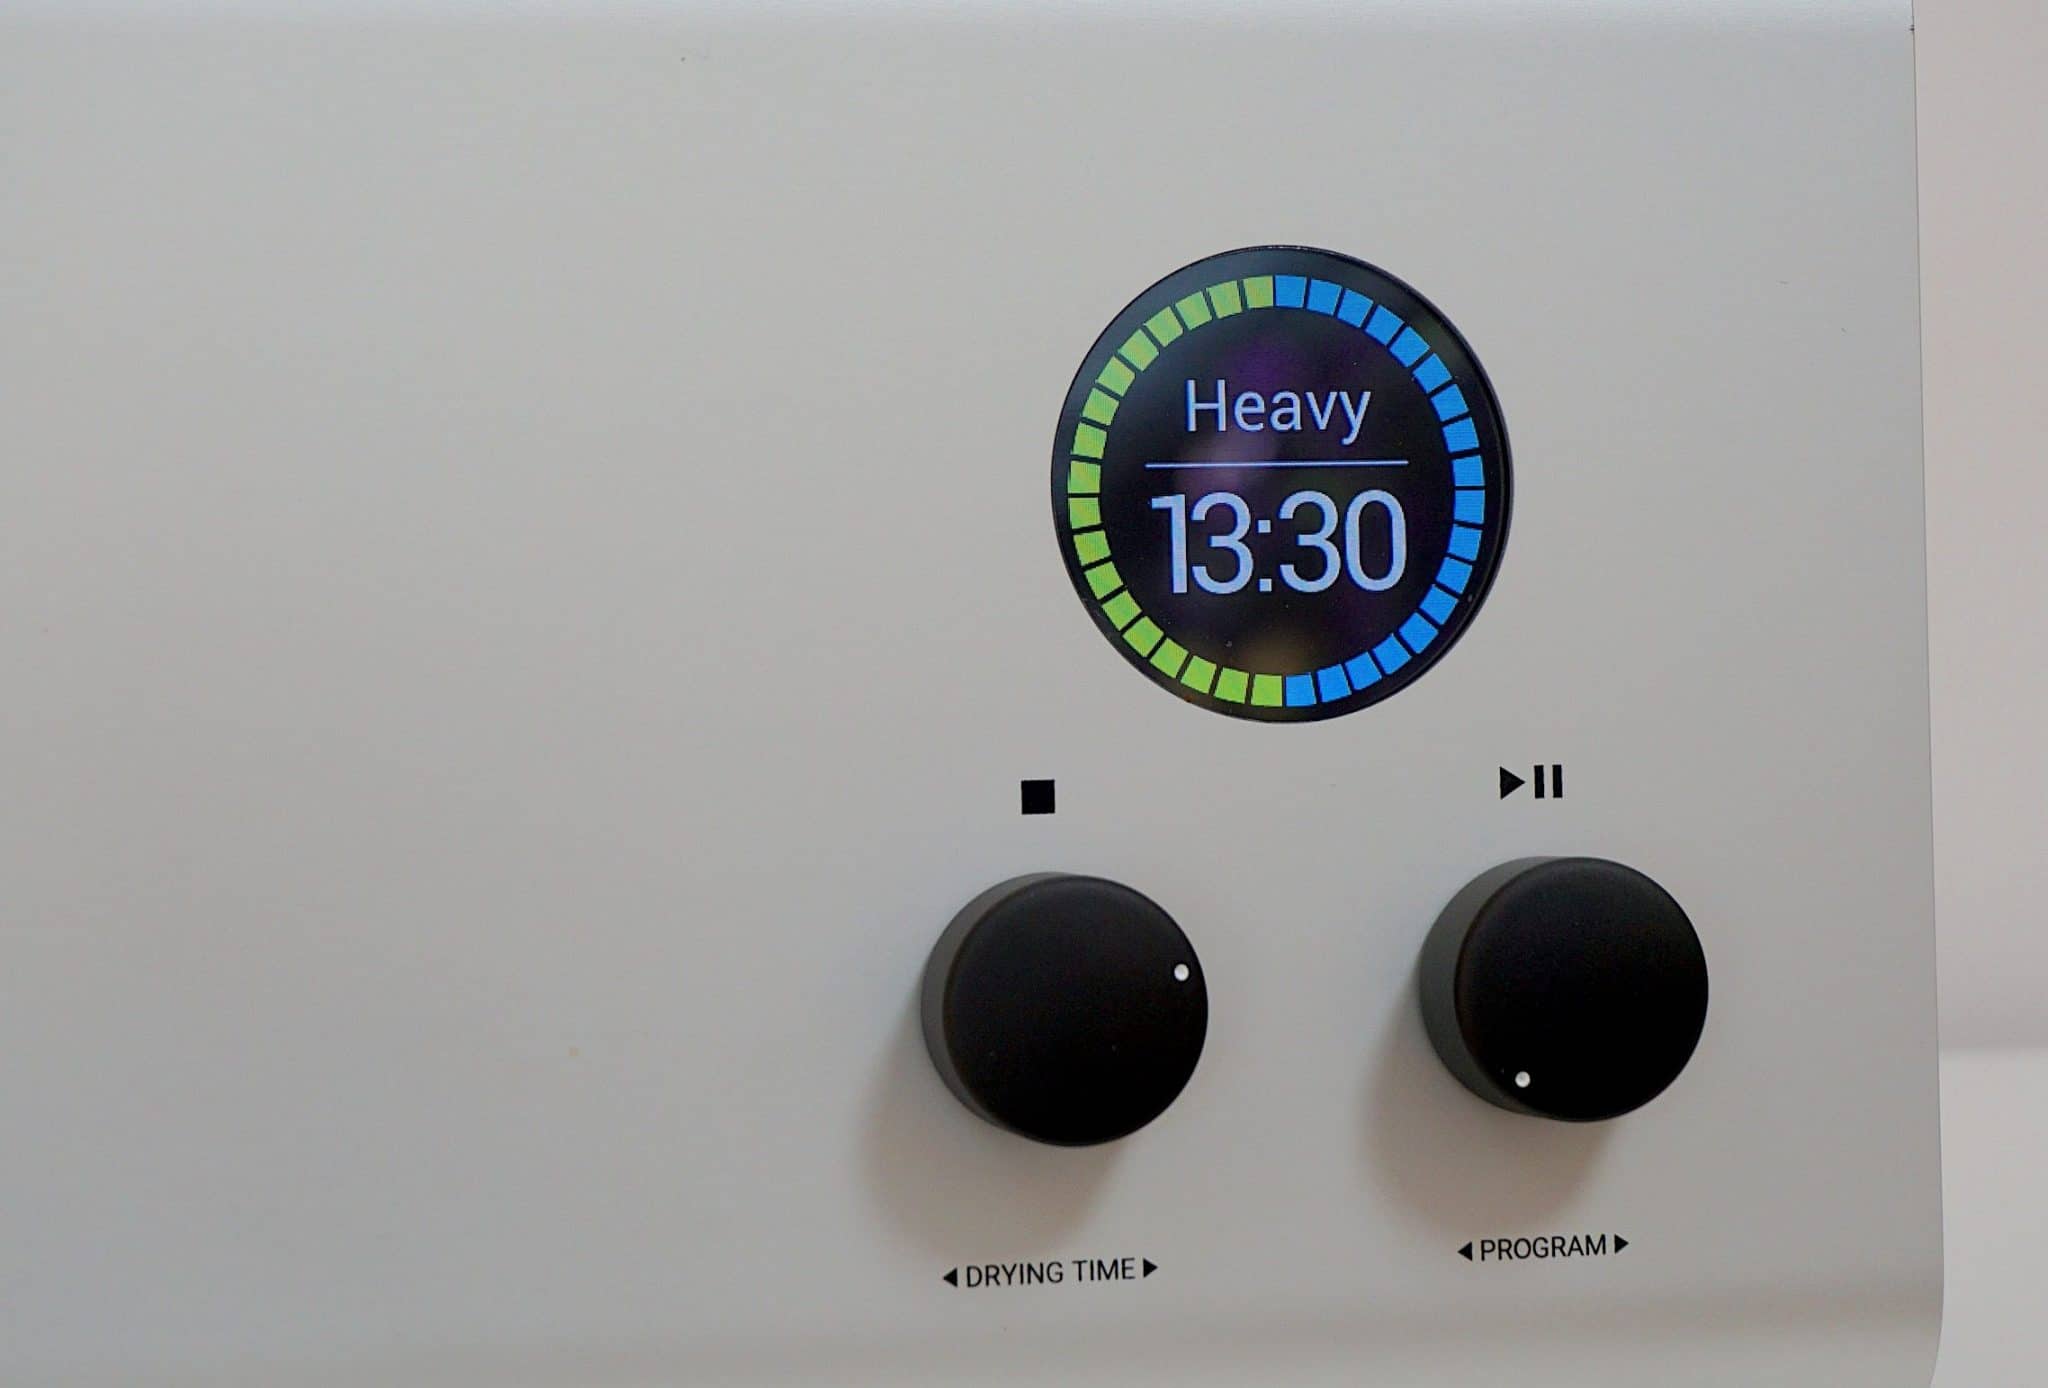
To prevent the design toppling towards the brutalist, that 50s-era logo sends the front fascia off with a flourish. To the right of that is a circular colour screen and two multi-function knobs. That is, they rotate but also push inwards.
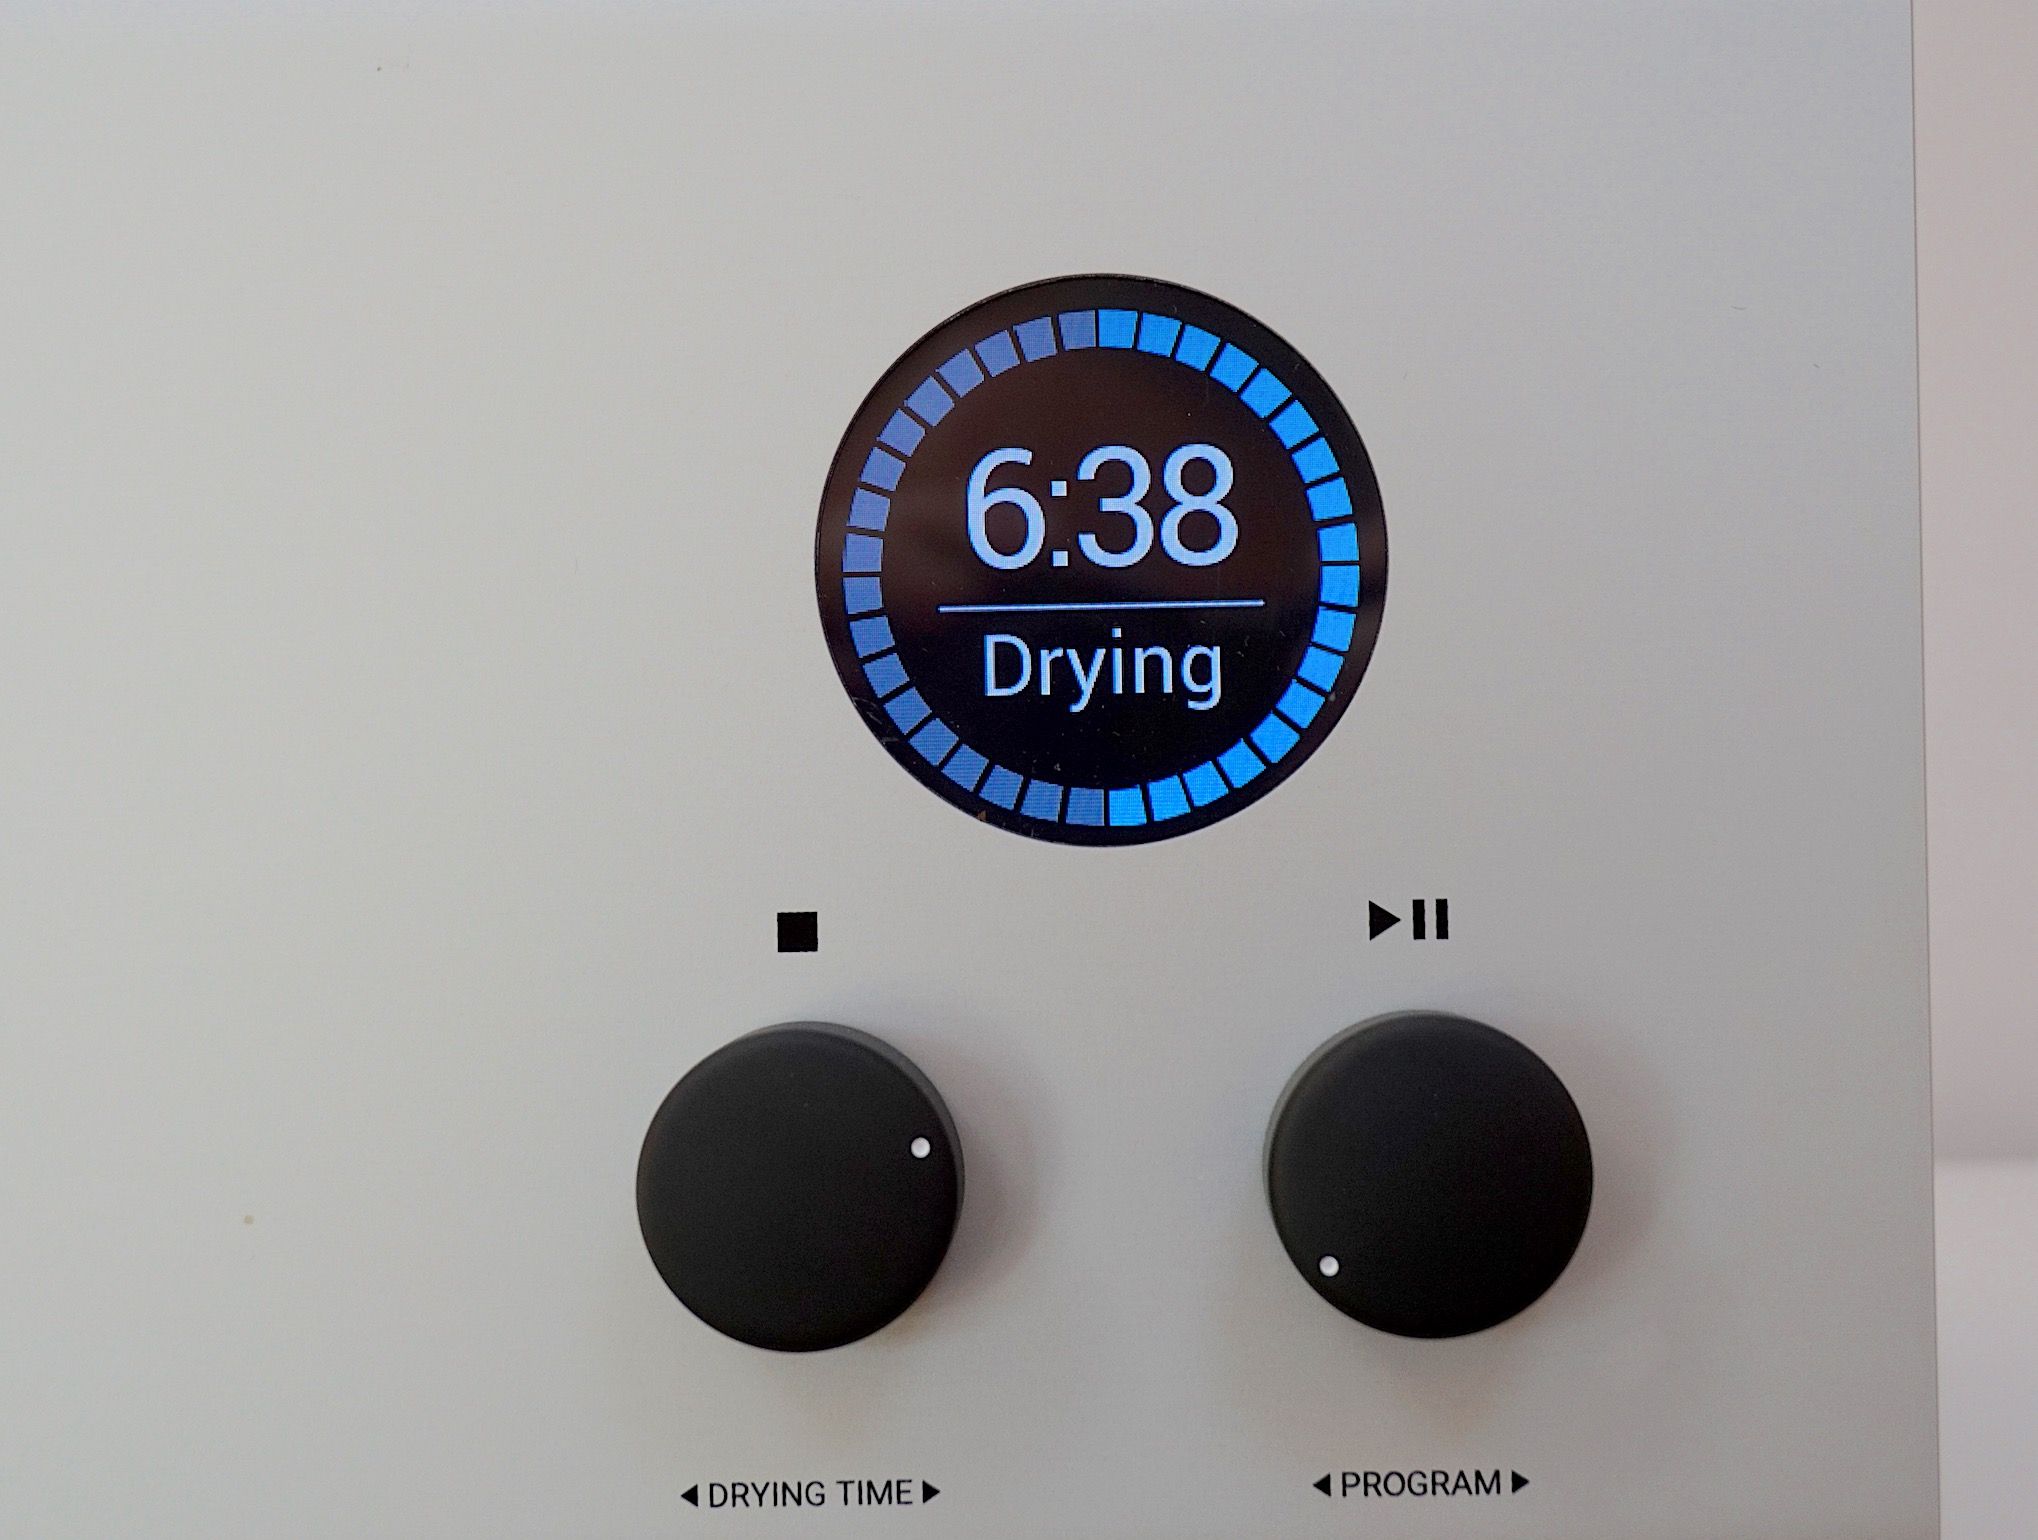
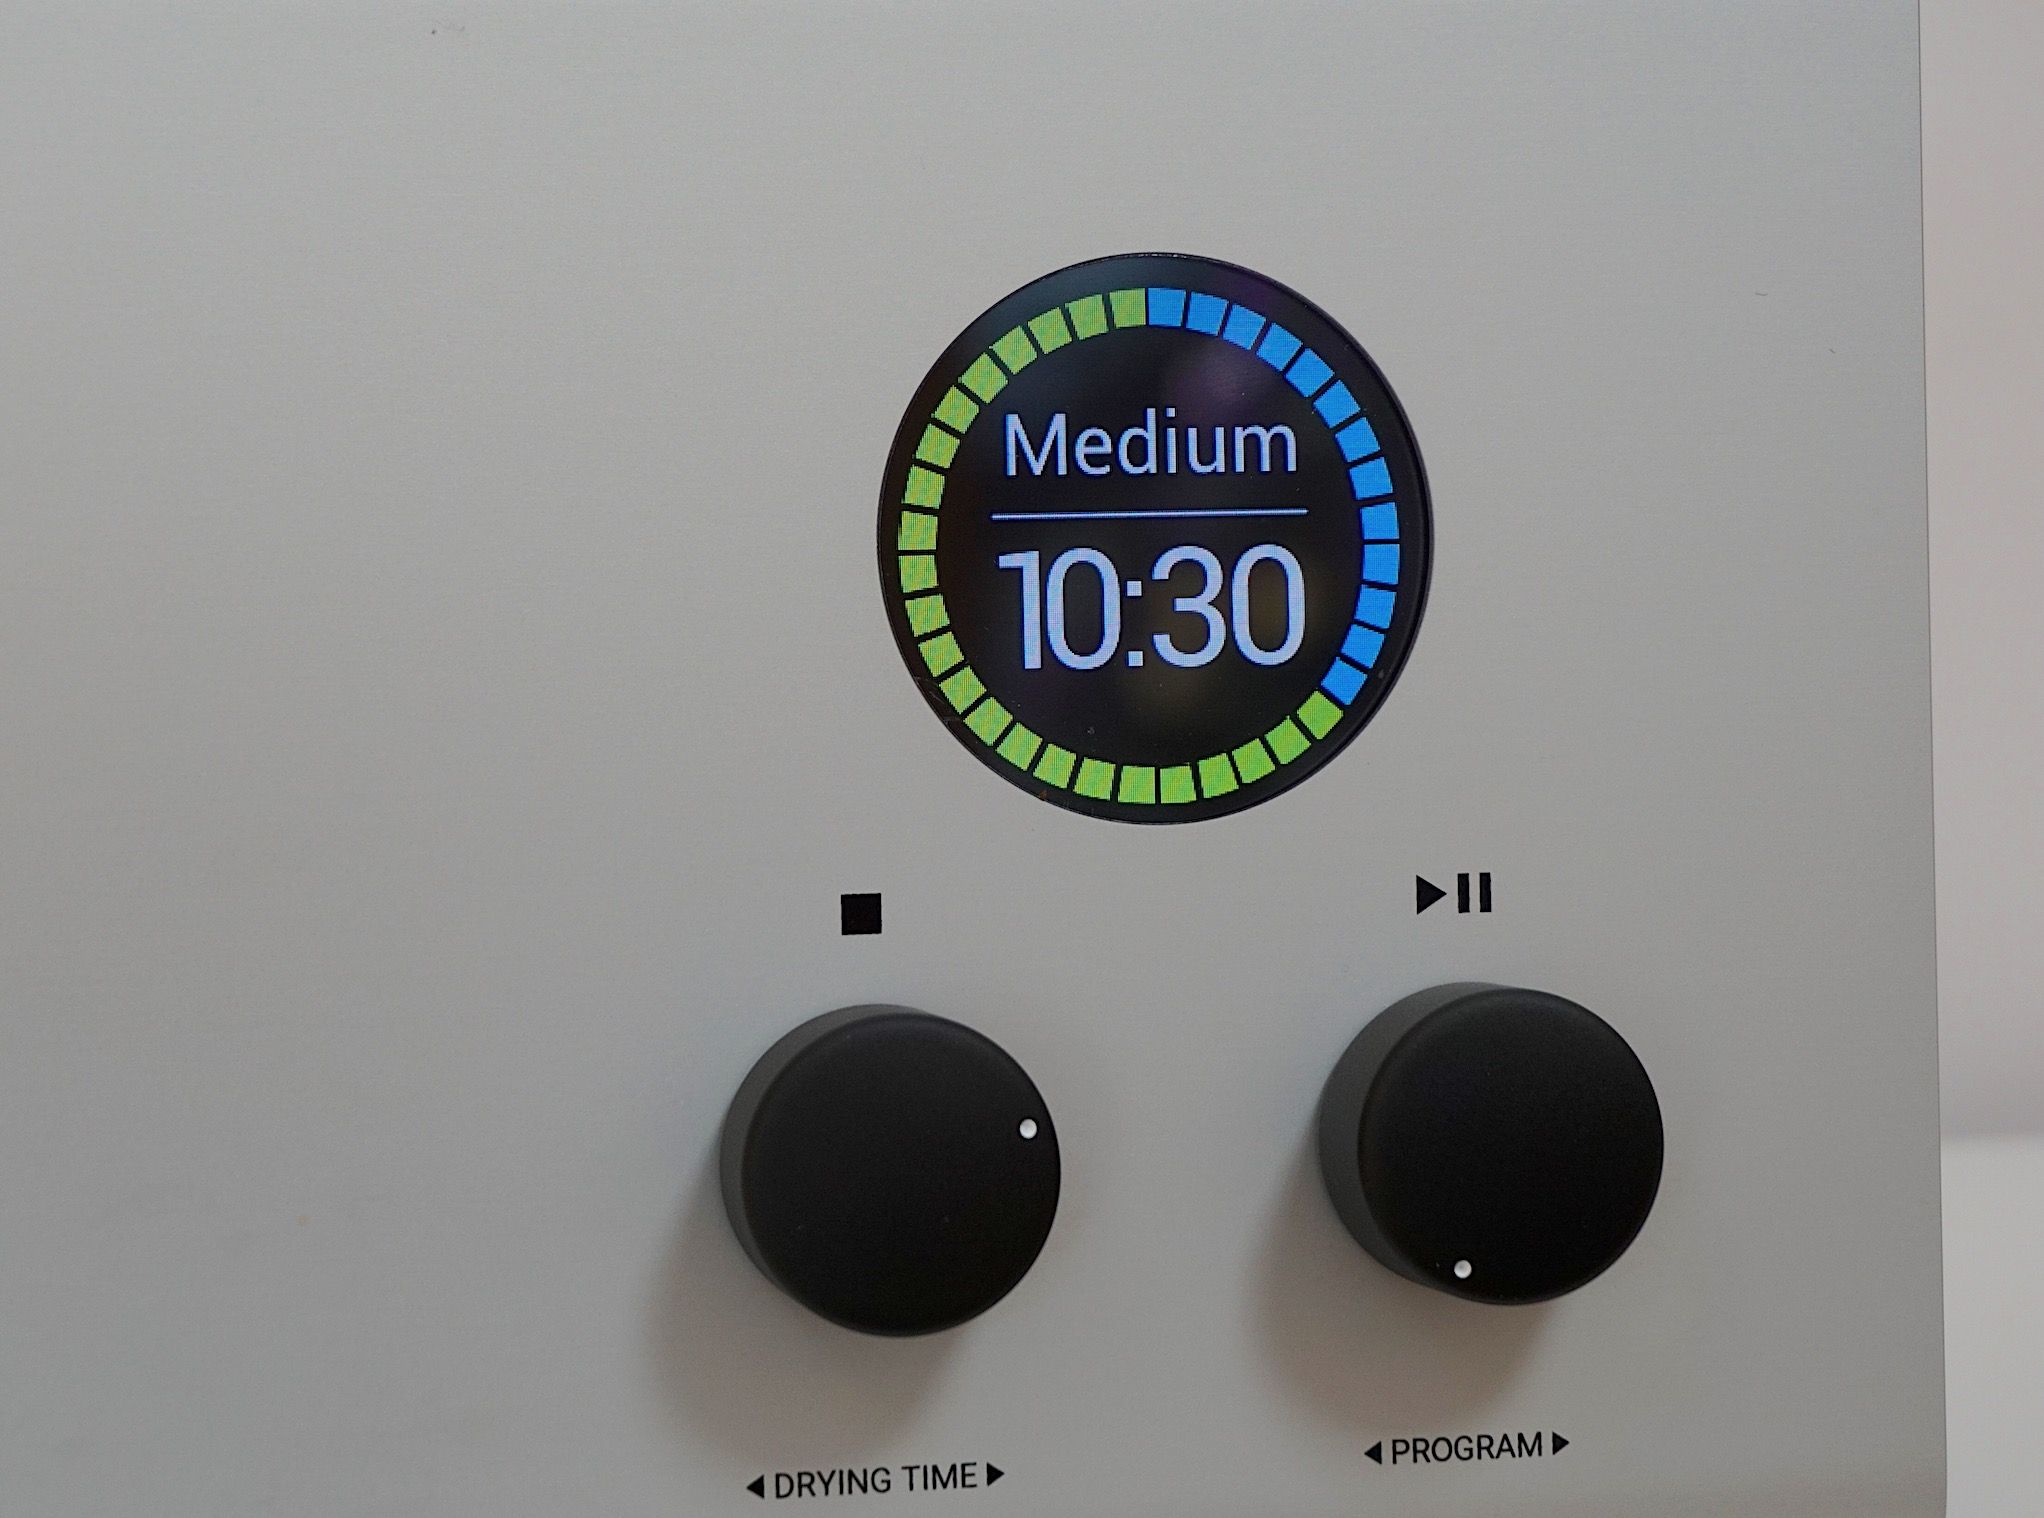
The left knob changes the drying time and stops the cleaning process. The right knob starts or pauses the drying process but also navigates a menu.
The circular screen provides a host of information. During the cleaning process, a circular, changing band of lights will show the ratio between the washing process and drying process in different colours, the total program time, the selected program and progress bar. It’s highly intuitive.
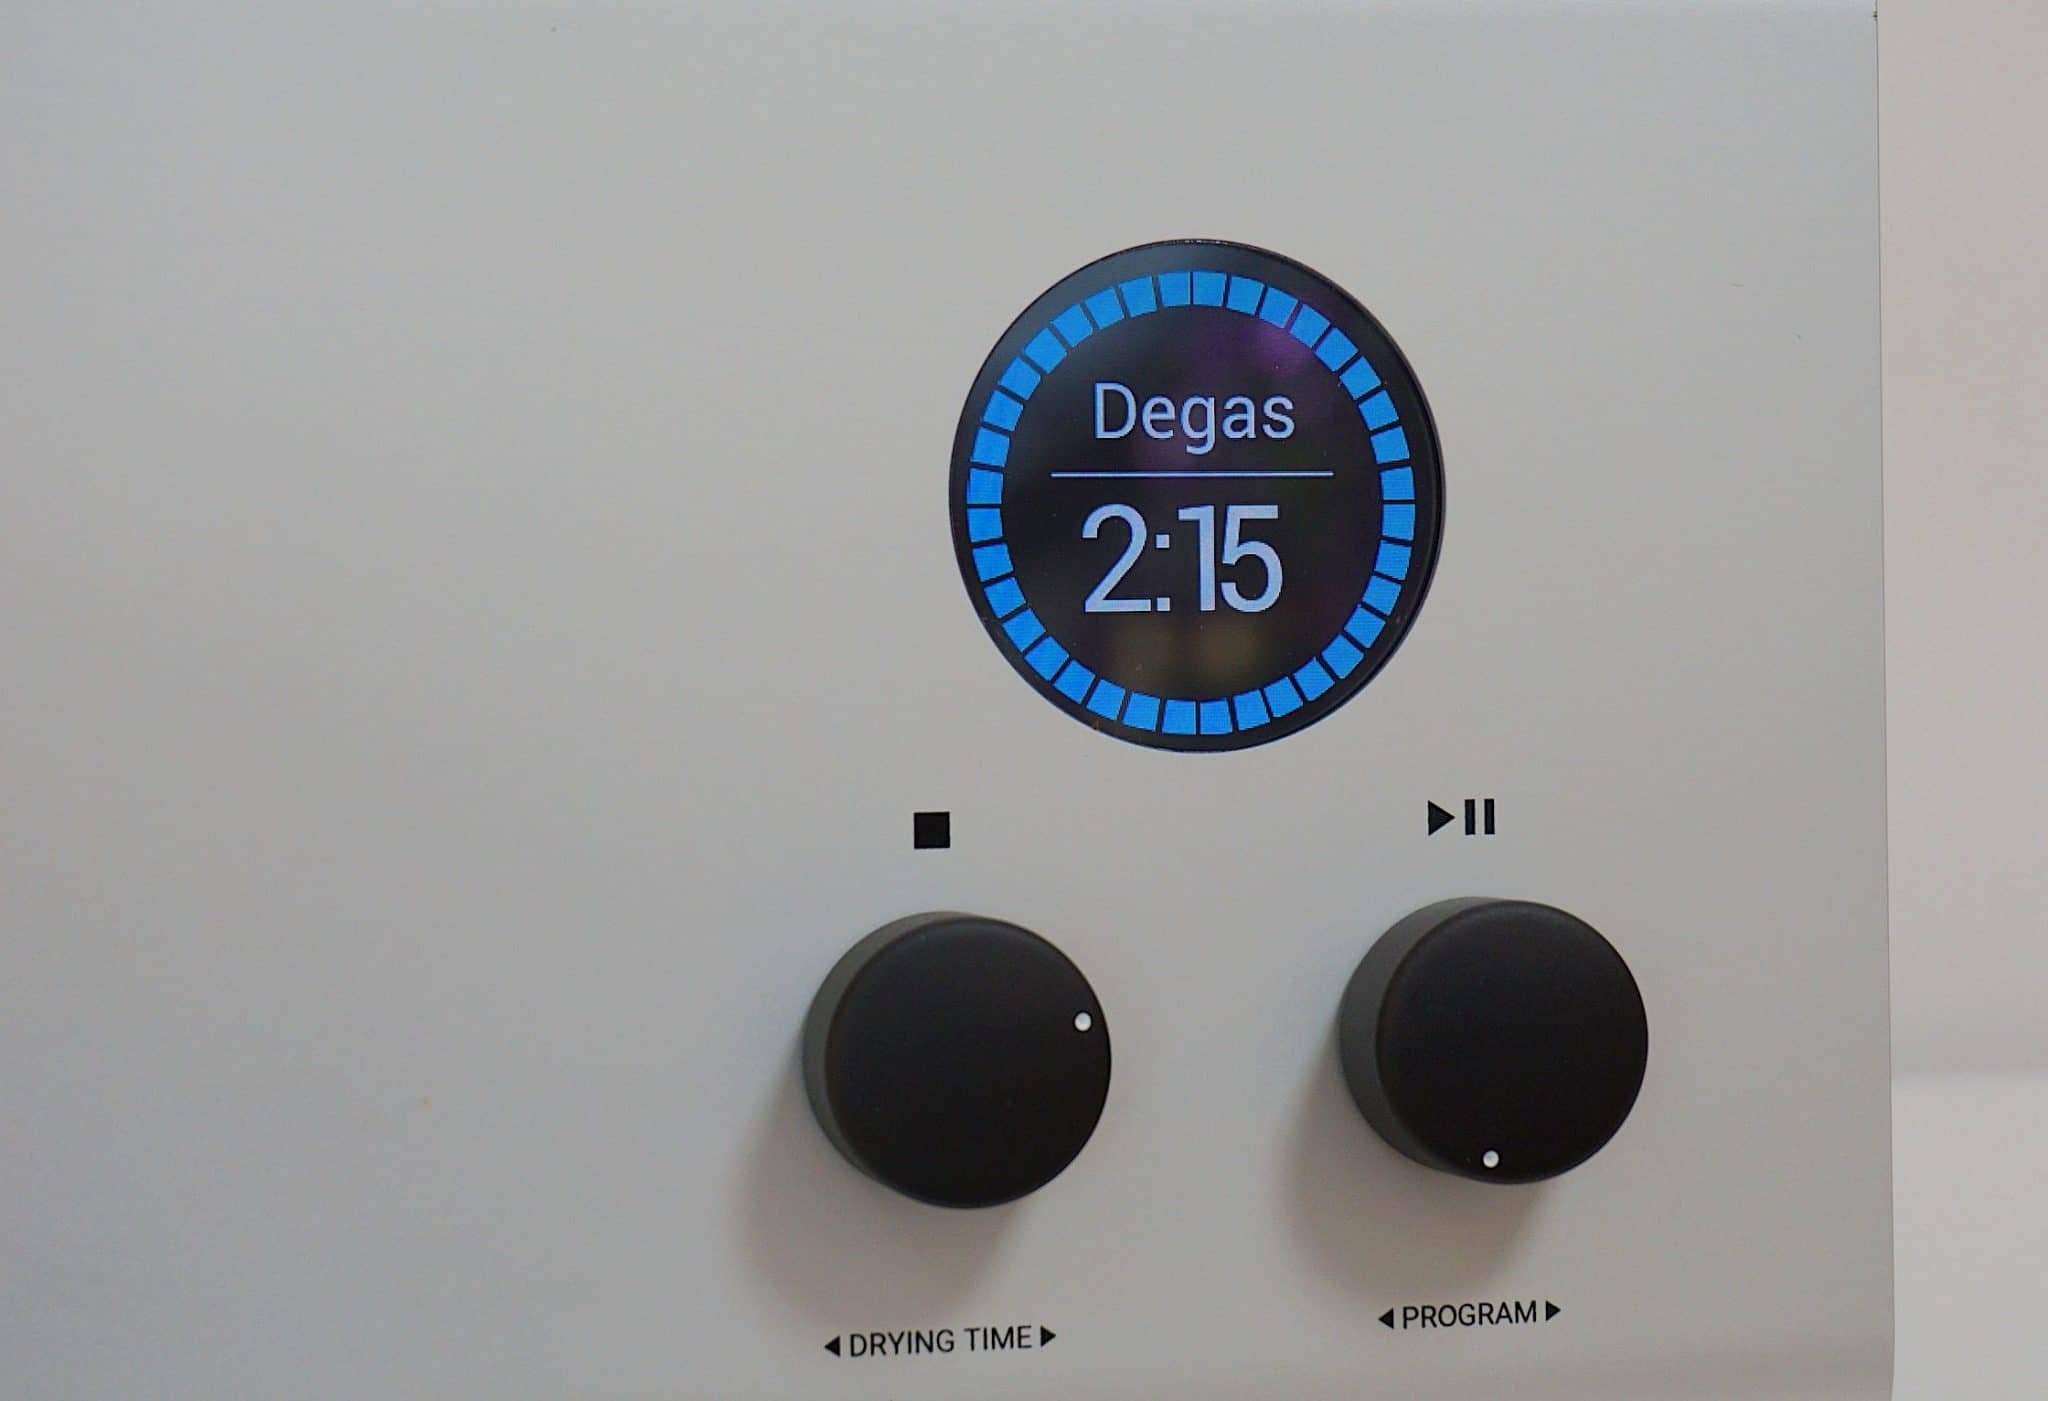
Delving deeper into the navigation window, here you can adjust the drying time and bounce between Quick (2min 15sec), Medium (3min 45sec) and Heavy (6min 45sec) cleaning cycles. Three audio beeps tell you that the cycle has been completed.
The Medium cycle is your standard cycle. Quick is for generally clean records that may have accumulated some light dust over the days and weeks while Heavy is for more thorough jobs. I tended to use the latter during tests because it proved more effective, at least it did to me.
The Dry option is automatically attached to each cleaning cycle. It can also be selected as a separate program and can be extended up to just over 15 minutes or, indeed, turned off altogether if needs be. I like the fact that this option is also available separately. I find that, at least in other ultrasonic machines, either the vinyl recipe or the profile or weight or all three has a bearing on how fast a disc will dry. This variation is invaluable, therefore. That said, the default wash/dry cycle proved to be just fine for all of my tests discs.
Even better? You can change the drying time during the program itself, on the fly, as it where.
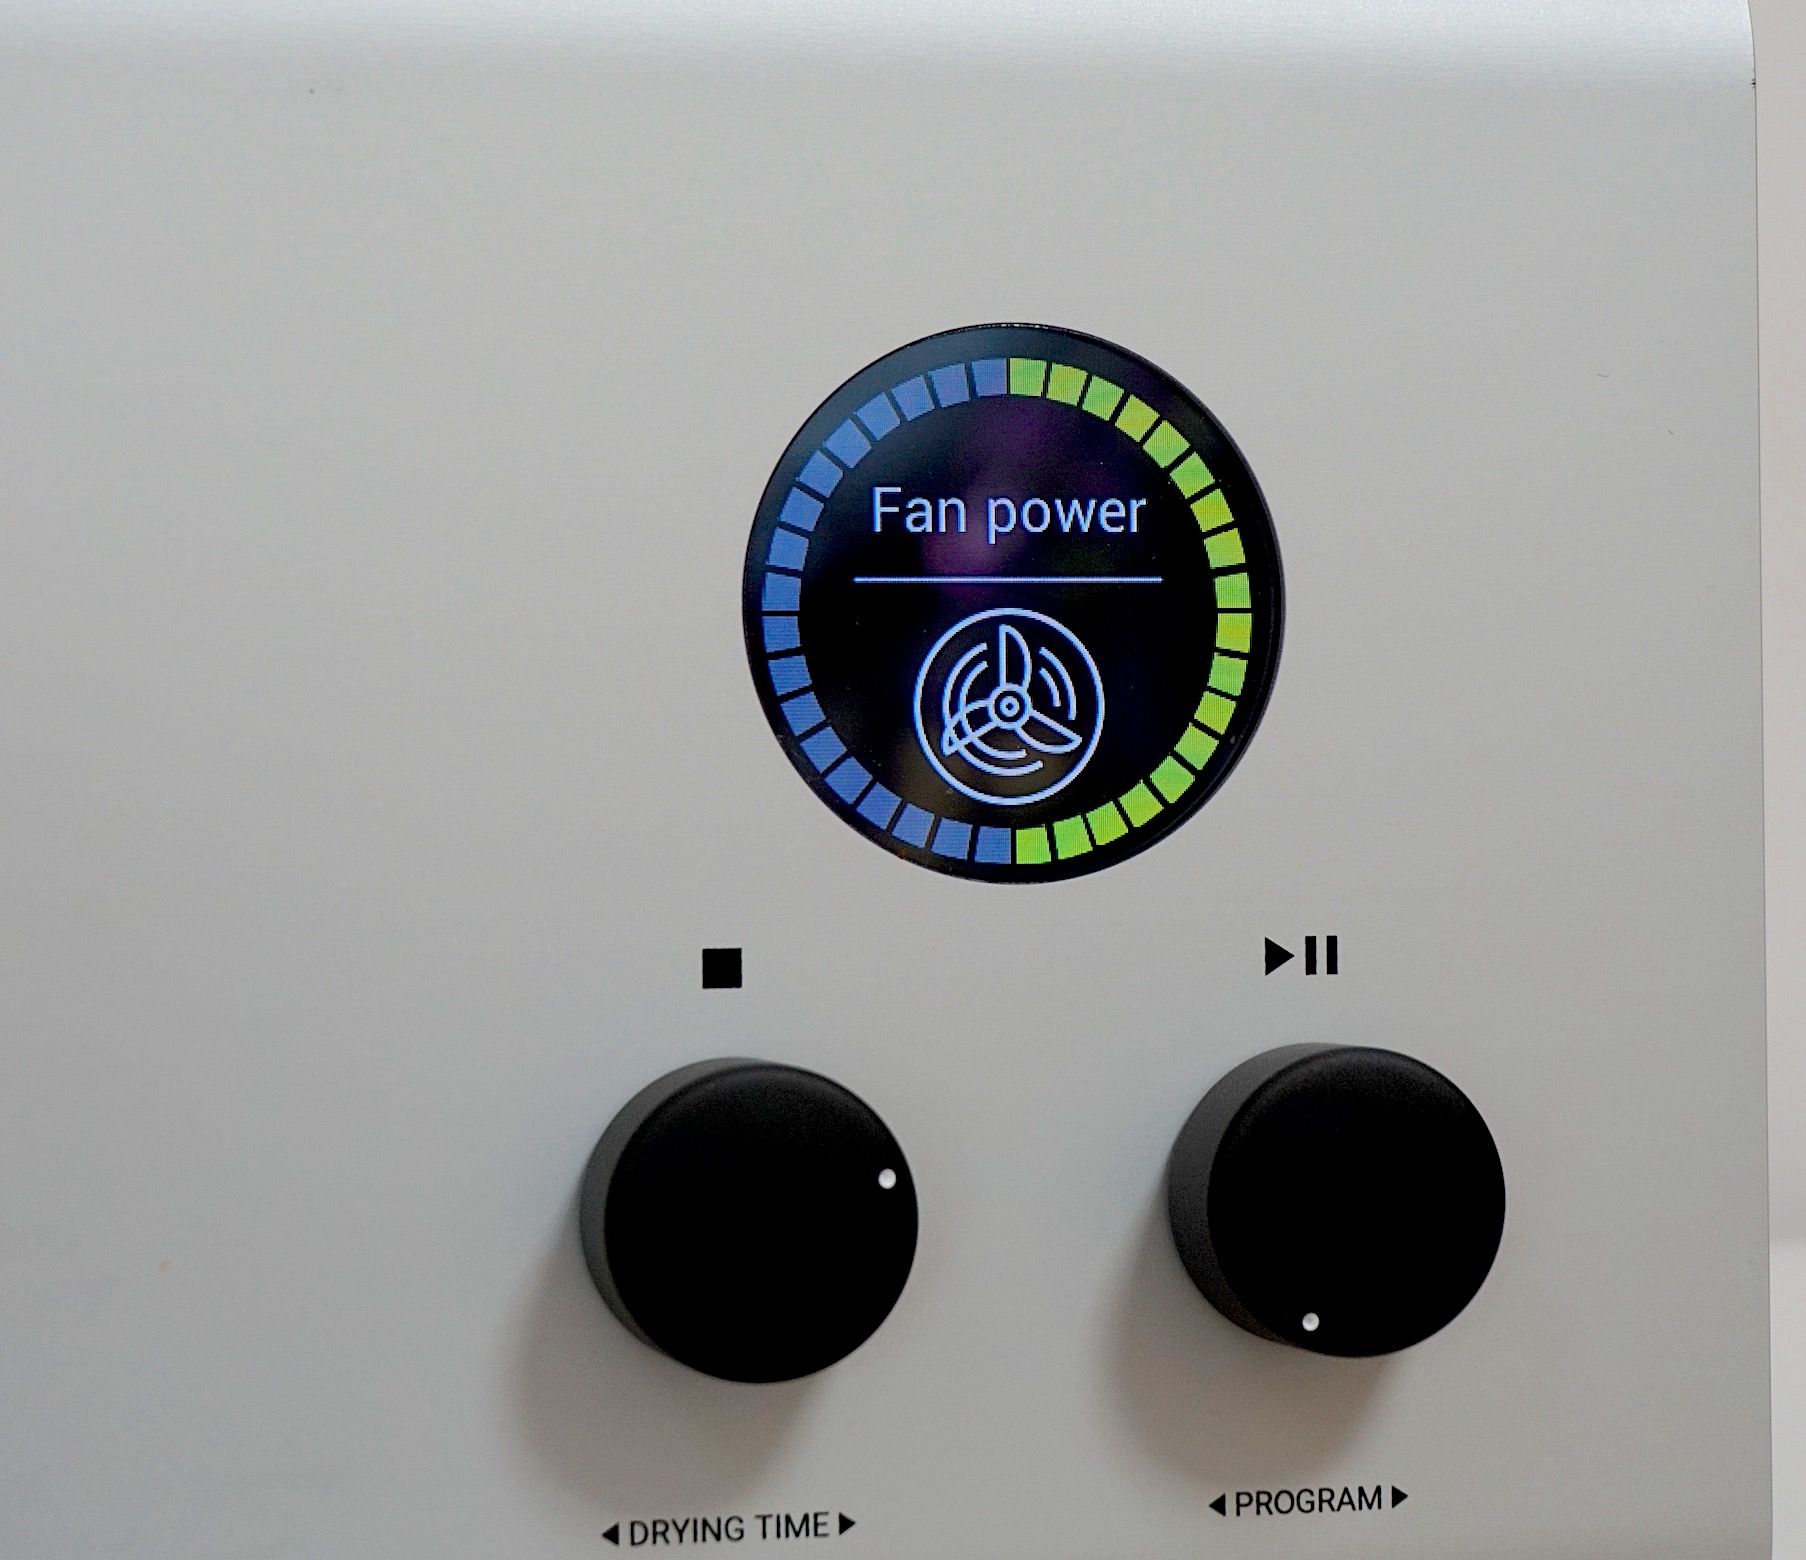
Connected to that is the ability to vary the drying fan speed and also the fan noise. If you lower the fan speed and noise the drying time will increase, though. A very useful option nevertheless, especially if you’re using the machine at night and you don’t want to disturb the rest of the family.
I’m also happy to see a ‘degas’ or ‘degauss’ depending on your affiliations. Whatever your favourite, this option ‘smooths’ the water, removing any trapped oxygen, for example, which can hamper the cleaning process. The operation takes two minutes and 15 seconds. Once underway, the Degritter takes the water from the bath and does the deed.
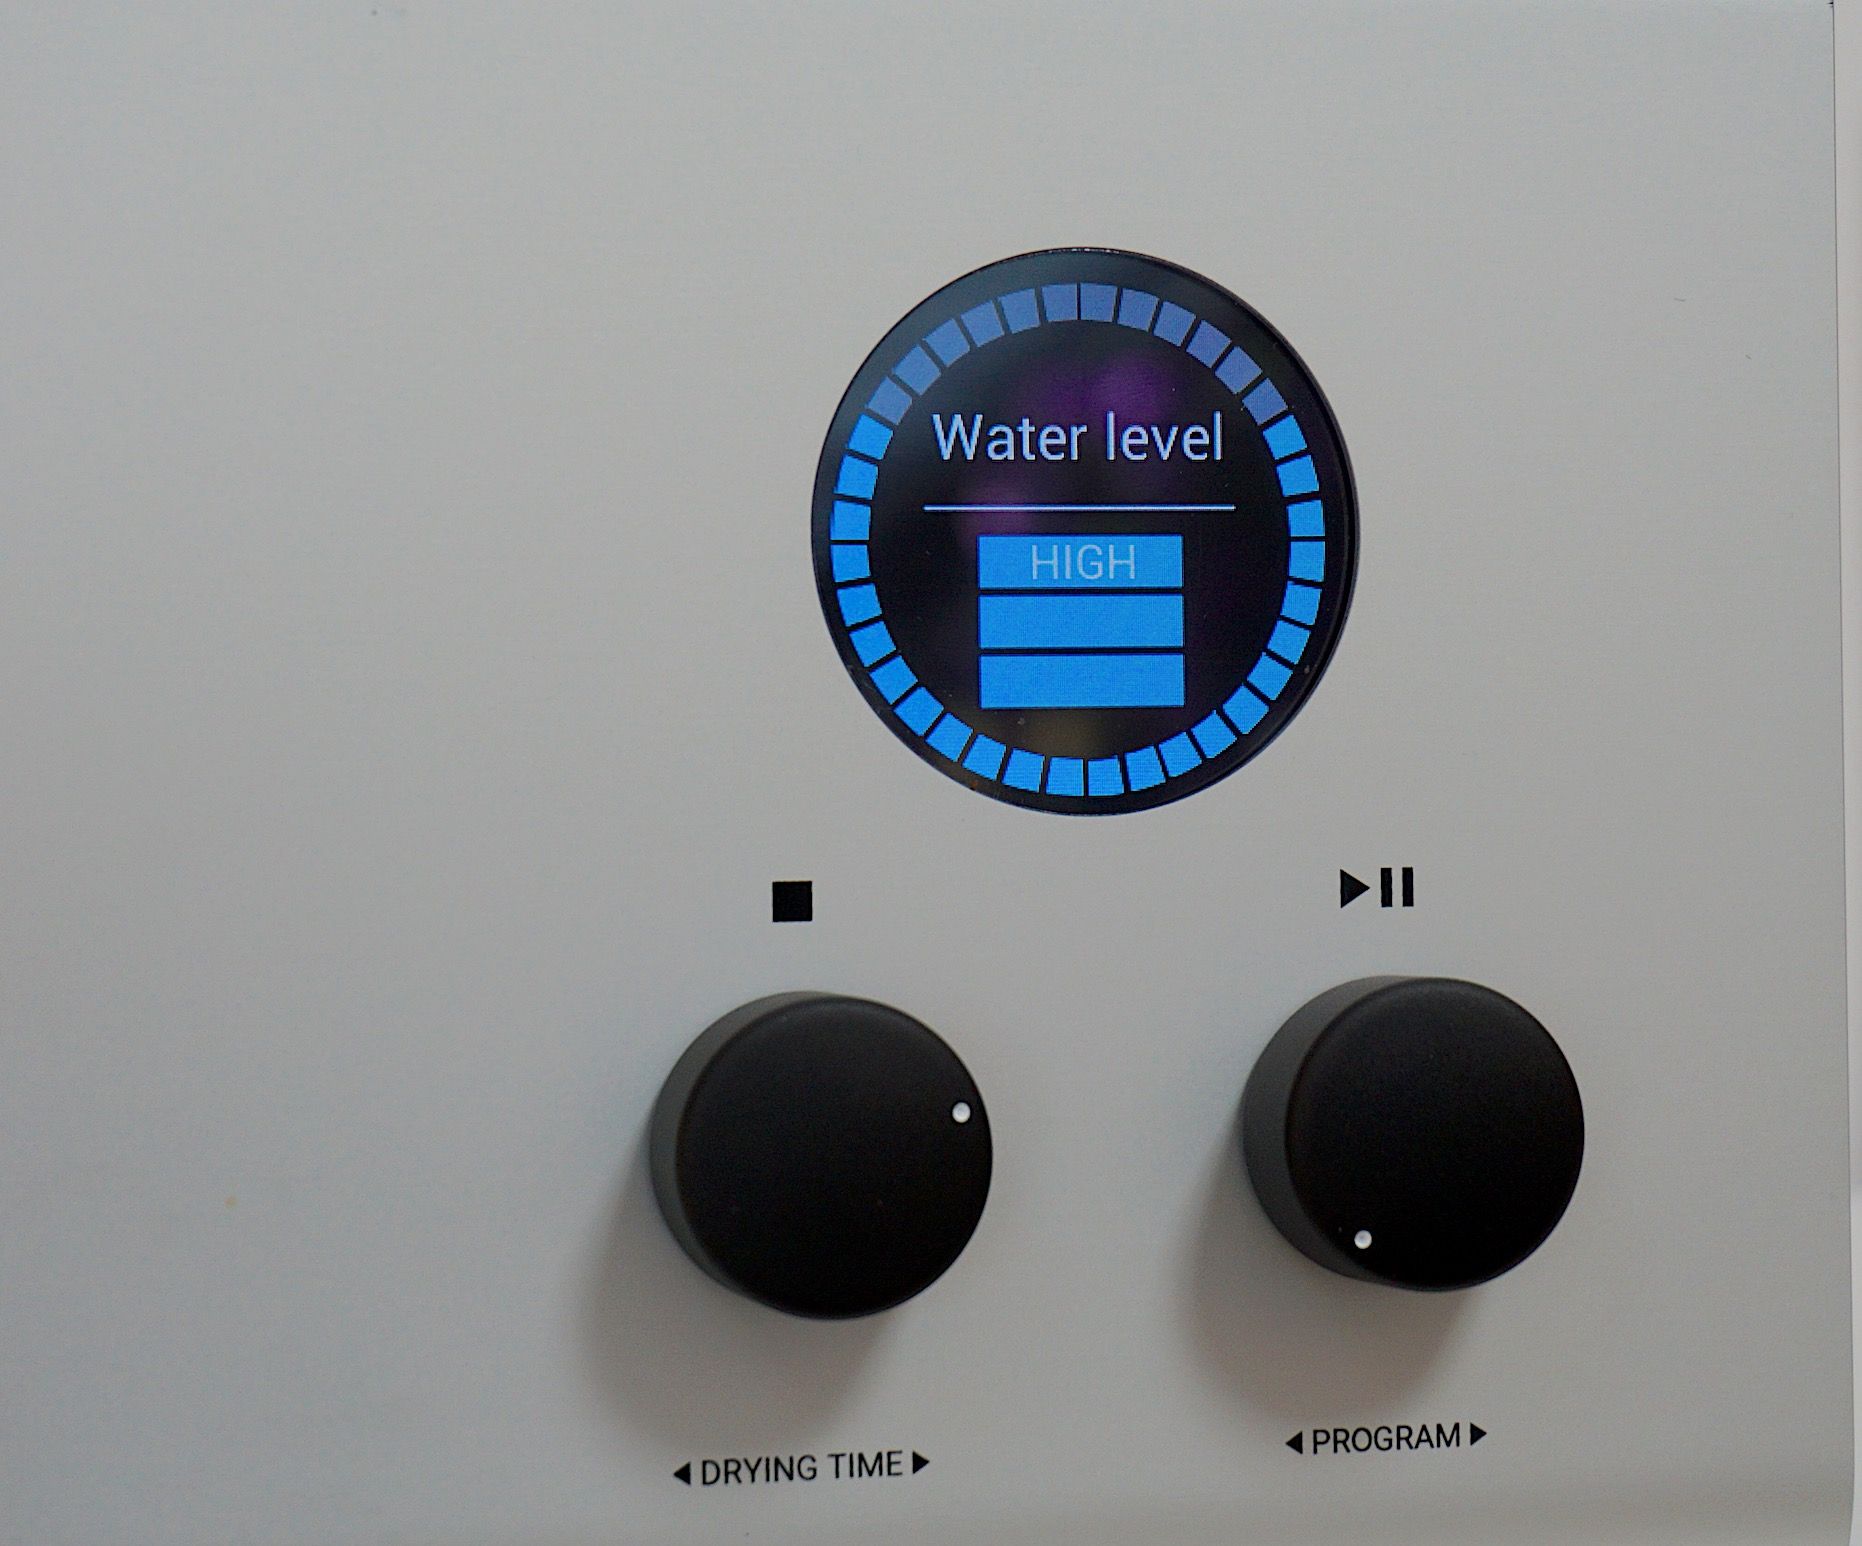
There’s also a Water Level setting: Low, Medium and High. These settings will basically move the water closer to or further away from the central vinyl record label during cleaning.
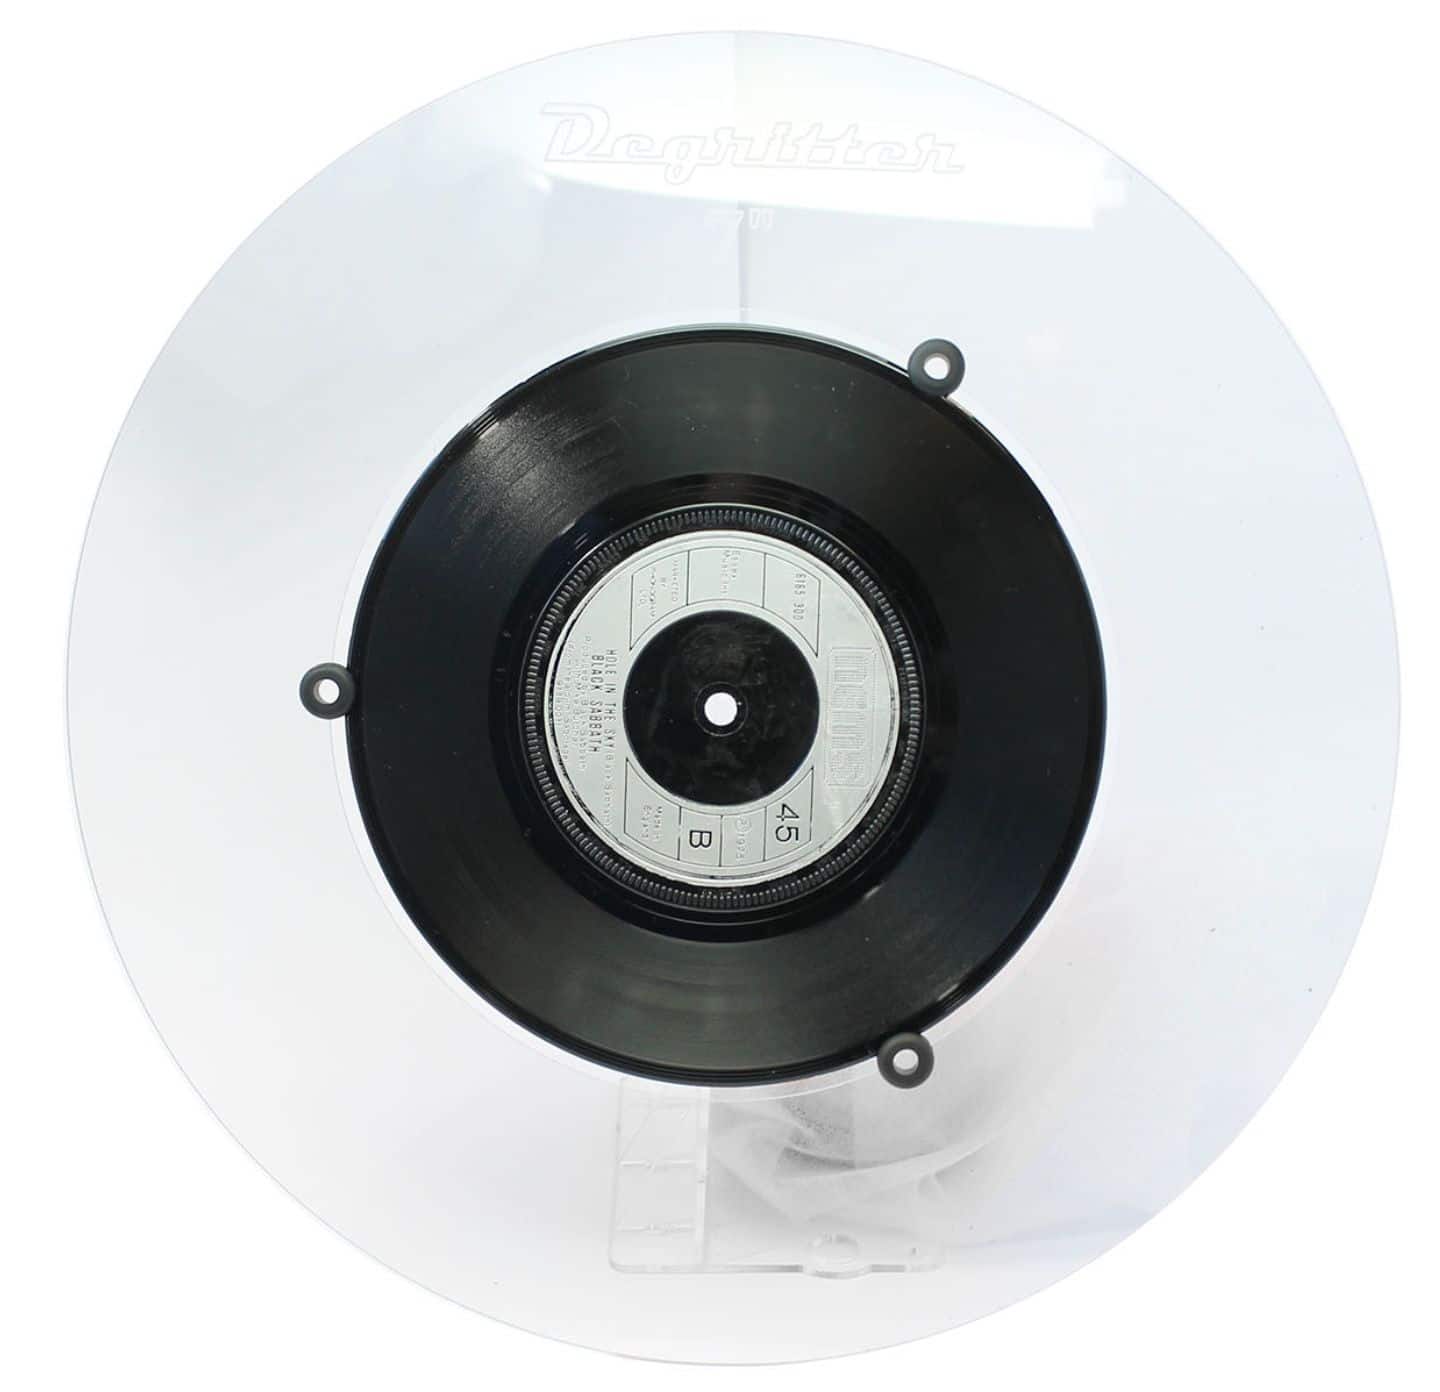
Again, this is ideal for oddly-sized labels that risk damage during cleaning while it also allows you to experiment to maximise the cleaning process. You’re given a measurement strip jig in the box that will allow you to guesstimate exactly how any particular record will be affected by the water level.
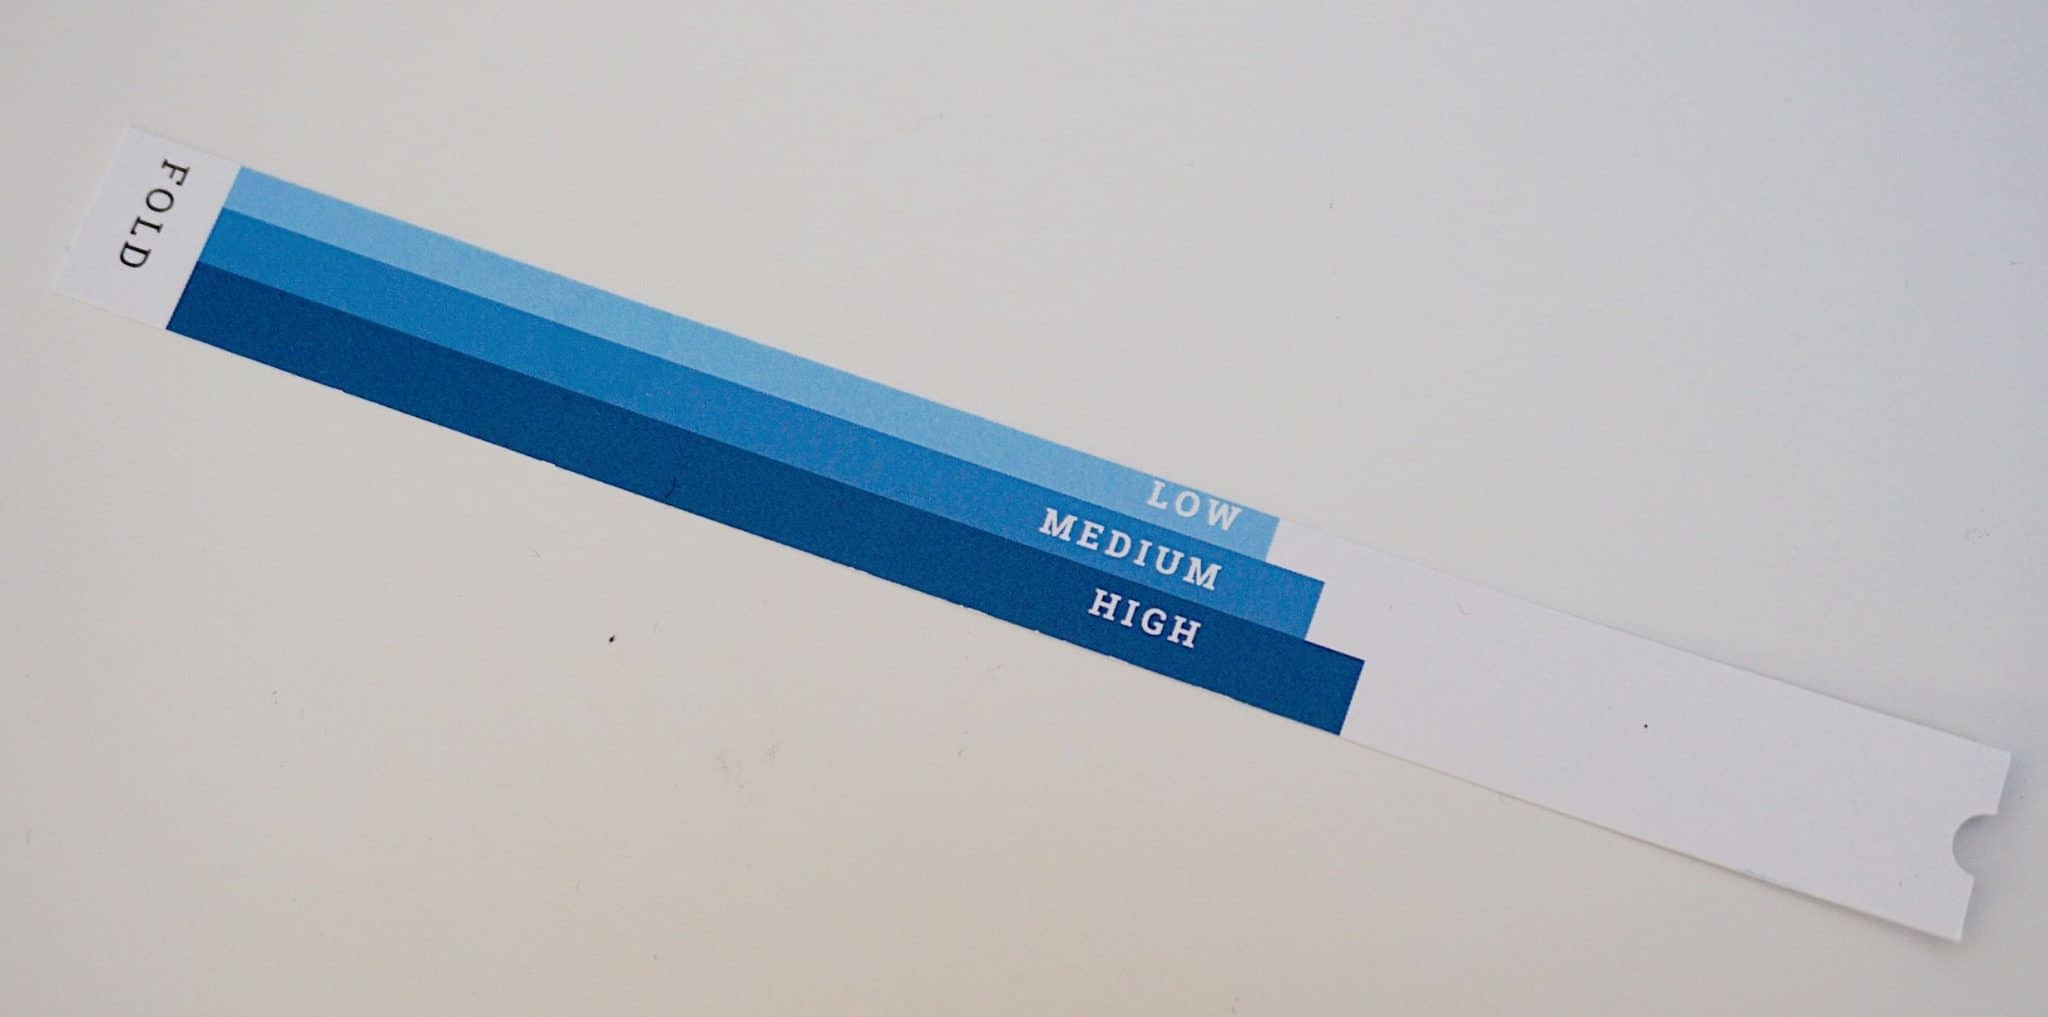
Just lay the jig on the record to see how far Low, Medium and High actually reaches on your dirty record. That semi-circle bit on the right of the jig (image above) is where you rest the jig against the turntable’s spindle. Then you can apply the correct settings according to your jig’s findings.
Again, an excellent feature. This one should greatly appeal to nervous record collectors. The only issue I had here was that the jig is made from card. A relatively fragile material. I would have preferred something rather longer lasting.
I asked the company about that and it said, “We do not expect our users to adjust the water level very often. In most cases this will be set and left as is. Still, a sturdier material may be beneficial and we will consider this for the future.”
There’s a useful Info screen in the Navigation section too. It provides a serial number for your machine (this number should be used to register your machine on the company website), software version, the current temperature in the water tank (again, very useful) and how many cycles the machine has run. If your machine has undergone 100 cleaning cycles, then the number 100 will show here.
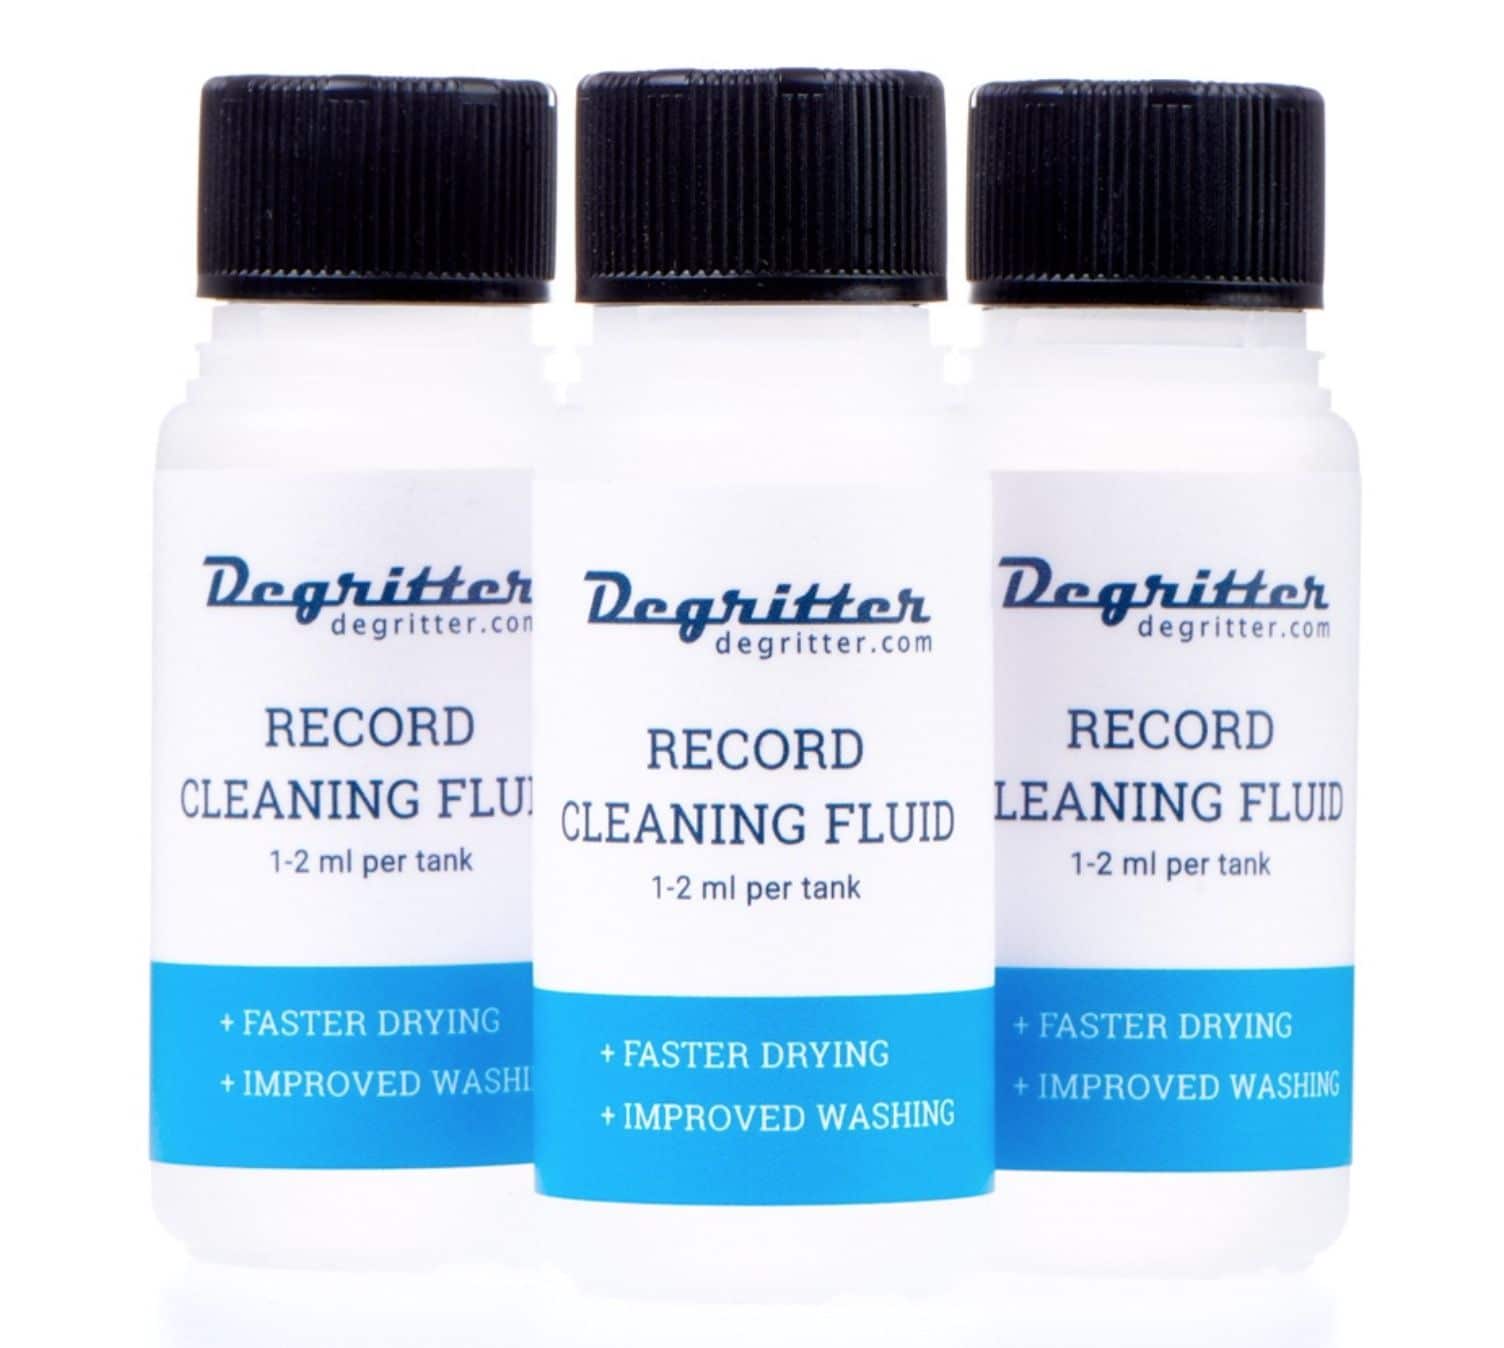
You’re also provided with a bottle of Degritter Cleaning Fluid. A couple of drops of this liquid is added to the bath and serves as a surfactant to aid cleaning. I’ll be reviewing this liquid later on.
FACTS & FILTERS
Oh, and software? Yes, this machine is run on a software basis and can thus be updated. Features can be (and have been) enhanced and tweaked by the company.
I did perform an update during the review period and found it quick to do. Just transfer the ‘bin’ file from the website to a SD card, pop the card into the rear of the Degritter (which is turned Off). Then turn the machine On and the update is done in a flash. So quickly in fact, I initially wondered if there was a fault because the machine told me to remove the SD card almost immediately. Checking the Info screen confirmed that the update had occurred, though.
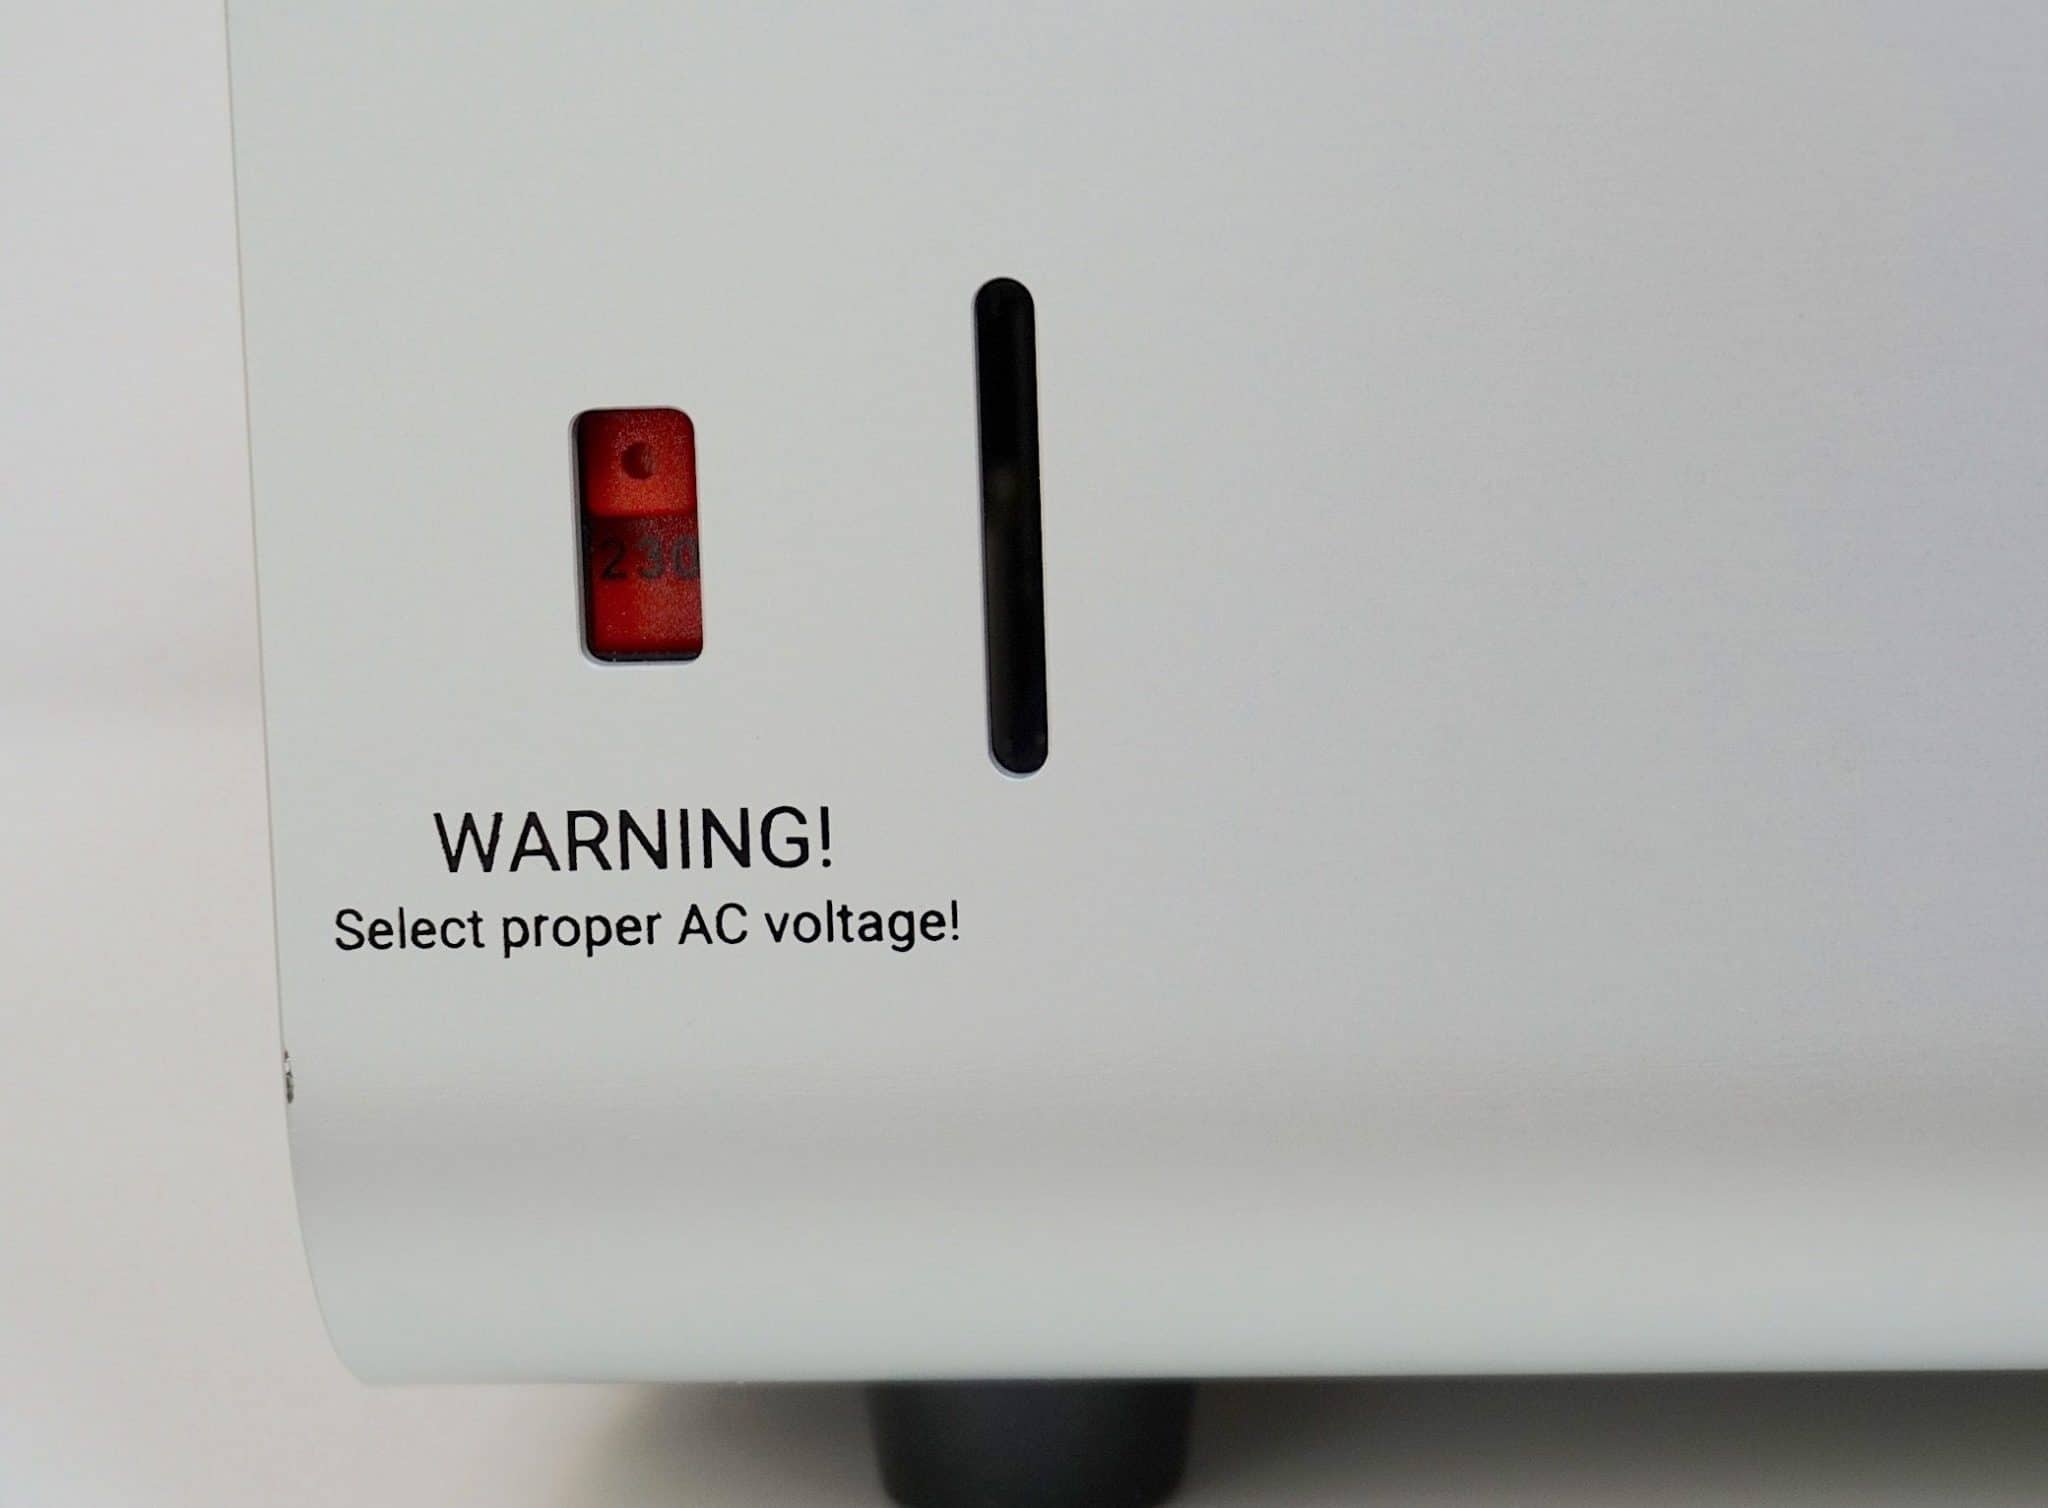
The machine is run off a basic IEC power chord. The chassis features a rocker power switch on the rear but a ‘soft’ shutdown and start up can be initiated by pressing the left multifunction knob for two seconds. Good if you’re going to be away for lunch as the only power left is a small amount to the processor and its power supply. If you press any button later on, the machine springs back to life again. The said, if you don’t touch the Degritter for 15 minutes, then the machine will power down automatically.
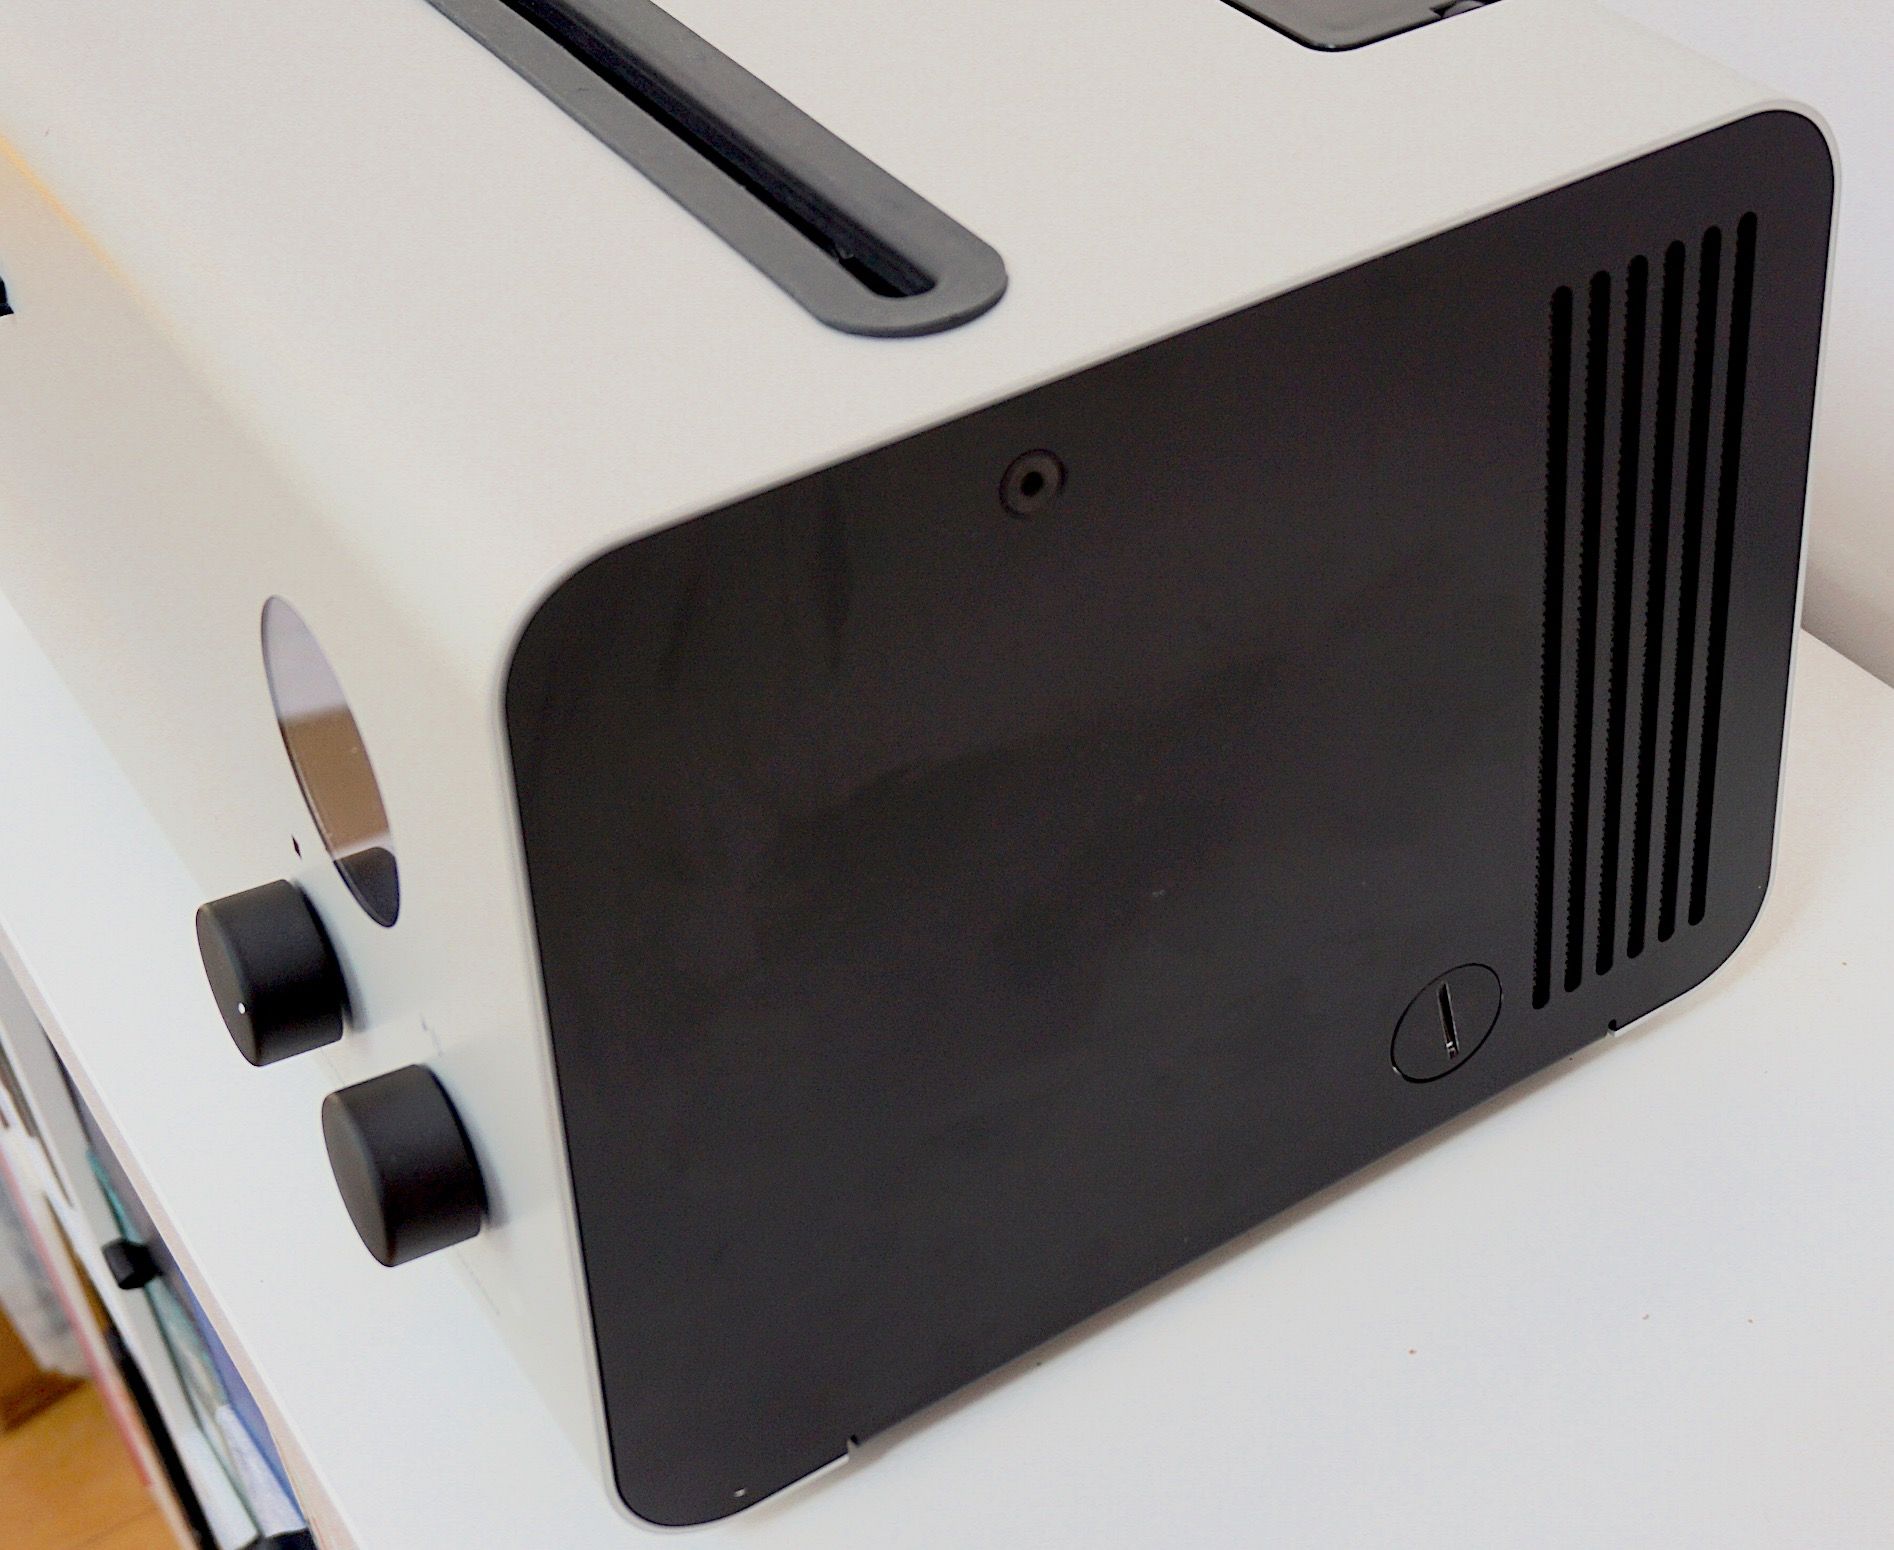
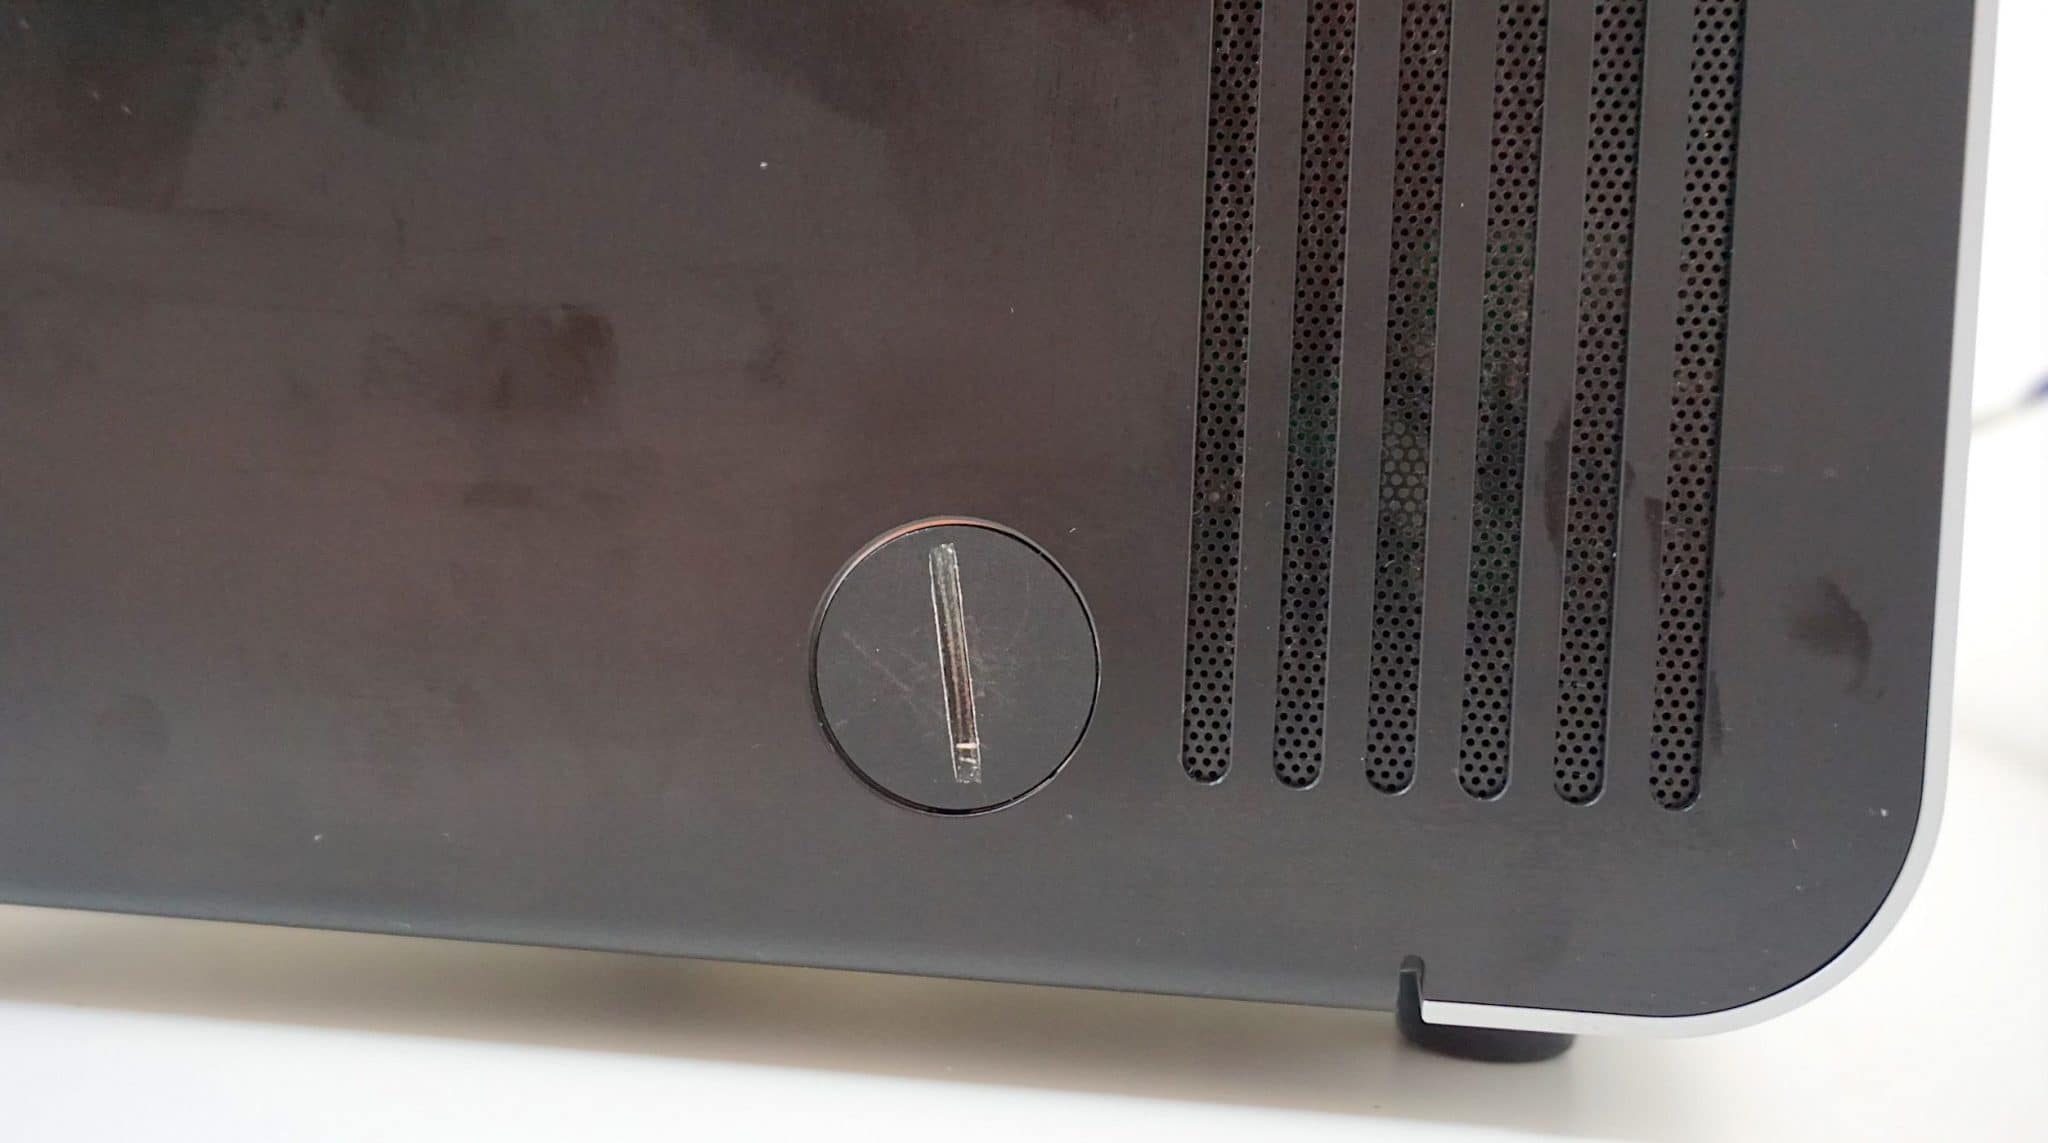
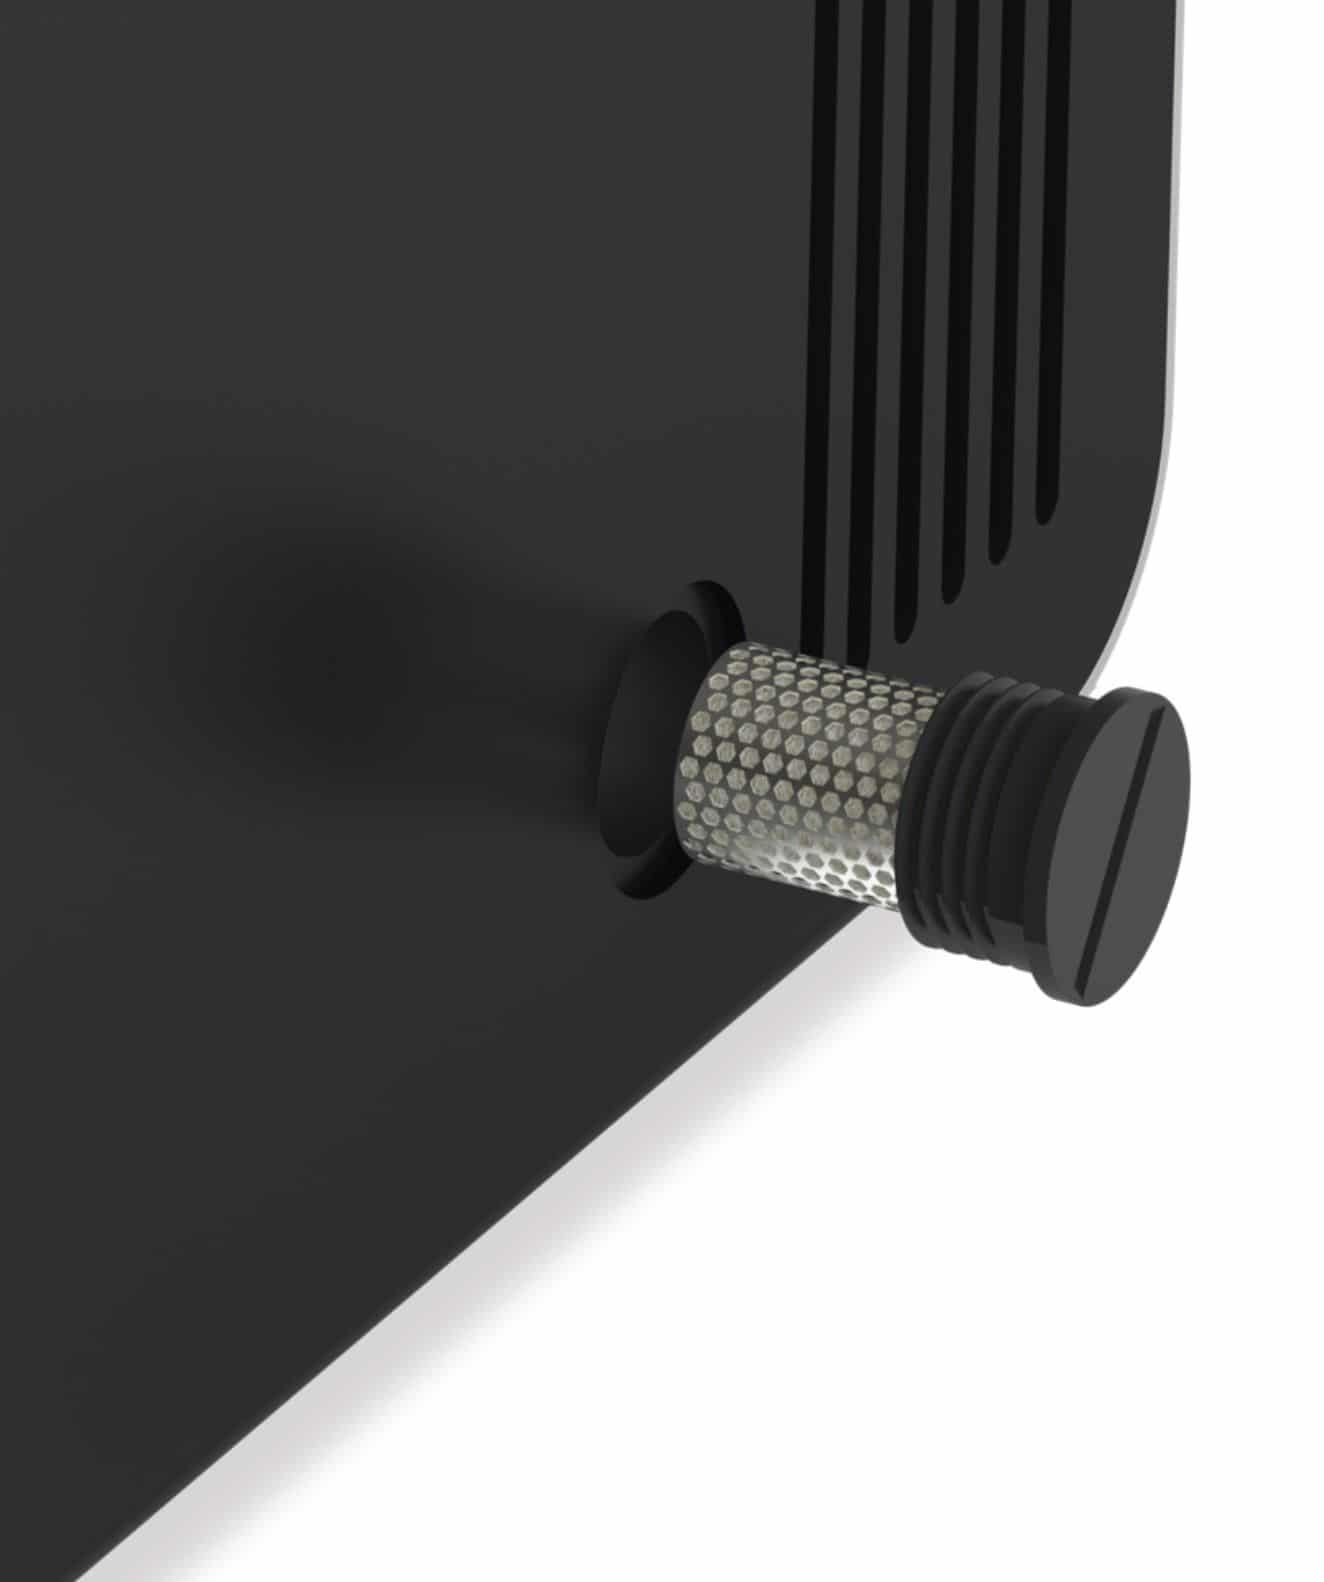
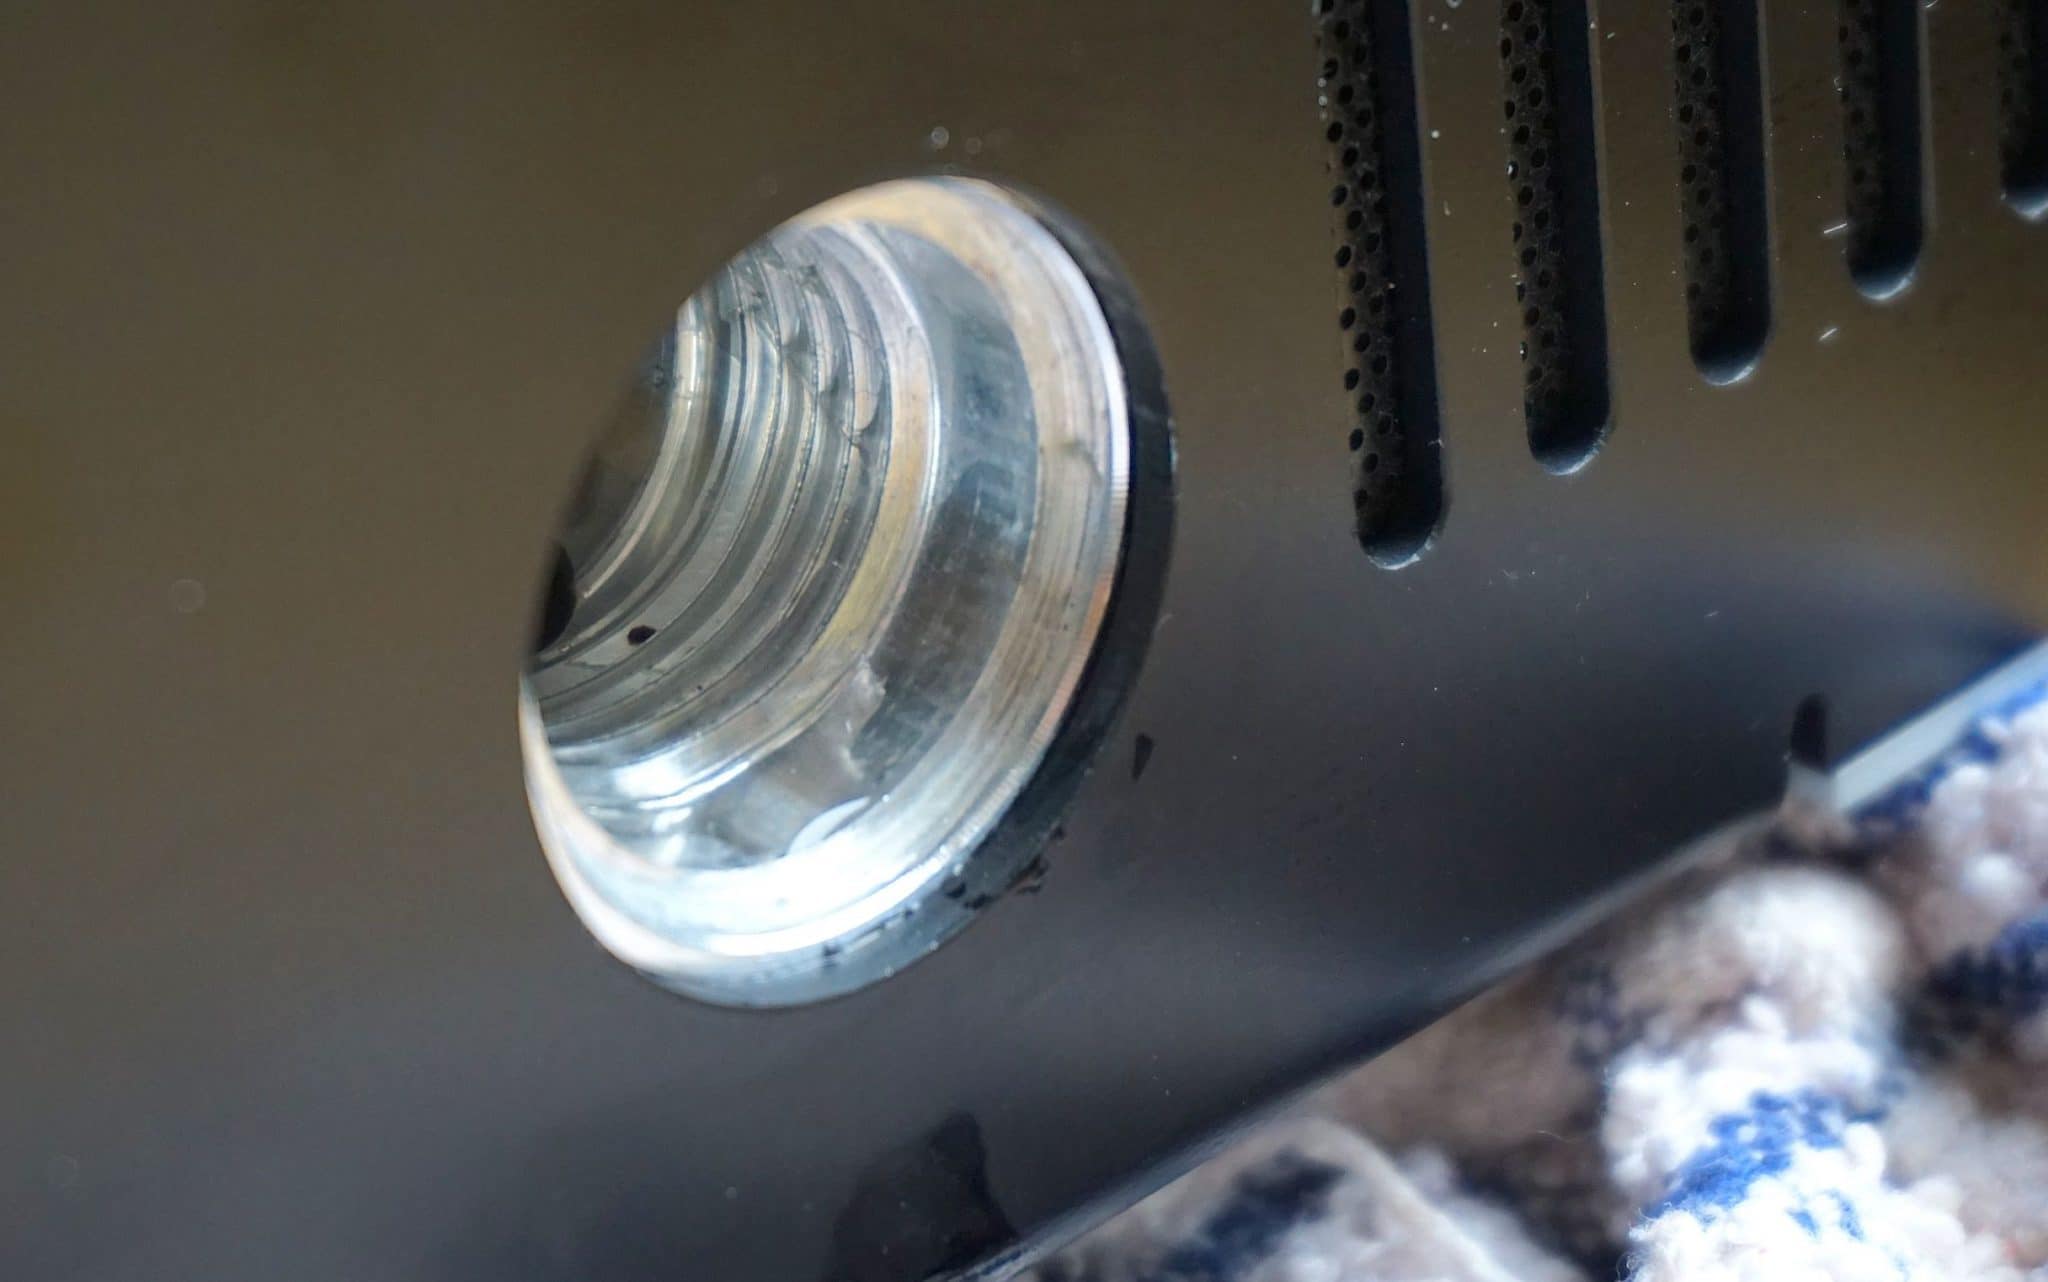
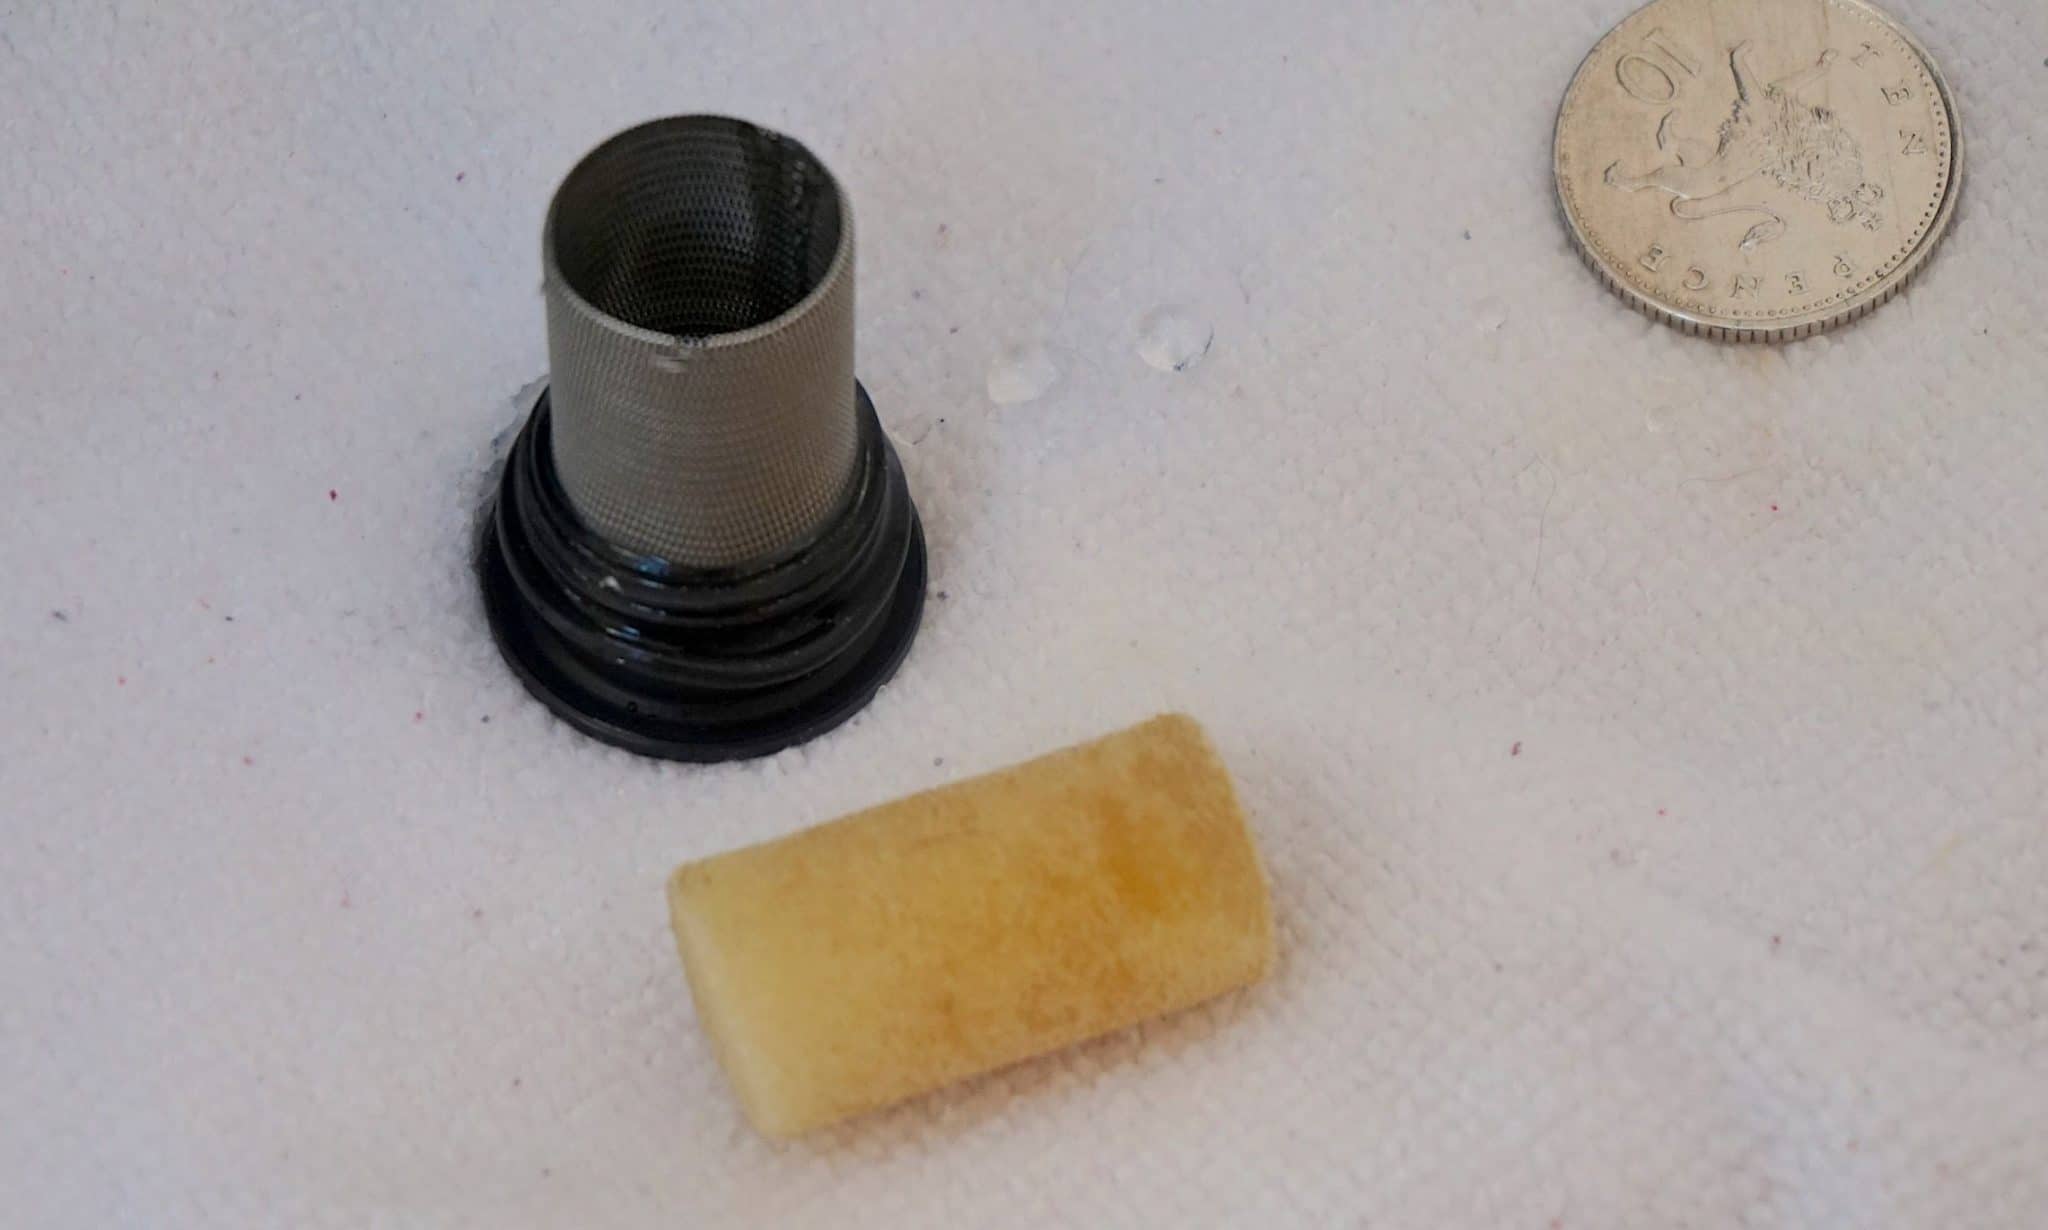
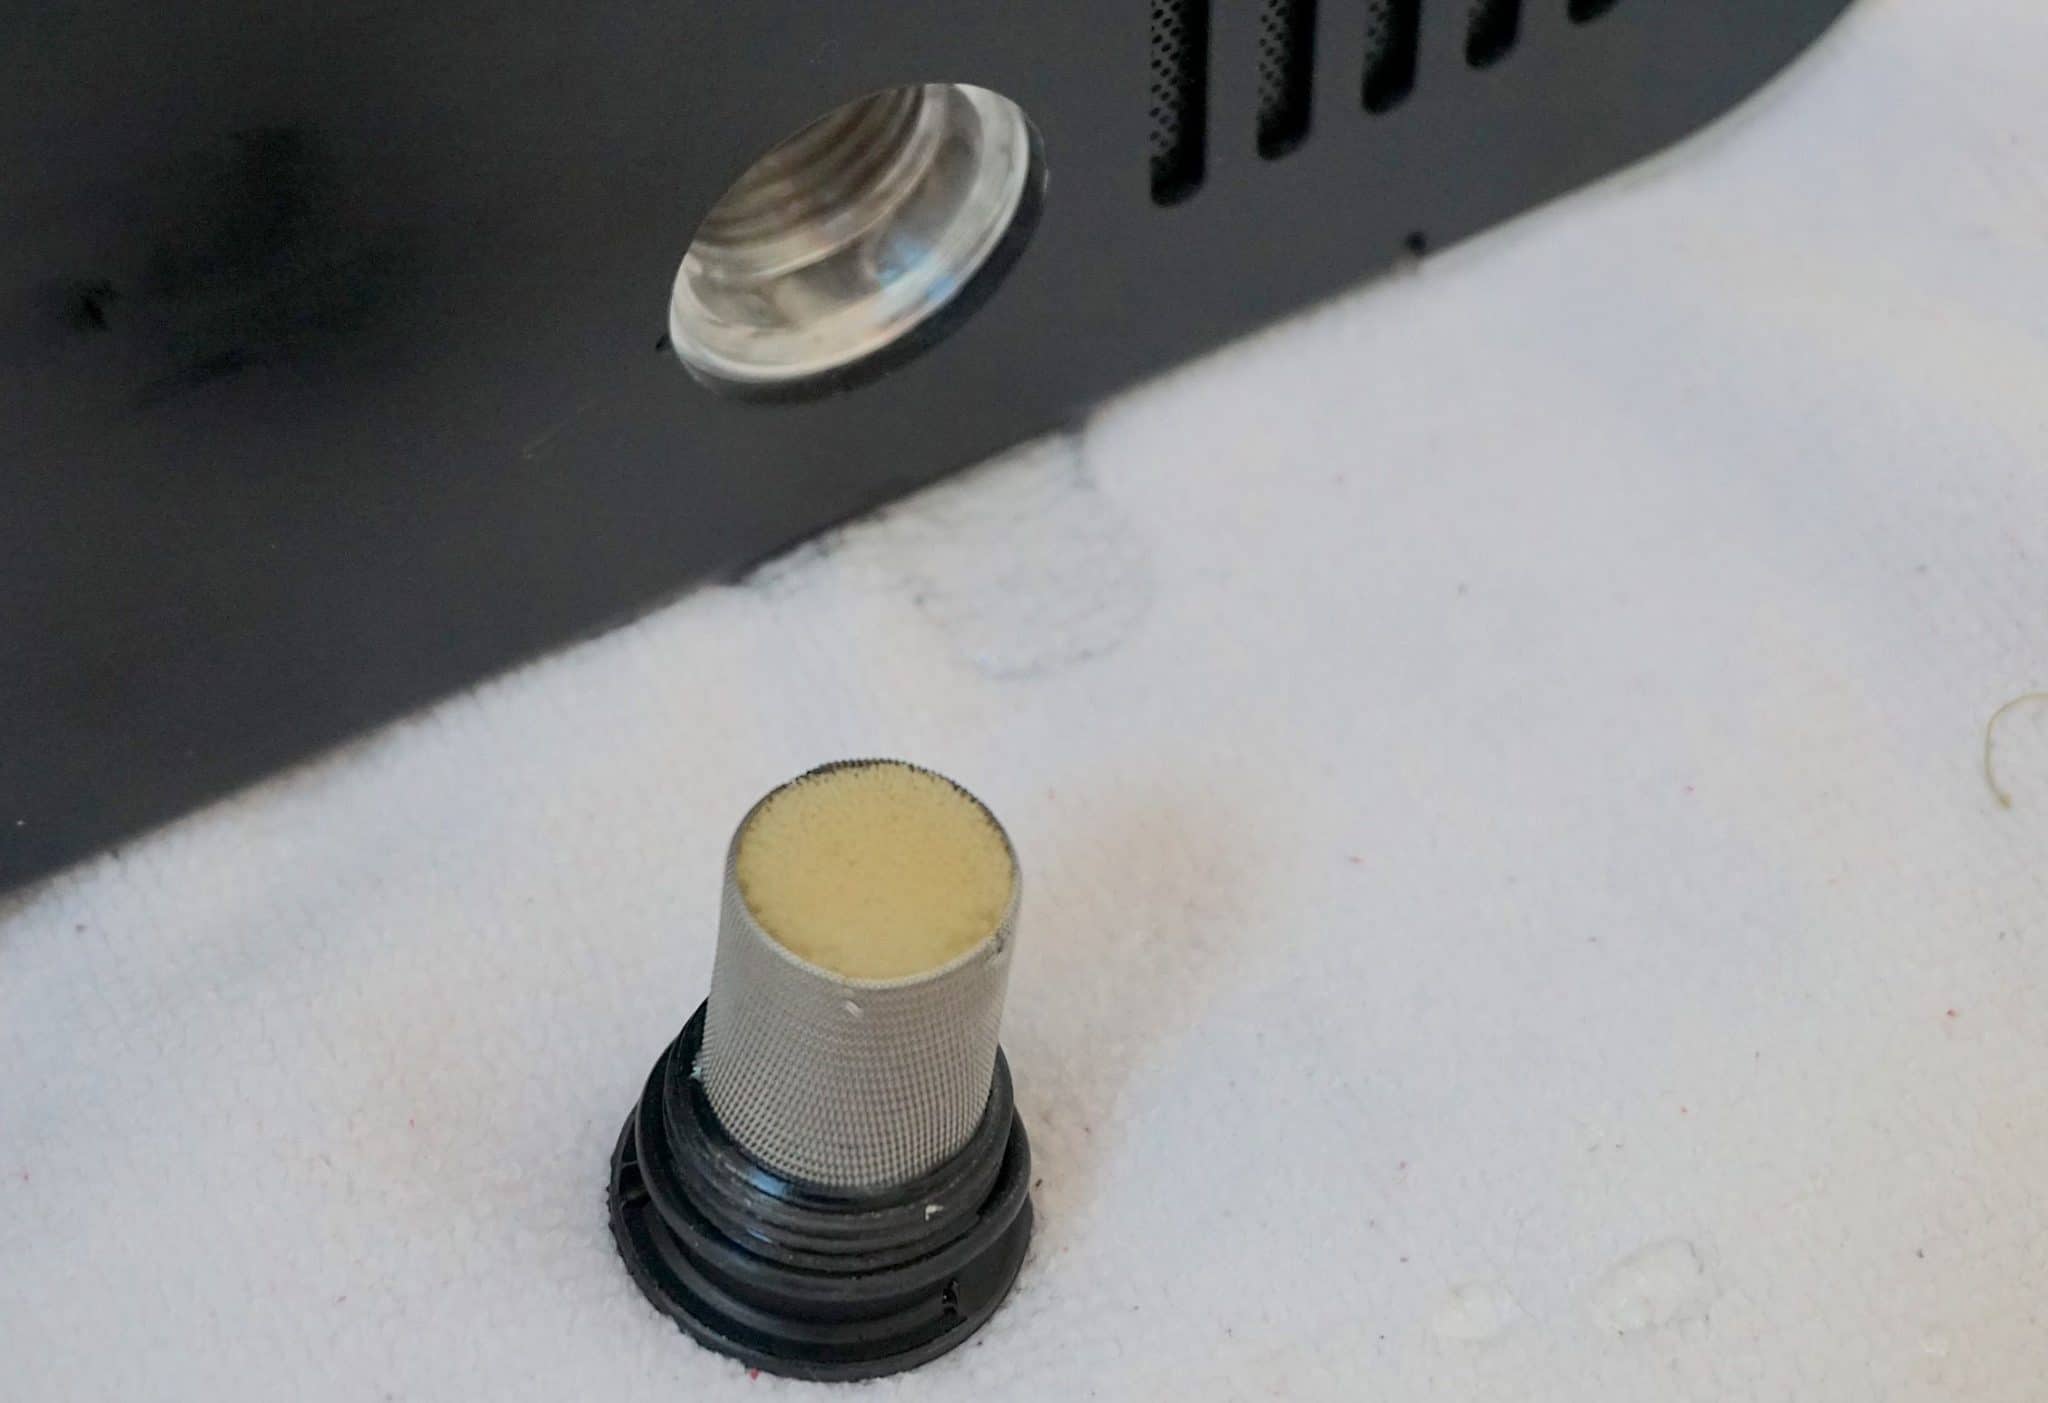
On the right side of the machine are the ventilation slots and a cover for a small filter capsule that hides behind a screw cap that can be opened with the application of a small coin to be used as a pseudo-screwdriver. Be aware that opening and closing this tight-fitting filter cover will scuff and remove paint over time because you’re using that coin-type screwdriver. It’s not a big deal though and this cover is hidden away around the side so can’t be seen on a day-to-day basis.
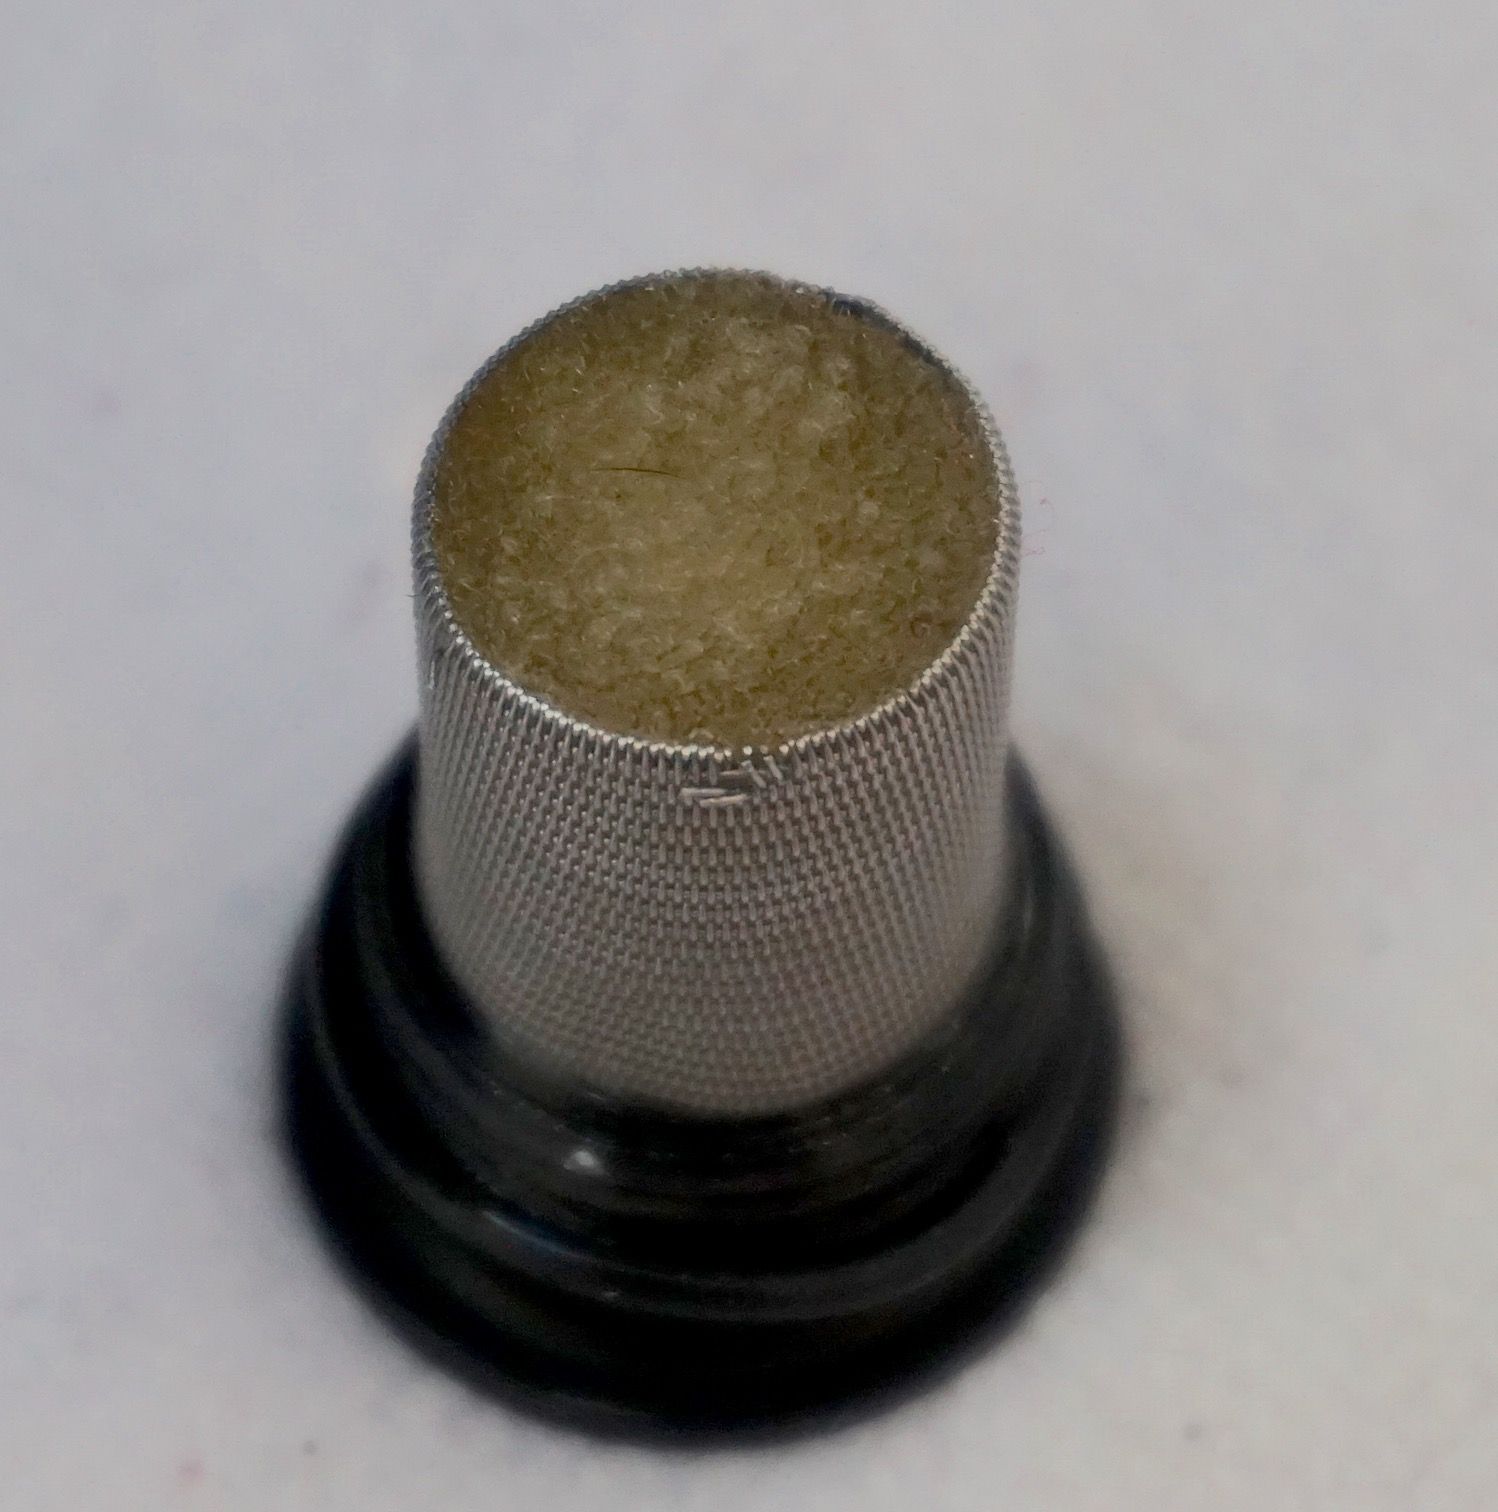
The filter – which looks a bit like a suppository or a left-over Cheesy Wotsit – can be removed and washed. Washing is recommended after 50-100 Degritter cycles. The actual figure depends on the mucky nature of the records themselves. That said, if the machine thinks the filter is too dirty, it will tell you in no uncertain terms and will actually down tools and not move until you’ve cleaned it. An excellent feature. Petulant but excellent.
Before removing this filter for washing, I recommend placing something like a tea towel under the Degritter because a dribble of bath liquid will probably emerge. Not much, but enough to form a small puddle. Laying a cloth under the Degritter will catch and soak any minor spill.
Degritter recommends replacing the filter after reusing it two to three times but this also depends on the filter and your level of use. Replacement filters can be bought either directly from Degritter for €22 for a pack of five but, “…we do not mind when the users create their own,” said the company.
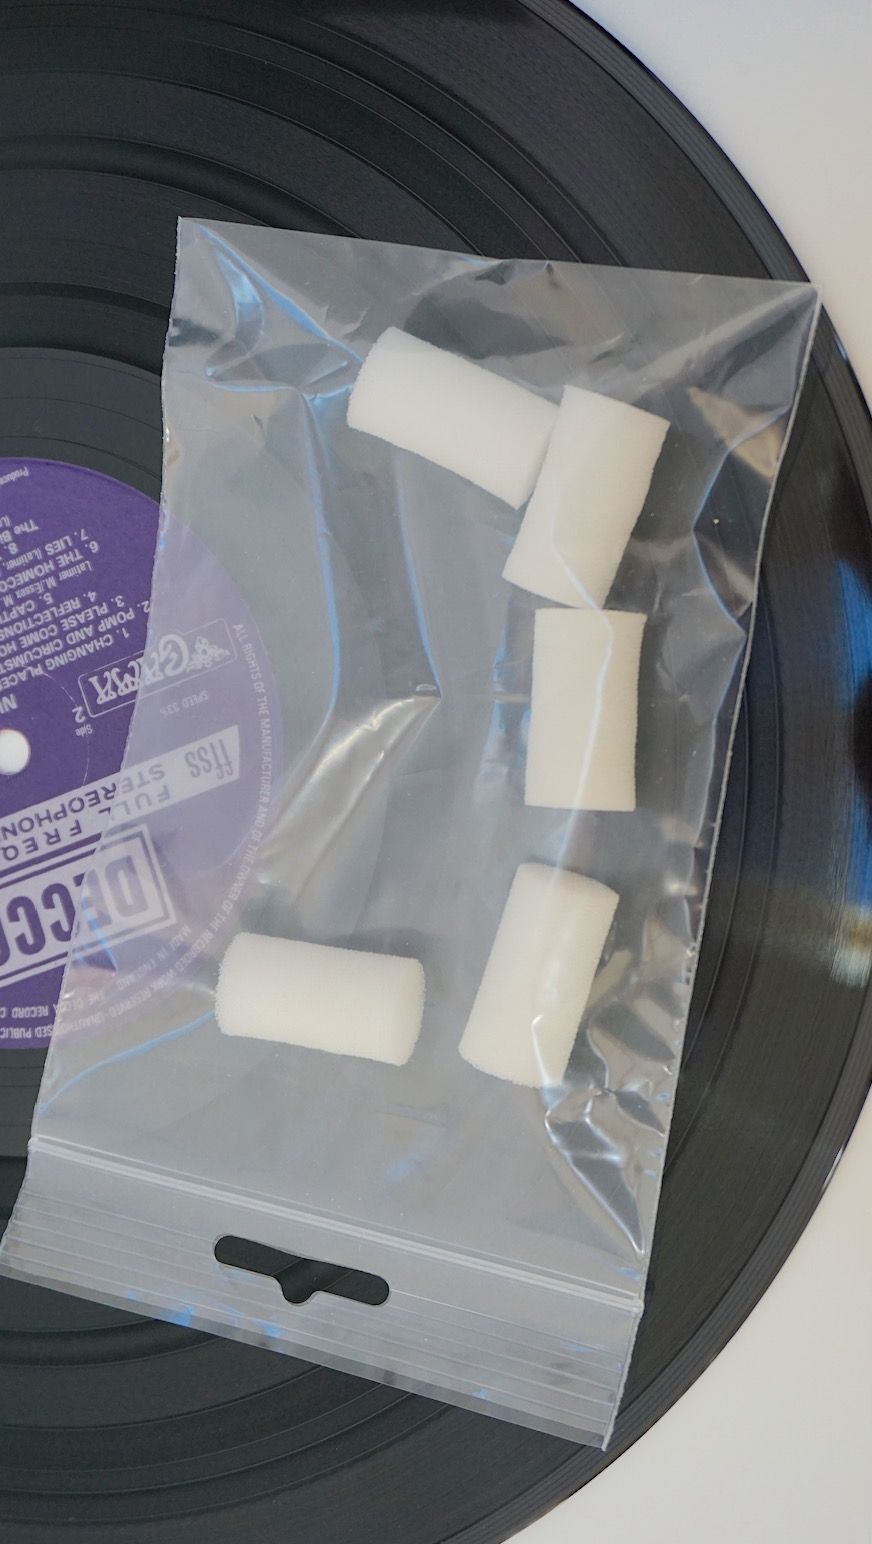
Utilising filter foam – you might have seen this stuff in use for aquariums – you just need to cut out a ‘Wotsit’-shaped filter. How is the question, though. There are a variety of possible tools to do the job from sharpened copper pipe to specialist craft tools. I can investigate the options later, if you want me to delve into this area.
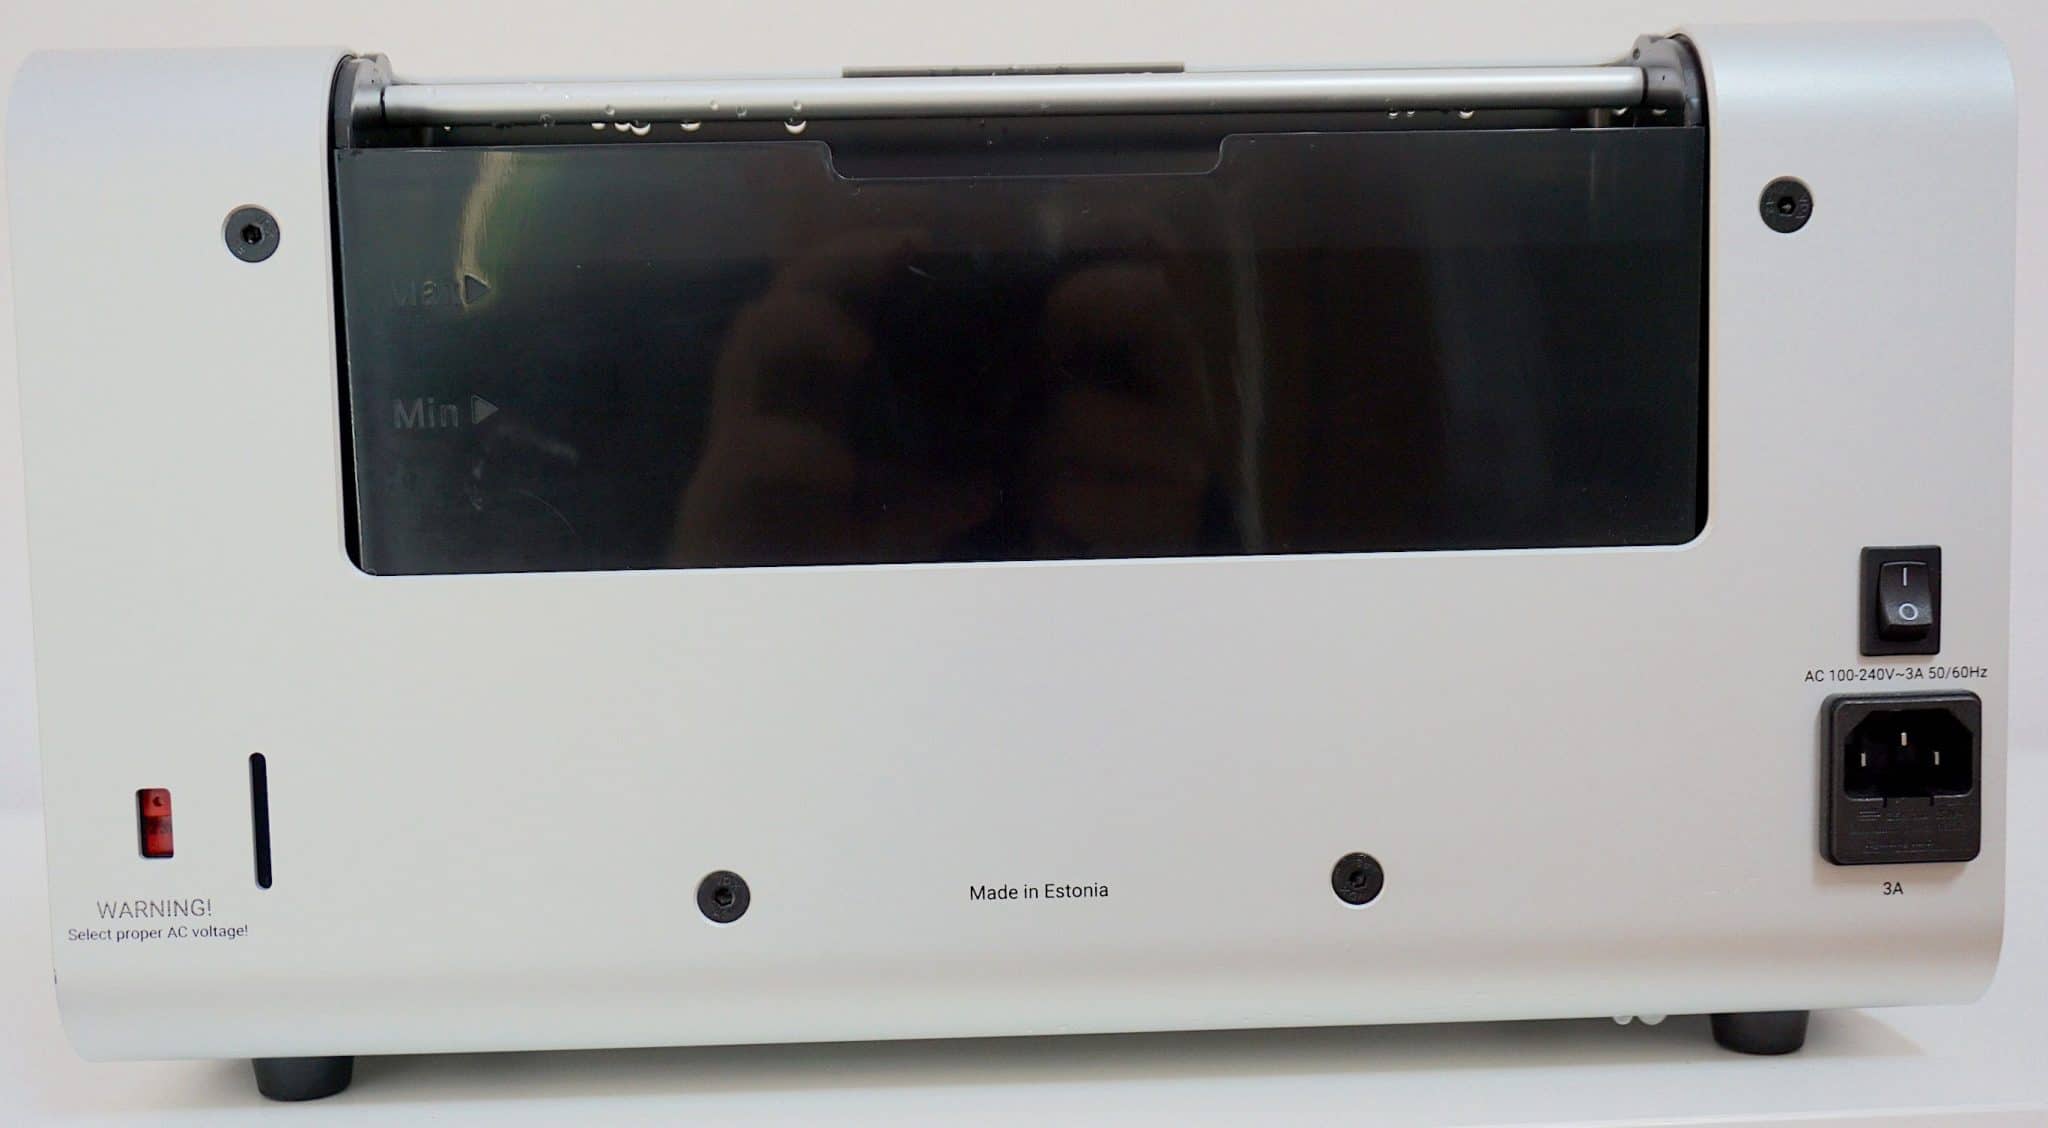
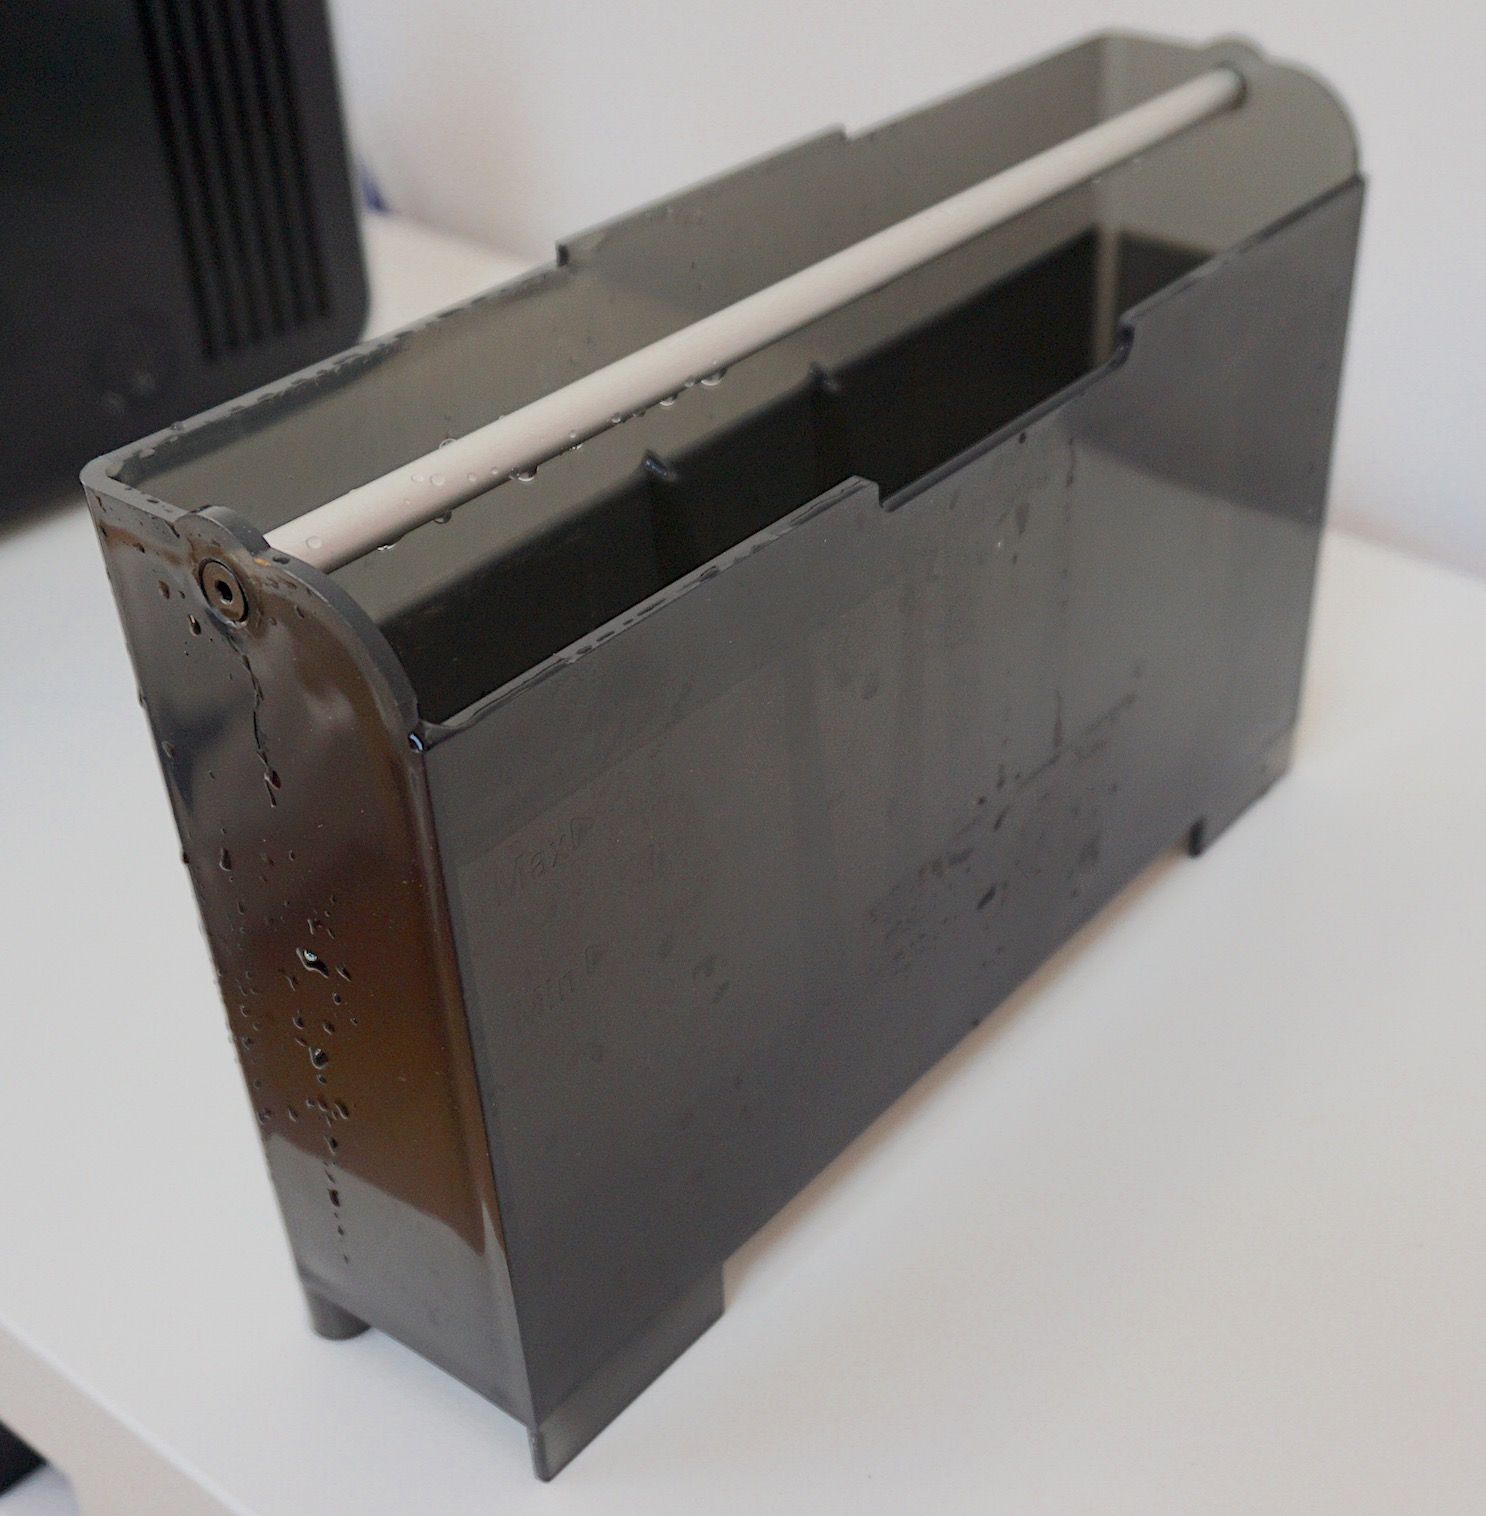
Unlike other ultrasonic cleaners I’ve used, the Degritter’s water tank is mounted on the rear of the machine, is removable and washable in a dishwasher, although I would recommend a gentle hand wash. The external bath is a superb addition and one that is particularly user friendly because you don’t have to disturb the rest of the machine if the bath needs re-filling.
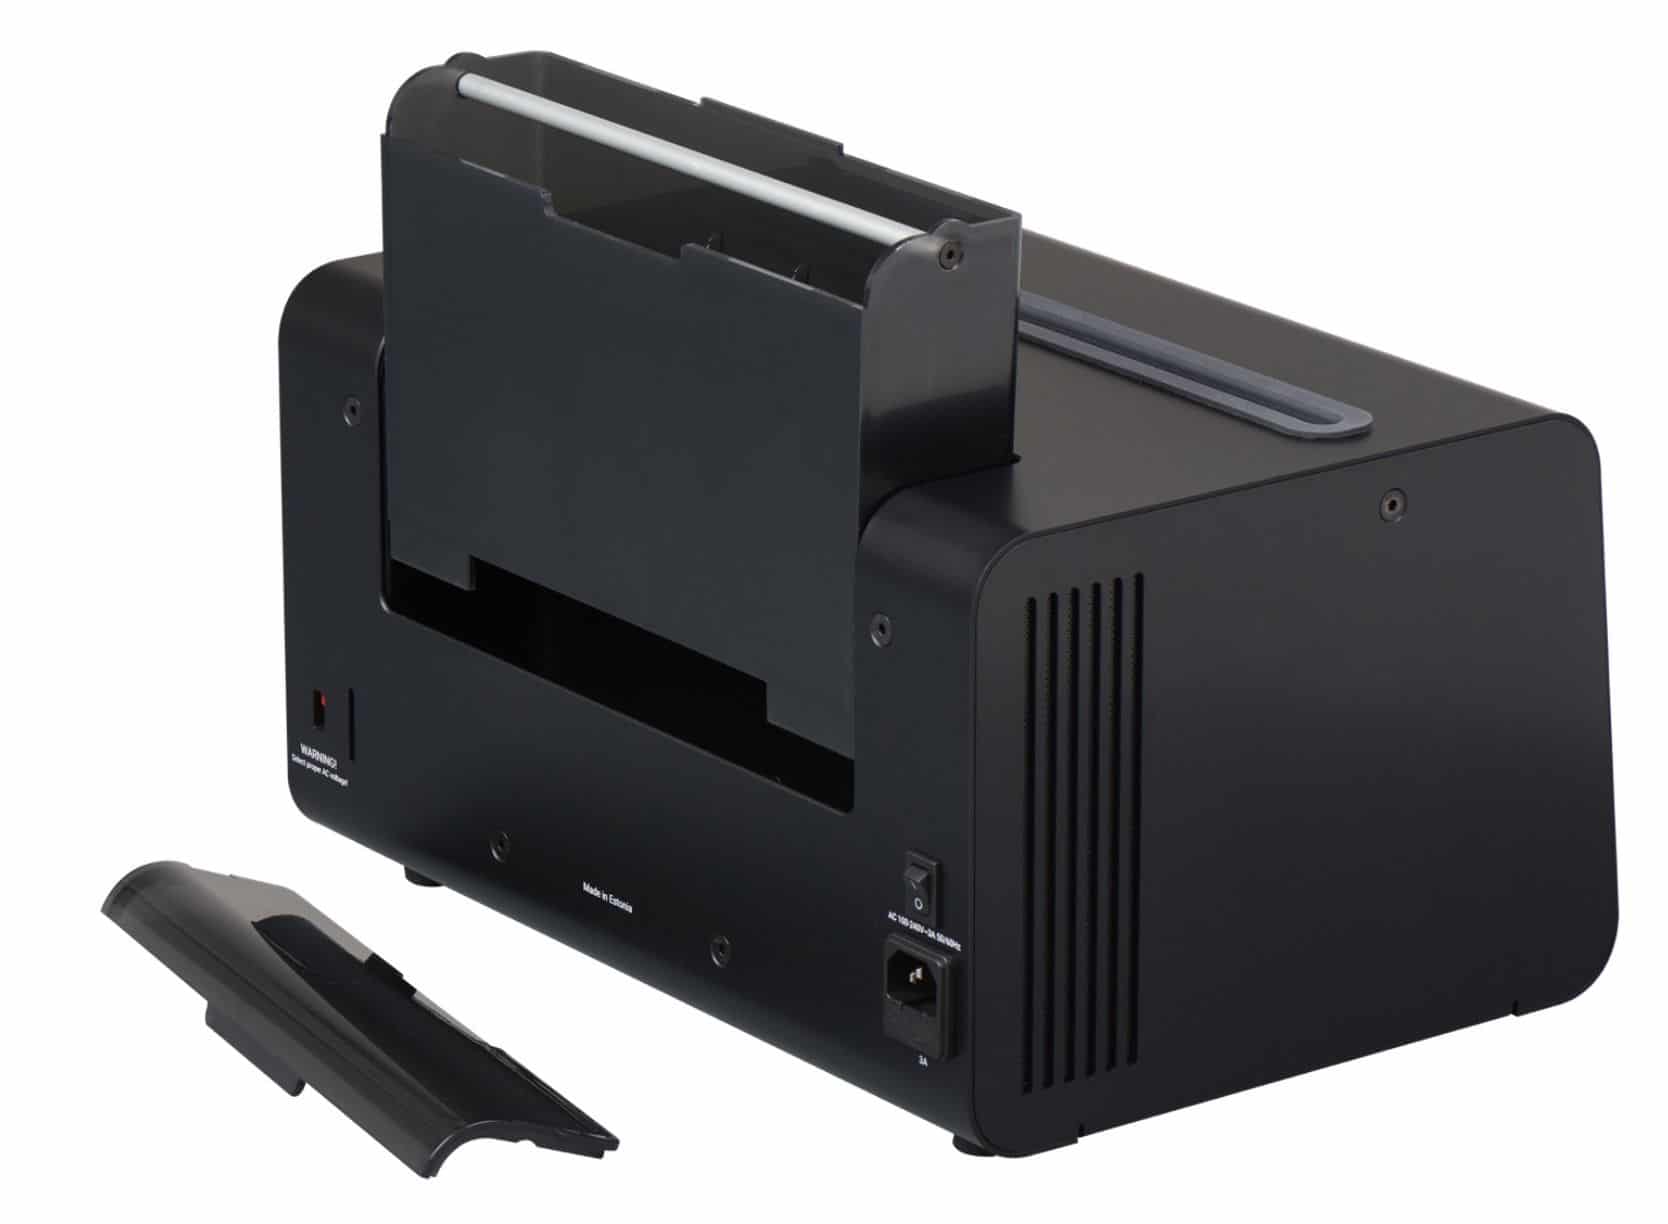
If the bath does need filling but doesn’t require an infrequent empty out/wash then you can fill from a bottle directly into the bath. I personally used a ready-mixed concoction of 7% isopropyl alcohol and distilled water stored in a 2 litre plastic bottle.
The bath features a loosely-fitting yet secure, removable lid to facilitate cleaning and filling (you can see the separated lid positioned to the left on the image above). Alternatively, you can pull out the bath from the rear of the Degritter. To help, the bath has a metal bar (that aluminium-coloured bar is shown running the width of the bath in the image above) that runs horizontally across the bath. It can be used as a handle. I did wonder if the handle could bear the weight of the bath full of water but Degritter confirmed that it could and I never had any issues.
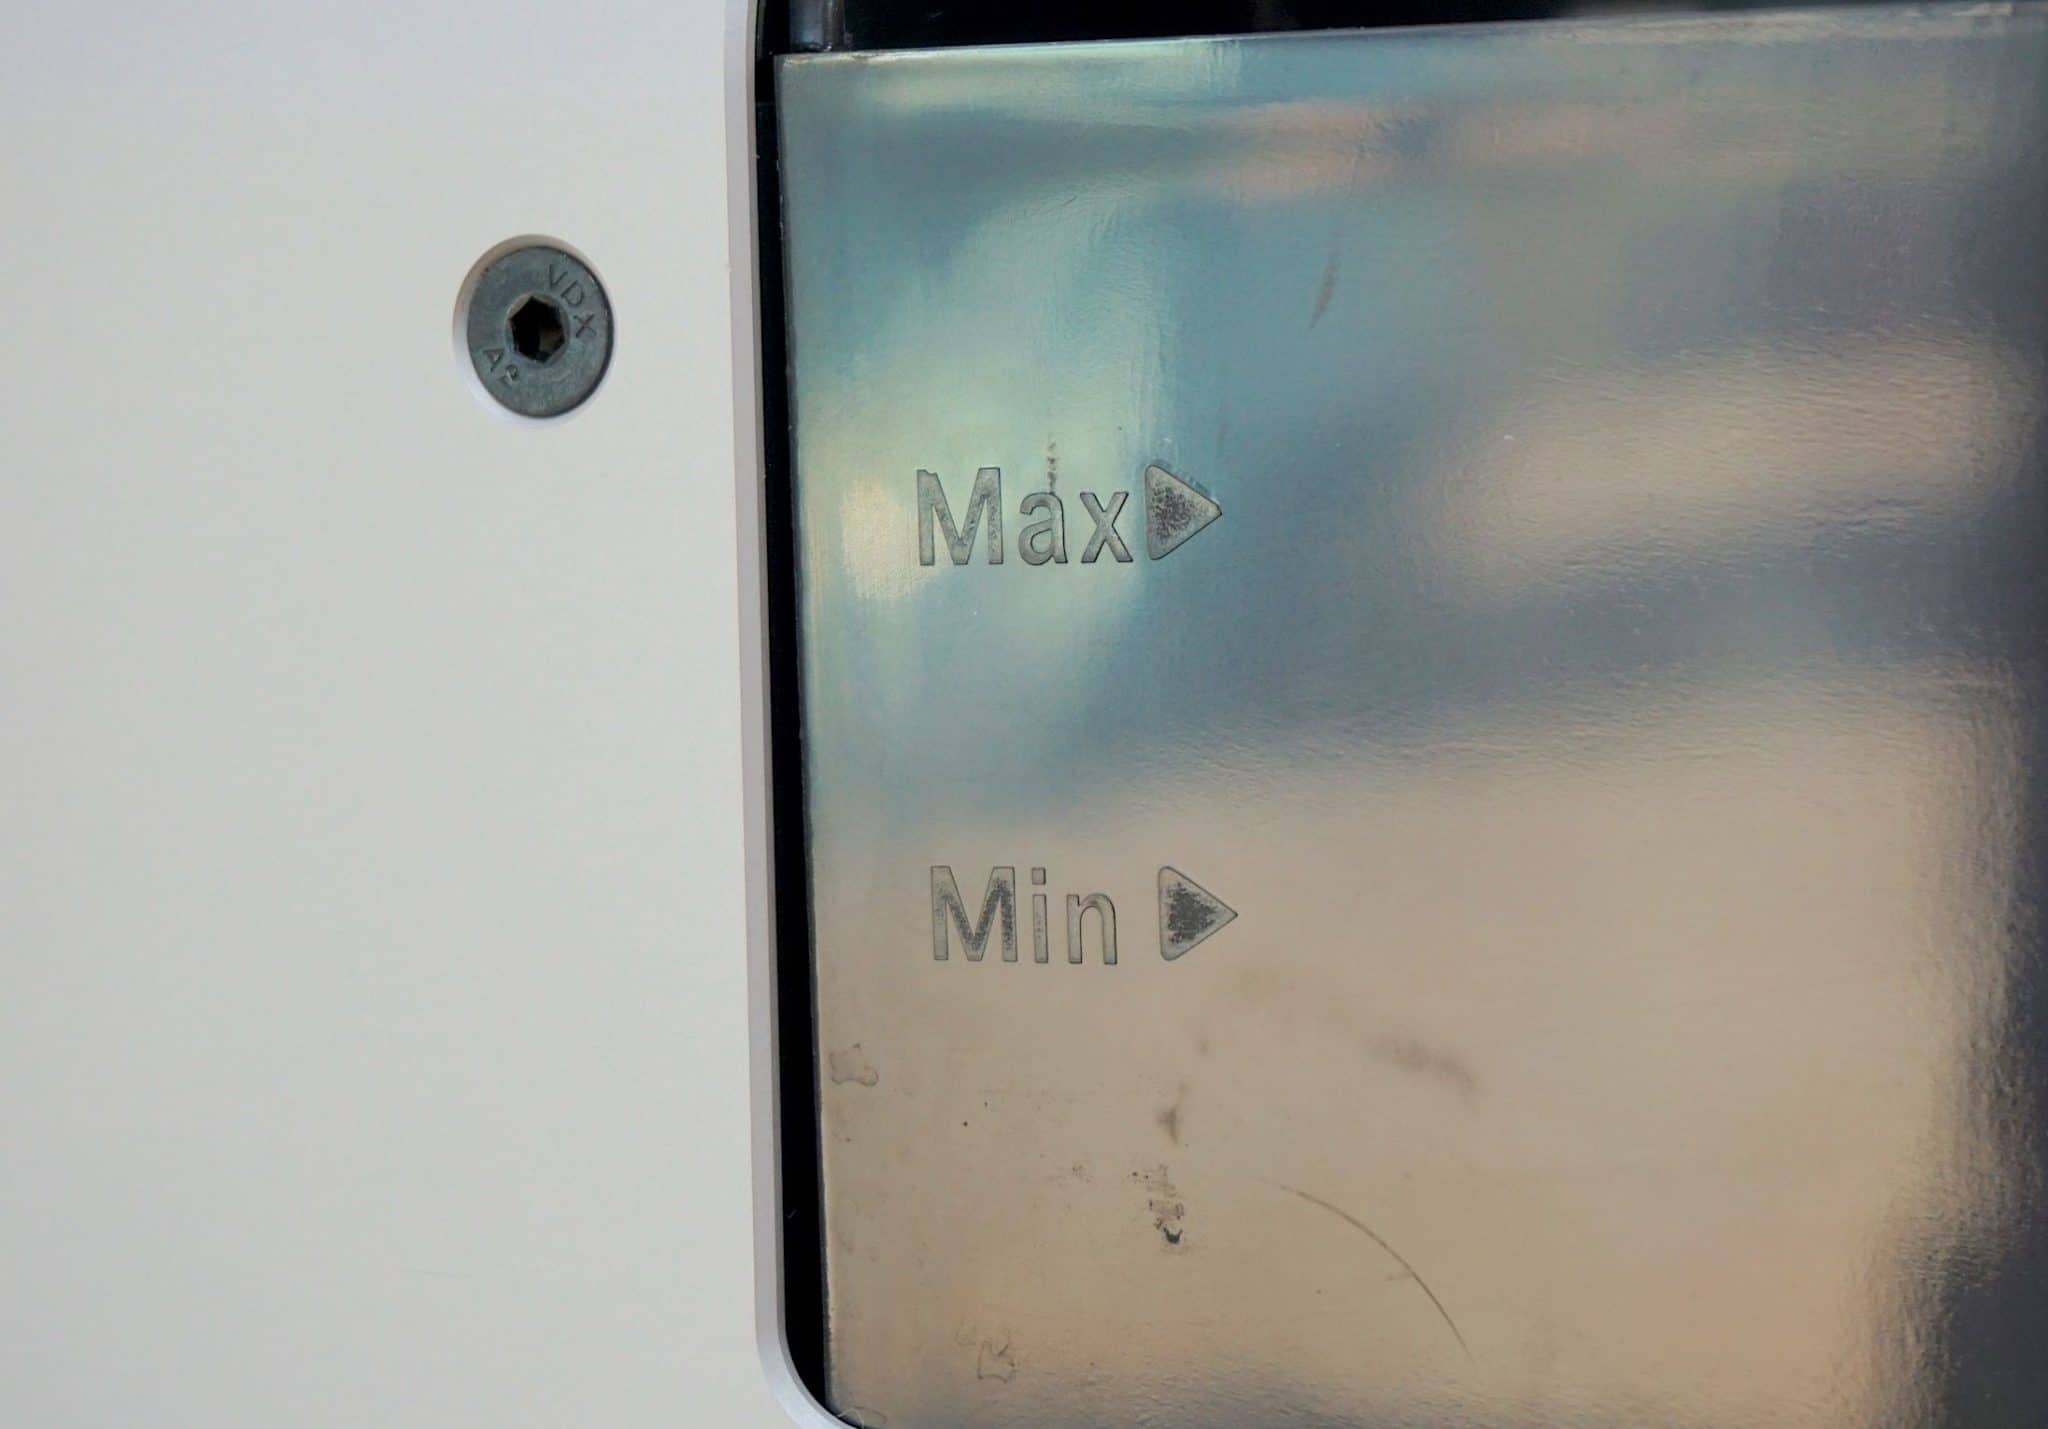
One slight oddity is the Min/Max water levels etched onto this plastic, slot-in unit. The company now recommends that you ignore them, recommending that, when filling the bath, you actually exceed the Max level during use.
“When designing the machine, the main goal was to create a compact and simple to use device for home users,” said Degritter. “A detachable water tank solves the hassle of replacing the water. The tank is at the rear of the machine, as this allows for a compact design. The Max level on the water tank was added to the water tank to aid the user when filling the tank. Unfortunately it was added to a level that is a bit too low and having more water in the machine is beneficial. The water tanks are produced with plastic injection molding that requires large initial investments when the moulds are created. In a common appliance the initial investments would be covered by hundreds of thousands of pieces that are being produced this way. With Degritter our manufacturing power is lower and having injection moulded parts is large initial expense. Because of this we have not yet managed to remove the Max label from the tank.”
So, cut the guys a bit of slack on this one and fill the tank above that Max level.
I added distilled water to this tank. The company recommends a water change after 30 record cleans to prevent microbial growth.
Another note, ultrasonic cleaning does increase water temperature. The Degritter’s software automatically monitors this and, if the temperature exceeds 35 degrees centigrade, the action will pause and “cooling” will occur for three minutes to restore normal temperature levels. The machine pushes cool air through the machine to reduce the temperature.
WASH & BRUSH UP
One thing not talked about in the boxed manual is that you can give the Degritter a clean, internally that is using a toothbrush.
“We recommend it every 300-500 washing cycles. Depending on how dirty records are being cleaned. Roaming the toothbrush around that has been wetted in isopropanol (IPA) will do the trick. It would be good to clean the bottom of the tank (with a small bottle brush), but most of the dirt will accumulate on the ultrasonic cleaning tank sides and what is left at the bottom does not affect the cleaning, so it is not as important to cleaning the bottom.”
Now, because the supplied, printed manual doesn’t take you through the above process at all, never mind methodically, I thought I’d do that very thing here and so asked Degritter for help. It very kindly produced this list of action for cleaning the internals of the Degritter machine:
1. Remove the rubber gasket. This is a rubber collar that fits loosely around the upper slot.
2. Clean the ultrasonic tank sides with a toothbrush. The brush can be wetted in isopropyl alcohol (IPA).
3. Once the scrubbing is done, follow it up with one Quick wash cycle (no drying) with pure distilled water.
4. Add about 100-200ml of vinegar to the distilled water and run five Quick wash cycles (again without drying).
5. Replace the vinegar solution with pure distilled water and run three Quick washing cycles to rinse off the machine.
IN USE
To use, I inserted Roxy Music’s Avalon into the machine and selected the Degritter’s Heavy clean variant.
Inserting the record into a Degritter’s slot, I noticed that nothing ‘grabbed’ onto the record itself. The slim slot configuration did do an effective job of keeping the record in a vertical position during the clean. I didn’t feel any resistance or a sense of inserting the LP into machinery to be rotated. Something you will find on competing products. In the Degritter, the record was never physically held in place. As for the rotation itself? That was performed by rollers placed at the base of the slot. Record placement and rotation was thus simple and gentle without stresses or strains.
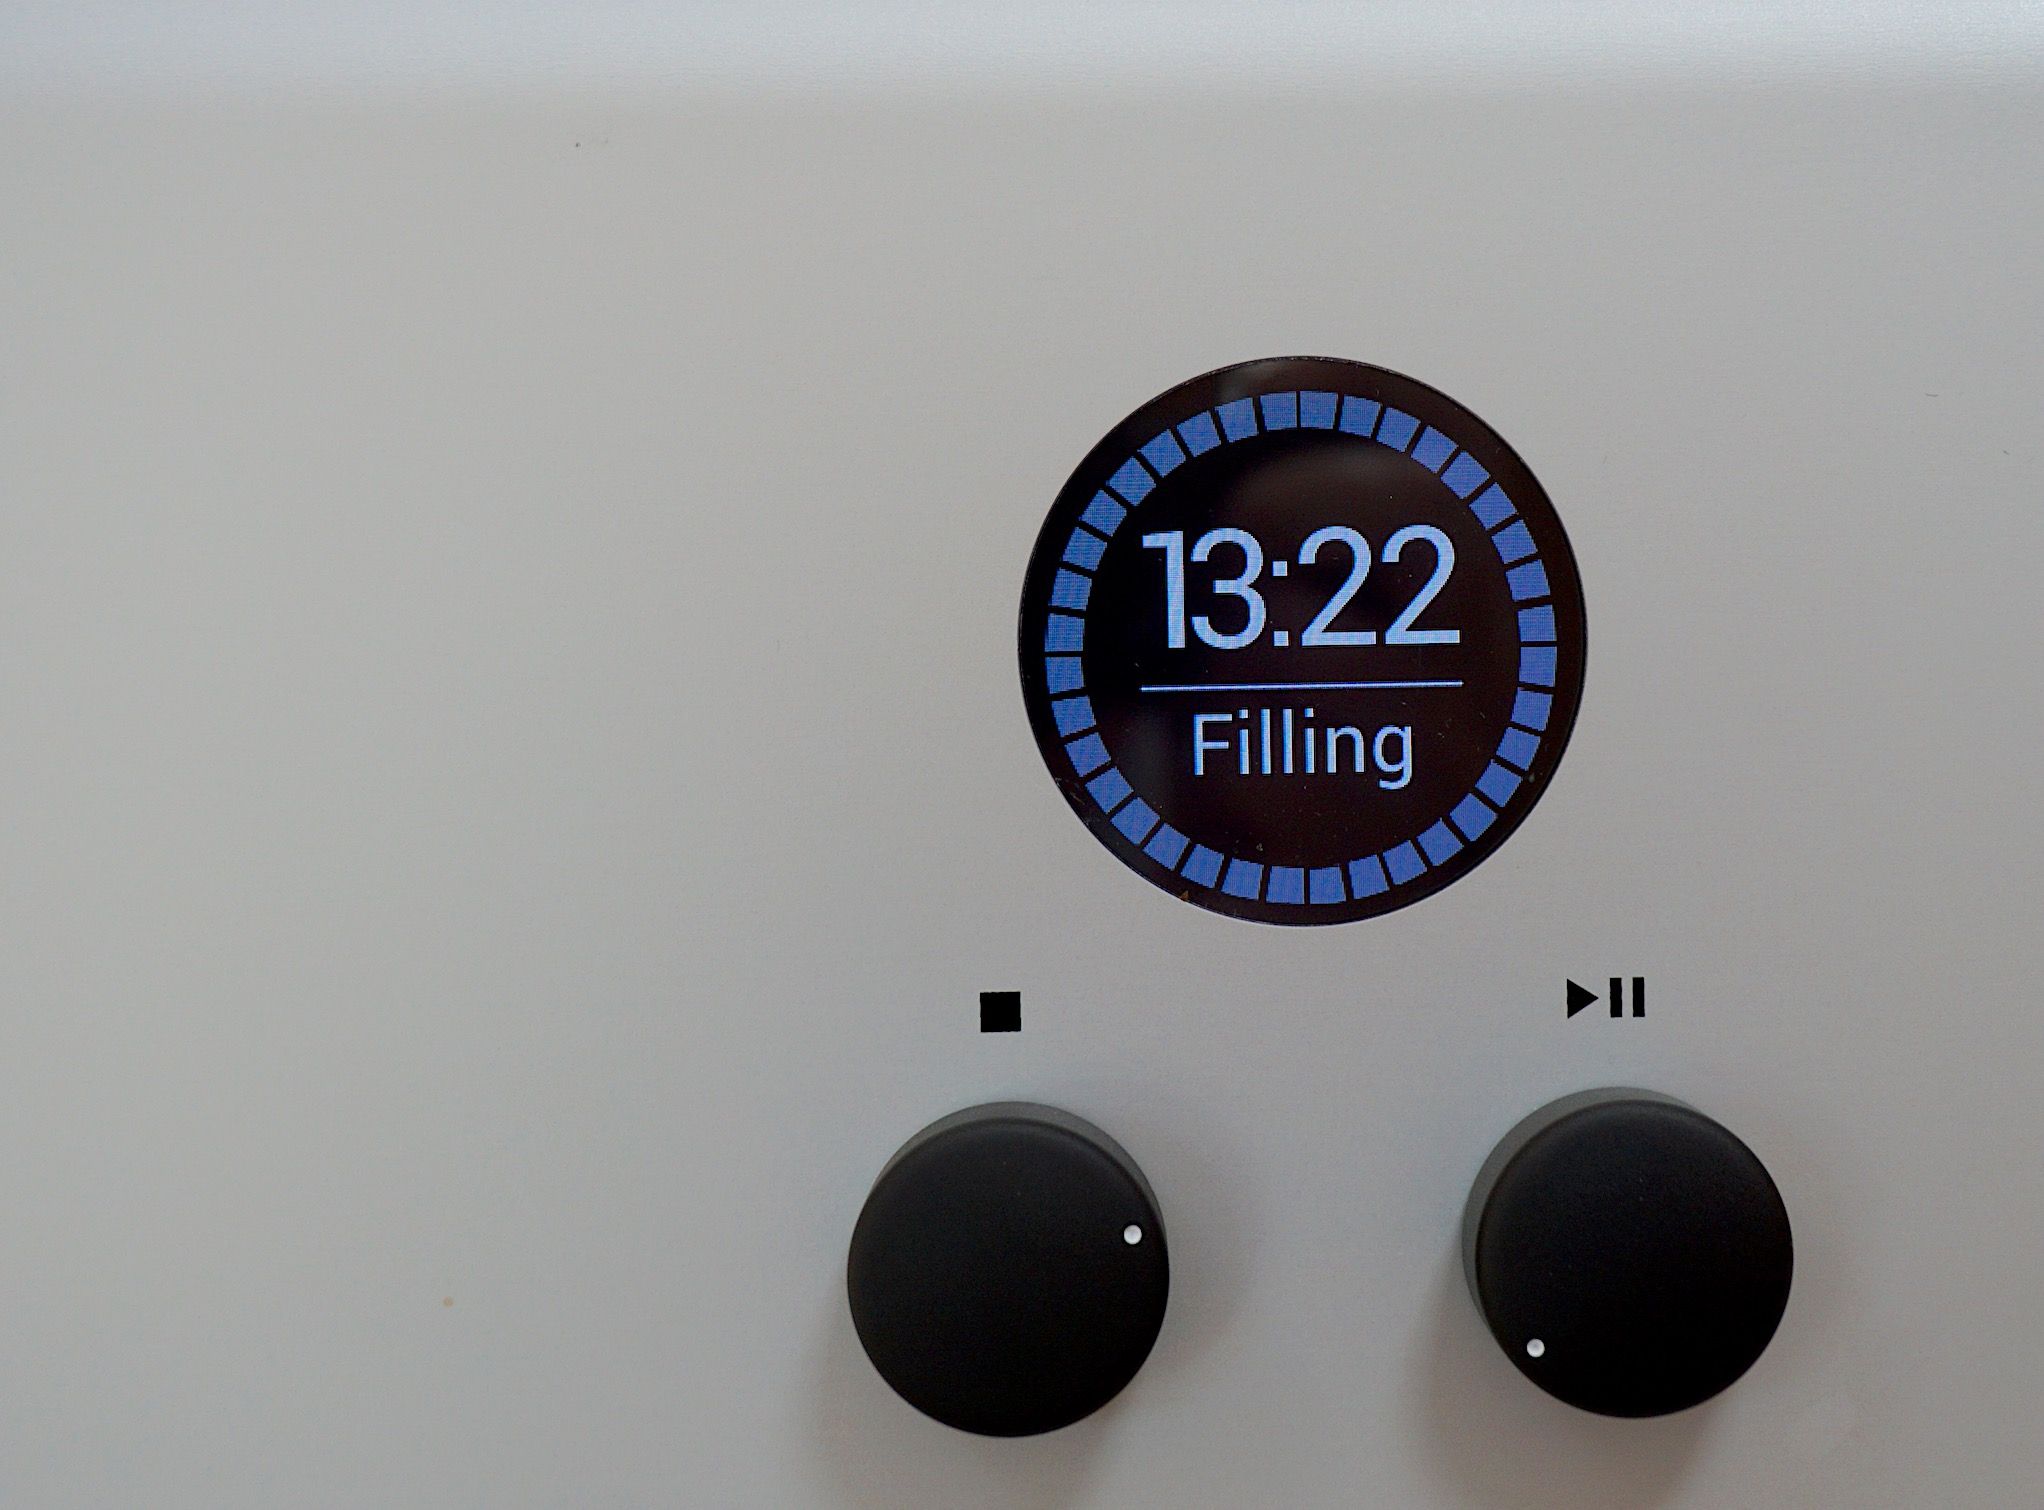
Pressing ‘start’ fired up the machine into a hum, nothing too aggressive on the ears. It was certainly bearable. I could also hear the sharper sounds of the cavitation process during the ultrasonic cleaning. The disc was rotated several degrees to the left and then a few degrees to the right and more to the left and so on. I was struck that the Degritter used (and stored) relative less water than any other ultrasonic RCM I’ve seen on the market. It’s an efficient machine in this regard.
This bouncing, to and fro action carried on for several minutes until the water was drained and the drying took place for around seven and a half minutes.
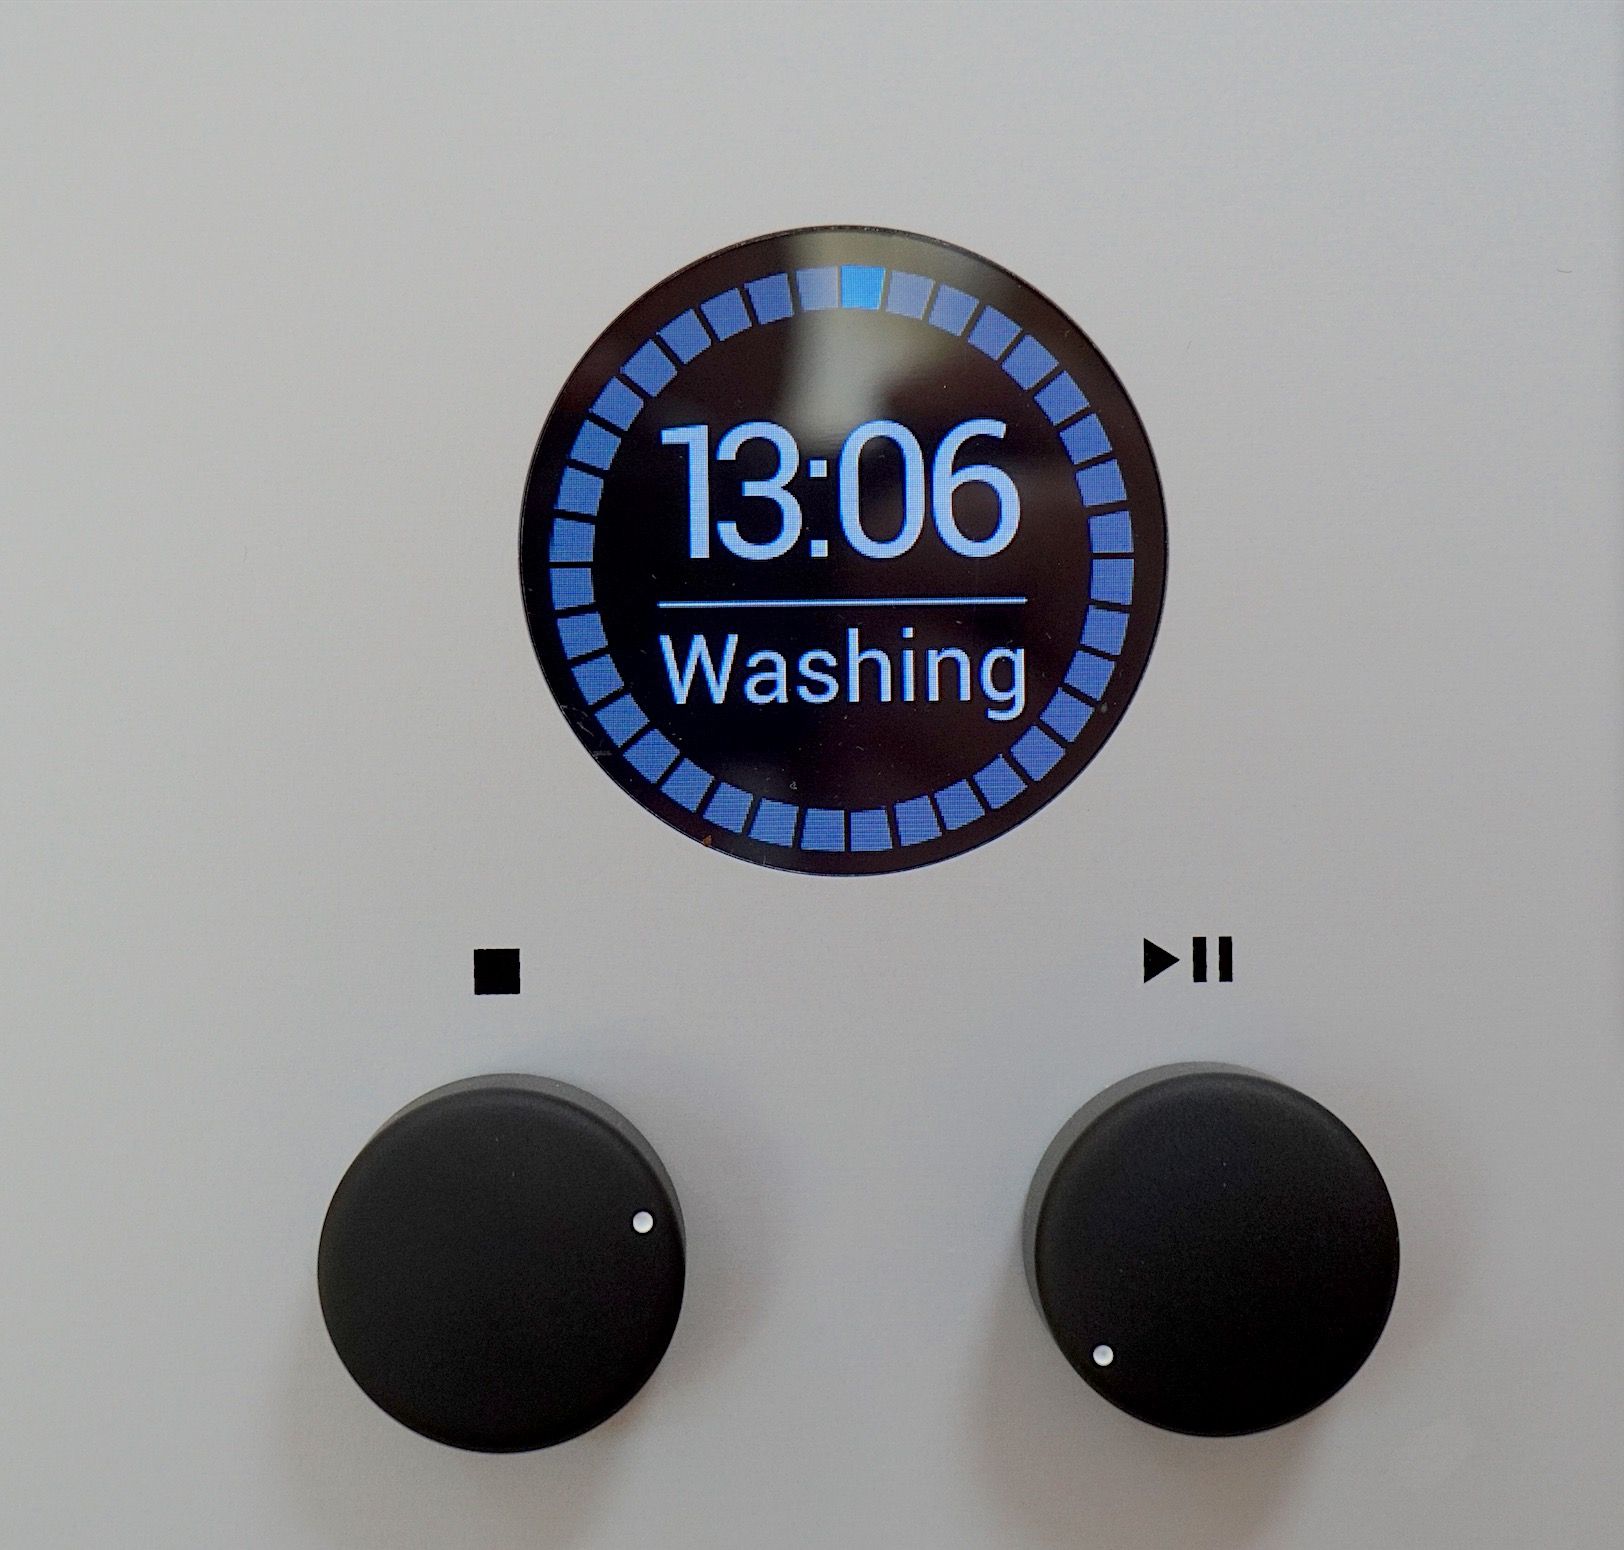
Over all of this time, the circular LCD output around the edge of the circle output screen monitored the cycle. Each cycle was titled inside the window. So, for example, the drying process featured a large white ‘Drying’ text underneath the numeric countdown. The Drying process also displayed green coloured LCD segments while the Wash was in Blue segments. The remaining time/segments were in a lighter grey.
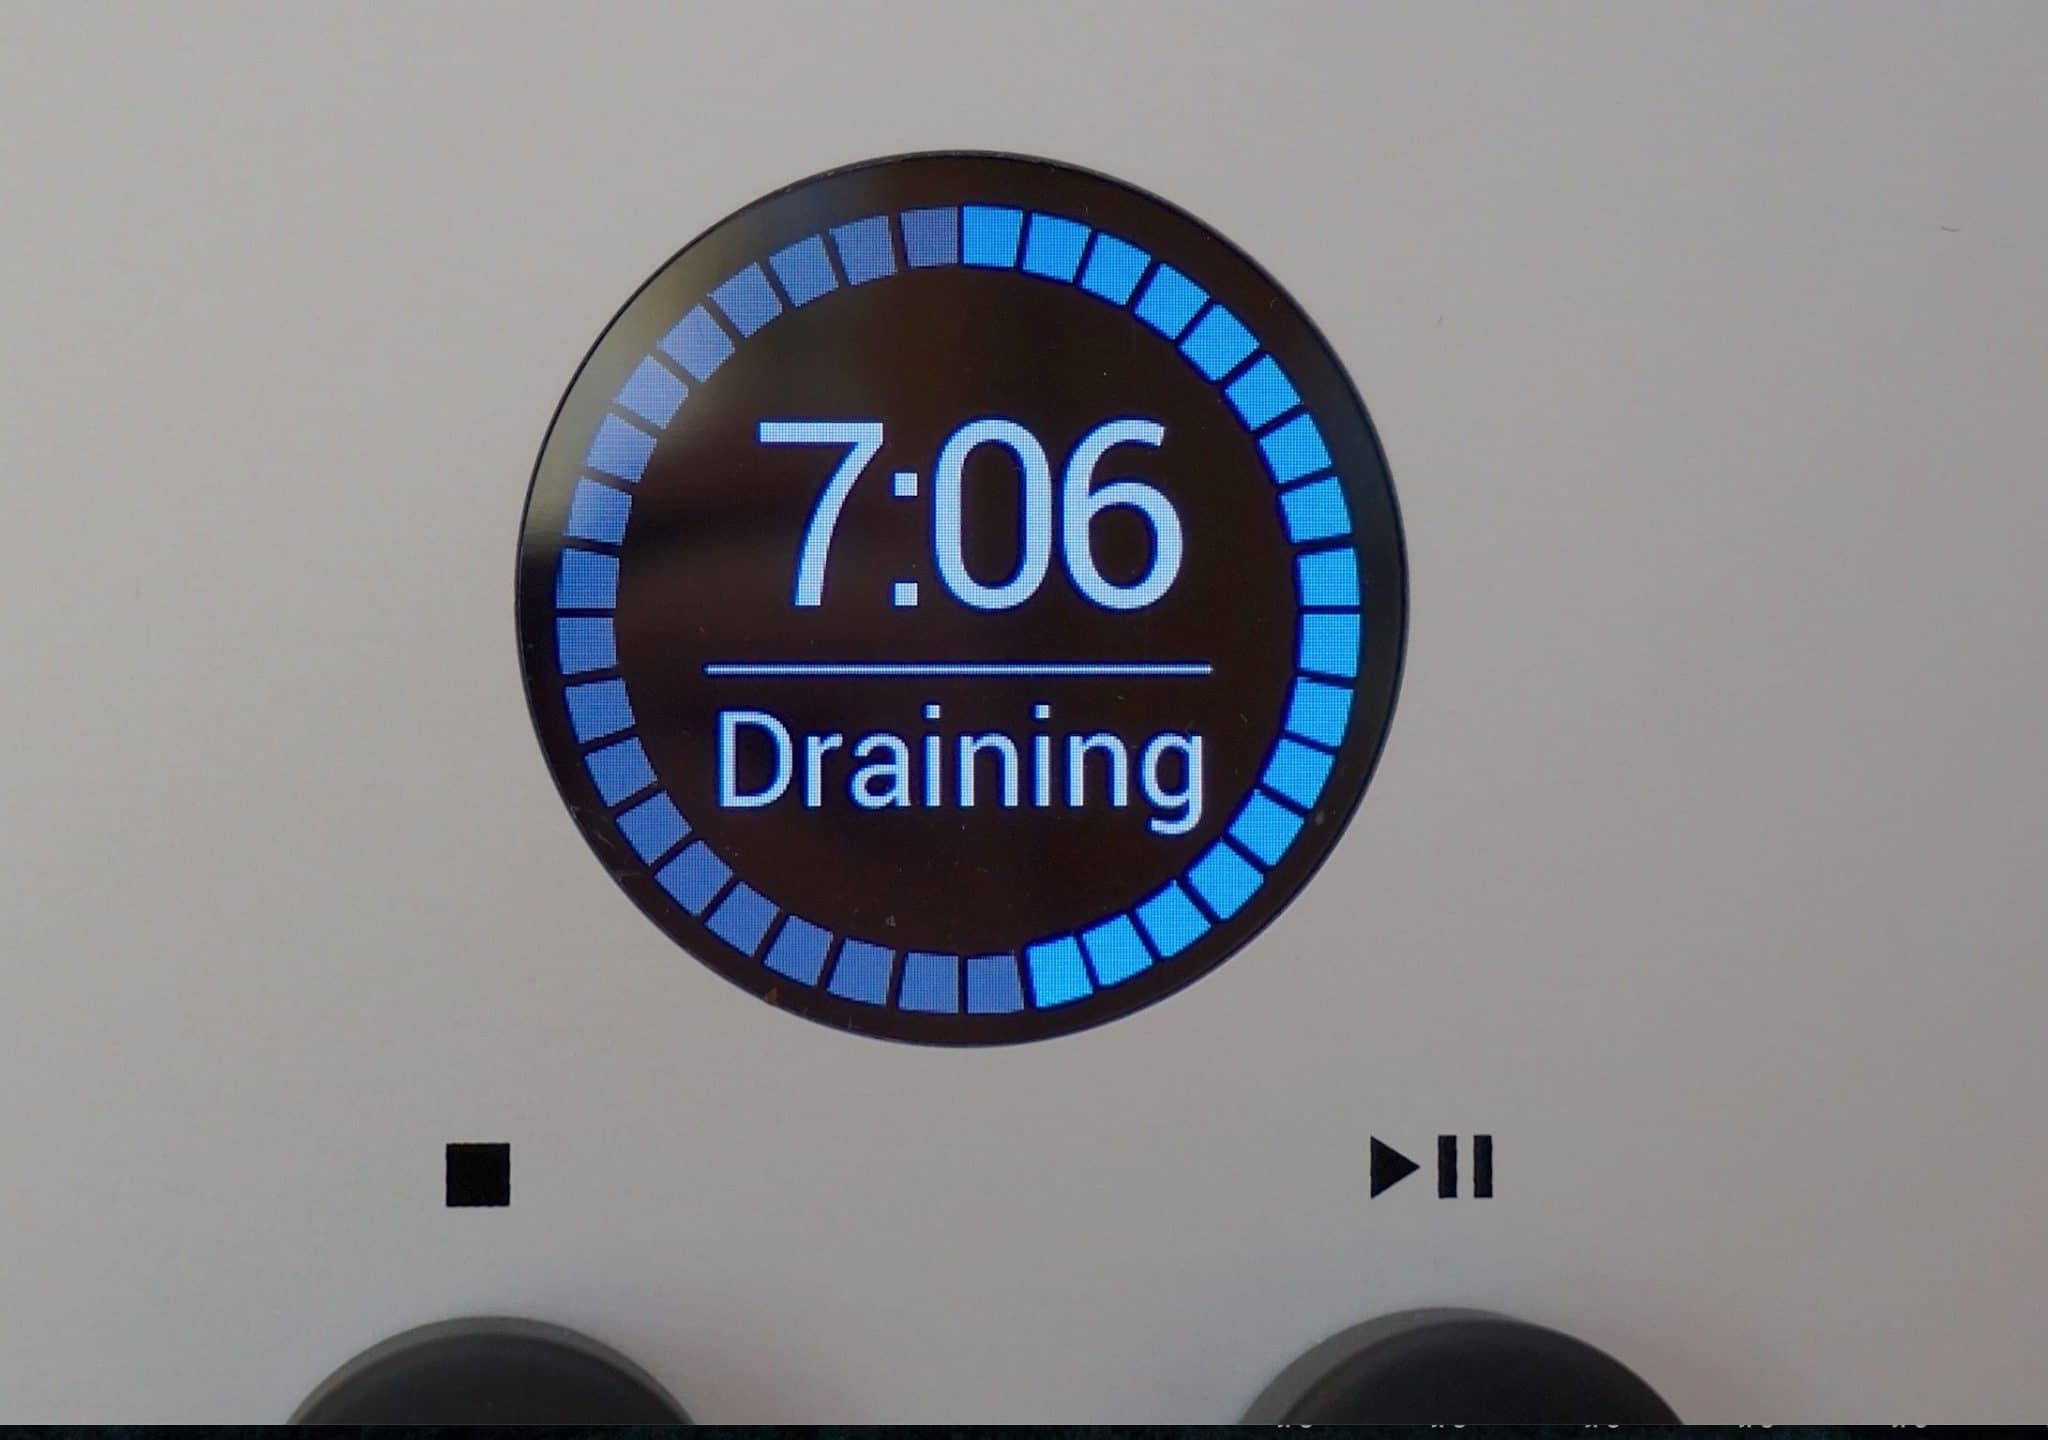
Once completed, the machine offered a few subtle beeps and the drying vacuum sound ceased and that was that. Drying was complete and efficient with no smearing or wet spots and removing the disc was easy. Again, you never felt that the vinyl was dragging against anything during removal. It just lifted easily from the slot.
Another thing I want to add, one also not mentioned in the manual, is a strange little cycle that pops, seemingly out of nowhere, takes control of your machine and sends it through an action of some sort. This is the mysterious ‘Machine Maintenance’.
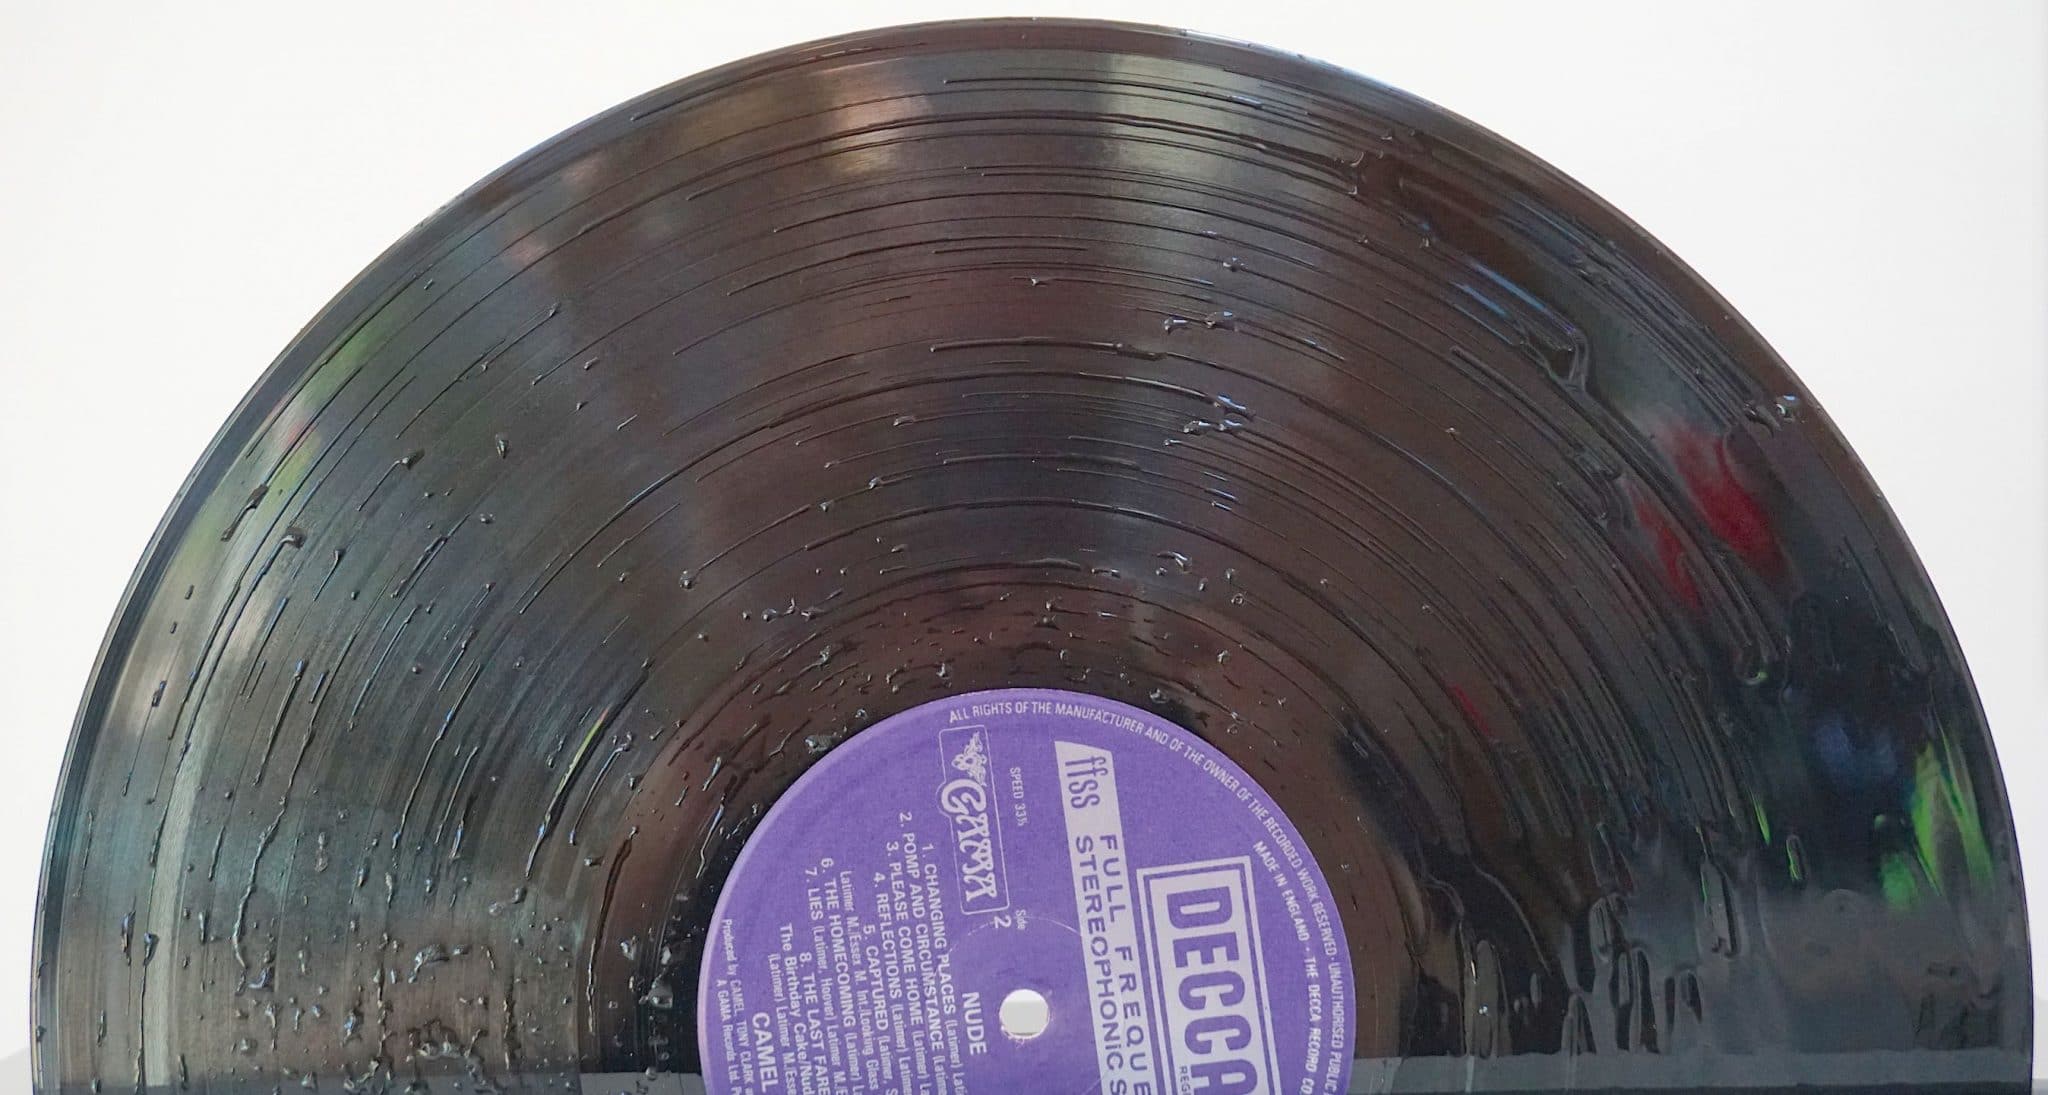
Unprompted and unasked for, this operation appears as an automatic procedure run on every 60, 110, 160, 210 runs to clean the machine’s valves. The process takes about 30 seconds and the machine will continue with the regular cleaning afterwards. Degritter promises to add this to the manual ASAP but, if you see it occurring on your machine, don’t be concerned, all is well.
SMELLS
One thing I did note was that, because I was adding a few percentage points of alcohol in the bath and using an on-disc surfactant, when the Degritter cleaned and dried the disc, some of that was pushed into the air along with water vapour from the Degritter’s bath. And it produced a smell. Now, this might not be an issue for you, you may use different additional liquids to me or none at all or you might not smell anything. Cleaning systems will vary and so will our noses.
If you do smell a problem – and I didn’t see this as a major problem but thought I’d note it anyway – then I suggest using the Degritter in an aerated room, by an open window, popping an extractor near to it (the main expulsion of drying air appears to occur on the left side of the machine, on the logo side that is) or adding a cover during drying.
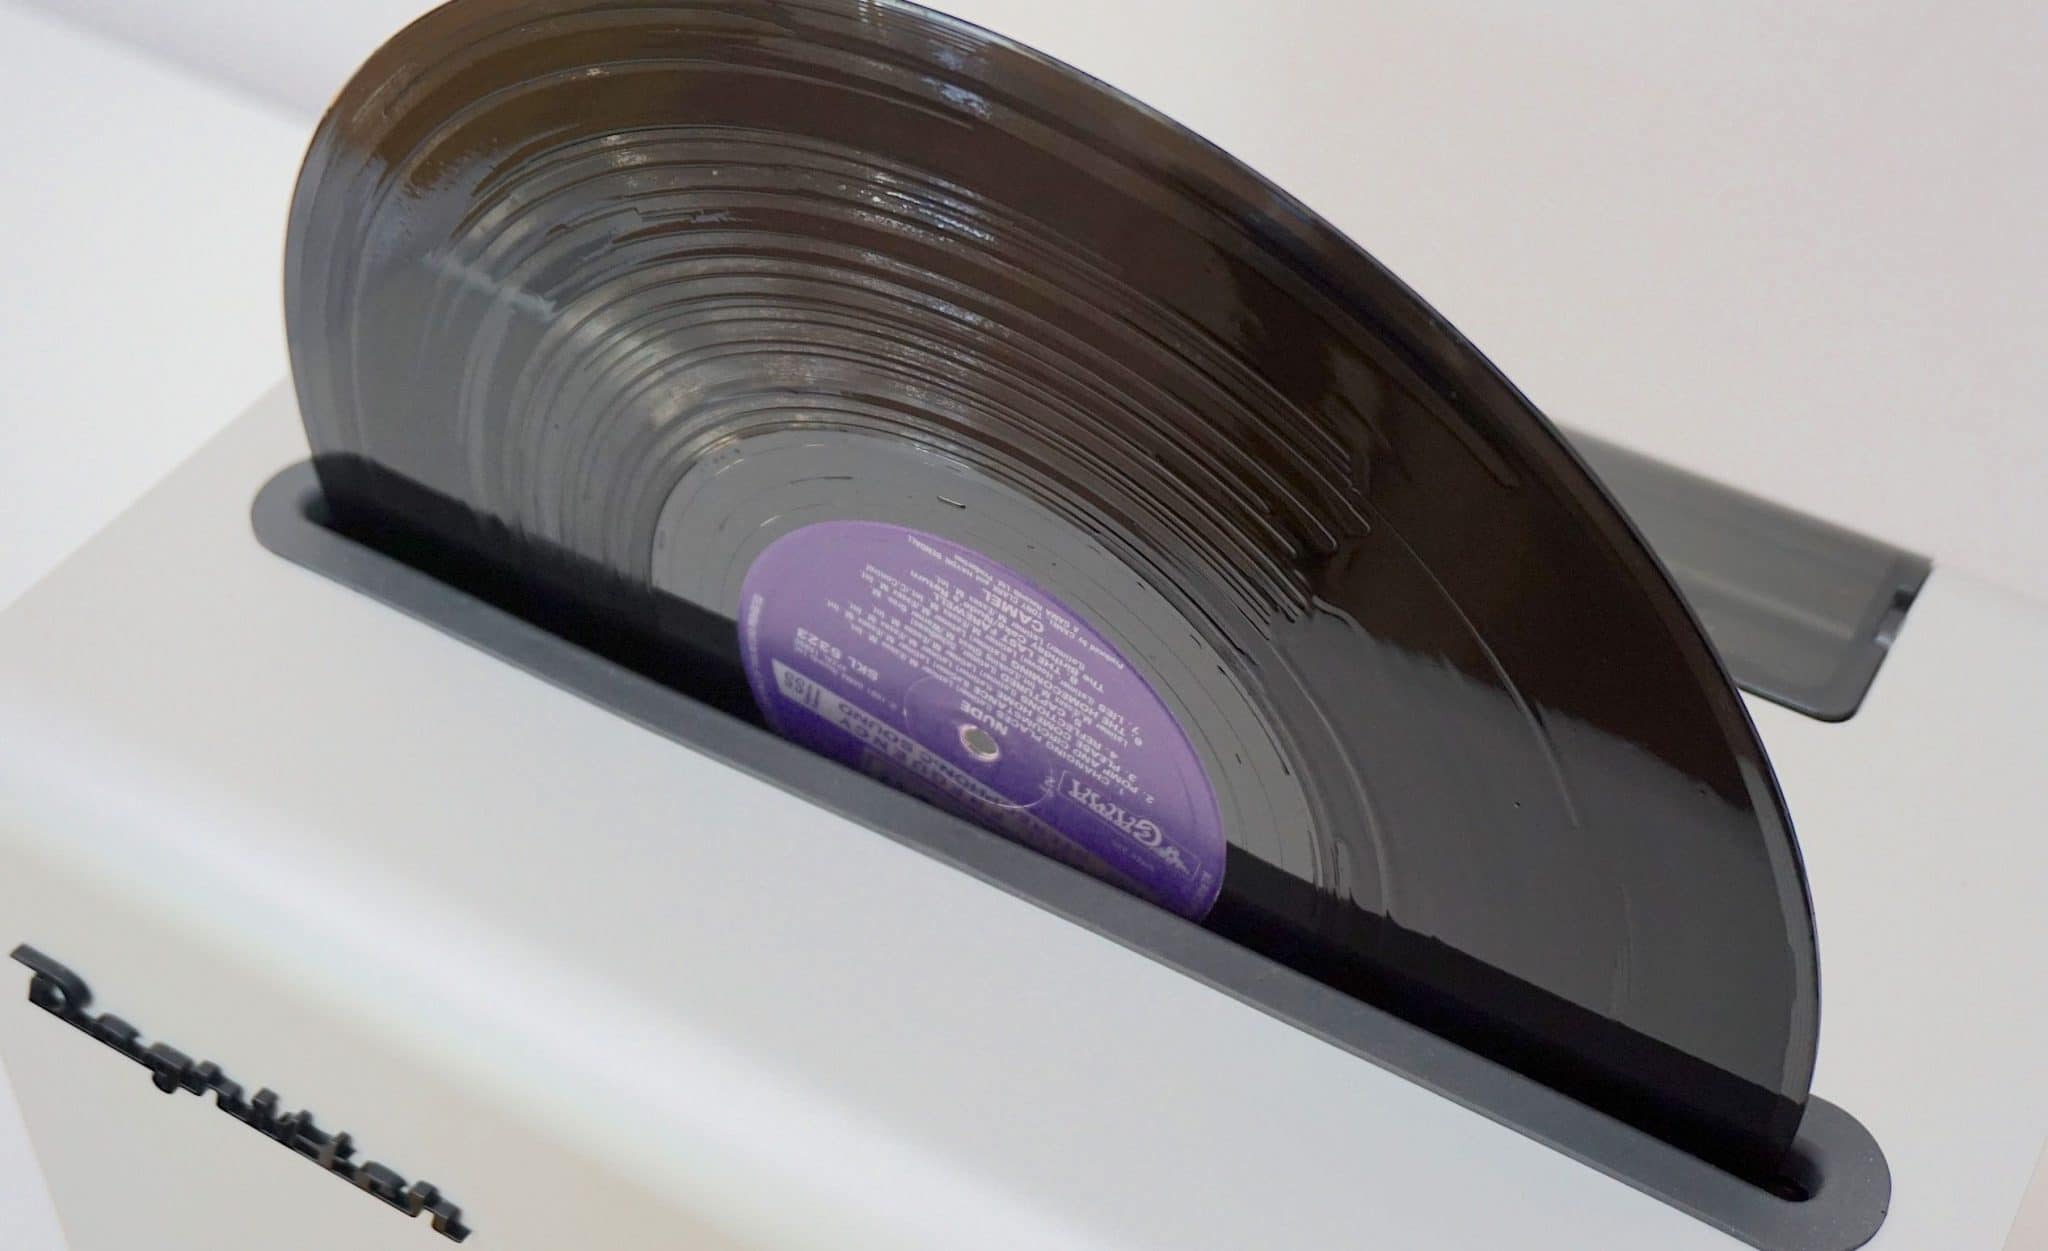
“So far, we have only had requests for a dust cover for the machine,” said the company. “An enclosed compartment for a working machine would indeed trap the vapors but this also means that the humidity would go up and the record does not dry as quickly. It would be a tricky problem to solve. At the moment we also do not offer a dust cover for the machine on sale, but we have noticed a simple dust cover being sold for Degritter on Ebay for $25: www.ebay.com. We do not own one and we have not been in contact with the manufacturer, so we cannot tell how well it will fit the device. Also, a few of our customers in Europe have ordered an acrylic (plexiglas) cover from a local company.”
SOUND QUALITY
As my original pressing of Roxy Music’s Avalon was the first record to be cleaned, I decided to run that first in sound tests but without any surfactant. I didn’t add the Degritter Cleaning Fluid either. Just as a result of a single clean, albeit just the once on Heavy mode.
And before we get to the core of the sound tests, the first thing to report was that the jig worked perfectly. The latter reported that the liquid would clean just short of the label surface on this Roxy disc and it did just that with no splashes or other irregularities to report.
Next, this is an early stage of the cleaning but even after one cycle, with no surfactant added as a preparation, I could hear sonic improvements. There was an infusion of air and space into the soundstage. The latter was also opened up a tad while the midrange sounded smooth. Very smooth. It flowed very easily indeed with backing harmonies sounding almost tidal as they wafted in and out of the music during the chorus. The reduction in the noise floor also added a swathe of new reverb which was added across all frequencies, adding life and a sense of dynamic pizazz to the playback.
This extra reverb was probably the most noticeable and, in musical terms, the most dramatic element because this was an effect that was new to much of the music. Not all of it but it was new in certain areas at certain parts of the replay. That is, it just wasn’t there at all and then, post clean, there it was.
A good start.
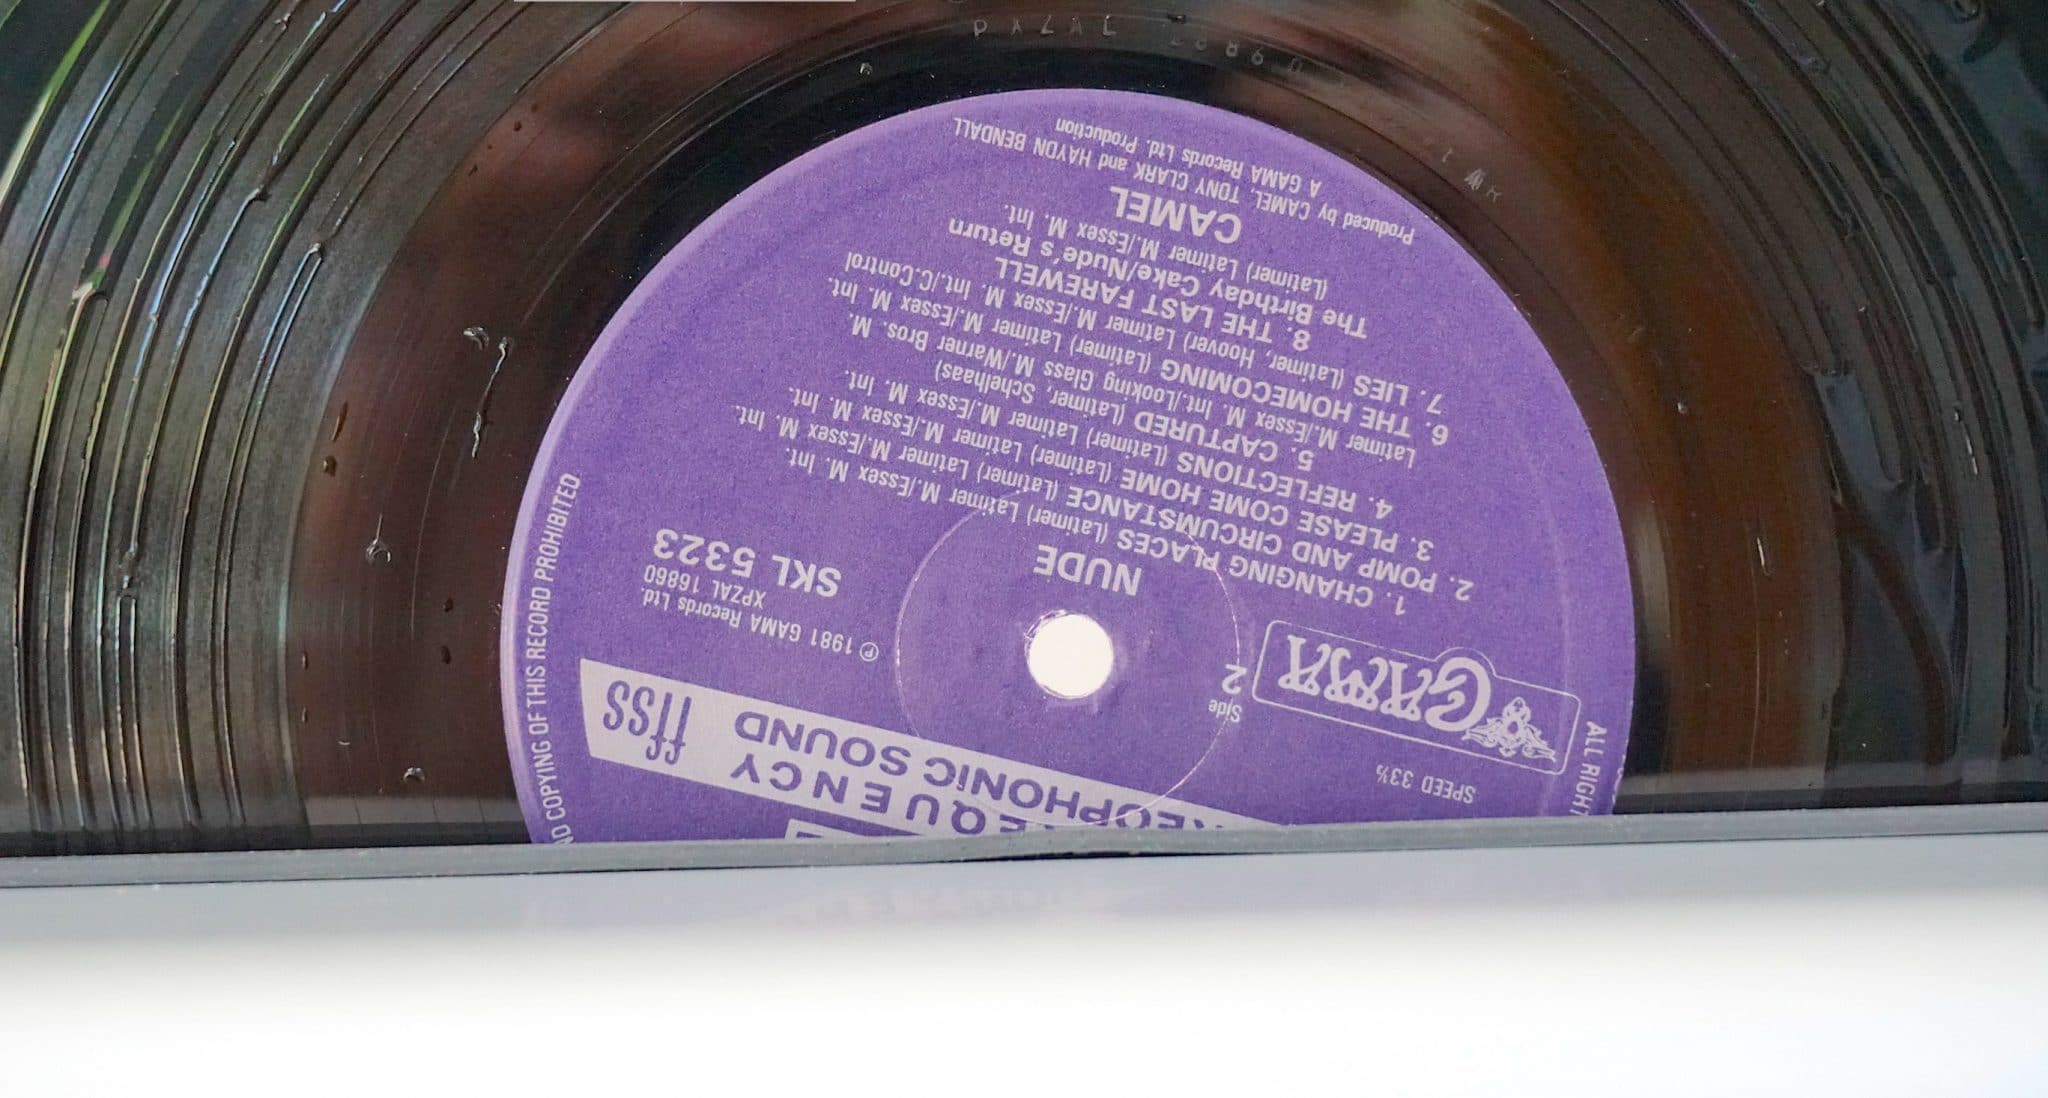
I then added my usual surfactant to the vinyl surface (using a combination of diluted Tergitol in distilled water) before another Heavy cycle clean. In fact, I decided to run for three cycles. That is, I added surfactant to the vinyl surface and cleaned in Heavy mode as one cycle. Running for three cycles in all. I was expecting to hear a further sonic improvement but I wasn’t sure exactly how much.
My response to this was intriguing, looking back on it now, because I began by wagging my finger in the air and exclaiming, “Oh yes, that’s the one. That’s the one.” With plenty of head nodding and pursing of the lips.
Why? Well, the combination of multiple Heavy cleans along with my surfactant addition retained the extra reverb, low noise and smooth mids from earlier but now added a sense of grandeur to the soundstage, an organic element to the vocal presentation and percussion, a solidity to the bass guitar and a sense, from the guitar, that it was a real thing, a solid, had weight and electricity flowed through it. That is, the guitar felt more well, alive. More present in the mix.
The sheer confidence from the music was just brimming. Actually, the music wasn’t confident. It was arrogant.
I then turned to a recently released Ella Fitzgerald disc reissued via the German audiophile outfit, Speakers Corner. From this jazz-centric genre, I was expecting less high energy and more precision and accuracy. I wondered how the Degritter might cope.
Again, I began with a basic clean, no surfactant, on the Heavy mode and tested that. Again, the initial response here was an opening up of the soundstage, especially within the upper frequencies but the lower benefitted too with the addition of a new level of reverb. This extended upright bass notes, gave the strumming acoustic guitar and piano on the right channel a more noticeable character but also allowed the ride cymbal to become far more prominent in the mix on the left channel.
I then added surfactant to the surface and cleaned the disc over just one cycle this time, instead of immediately zooming to three as I’d done above. Just to see if one cycle offered a similar change. Again, though there was the soundstage expansion. The soundstage just sounded larger, more impressive and expansive. This would actually make sense if, as I suspect, more of the stylus was hitting more of the (now) bare groove. The more barriers removed between the stylus and groove would mean more information would be read. That’s what I was hearing here. Individual details were just beautiful too. The almost rubbery ‘twang’ on the upright bass from a plucked string was quite delicious, for example, while the little titbits of effort from Ella Fitzgerald as she leapt up and down her vocal chords was a wonder to behold.
The combination of the Degritter and surface-applied surfactant was a real winner.
CLEANING HELL…OR HEAVEN?
So, I zoomed onwards this time. I moved from one cleaning cycle to a whopping five. This took…a while. Over an hour. Nevertheless, I wanted to see if it was necessary or otherwise. I just had to know! Time or no time. If, like me, you must have the best sound you can fully extract with the tools to hand, you’ll need to know too.
The result? Wow. Just…wow.
The noise floor took a nosedive and the richness of tone, the sheer imagery and the organic flow from this song was jaw-droppingly, quality-drippingly, incredible.
The ride cymbal never once faded before the next splash was applied, it just rode on the reverb tail, the brass offered a 3D solidity that you could almost walk around while the upright bass provided low-key power. I could also better hear the early piano and acoustic strains now. Normally both were so shy and reserved. The focus here was completely, utterly and wholly impressive.
But let’s hang on a second. Some of that surfactant might still be on the vinyl surface, so I decided to do a rinse to see what happens. Another 13 minutes, then.
The results this time? More clarity. A cleaner presentation.
So what am I saying here? Do you now have to use a Degritter to clean each and every vinyl record for over an hour each? Of course not! Life’s too short. That would be one step away from lock-up crazy!
I will be though. But I realise that I’m too far gone to care, anyway.
The problem is, you see, I’ve heard the difference. I can’t go back. If I didn’t do that, I’d know wouldn’t I? I’d know what I’d be missing. And it would eat away at me.
A deep clean like this is a one-off thing, though. Once in a vinyl record’s life. A sort of initiation to your collection, you might say. After this, you’ll only need a quick two-three minute clean every, what, 10 plays or so? It’s your choice, of course. Depends how rabid you are. Me? My mouth has been frothing for years.
To repeat? Look, you don’t have to go to the cleaning lengths that I did. A simple, single clean will be fine for most users, as seen at the beginning of the Sound Tests, detailed above and you will hear sonic improvements after that. That said, if you want the ultimate in cleaning action, if you want to go to the brink then I’m also here to tell you that the Degritter will stand by your side, every step of the way and will produce sonic improvements every step of the way too.
Finally, what happens when you don’t use a surfactant applied directly to the surface of a record? What happens if you just use the supplied Degritter liquid? I added 2ml of that to the tank. As such, this liquid will last you a long, long time. You use such a small amount per application. It offers great value.
In use? The Degritter liquid is…ok, it does a decent job and its perfectly usable but it’s not as good as a direct-to-disk application of diluted Tergitol. Applying the Degritter liquid after a Tergitol dose adds a veiling layer to the overall soundstage, across all frequencies. So yes, it does help in the cleaning process and it’s fine to get to you underway once you’ve bought your Degritter. But there’s better out there and I recommend a surfactant upgrade, when you can.
CONCLUSION
The Degritter is well designed and solid, I never had any reliability or usability issues and, in the short time I tested it, I put it under real pressure over an extended period of time with exactly 173 vinyl cleans (and counting). It is also cheap to actually run because it doesn’t have any short, limited-life, replaceable parts except for the filter which you’re welcome to make on your own.
It’s also very easy to use and offers great feedback from the clear and informative interface. I love the external water bath, I love the software control and the hand-holding nature of the cleaning process and the related output screen. I also loved the way that you just drop the vinyl in the top slot, press ‘go’ and then you walk away. This is the easiest record cleaning machine to use currently for sale on the market.
Most of all, though, I love its performance and the extra music it can drag from your vinyl grooves. That was, in a word, stunning.
Standards are created and are made to be improved upon. The Degritter has done just that. If you can afford it, get it. The sonic improvements are akin to a major component upgrade. More so, in fact. Frankly, the Degritter is the best record cleaning machine you can buy. Nothing else can touch it which is why I have no choice but to award the Degritter a very rare Golden Groovy, perfect score.
DEGRITTER RECORD CLEANING MACHINE
Price: £2,275
Tel: +372 5884 8839
Website: degritter.com (click here for local suppliers: degritter.com/region)
GOOD: cleaning performance, build quality, design, interface, ease of use
BAD: nothing
RATING: 10
[Don’t forget to check out my new Patreon Page at www.patreon.com/audiophileman, for exclusive postings, giveaways and more!]
REFERENCE
Origin Live Sovereign turntable
Origin Live Enterprise 12″ arm
Icon PS3 phono amplifier
Aesthetix Calypso pre-amp
Icon Audio MB845 Mk.II Monoblock Amplifiers
Blue Horizon Professional Rack System
Harmonic Resolution Systems Noise Reduction Components
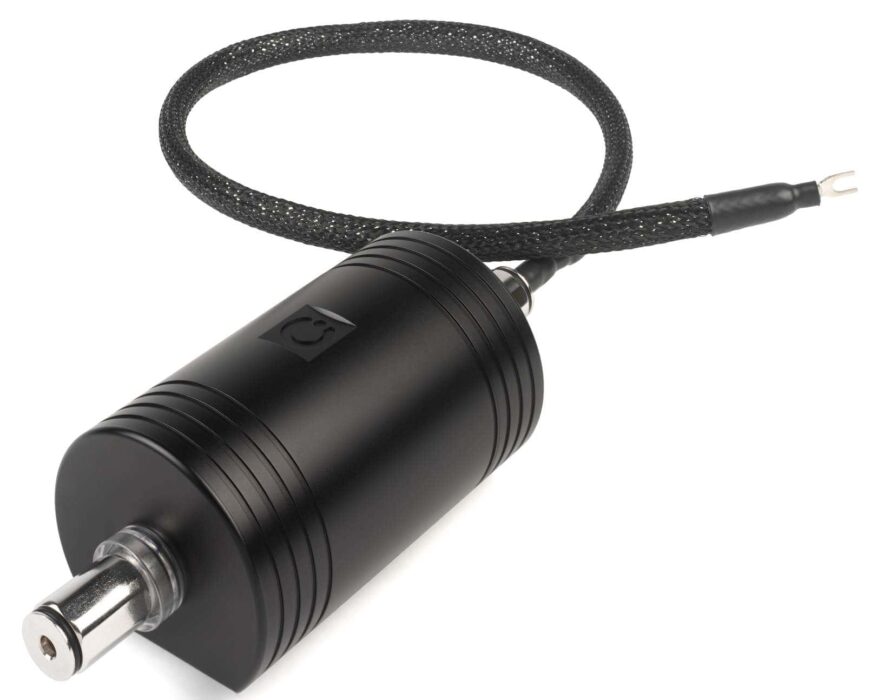
Gutwire Consummate Grounding Cable
Air Audio AC-2K Balanced Transformer
All vinyl was cleaned using an Audio Desk’s Ultrasonic Pro Vinyl Cleaner


Thanks for the link Paul L.
On you question about the filter; I am only cleaning new records, or previously cleaned records, but have noticed the filter getting quite dirty. I really shouldn’t have been suprised when I think of the colour of collected liquid from the cleaning pads when I used Disc Doctor MRC as a Stage 1 clean on new records several years ago. So now I am talking the filter out quite freqently and rising in an IPA solution.
On the principle that more is more I have only been using my Degritter on HEAVY wash. Manual application of surfactant (in my case Tergitol 0.025% 15-S-3 0.025% 15-S-9), wash in machine with Tergitol 0.025% 15-S-3 0.025% 15-S-9 (or 0.05% Triton X-100) 1% IPA then rinse in machine with distilled water with 2 minute Dry on highest fan speed. I tried using Glycol in the manually applied surfactant but seemed to be getting some small residue of Glycol in the main tank even with a surfactant plus 7% IPA wash solution. I switched to a no Glycol surfactant application with a goat hair record brush purchased on Aliexpress and a wipe off with a clean micro fibre cloth (using one for each record). This method seems to be no less effective than the Glycol method and my labels are staying dry. Visually the surfactant seems to stay in the grooves because of the reduced surface tension and the capillary action. Cleaning in batches of six (because that is the capacity of my drying/stand rack) proved to be too much for room temperature solutions which reached 29/30 degrees after three HEAVY washes but keeping them in a camping fridge I found in the garage is enough to allow six cleans followed by six rinses without triggering the cooling hiatuses (haiti?) and speeds things up. If you have a spare fridge I can recommend this. Because I have been cleaning records at a high rate, I have been using de-ionised water rather than distllled water as I am not using the same solution for more than a week and de-ionised water is about 60% of the cost of distilled so you can get 25 litres delivered for less than fifteen quid. Almost forgot to say that the cleaning is impressive and I am very pleased, with the caviat that I should be having forked out more than two grand.
Last summer I used some freezer cooling blocks that happened were a comfortable fit in the reservoir tank. It means less cleaning fluid, but I was able to get 6-8 heavy cleaning cycles from one freezer pack, and I had 3 on hand, so by the time the last one was exhausted, the first was already cool enough to use again. Usual caveats about being careful in your choice of pack etc.
That should be caveat rather than the alphabetically later sturgeon roe: Caviat
An inherent limitation with the Degritter is that you can not access and clean-out the ultrasonic tank. If you use the device to clean really filthy records, some of the debris will collect in the tank; the filter is not that effective and over-time a sludge will form. Periodic cleaning with Vinegar will only do so much.
But, at the end of the day, the dirtier the record that is cleaned by the Degritter, the more maintenance (tank & filter cleaning) you should do. Degritter probably should better address this issue, same as auto manuals state when to change oil, that depending on use, i.e., how dirty are the records you are cleaning (are they flea-market, are they used but clean (DISCOGS); or are they new) your maintenance tasks vary from maybe as frequent as every 20-25-records for flea-market; or every 35-records for used but visibly clean or for just new records as long every 50 records to cover themselves. Otherwise they risk putting themselves out of business with customer support and warranty claims.
This might be more to do with the level of muckiness on your vinyl. That is, the dirtier the vinyl – which something you can gauge visually before you clean – the more frequent should your bath change be to prevent the hard to shift build up in the first place. I only say this because I’ve been using the Degritter for some time now and have never had such issues.
Any thoughts on the view, expressed by some, that pure ultrasonic cleaning methods, with 120 kHz energy, can damage an LP? (I ask strictly out of curiosity. I don’t adhere to, or dismiss, this position.)
Hi Fred – both of those questions are dealt with in this review. I’ve used this machine extensively and have not any issues with it. I also find that the most vocal critics are those with an axe to grind or an agenda to push…naming no names 🙂
Once again I want to thank Paul for all the incredible works he did.
Paul greatly & directly influences my personal tuning that I share and explain it here bellow.
In November 2020, I received my Degritter .
My first goal was to make an initial cleaning of all my LP’s to have short term benefit of it.
I did 1650 cycles for around 750 LP’s.
Of course I also tested and evaluated on my two systems the musicality effect of multiple cleaning sequences.
I came to the conclusion that such efforts are the efforts to reach my Audiophile Dream.
My final goal is now to process my entire LP’s library. It will take time and patience. But each time a cleaning process ends, I have a direct reward: great listening moments.
Detailed settings process
The 3 additional cleanings:
– They are all set to “Heavy”.
– Drying time: only 1 minute.
РConcoction applied on LP’s: Tergi-Kleen Р12 drops per litre of distilled water
– 1 Kabuki brush dedicated to spread surfactant concoction
– Degritter concoction: 1% Alcohol Isopropyl in distilled water (without propylene glycol).
The final rinse
– It is set to “Heavy”
– Drying time: 3 minutes.
РConcoction applied on LP’s: 5% alcohol Isopropyl in distilled water
– 1 Kabuki brush dedicated to spread rinsing concoction
– Degritter concoction: 1% Alcohol Isopropyl in distilled water (without propylene glycol).
Comments:
– Drying time set to 1 minute: These reductions give a total gain of 8 minutes per LP and maintains some humidity in the grooves. I think that it is favourable to the concoctions dispersion.
– Compromises on % of alcohol Isopropyl
In the Tergi-kleen user documentation they give the following important warning:
“DO NOT ADD ALCOHOL or other ingredient. You will destroy the formula.”
For the Degritter concoction, 1% is pretty low. I guess the Tergi-kleen has still a good efficiency to keep the cleaning potential. I can see, under adequate incidence that the spreading speed of the surfactant in grooves increases at each stage of application. This is probably due to the step by step cleaning improvement.
– % of alcohol Isopropyl in the rinsing concoction
At that stage I use a higher % of alcohol to destroy the Tergi-kleen.
I noticed that the meniscus formed from the pipette doesn’t naturally spread in the groove like in the cleaning phase.
I guess this a sign that this 5 % of Alcohol “destroy” instantly the main surfactant effect.
After manual spreading and final Degritter process, the 1% of alcohol Isopropyl finishes the decontamination of chemistries inherent to the global process.
Take care
Following your advice I have been using a Kabbuki brush with Tergikleen solution, which has massively improved the effectiveness of my Loricraft PRC4 RCM, compared to using the Loricraft stiff brush with l’Art du Son liquid. I move the brush in steps across the record, doing one complete rotation for each brush position. Then back again, and then the same again on reverse. Then I vacuum the record. After 5 complete scrub and vacuum cycles followed by a final one with distilled water the detail revealed on the disk is amazing. It takes about 20 minutes per side. Would I still notice a huge improvement if I replaced my Loricraft with a Degritter machine?
Yes, a Degritter is an improvement. I also have a Loricraft so can confirm.
Great review! I have a Loricraft and the Kirmuss. The Kirmuss does do a better job but the process is labor intensive. I’m wondering if brushing on a surfactant as per Kirmuss and then just pop it in the Degritter might be the best of both worlds?
Hi Jim – I recommend preparing your vinyl as seen in the early section of here: https://theaudiophileman.com/vinyl-cleaning-guide-part-1-manual-cleaning/ Then popping the vinyl into the Degritter for a clean.
Thank you for the link. I will check it out. I have a Degritter coming soon. One thing I still don’t quite understand with the Kirmuss method is that white smudge that shows up on some records. I’ve seen this on 50 year old original pressings, and some brand new LPs. I’m curious to learn if it’s Kirmuss’s surfactant that brings out the white smudge, or is it the fact that the machine operates at 35khz? Fremer included a photo of a damaged stylus he received from Ortofon from a Kirmuss user who did not fully remove that white smudge. I have never read about this with any other Ultrasonic cleaner. Thanks again!
Hi Jim – I think it’s a Kirmuss thing and one they exploited quite brazenly. And 35kHz is nothing special or unique (well, between that and 40). It’s the standard vanilla setting you see on most Amazon-sold baths. I’ve tested other units at the same frequency without the fear-mongering sludge appearing. Testing the Kirmuss was one of the reasons I did so much behind-the-scenes research/interviews to find the truth of the matter which lead to my own vinyl cleaning regime, Part 1 of which is on this site. The results were not good for Kirmuss, I must say.
Paul, I very much enjoyed this review, as I have your other reviews of various products, as well. Don’t know how I missed this one, until now, because the Degritter has been on my radar screen since beta-testing. What I found particularly interesting was the response(s) you were able to obtain from Degritter regarding their choice of cleaning frequency. I attempted to obtain information like that directly from Degritter several months ago, to no avail, even after a follow-up second email contact. I was, however, successful in obtaining information like this (i.e. cleaning frequencies) from several major manufacturers of ultrasonic cleaning equipment for the medical field and microchip manufacturers.
I currently use an US cleaner and obtain results very similar to what you described with the Degritter. What amazed me most, in my experience, was the utter elimination of surface noise, the dead quiet that the music springs from. The liberation of detail and opening up of the music hiding in those tiny grooves was, of course, also a revelation. The Degritter still intrigues me because of how easy or less time-consuming it seems to use. I’d be more than a bit reticent to run a record through much more than a few heavy cleaning cycles, however, without some knowledgeable, convincing reassurance. Not because I’m not certifiable (what OCD?) but because of fear of possible long-term damage to the vinyl. Did you ever get any feedback on this from Degritter?
Hi Dennis – many thanks for your kind words.
Onto your concerns. All vinyl will wear out. You can’t avoid that. It is inherently fragile – to a degree and in relative terms. You add wear every time you clean it and play it. In terms of excessive damage re. ultrasonics, I covered that in my questions to the company in this feature. You might want to check out that early part of the review again. I have been using ultrasonic cleaners for many years now from a DIY lash-up job, to Kirmuss, to Audio Desk and now Degritter. In terms of preservation, I actually trust Degritter to preserve my vinyl longer than any other cleaner out there. Including manual. I say the latter because they cannot remove as much invasive grime as the Degritter. Grime which might be a party to future damage in conjunction with other factors.
Paul, I recently watched your most recent YouTube review of the Degritter; in its entirety, I hasten to add. Once again, many thanks for a very thorough and well thought-out review! Your animated enthusiasm for the sonic results this machine can achieve was unmistakable. Sorry if this sounds a bit redundant but, based upon your experience(s) with other ultrasonic RCM’s (e.g. lash-up DIY’s; Kirmuss; maybe Klaudio & Audio Desk?; etc.), how would you characterize the difference(s) in sonic improvement(s)? In short, would you say the improvement(s) is subtle, dramatic, etc.? I know those are relative terms. I’m currently researching if, perchance, one of my local audio shops might have a Degritter on demo, such that customers could bring in a record or two, have them cleaned on the Degritter and bring them home to hear what happens. I’d love to have an opportunity do this with a couple of LP’s I’ve already cleaned with my DIY lash-up (i.e. CleanerVinyl components 40 kHz US tank Knosti Disco Antistat for final rinse) to hear what the difference(s) might be. The Degritter would certainly be considerably less labor-intensive than what I’m doing now but it’s a rather expensive investment for mere convenience alone. However, if the Degritter could put the same smile on my face and pep in my step displayed on your recent YouTube review, that would certainly motivate me to do battle with my financial comptroller (i.e. She Who Must Be Obeyed). Thanks, again! Please stay safe and stay healthy!
Hi Dennis – in short, just looking at ultrasonics as a tech and gauging the relative merits from that point? The DIY models offer a good, budget improvement over manual and RCM methods, the Kirmuss is a step above that. By some distance, the Audio Desk is a major improvement over the Kirmuss. The best the Audio Desk can do though is the base point from the Degritter. The Degritter then moves upwards and onwards from the Audio Desk’s best performance option. For both the Audio Desk and Degritter, you pay for the bespoke chassis and engineering and the small run production of the same. That’s where the money goes. And it’s worth it. I’ve tested many units and a bespoke vinyl approach makes all the difference. The DIYs and the Kirmuss use off the shelf units and you can hear that.
Hello, Paul! I’ve been meaning to dash this off to you for some time, now, FWIW. I think this might be of interest.
Six weeks ago, I found an audio shop with a Degritter they use for demo and cleaning records for a very modest, reasonable fee. So, I decided to try a little experiment. I had 4 of my cherished records cleaned on the Degritter. All 4 were cleaned on the heavy cycle, using Degritter’s standard cleaning fluid. Two had been previously cleaned (once), using my lash-up ultrasonic cleaning system made up largely of CleanerVinyl components, a 6 liter 200 watt 40 kHz ultrasonic machine and Knosti Disco Anti-Stat for final rinse. Cleaning fluid used was only Mobile Fidelity Super Record Wash in the USM and nothing other than distilled water for a final rinse in the Knosti. All my records were purchased new, lovingly cared for, for the times (e.g. proper handling & storage anti-static poly sleeves WATTS Parostatik Disc Preener Discwasher & D3 Discwasher D2 stylus cleaner etc.) and never played on anything other than my old Philips 212 at 1.75 to 2 grams VTF with carts, over the years, like modestly priced Shure, Empire, ADT and Stanton. I played the two records I had previously cleaned on my lash-up US cleaning system on my present TT (Mobile Fidelity Ultradeck with Mastertracker) for reference. Nothing goes on the new TT, now, before going through my US cleaning regimen. As for the other two, I guess you could say I had to rely on a certain amount of nostalgia.
Records cleaned: “The Hurting” by Tears For Fears (1983 Mercury-Phonogram Ltd. London-manufactured in USA by Polygram Records). This LP had never been cleaned in any way before. Next: “Nothing But A Breeze” by Jesse Winchester (1977 Bearsville Records-manufactured in USA by Warner Bros. Records). I may have manually cleaned this one in the early 1980’s. If so, as best I can recall, it would have been with city treated tap water, a tiny amount of Kodak Photo-Flo, tiny amount of dishwashing detergent and, maybe, a small amount of IPA. Next: “Pieces Of The Sky” by Emmylou Harris (1975 Reprise Records/Division of Warner Bros-manufactured in USA). I may have manually cleaned this one in the 80’s, too, with the same method previously mentioned. Can’t recall. However, this was one of the two I had recently cleaned on my lash-up US cleaning system and subsequently treated with LAST record preservative. Lastly: “Desperado” by Eagles (1973 Asylum Records-manufactured by Atlantic Recording Corp. USA). I likely manually cleaned this one manually in the 80’s, as well. I was on a cleaning kick back then. This was the other one I had cleaned, using my US cleaning regimen and also subsequently treated LAST record preservative.
Results: before playing the first 2 on my present TT I treated them with LAST. If there was a sonic improvement in the Tears For Fears LP, I couldn’t tell. Then again, this one hadn’t been played in 20 to 25 years on the Phillips. However, it had very, very few plays because it’s not one of my favorites. Surface noise, comparatively, was much more prominent than any of the other 3 Degritter cleaned records. My wife thought it sounded “kind of tinny”. This isn’t her favorite Tears For Fears album, either, and it very well may be a poor pressing. I’m far from an expert on this sort of thing but I don’t think this is or was a particularly good recording. Maybe lousy PVC composition? Not the best sound engineering? Maybe another US cleaning would help? I will definitely give that another go.
The Jesse Winchester LP was/is WONDERFUL! Virtually no surface noise to speak of and great frequency response from bottom to top; noticeably better than I remembered on my old Phillips from about 20 years ago. However, it must be said that my present TT and sound system are WAY better than what I had back then! Also, I love Jesse Winchester and this is my favorite recording of his. It also seems, to my ears, that this is a good recording and a good pressing. This record already had lots of plays on it. Was my perceived audible improvement(s) the result of my new sound system? That’s got to be part of it. Did the Degritter have a hand in this? Impossible to know. Certainly didn’t hurt!
The results with these last 2 records, I think, gave me better insight into the Degritter’s cleaning prowess because I had already cleaned them, using my lash-up US cleaning system and played them on my present sound system.
Emmylou Harris’s voice was/is SUBLIME, POWERFUL, CRYSTAL CLEAR, ABSOLUTELY STELLAR! Then again, she’s always outstanding! The Degritter may have brought out a little more of the music hiding in the grooves and improved the frequency response from bottom to top, just a little. However, this could just as easily have been my wanting to hear an improvement(s) or the result of an additional US cleaning.
Finally, on Desperado, one of my all-time favorites, with LOTS of plays on it, again, I believe there may have been very, very subtle improvement(s). However, like the Emmylou Harris recording, might this have been because I wanted to hear an improvement or the result of an additional US cleaning? Can’t say. However, whatever improvement(s) there might have been was extremely subtle, at best.
The Degritter is certainly an extremely convenient and easy-to-use machine. My intense interest in it was precisely for that reason. My lash-up system is more labor intensive and, as such, certainly a lot less convenient. However, for me, $3,000 US is a considerable sum for ease & convenience. If I had heard unmistakable audible improvement(s) in fidelity above & beyond what I’m getting with my more labor-intensive and less convenient lash-up system now, I would have gladly parted with the $3,000 US. I would even have happily parted with half of that for the sheer convenience. However, I decided to tweak a few things I’m doing now with my US cleaning system, on the advice or guidance of Neil Antin (e.g. reduce RPM of records in the USCM to 1 or maybe even .5 RPM; possibly switch to an Elmasonic 80 kHz USCM; ditch the Mobile Fidelity Super Record Wash in favor of only distilled water with a little added IPA and a little Tergitol; use tank filtration; use a manually applied pre-cleaning solution prior to US cleaning like LAST POWER CLEANER; etc.), to see/hear what additional improvement(s) this might render. When all is said & done, my lash-up system, including the Knosti, will still be just shy of a third of the Degritter. For that kind of savings, I don’t mind putting in a little extra effort and making a day of it every time I clean a batch of my babies.
I certainly do not want to denigrate the Degritter! It’s a great machine and certainly seems to do what its developers say it does. Considering the ingenuity that went into its development, it’s certainly worth its asking price. However, I guess what I’m implying is that one can achieve the same fidelity results at a third the cost if one doesn’t mind putting in a little more effort and spending a little extra time. If the opportunity every presents itself, you might want to have a look at some of the CleanerVinyl stuff. I’d be curious of your take on it.
All the Best!
Thanks Dennis – I’m on the move here so have skimmed this through so excuse me if I missed any finer details and also for my rather rushed response. Bottom line? No matter my point of view, choose a system that works for you. One that your happy with. Stick with that. That’s what you need to take away from this.
For me personally? Using a Degritter with the company’s cleaner in the bath only means you never get out of first gear in terms of the Degritter’s potential. Multiple cleans on ‘heavy’ using surfactant/glycol/brush application plus alcohol as directed, etc which I think I detailed in the review but is available in my Cleaning Guide Pt.1 too, is essential. For me, anyway. It makes all the difference to the Degritter. The machine is but one part of the overall cleaning team here, it’s important but it’s only one tool. I don’t place it above any other tool in the bag for me.
Last liquid is…ok. Tergitol I don’t recommend now because of its environmental issues. Chinese-built cavitation baths are fine for budget designs, I’ve used a few and there’s a review on this site of one to give you a flavour of what they do. They do a good job. Ideal for budget users. Varying the frequency is good, sure but the bath is not aimed at vinyl and my own tests say that makes a difference because of where the generators are and how they work and what they don’t do. I think that’s everything from your post, from memory 🙂
But look, again, what I say is neither here nor there. Your experiences and what impresses you is priority so please enjoy your system and your music. I’m just happy you’re cleaning your vinyl. You’d be surprised how many don’t!
Hello! Do you know what the two tepmerature readings in the Info menu stands for?
That refers to the temperature of the water tank. Not sure why’s there’s two temps there. Let me ask.
I have an answer from the company for you, “The machine has two sensors inside that provide redundancy and they have different locations. One of the sensors is attached to the ultrasonic cleaning tank and will give the quickest water temperature readings from the cleaning tank, but when the water is pumped out, this sensor will cool down quickly. The second sensor is on the aluminium water filtration block. This block also cools the water with the filtration. As a block of aluminium will take longer to heat up then this value will increase slower, but will also cool down at a slower rate. The machine is using this sensor to determine if the cooling fans should run even when the machine is idle to prepare for the next cleaning cycle. We included values for both of these in the INFO section for debugging purposes, but they can give insight to the machine also for customers.”
Good info. Many thanks!