The Article
Degritter Ultrasonic Record Cleaning Machine
12th August 2020
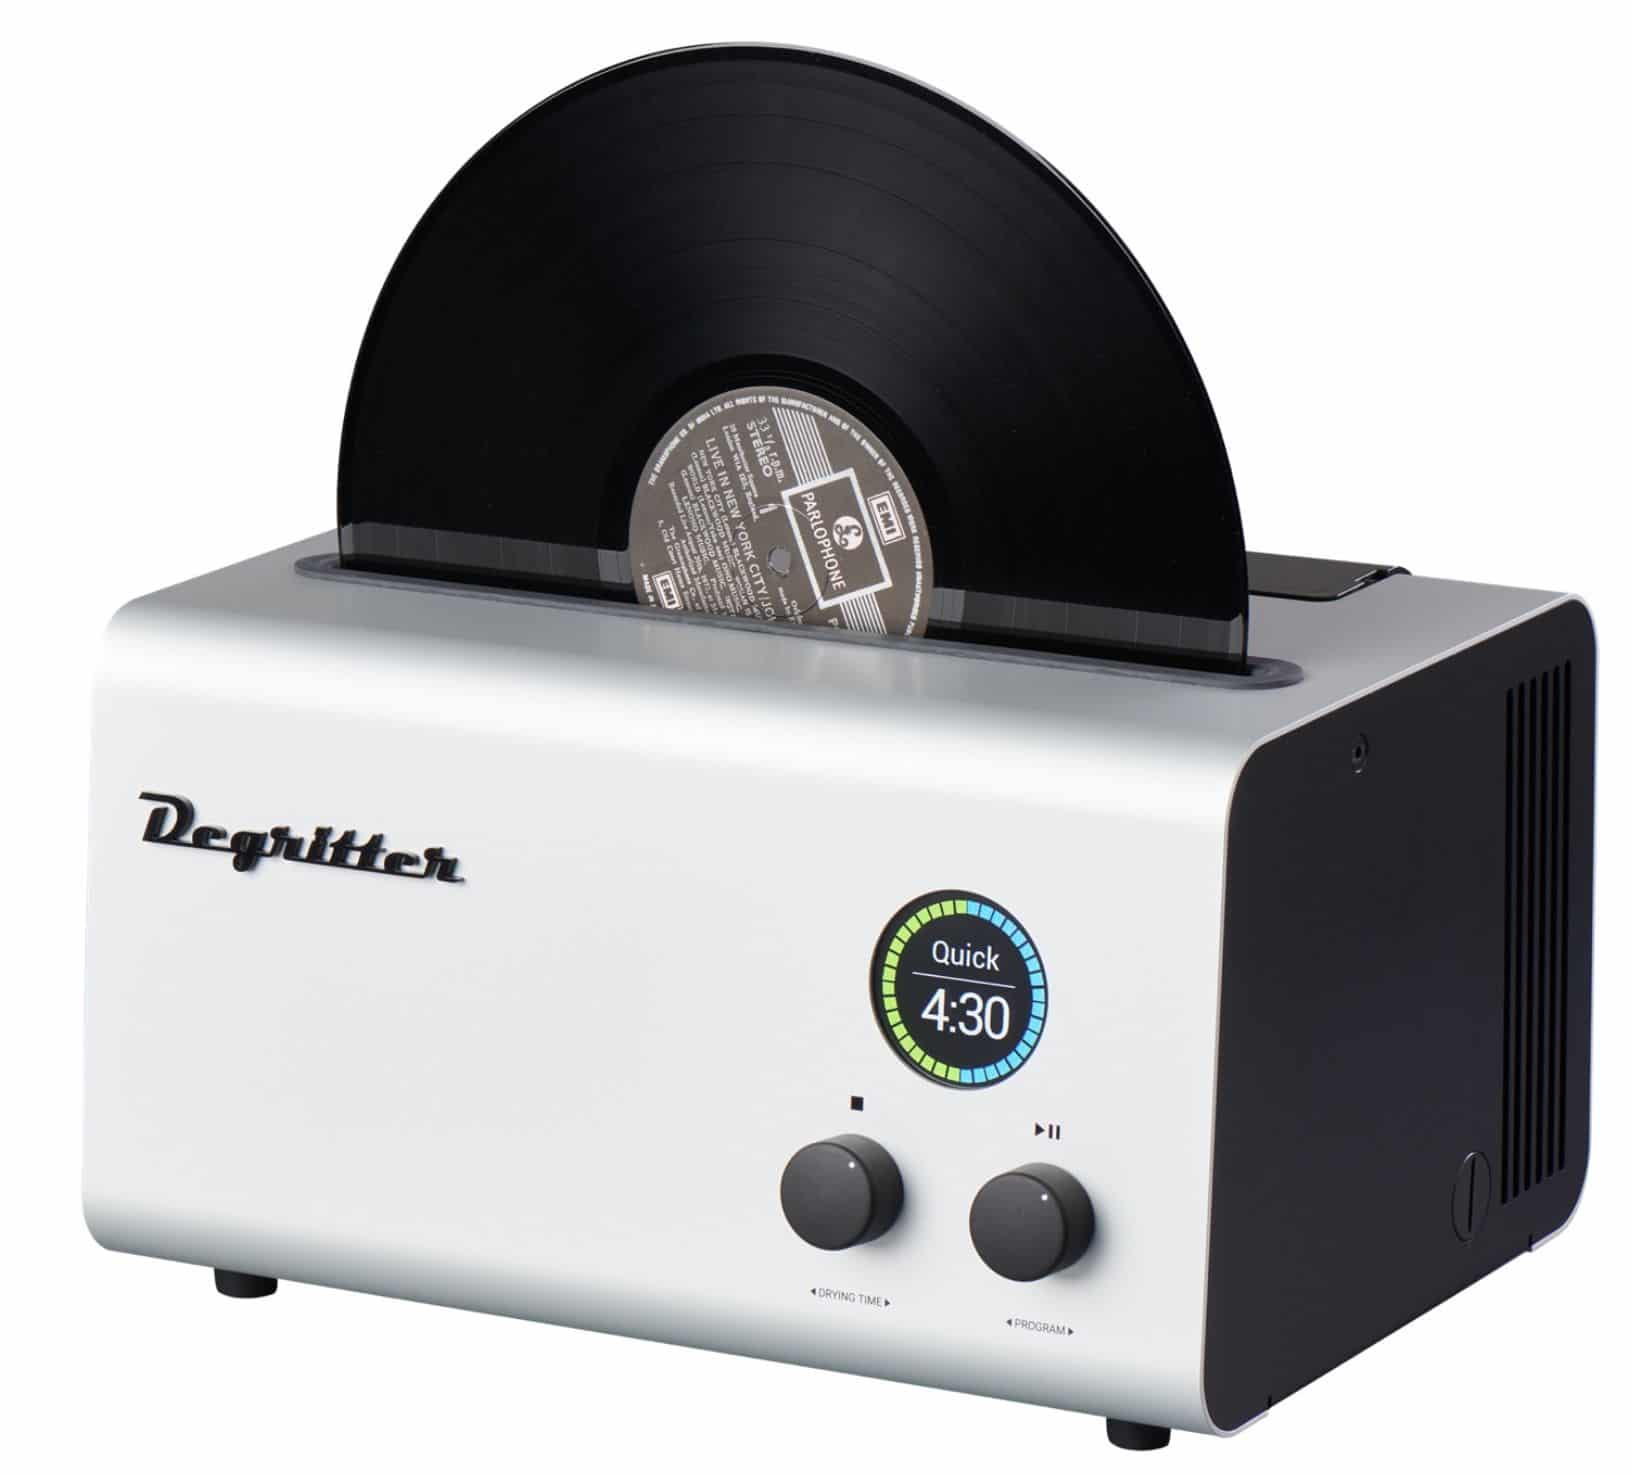
The latest bespoke ultrasonic vinyl cleaning machine on the market, Paul Rigby cleanses his grooves with bubbles
Right now, as I write these words, ultrasonic cleaning technology is the fastest changing part of the hi-fi hobby. Faster, I would say, than any digital technology I could name. Why? Because the technology is so new. New for hi-fi, at least. Because, to this point, the technology has been in its early stages and evolving and improving with speed.
I say “to this point” because I wonder if that situation has finally changed.
For some reason, I tend to reserve my longest reviews for vinyl cleaning products. Maybe its because many of them are complex beasts or – especially of late – they try to push a few boundaries and that needs in-depth investigation. Also, there is often so much to test and many questions that need answers.
During this test, I fired questions at the company. Hence, during my long review, whenever I hit a point of order, I’d quickly send an email and the company was kind enough to address my issue. And I want to thank them for their patience and for fielding my many queries. Sometimes I can be just like one of those irritating kids who spend their waking hours doing nothing but asking, “Why?”
One quick point before we progress. For this review, I wanted to cut to the chase and focus on the Degritter itself. This review is long enough as it is to also dwell for too long on the basic technologies.
Ultrasonic cleaners do a superior cleaning job than any manual cleaning method you care to mention. You’ll pay for the privilege, sure. Nevertheless, they’re superior. They also leaves the basic vacuum cleaning machines in the dust. Even the expensive variants like those offered by Loricraft. In pure sonic terms, that is. Hence, I’m not going to repeat those sonic tests here, once more. Check out my past ultrasonic machine reviews to see and hear all about those A-B tests. Just scan this folder to find them: theaudiophileman.com or ask me direct questions on the same here, on my YouTube channel or social media.
As for the ultrasonic process itself, what it is and what it does, click on the following YouTube video. Yes, it’s aimed at viewers more interested in industrial equipment but it serves as a basic technology overview. Don’t compare the machine you see in the video with the Degritter. The machine in the video is aimed at cleaning items like tensile steel, it’s large and noisier and runs on a different set of specs than the Degritter. Again though, it does provide basics for those interested in ultrasonics and in an easily digestible video form. Click here for the video: www.youtube.com. For a more graphical, Disney-esque guide, check out this video. It’s a touch irritating but also effective: www.youtube.com.
So grab a tea, coffee or something stronger, settle yourself into a comfortable state and we’ll begin.
120kHz
Before we get to the machine itself, I want to address two technology points which arise again an again when ultrasonic cleaning machines are under the spotlight.
Issue number one is the use of ultrasonic technology as a cleaning medium. Some people remain worried that ultrasonics can damage vinyl.
The second issue I wanted to broach was the use, by Degritter, of the 120kHz ultrasonic frequency band in its cleaning operation. Mainly because ultrasonic cleaning can be achieved at varying frequencies. In basic terms, ultrasonic technology produces cavitation which creates tiny bubbles that explode on impact, the dispersal of energy during the micro-explosion dislodges tiny amounts of grime and dirt that may be in the vicinity, such as that attached to the groove walls.
When you change the ultrasonic frequency, you change the size of the bubbles and the energy they produce. There have been many arguments out there about the ideal frequency and bubble size for use on vinyl.
Hence, you hear lots of conflicting chatter about the use of 120kHz on the Internet, some of it negative chatter. Then again, a lot of the negative chatter that I have personally read has been sourced from voices who have an obvious axe to grind or a competing product of their own to sell. Other, more genuine and worried comments, were from early adopters of the Degritter. I’ll address those concerns below, under the Past Break Downs sub-head.
I asked Degritter about its choice of the 120kHz frequency figure in its own RCM. An intriguing choice because many other lower cost ultrasonic vinyl cleaning machines use 35-40kHz. The latter is not a frequency of choice, though. Many budget machines use pre-built ultrasonic technologies to keep costs down. Those baths arrive with that figure firmly set in place while the frequency is not adjustable. These are general use machines and not actually designed for vinyl use. Not in a bespoke fashion, at any rate. You can see many of these for sale on Amazon right now.
But first? Let’s address that ‘ultrasonic damages vinyl’ worry.
“In 2017 we run some long exposure tests with our ultrasonic generator,” said Degritter, “and we studied the record surface under an electron microscope in University of Tartu and we found that when water temperature is managed and the record is moved in the cleaning medium then no damage can be seen on the record surface (moving the record prevents hot spots). From then on we have implemented small band Frequency Sweep functionality on our ultrasonic amplifier that further improves the cleaning energy distribution and prevents any hot spots from forming.”
And now onto the second question, that of the chosen ultrasonic frequency.
“The higher the frequency the more delicate the cleaning. This comes down to physics, as with smaller bubbles you have less kinetic energy that you can release on the bubble collapse. This has been studied and proven by multiple research papers and it can be seen by a simple aluminium foil test. If you put a sheet of aluminium foil in 40kHz and 120kHz ultrasonic tanks, then the one in 40kHz tank will develop holes much quicker than the one in 120kHz tank.
“The 40kHz tanks are most commonly used because the technology is widely used and these amplifiers are cheaper. In order to use 120kHz frequency, we had to design our ultrasonic amplifier from scratch as there were very few off-the-shelf products around. Available units were very expensive and also they would not suit our application. With the 120kHz, we got a more finer and delicate cleaning effect, ultrasonic cleaning energy distribution is a bit better and there is less audible noise for human ears.”
Choosing the ultrasonic frequency was one of the main issues when designing and building the Degritter. The second issue was where to put the frequency generators. The things that generate bubble growth, “In general purpose cleaners, the transducers are attached at the bottom of the water tank and the cleaning energy is strongest near the bottom. In our device we wanted to address the flat surfaces of the record and had to design a tank that directs the cleaning energy onto the record surfaces.”
Hence, two transducers are placed vertically, on either side of the vinyl record, to better address the vinyl surface.
PAST BREAK DOWNS
When this record cleaning machine (RCM) originally emerged onto the market it did so, not so much with a bang, but a slightly contentious kerfuffle. I’ve spoken to a couple of early-adopter Degritter users who struggled with the early models, listened to their complaints and troubles and then presented those to the company for comment.
The entry onto the market was not a smooth one for the company and its teething troubles were rudely exposed to public view, as the company explained to me, “Yes, we had a few teething issues with the retail model,” said Degritter, “that had not come out with our Beta Testing program.
“Firstly, the initial water level sensor that was detecting if water is pumped out from the ultrasonic cleaning tank deteriorated over time and required cleaning by the user for it to work properly. In July 2019 we replaced it with a maintenance-free solution that has not had problems.
“Of the initial motors we used for revolving the record, some had problems with working in an environment with high humidity and they ceased working properly. Resulting in record that was not revolving. In August-September 2019 these were replaced with a new model.
“We were not content with the pumps we used in the machine in 2019 as some of these stopped working on the machines. All of the pumps were replaced with a new model from a new manufacturer at the end of 2019.
“Machine software was improved to make it more foolproof and we also gave it an overhaul with larger fonts to improve readability in the middle of 2019.
“Apart from these, there have been other smaller alterations in the machine internals but the goal of these have been to simplify the assembly process.”
When faced with my questions on the early hardware issues, the company could have easily and brazenly blustered its defence in a cack-handed manner but it has chosen, instead, to openly discuss and address the teething problems it has had. Which I appreciate.
More than that, to show confidence in the machine that they’re selling right now though, Degritter is providing every machine with a two year premium warranty. And that means? It means that, with any failures, the company will replace the machine with a brand new unit. Not only that, it will organise and pay for the replacement. All of which receives a large thumbs up from myself.
MEET & GREET
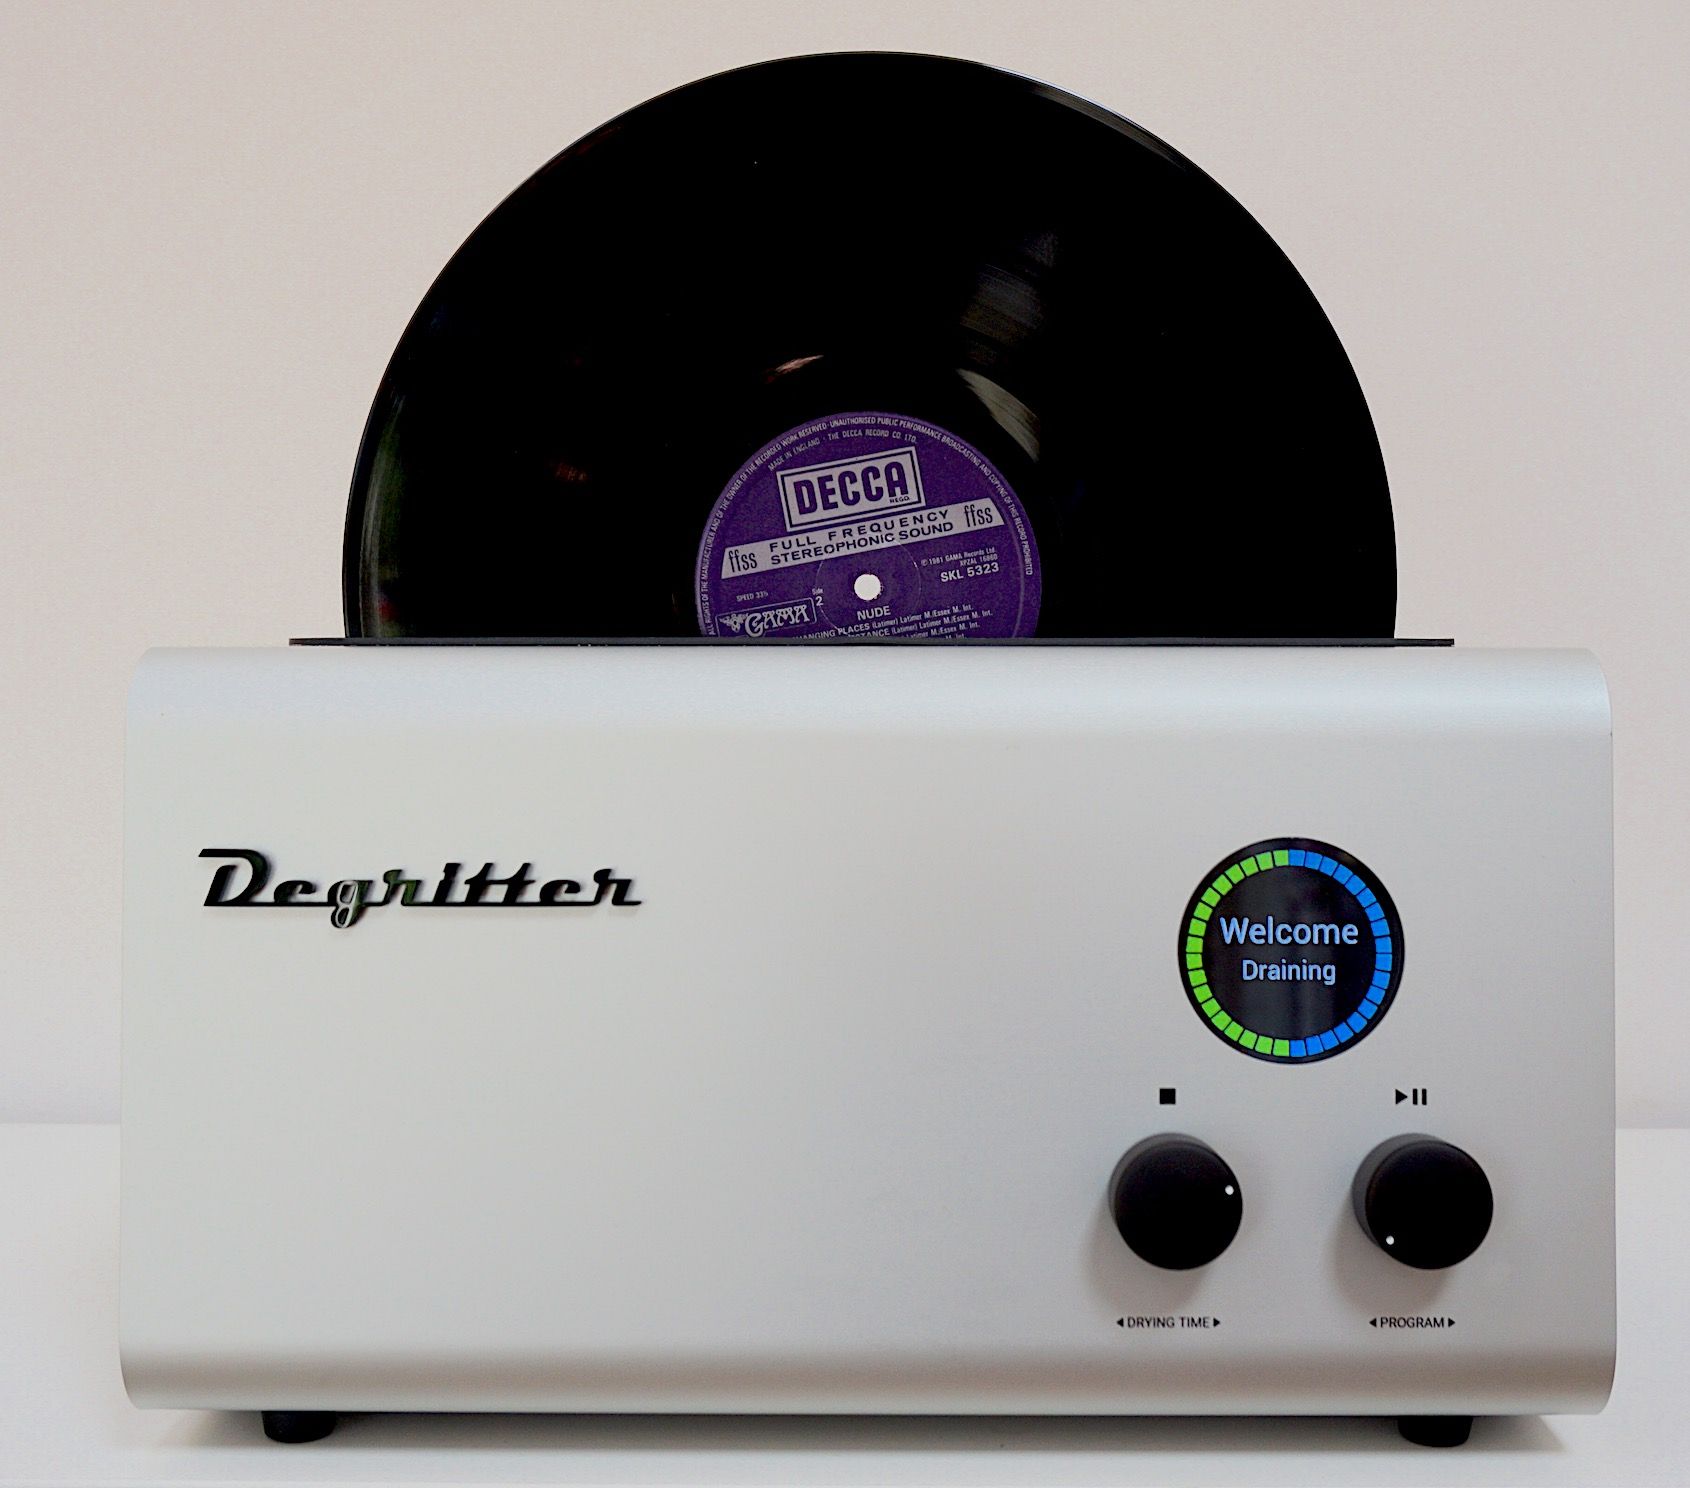
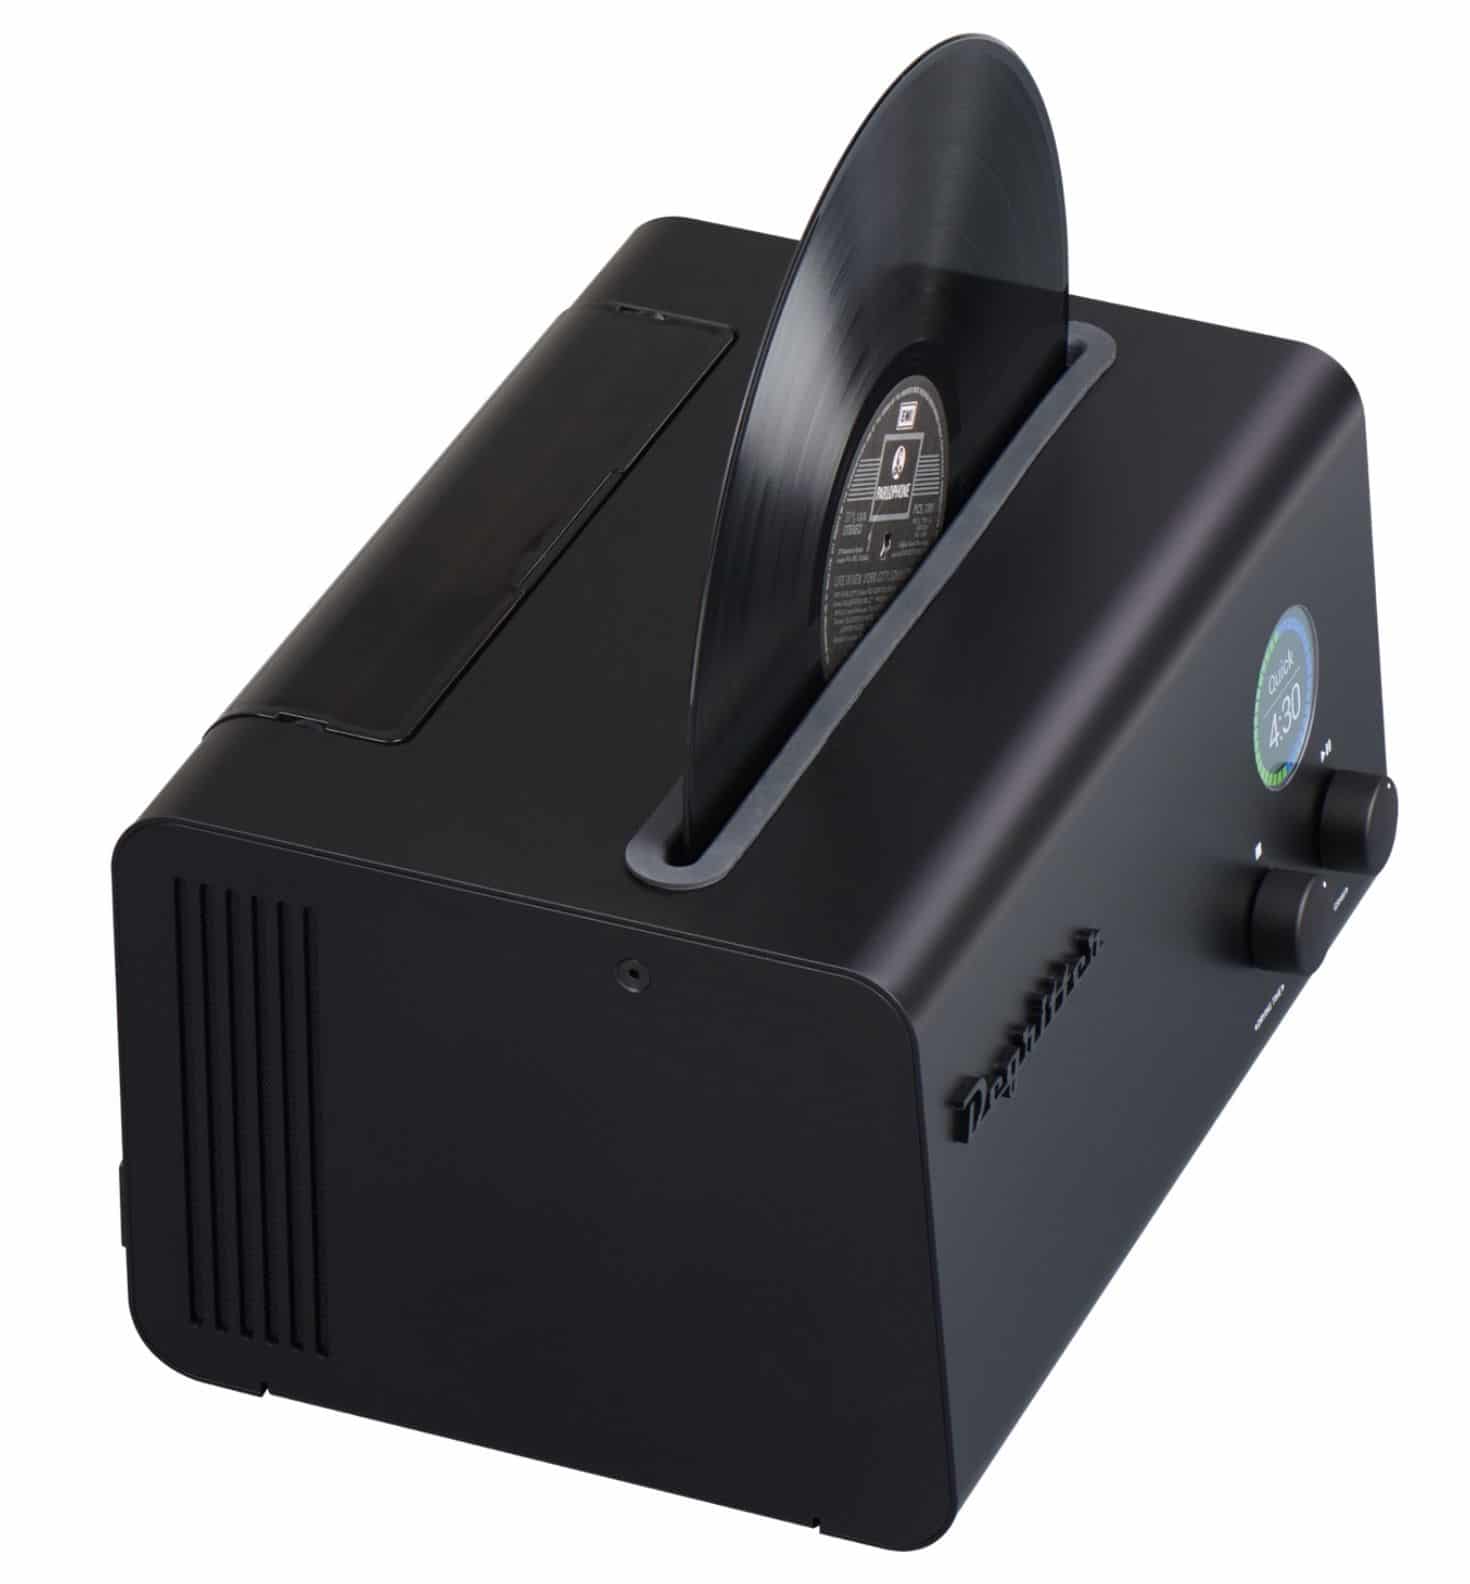
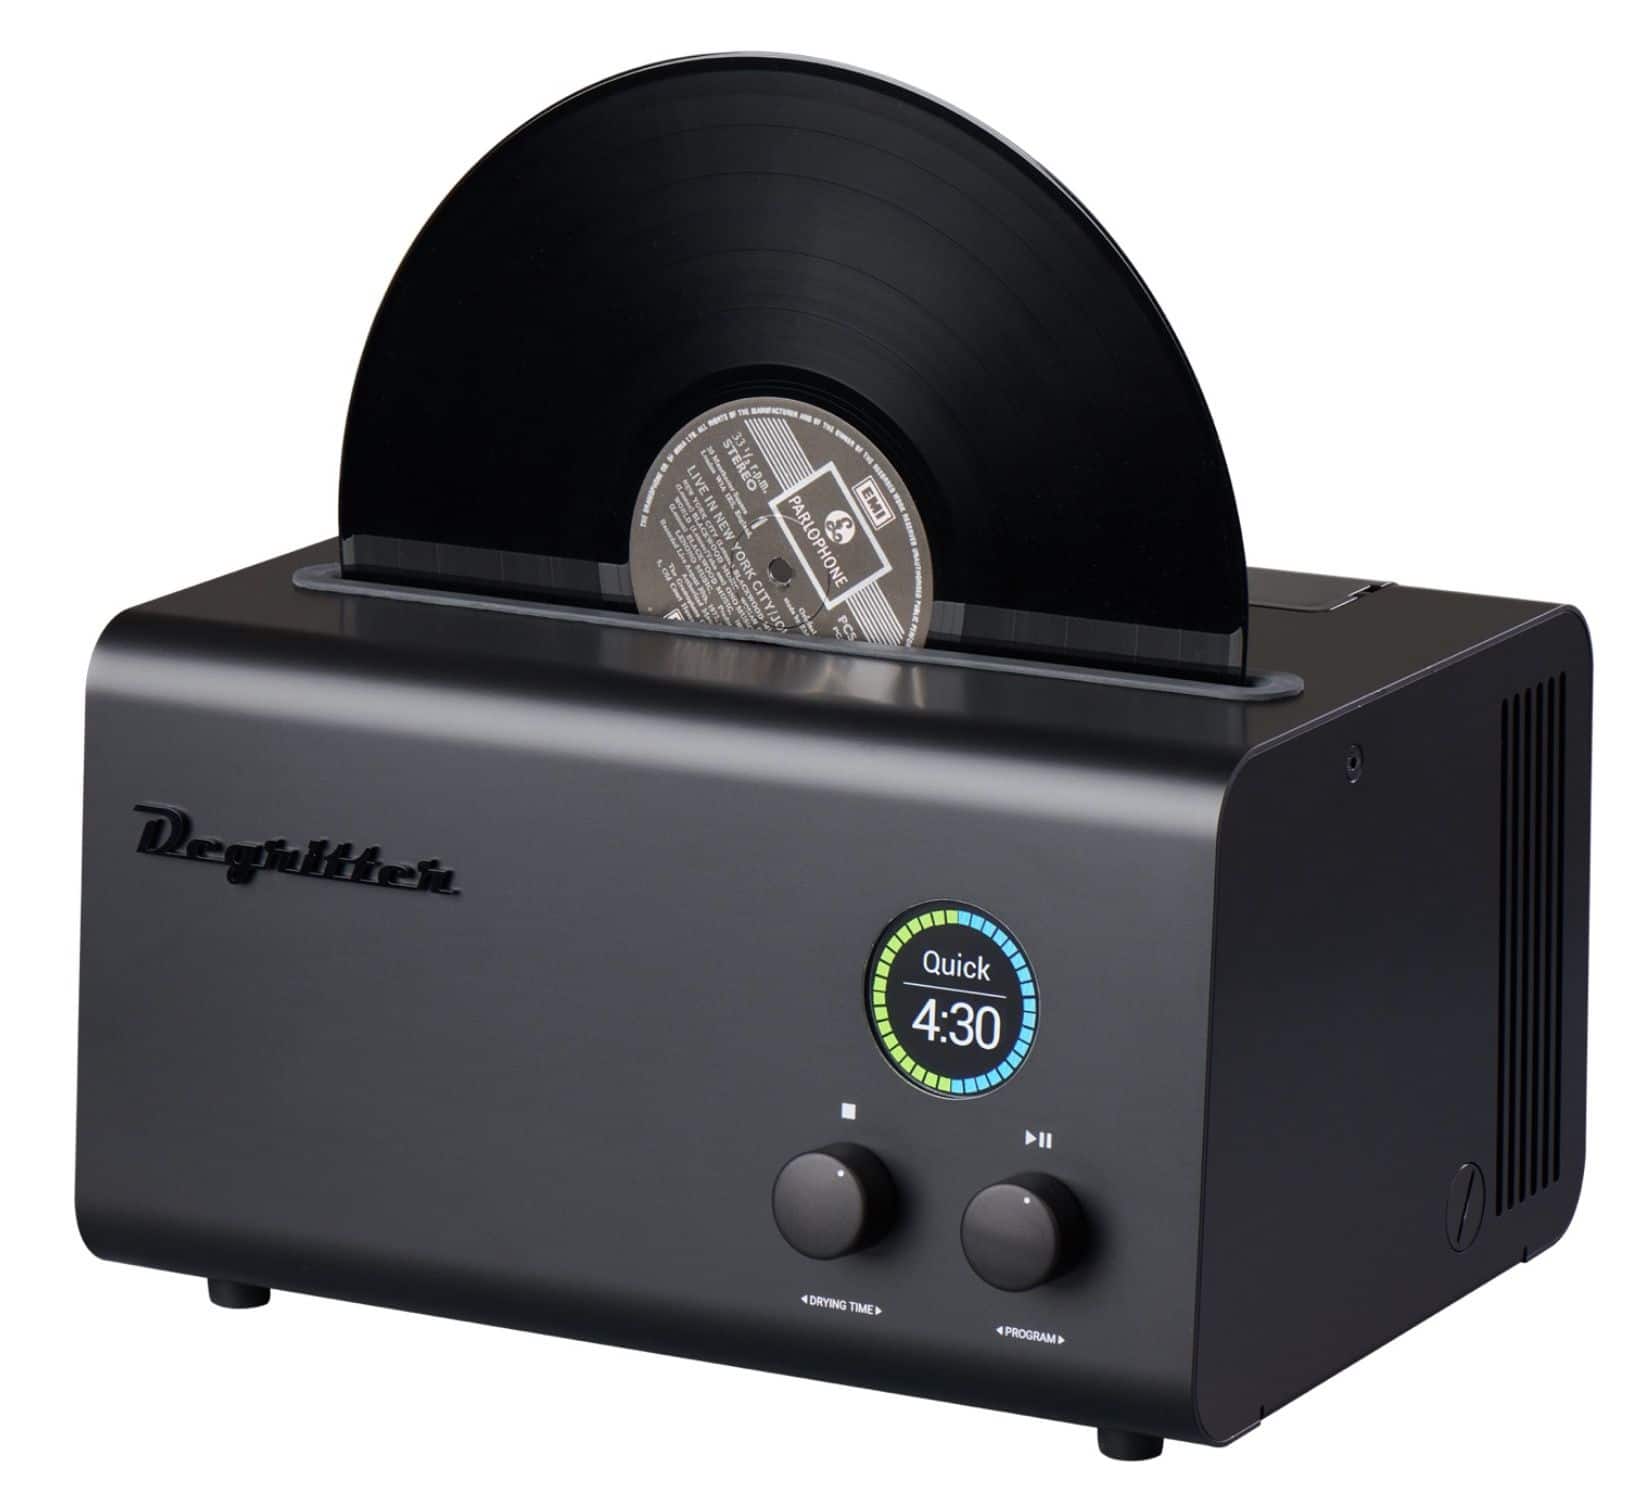
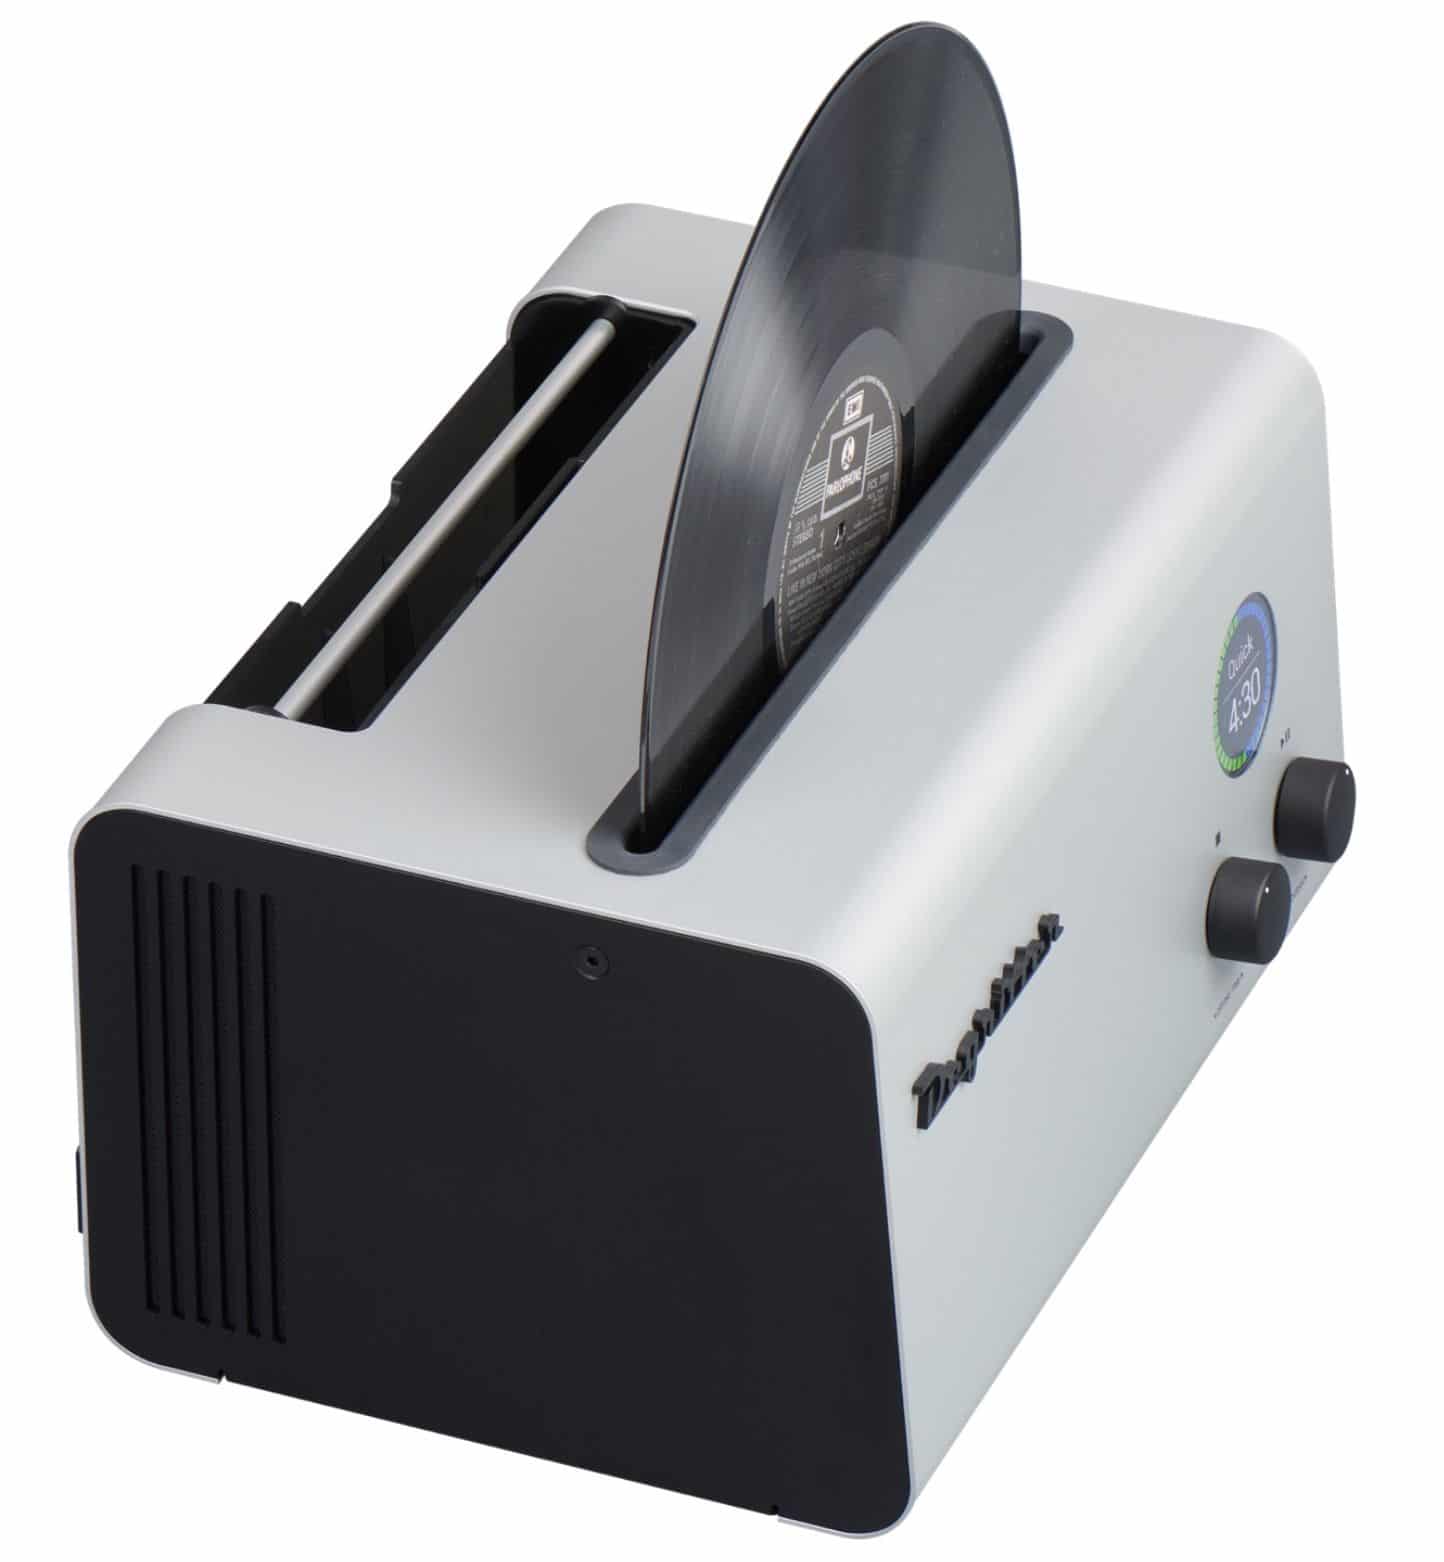
So what of my own review sample? The first test is performed after taking the machine out of the box. The meet and greet stage, you might say. The first impression. The Degritter certainly passes that test. It looks solid, feels solid (i.e. 370 x 280 x 210mm) and packs a weight (8.7kg) that screams, “Value!” It also arrives in a silver and black finish. I tested the silver variant.
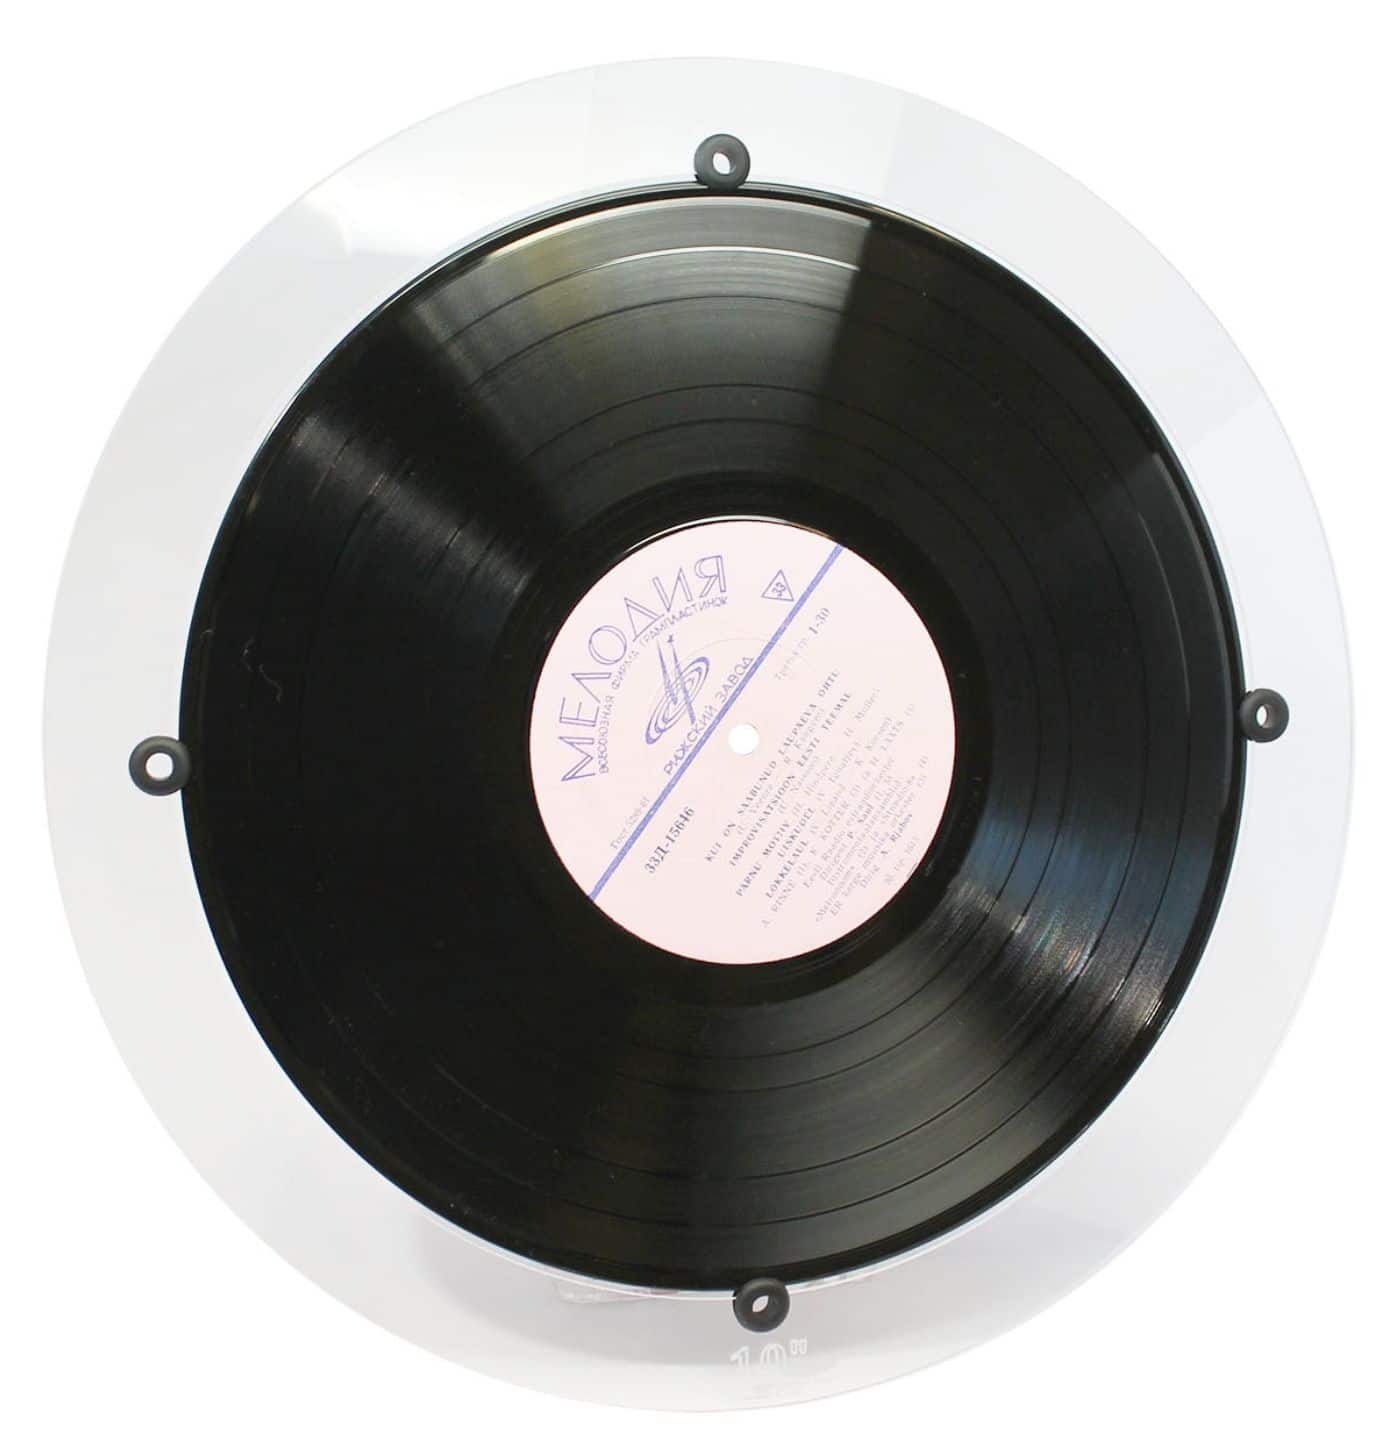
The Degritter is delivered enabling you to clean 12” records but there are 7” (€60) and 10” (€60) adaptors that you can purchase from the company. I wasn’t able to use those for this test but I hope to grab them for testing in the future.
Also, if you haven’t seen the machine in person but are only familiar with the few press images issued by the company? Those images gave the Degritter a toaster-like look. In the flesh, that feeling is still there but slightly less pronounced. The front facia slants up and back but the rest of the chassis is more chopped-up girder-like in aesthetic terms.
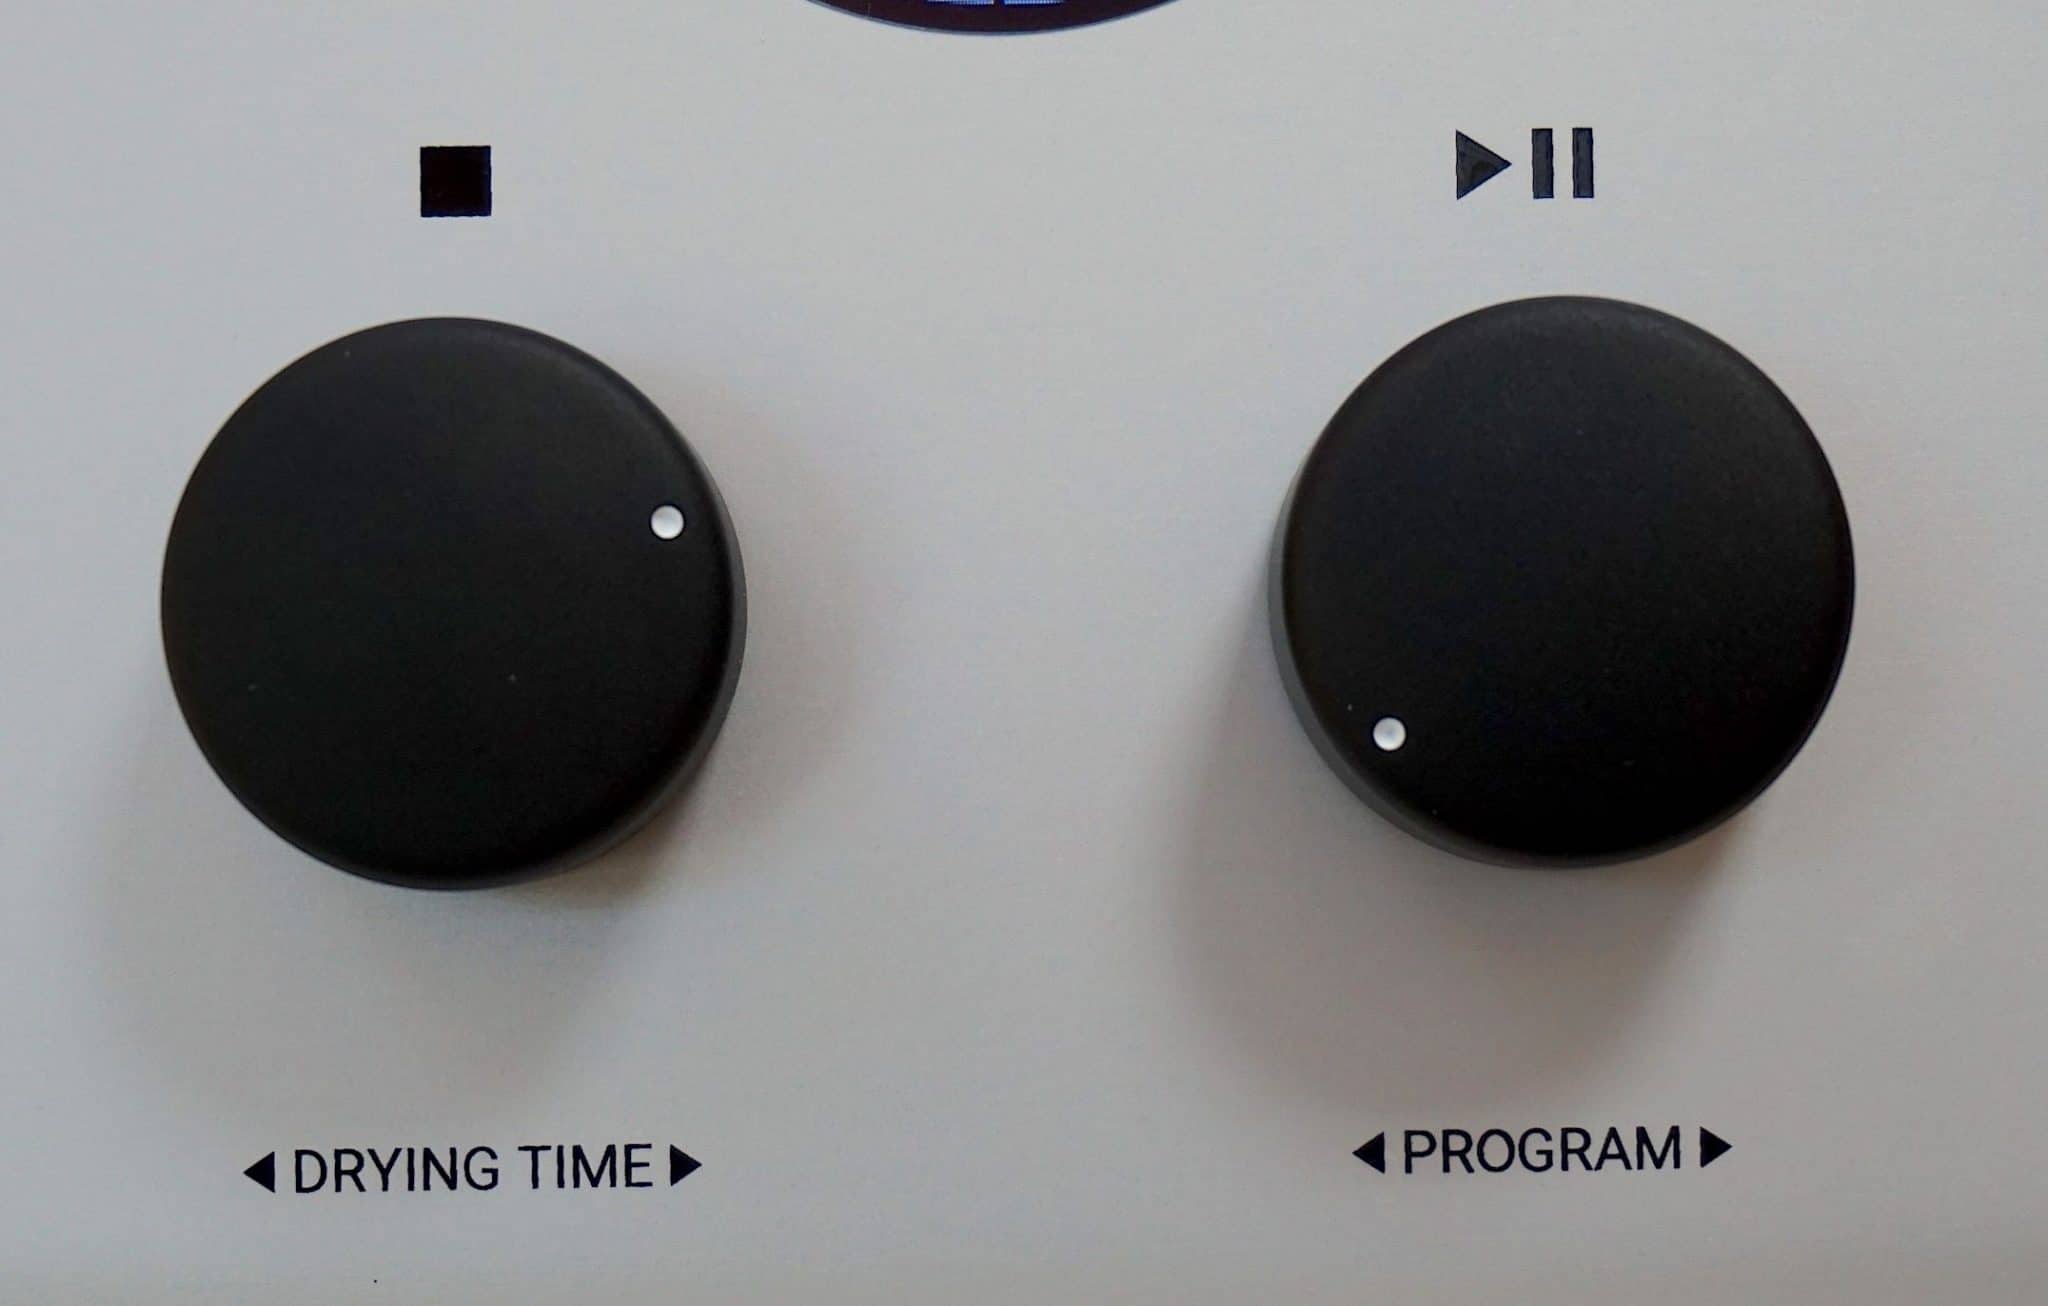
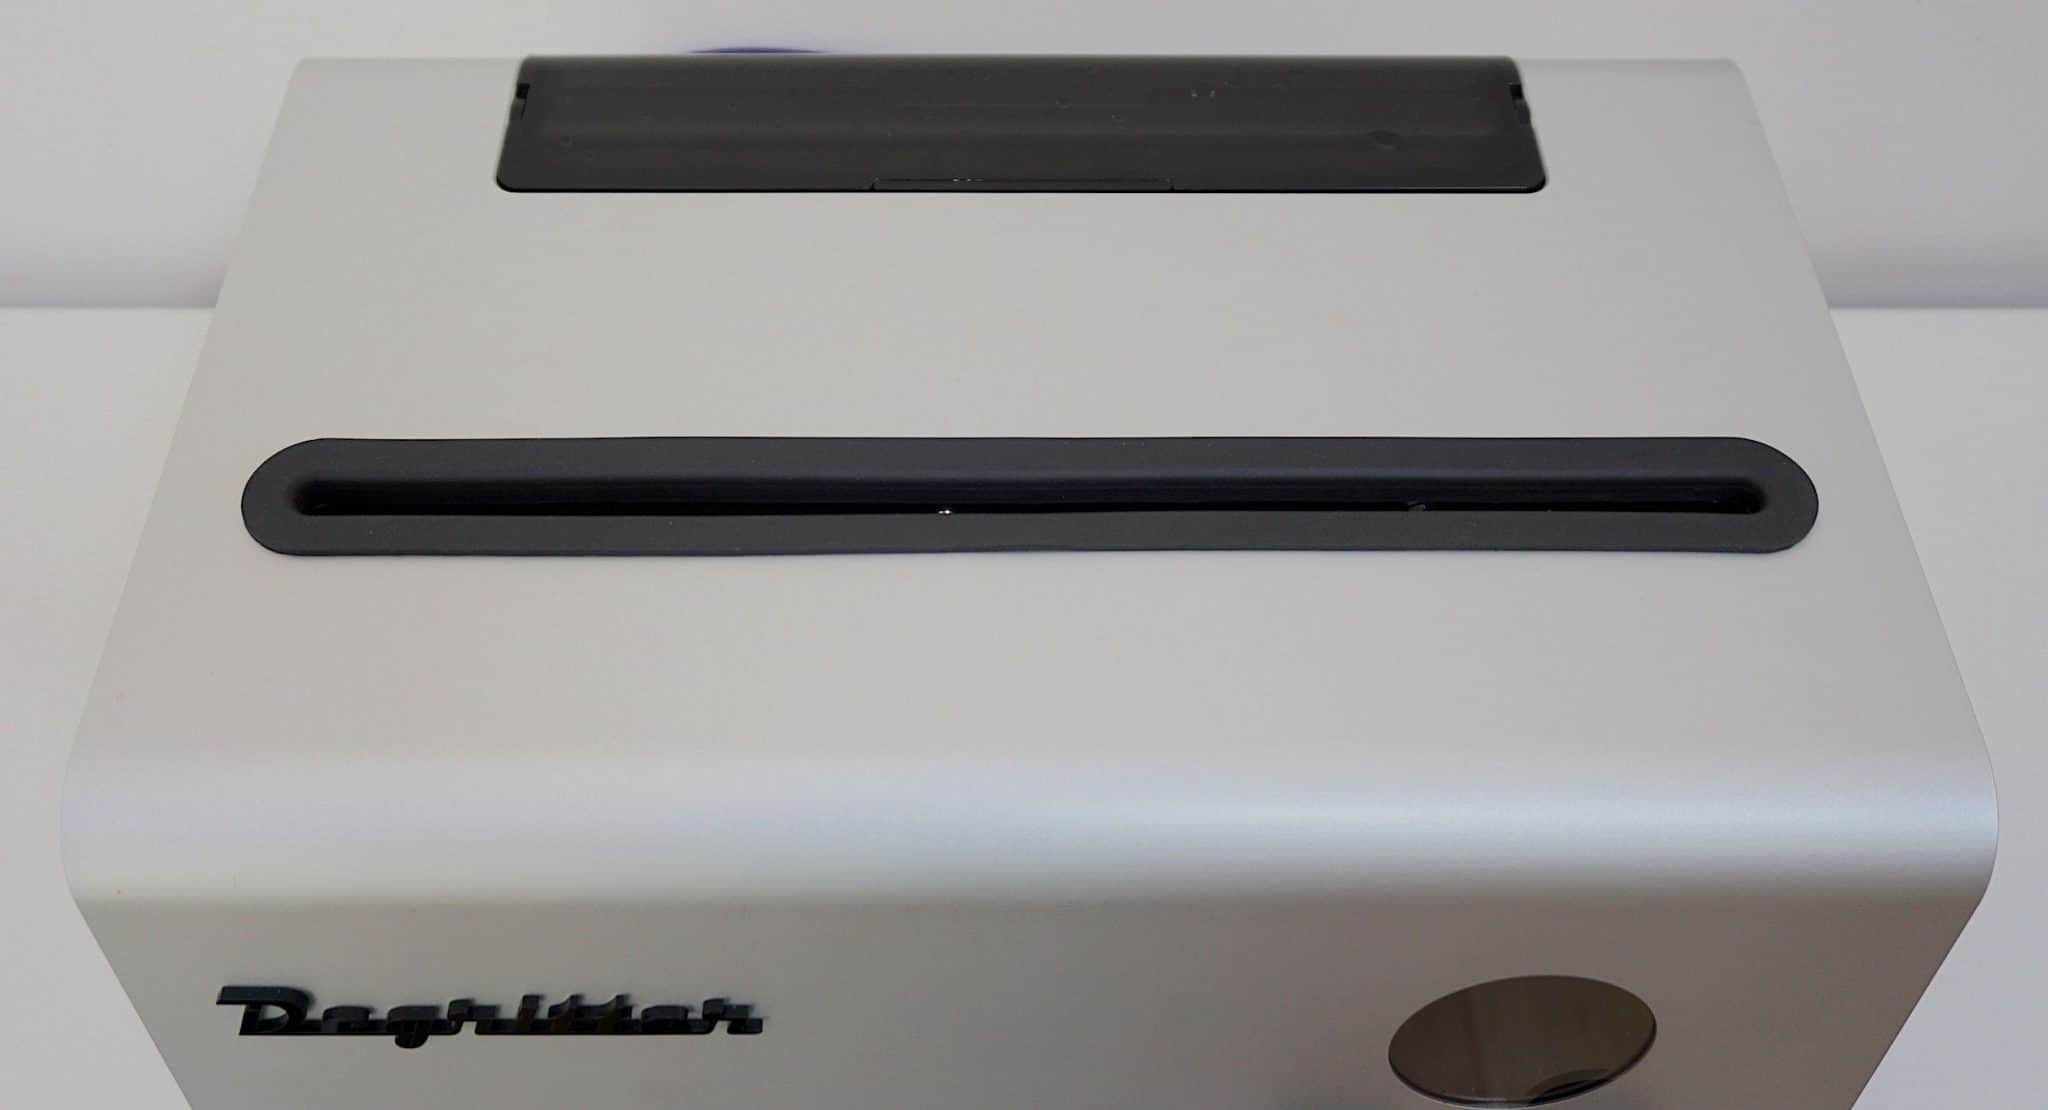
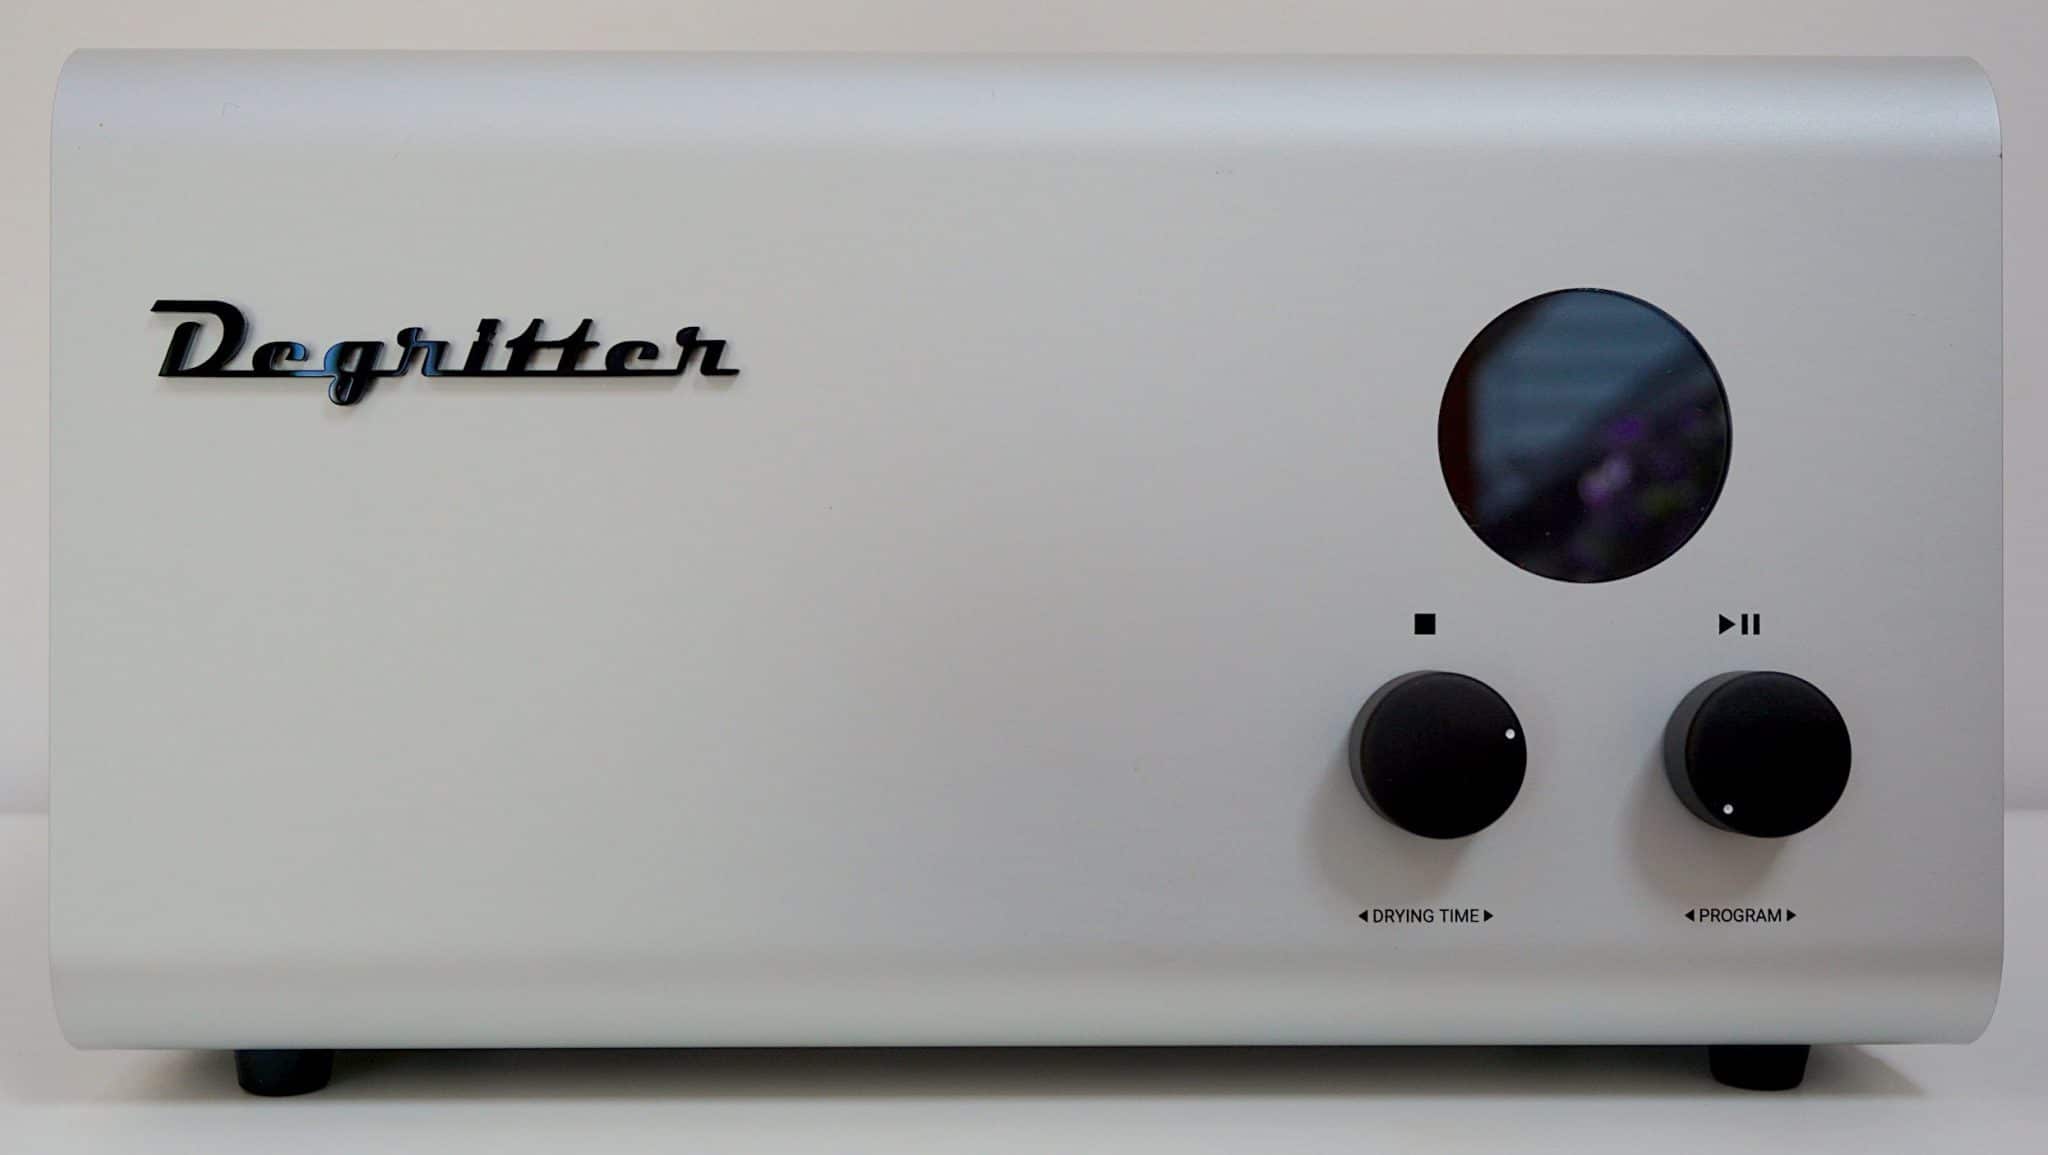
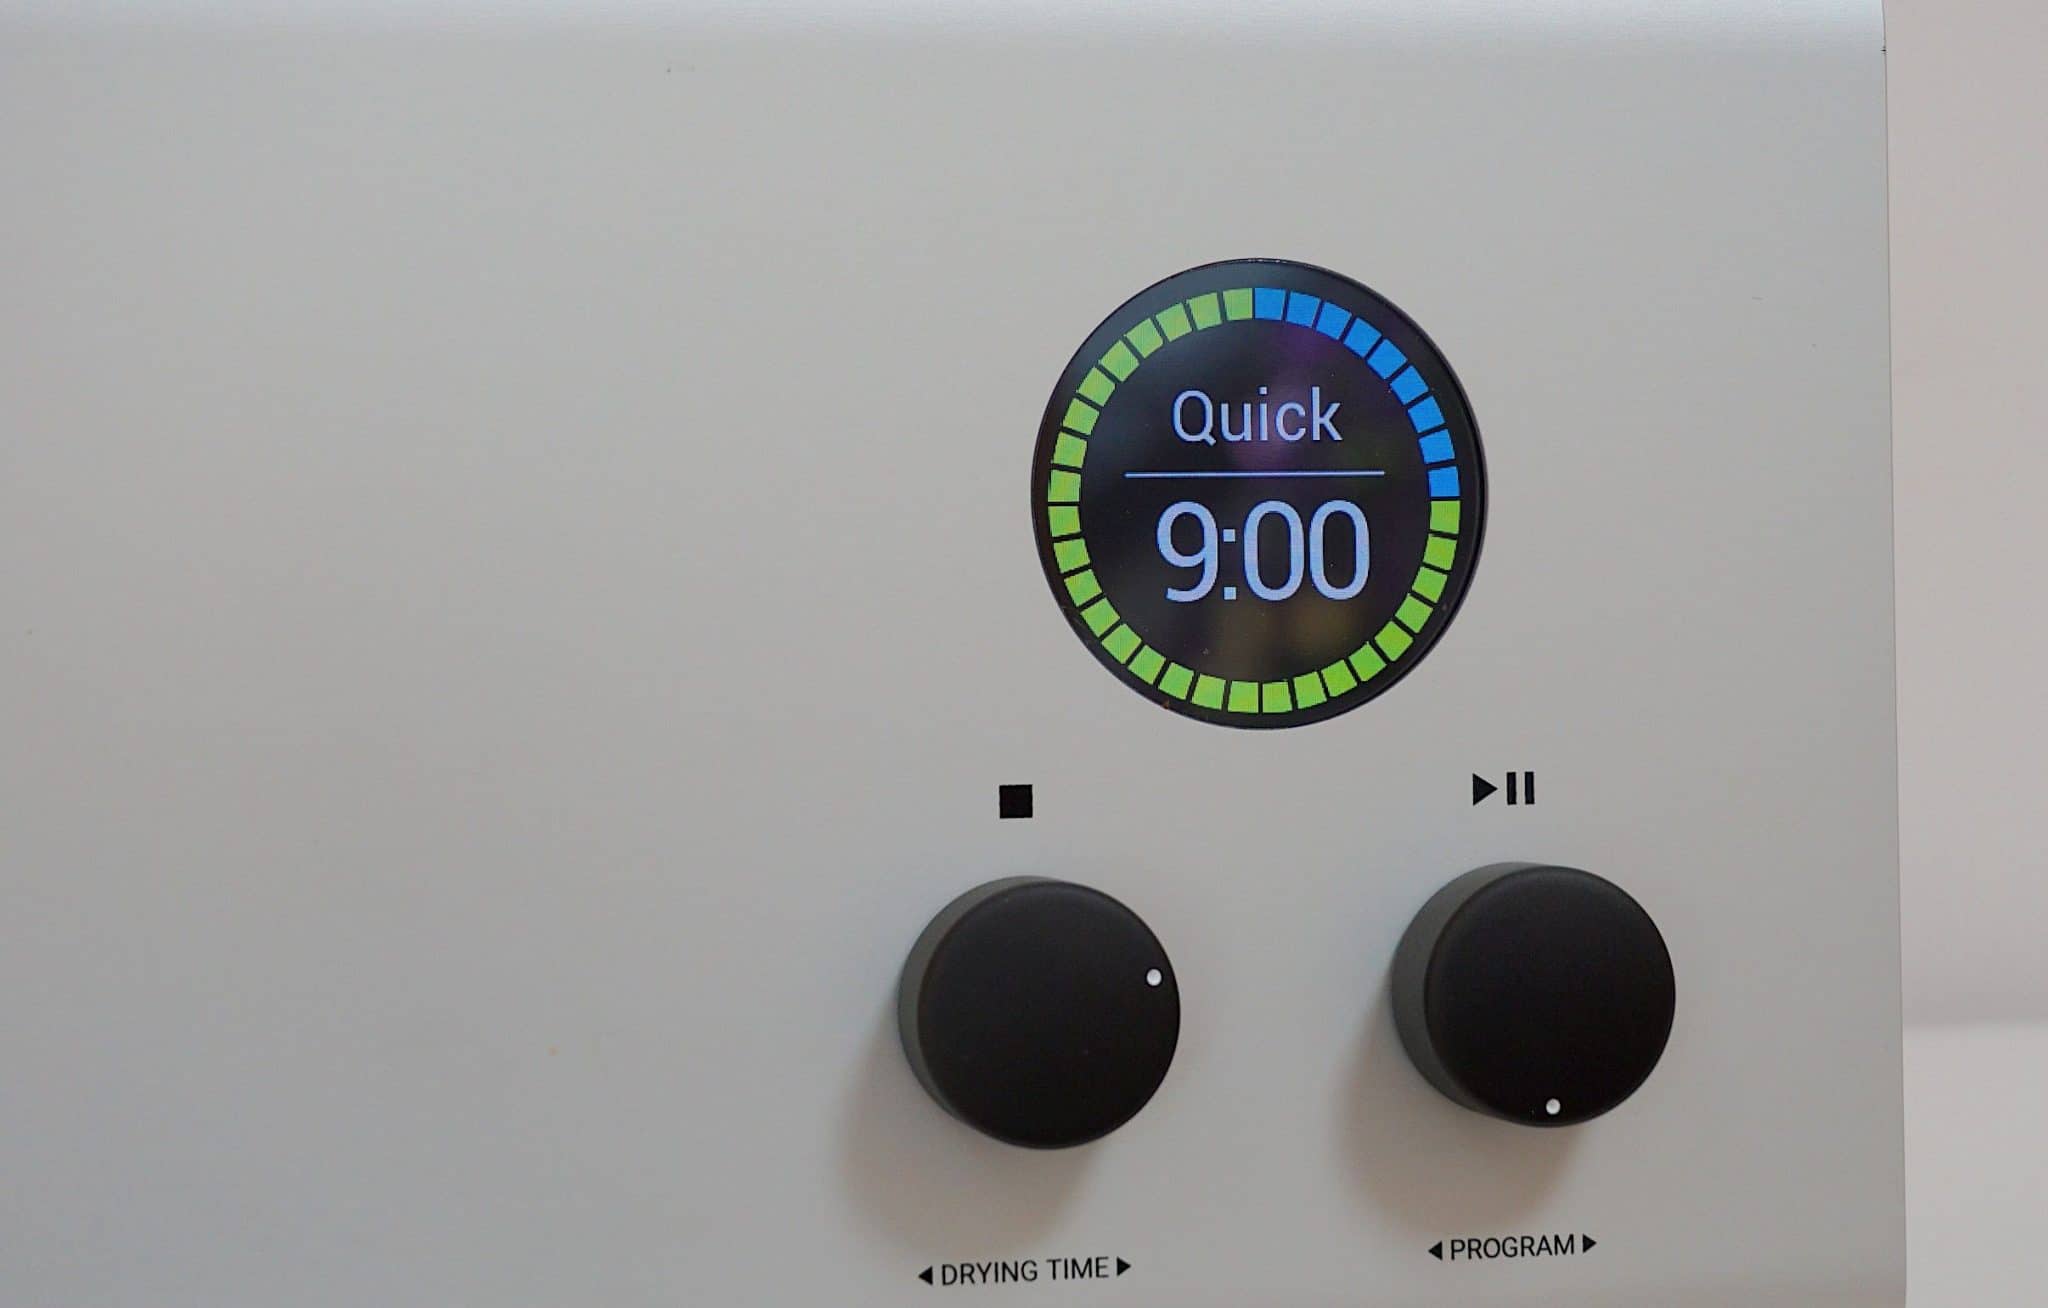
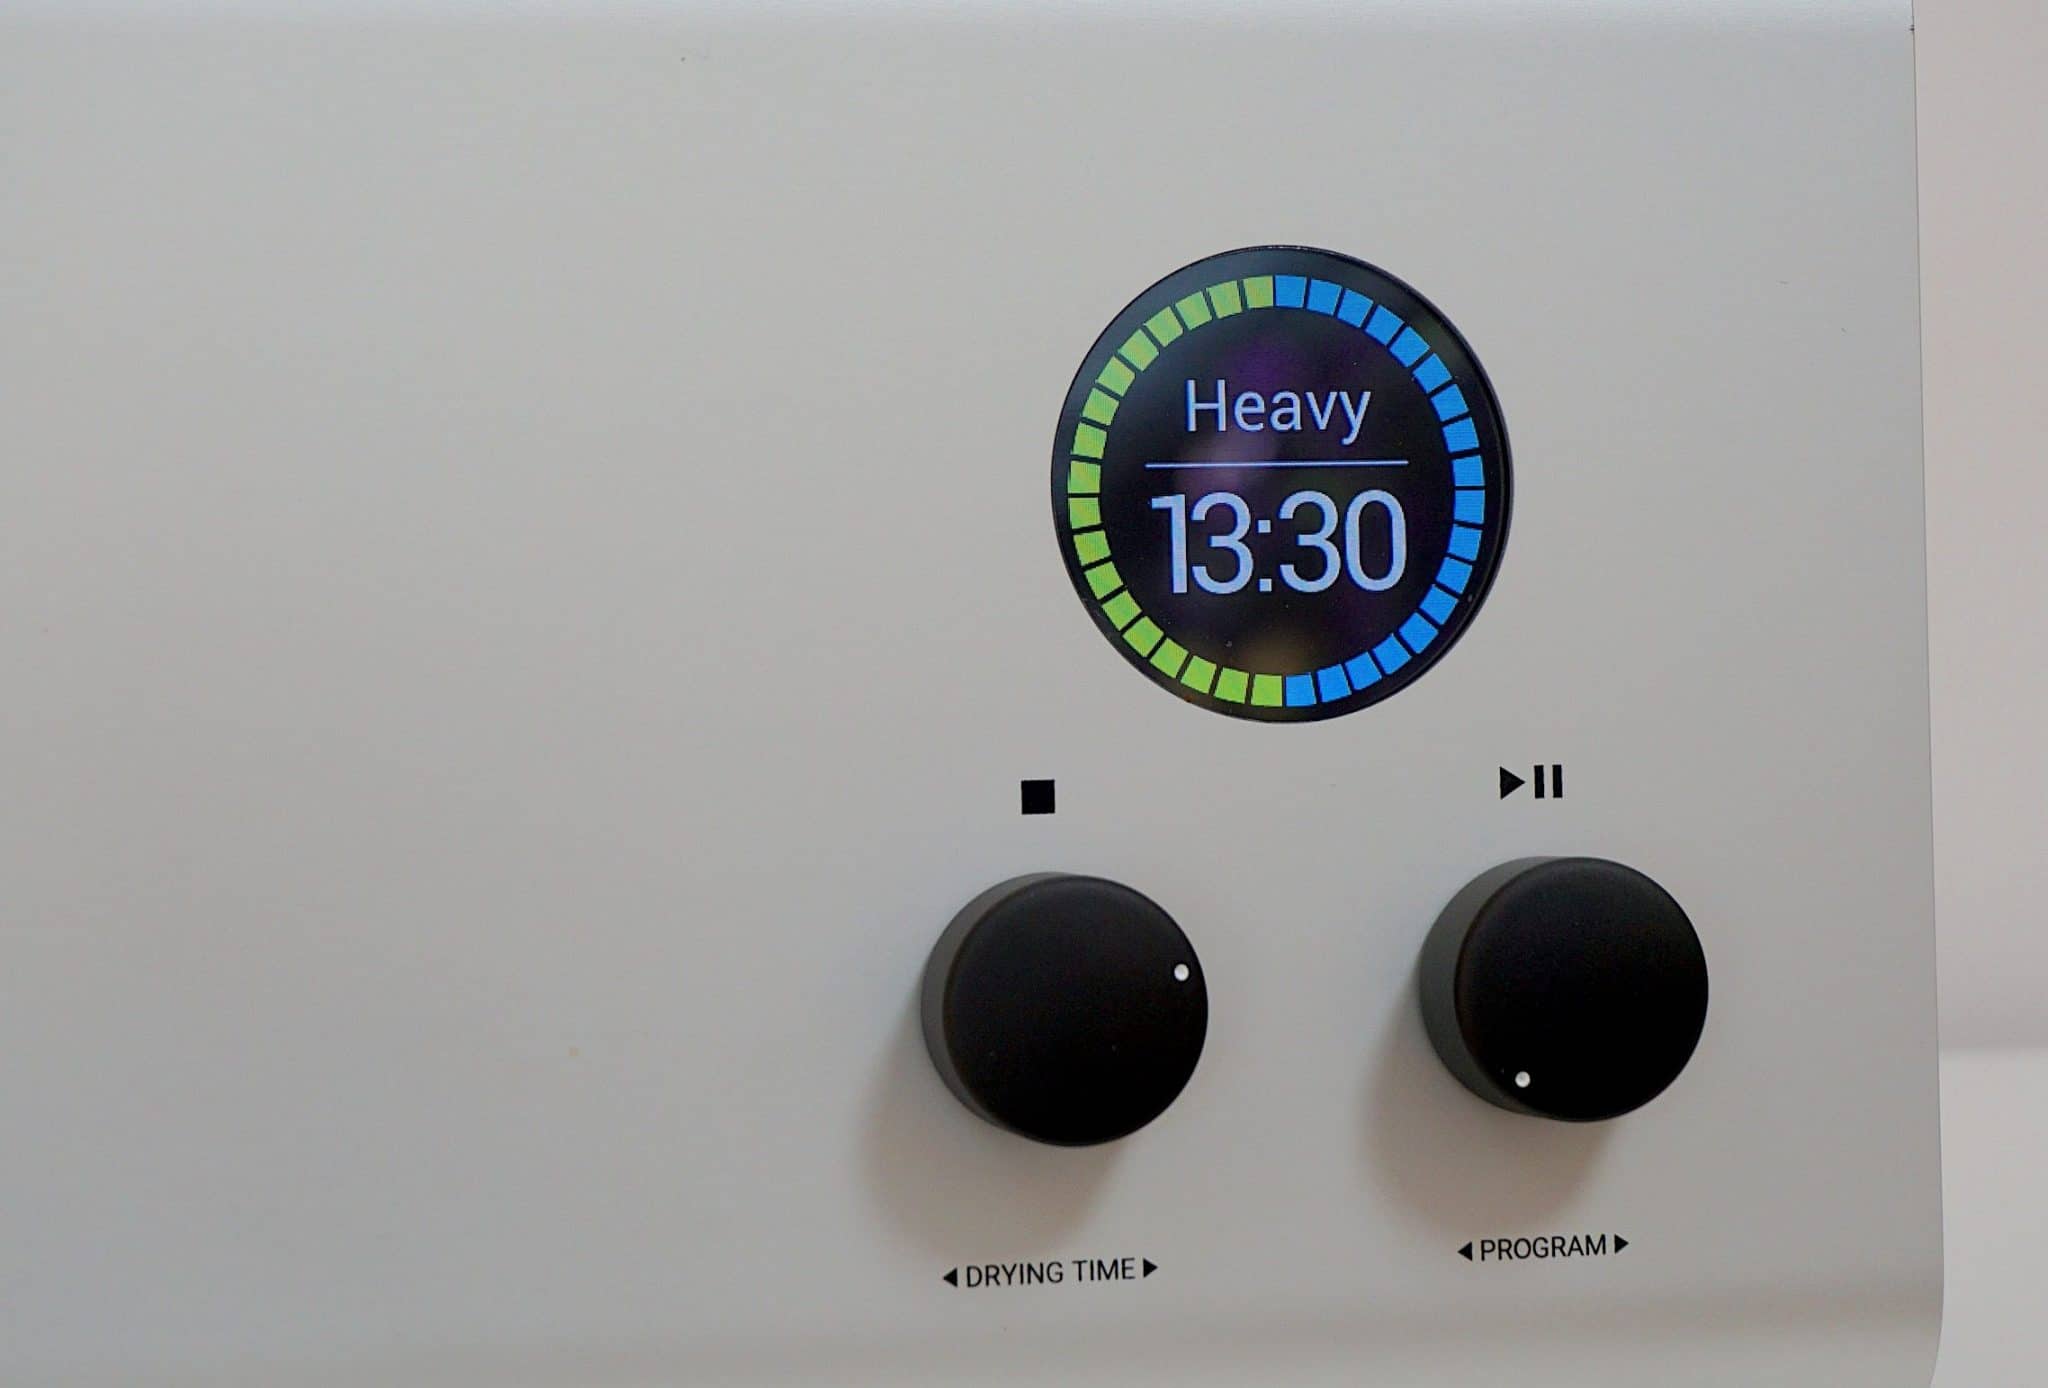
To prevent the design toppling towards the brutalist, that 50s-era logo sends the front fascia off with a flourish. To the right of that is a circular colour screen and two multi-function knobs. That is, they rotate but also push inwards.
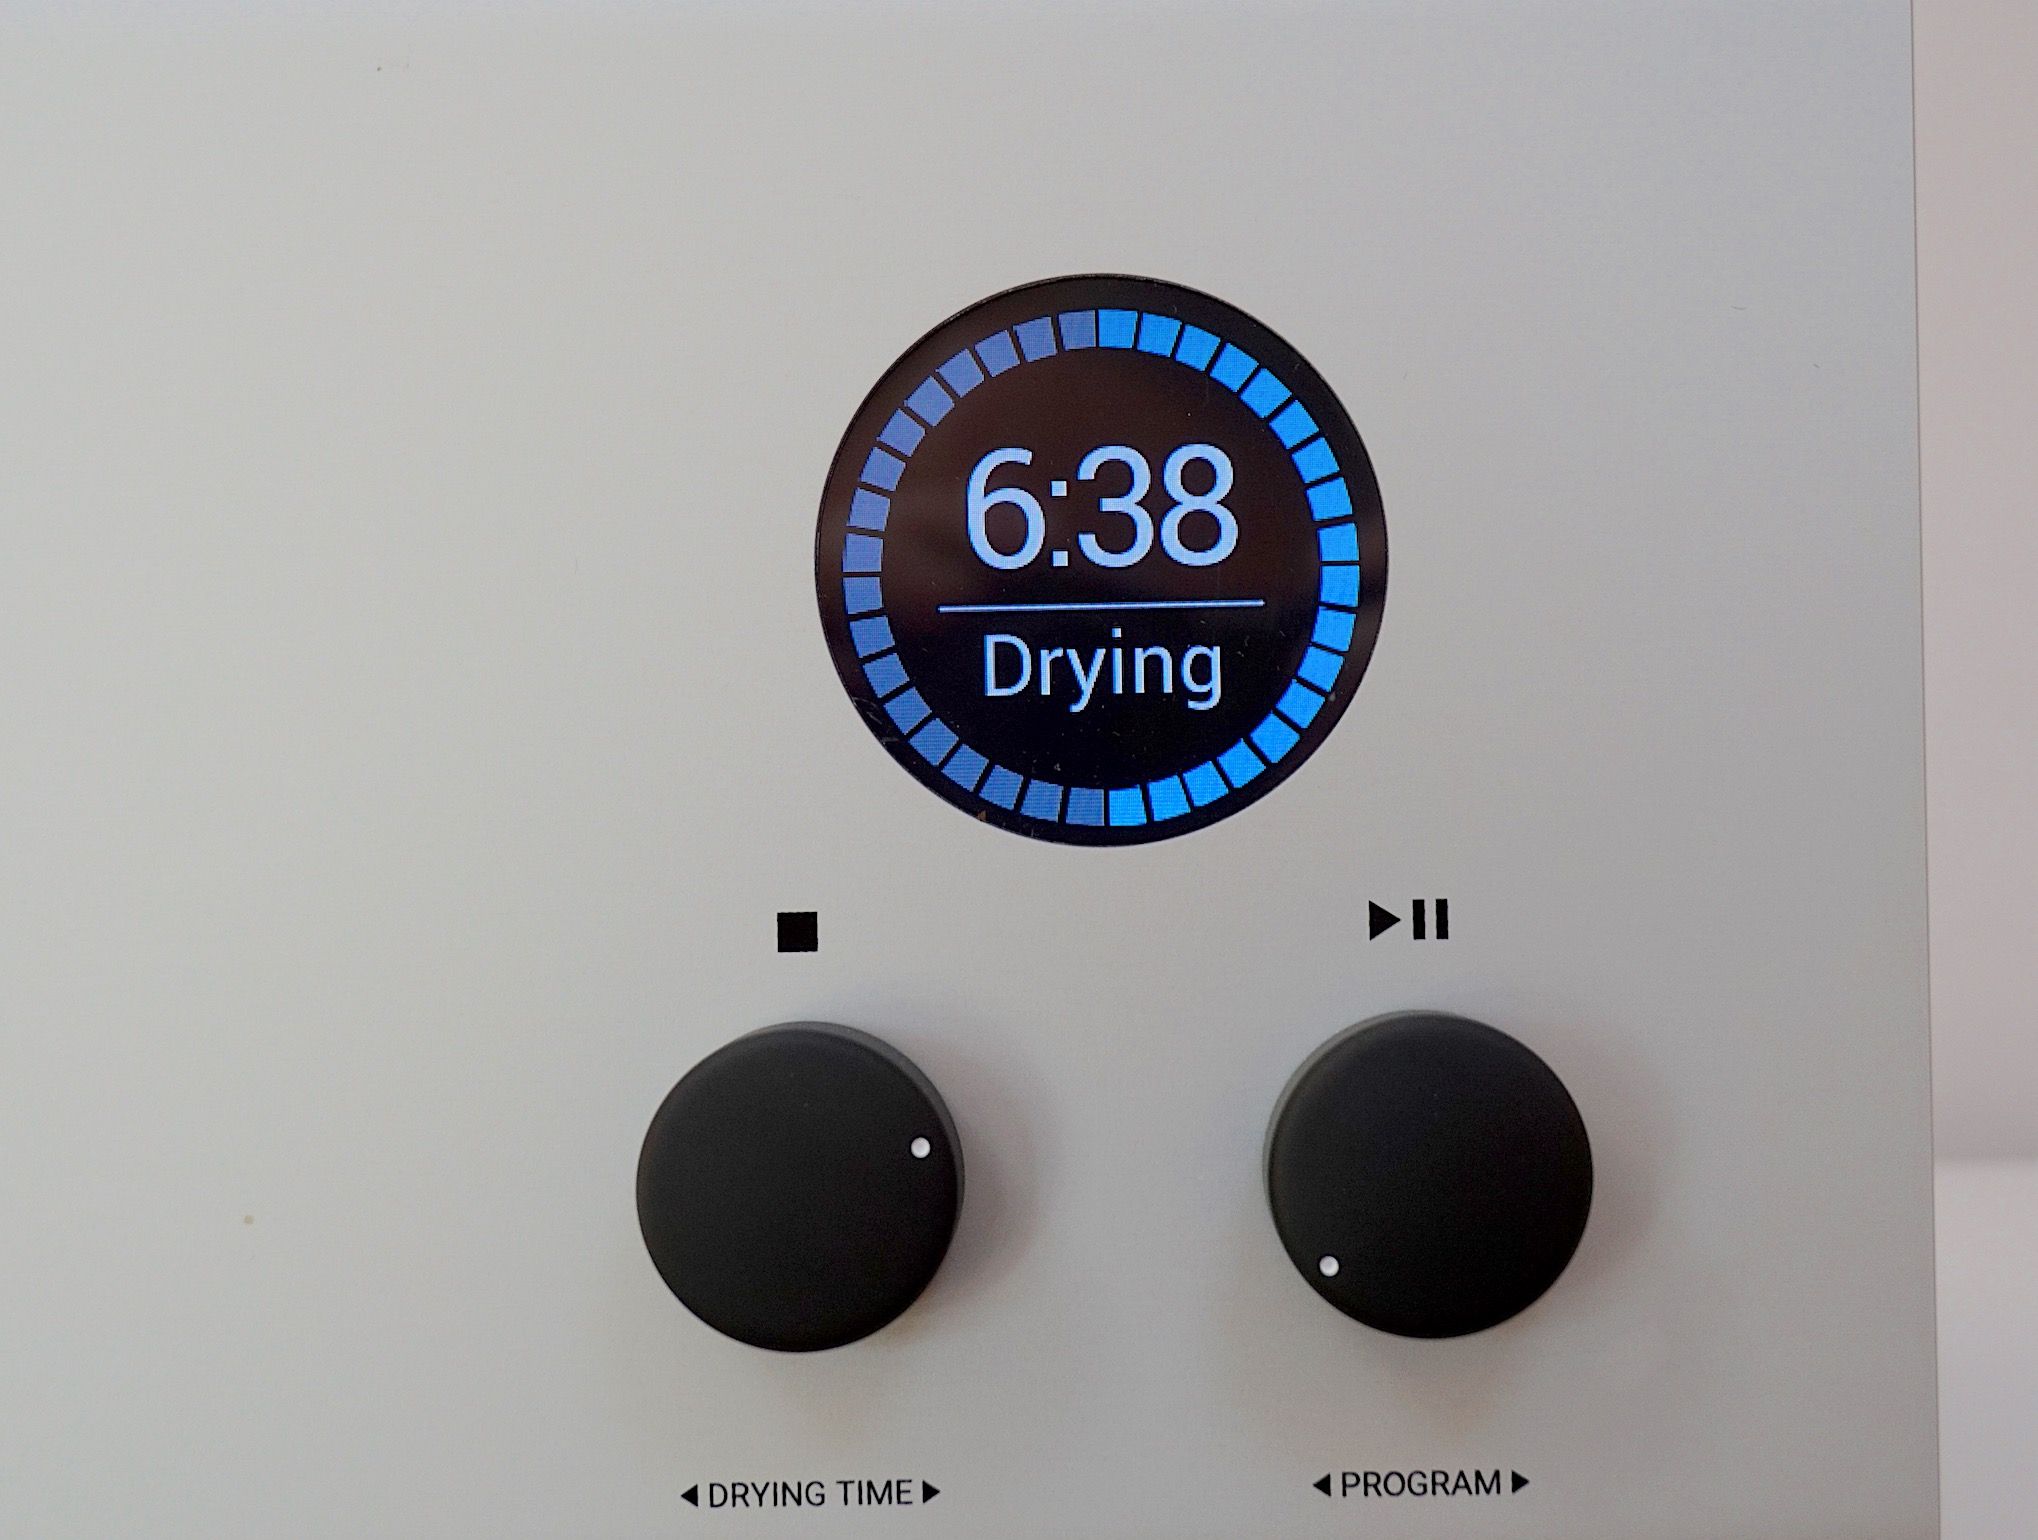
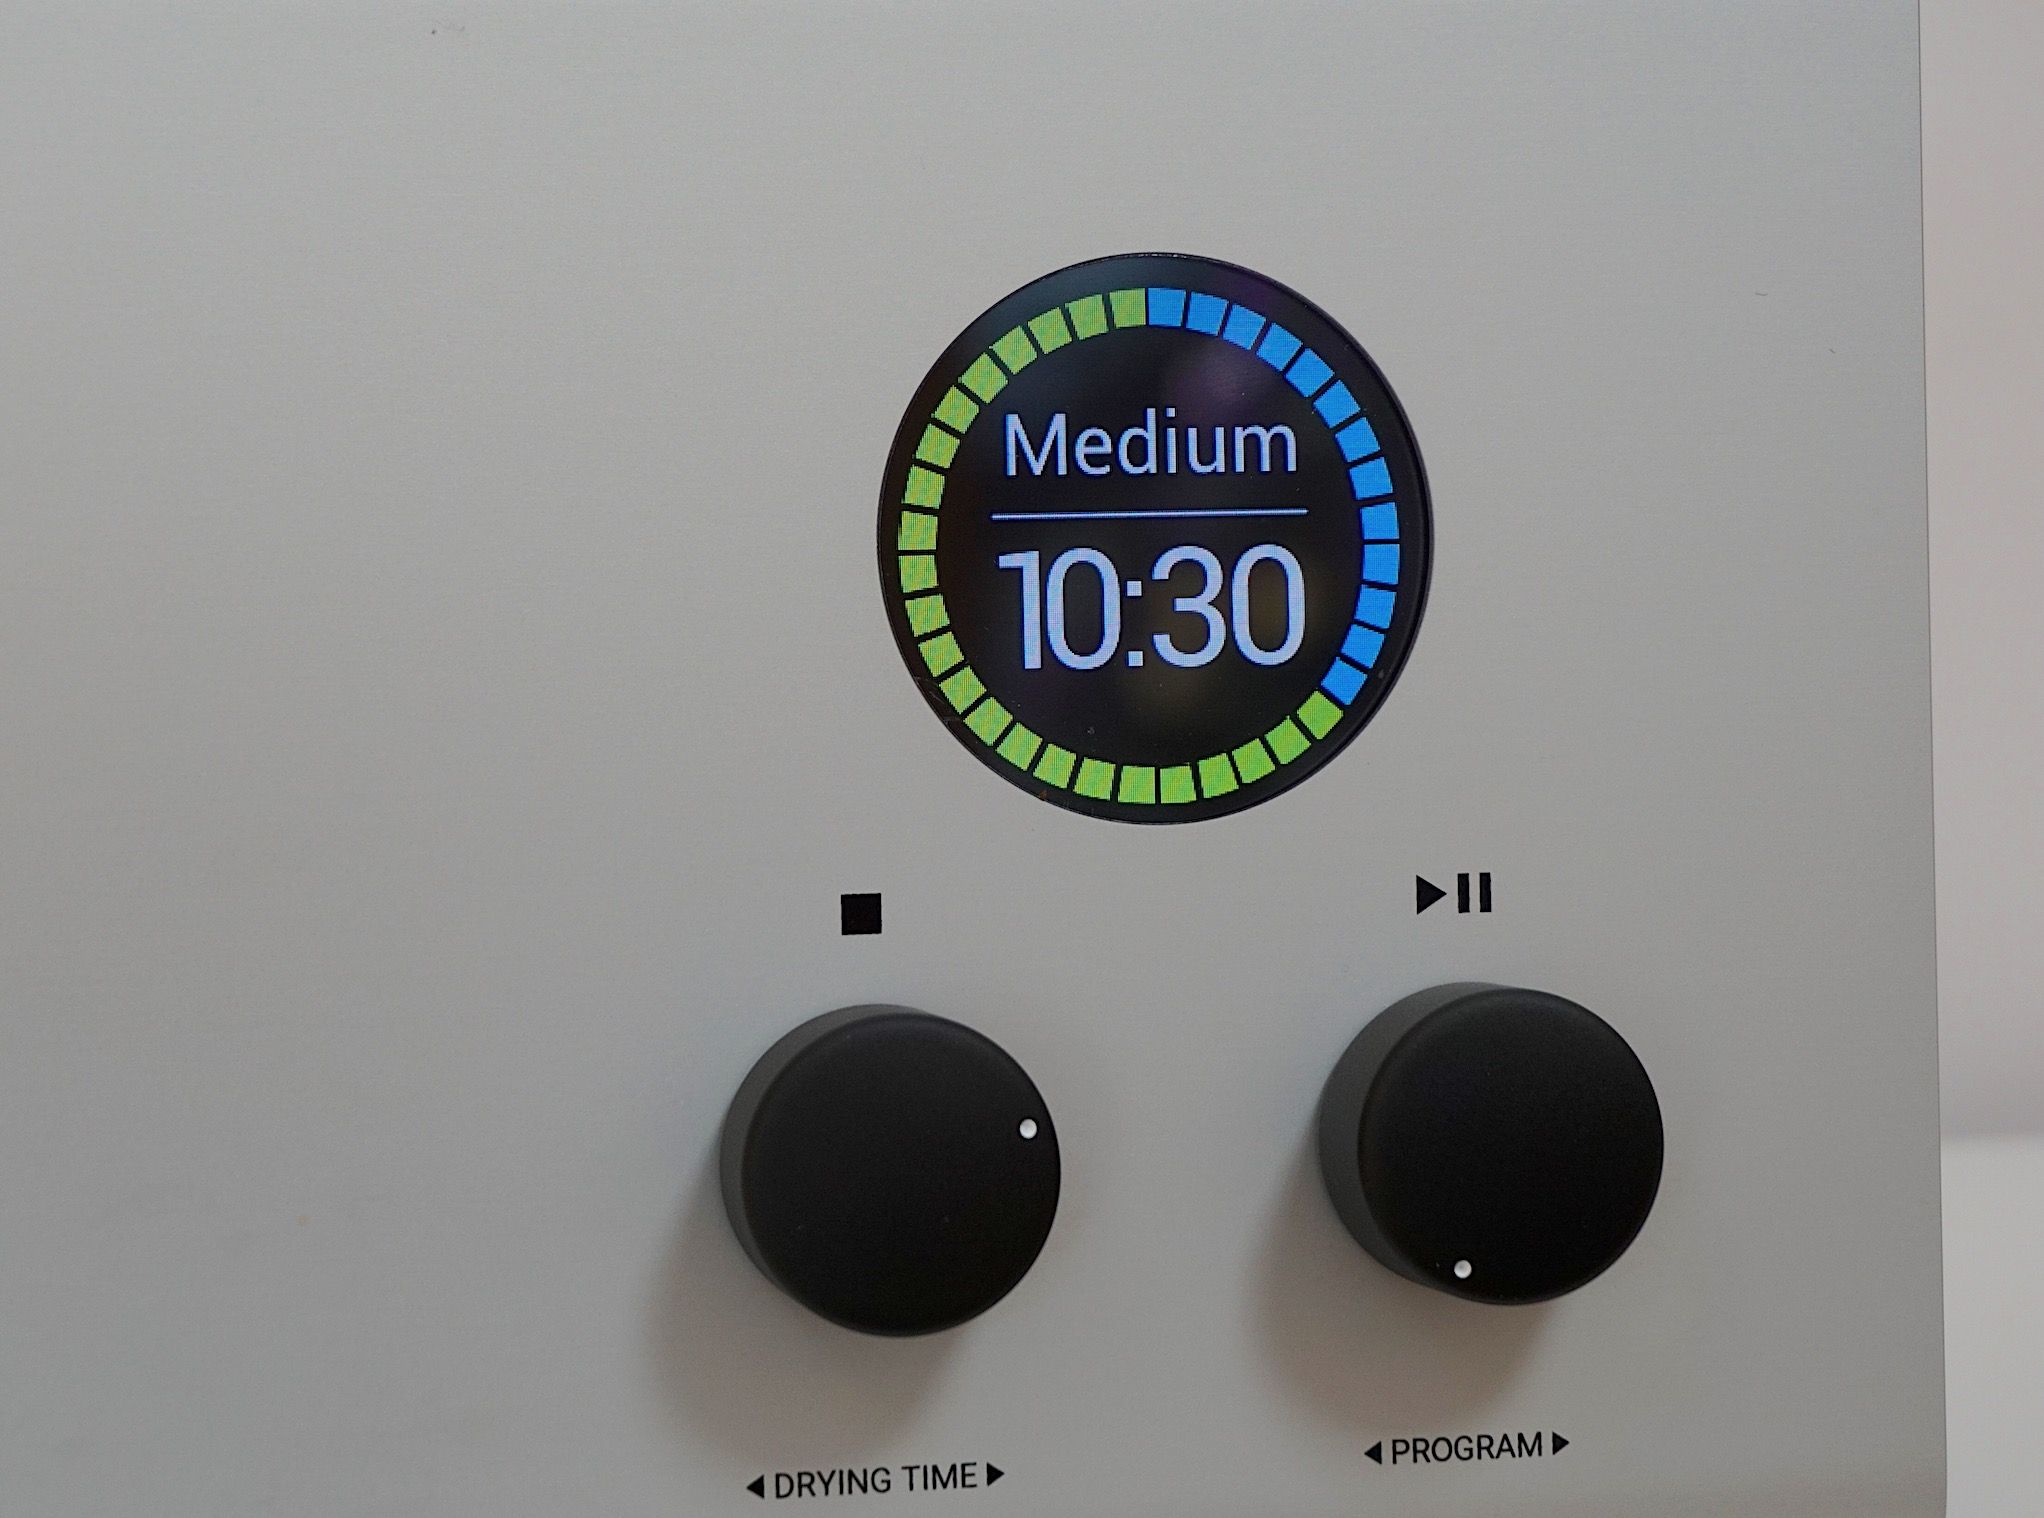
The left knob changes the drying time and stops the cleaning process. The right knob starts or pauses the drying process but also navigates a menu.
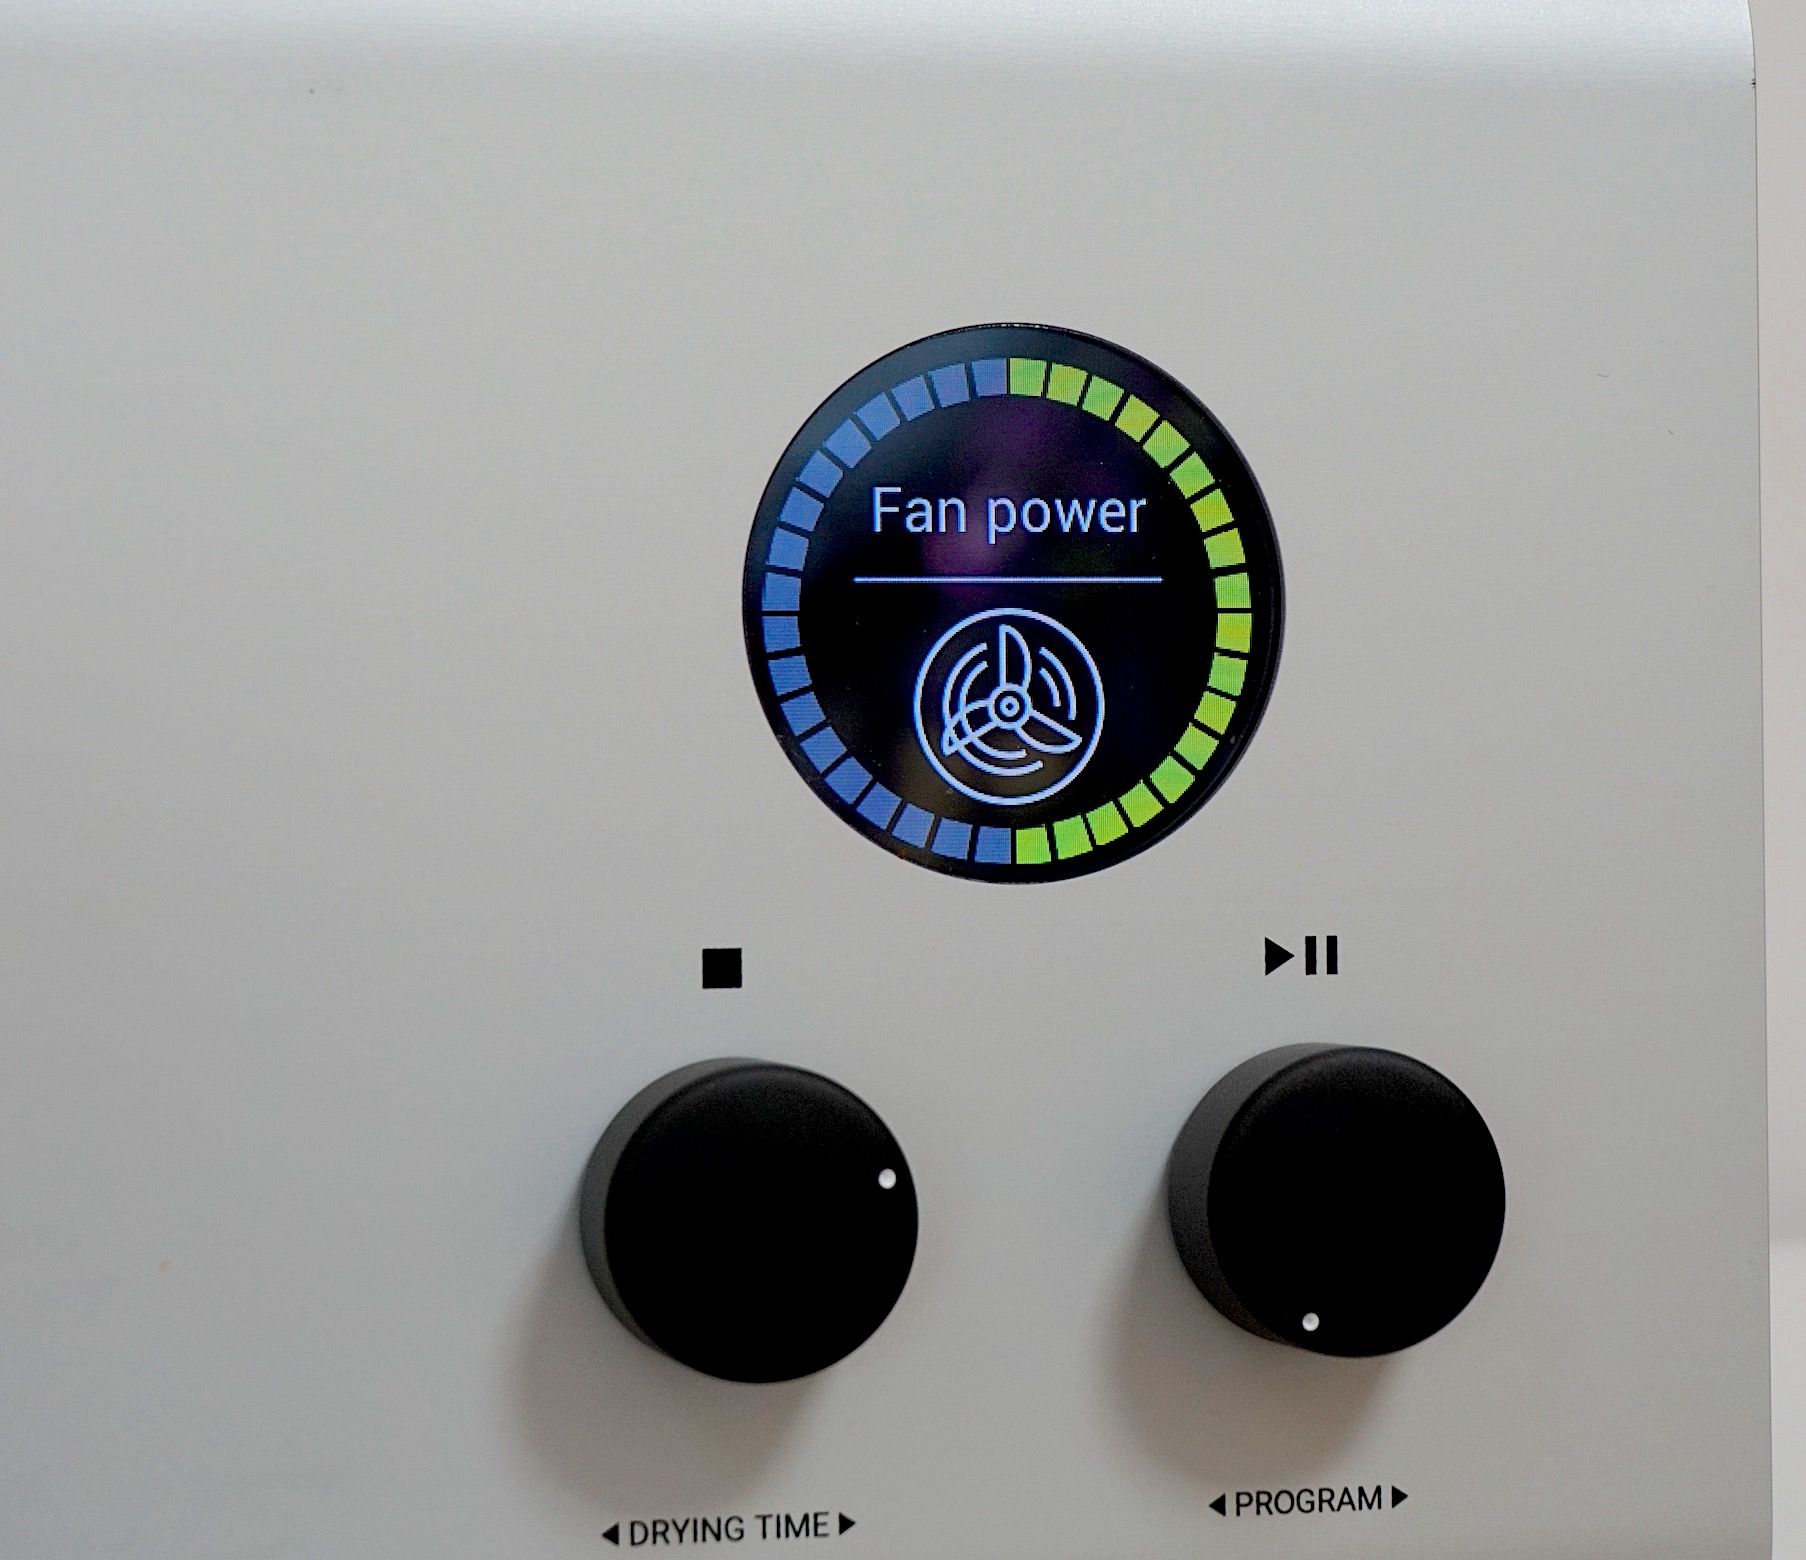
The circular screen provides a host of information. During the cleaning process, a circular, changing band of lights will show the ratio between the washing process and drying process in different colours, the total program time, the selected program and progress bar. It’s highly intuitive.
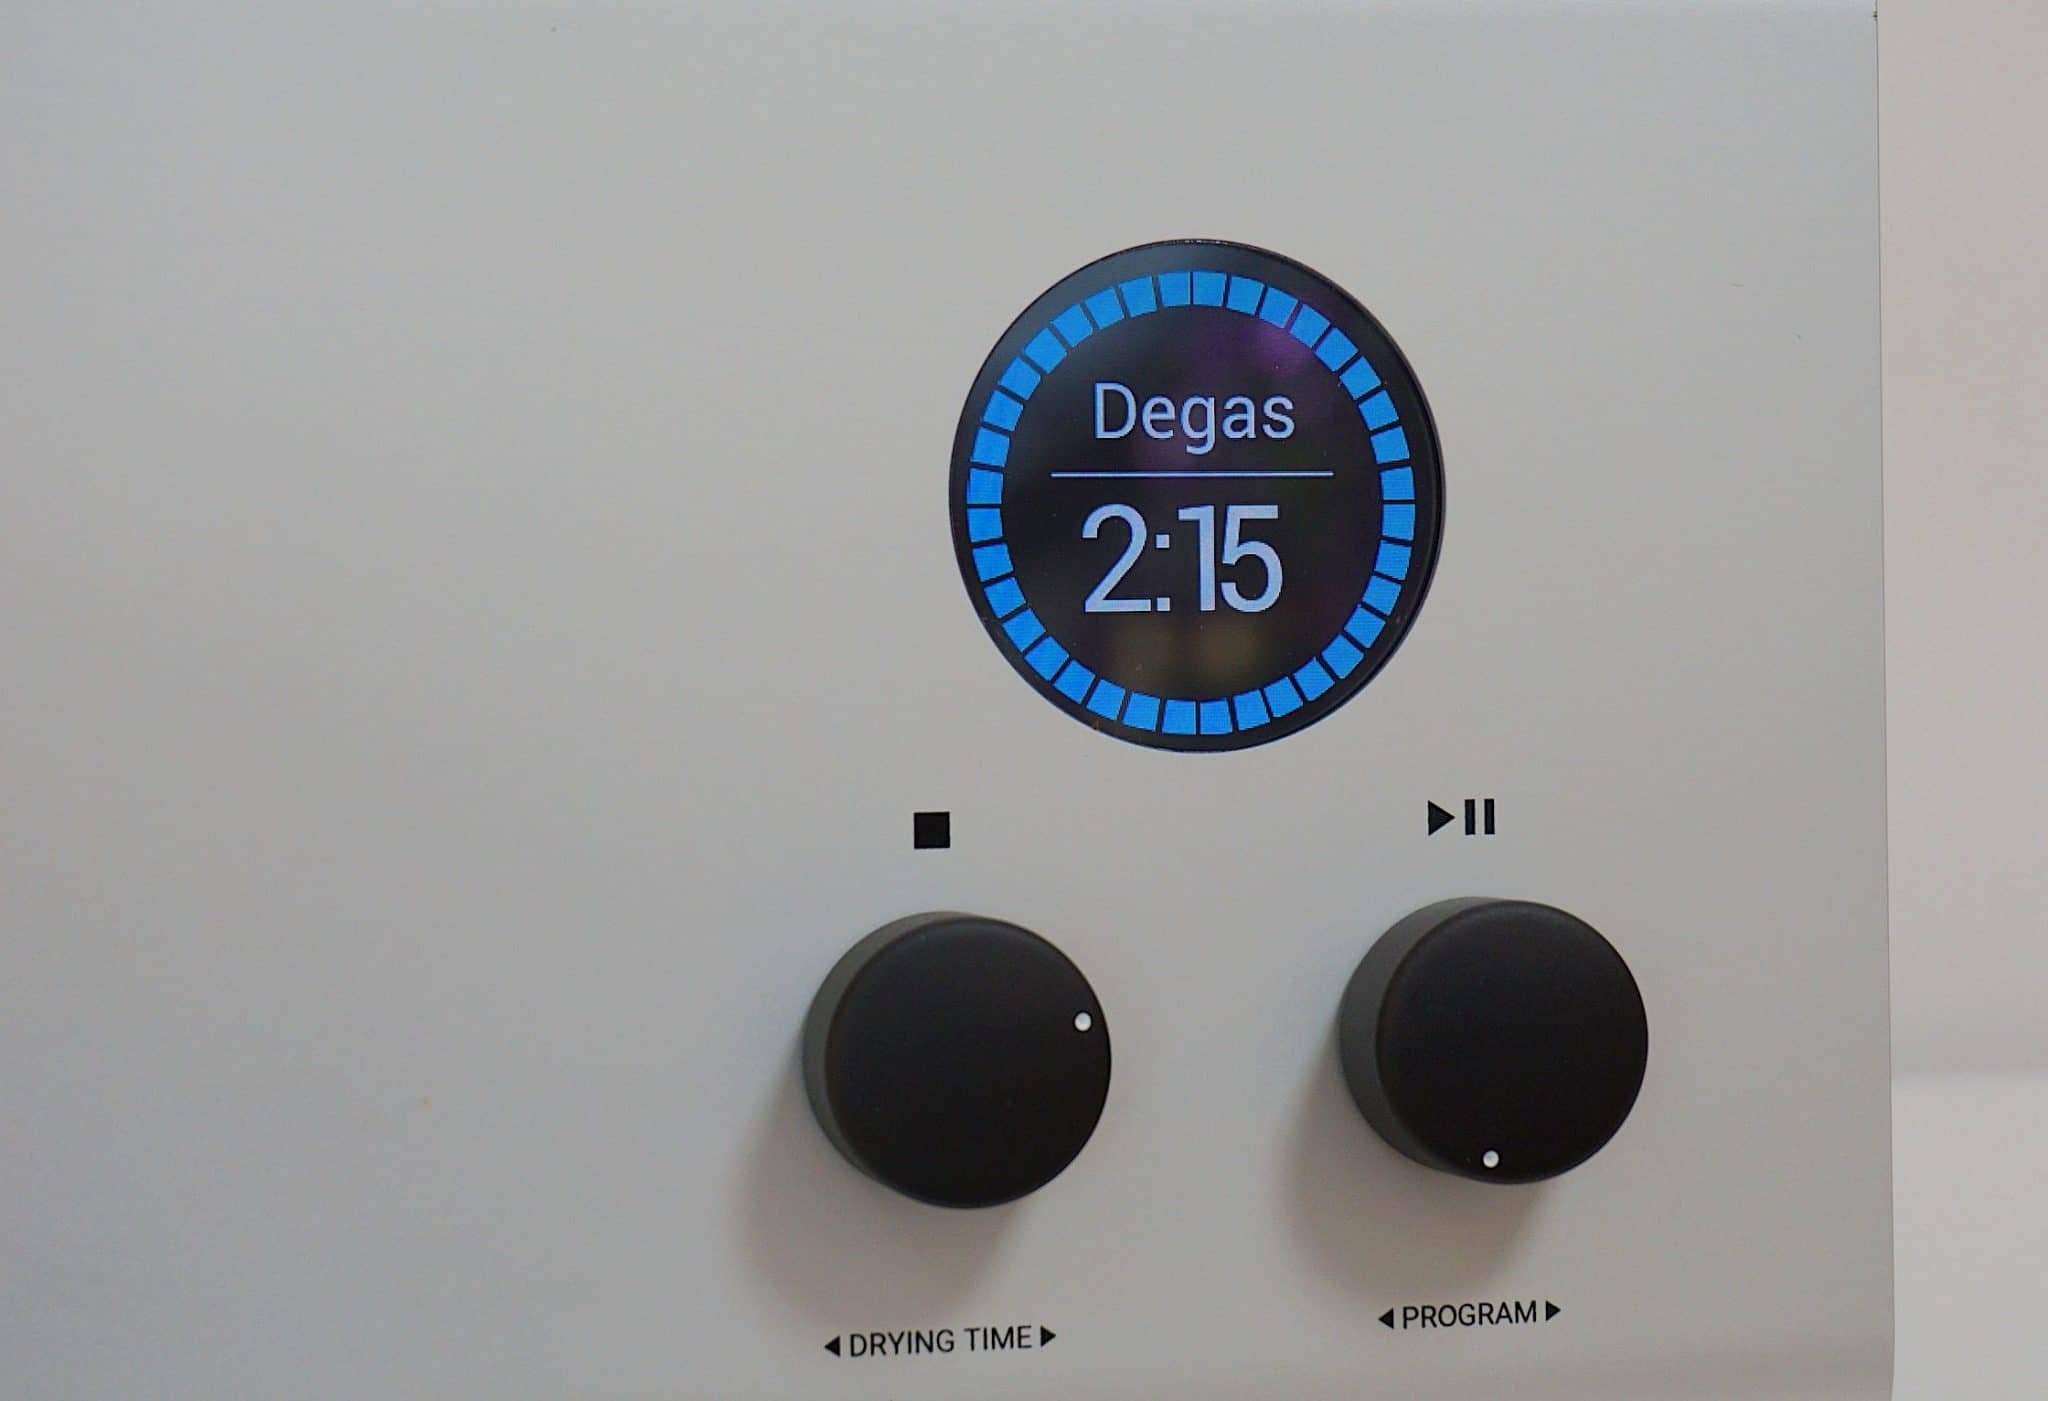
Delving deeper into the navigation window, here you can adjust the drying time and bounce between Quick (2min 15sec), Medium (3min 45sec) and Heavy (6min 45sec) cleaning cycles. Three audio beeps tell you that the cycle has been completed.
The Medium cycle is your standard cycle. Quick is for generally clean records that may have accumulated some light dust over the days and weeks while Heavy is for more thorough jobs. I tended to use the latter during tests because it proved more effective, at least it did to me.
The Dry option is automatically attached to each cleaning cycle. It can also be selected as a separate program and can be extended up to just over 15 minutes or, indeed, turned off altogether if needs be. I like the fact that this option is also available separately. I find that, at least in other ultrasonic machines, either the vinyl recipe or the profile or weight or all three has a bearing on how fast a disc will dry. This variation is invaluable, therefore. That said, the default wash/dry cycle proved to be just fine for all of my tests discs.
Even better? You can change the drying time during the program itself, on the fly, as it where.
Connected to that is the ability to vary the drying fan speed and also the fan noise. If you lower the fan speed and noise the drying time will increase, though. A very useful option nevertheless, especially if you’re using the machine at night and you don’t want to disturb the rest of the family.
I’m also happy to see a ‘degas’ or ‘degauss’ depending on your affiliations. Whatever your favourite, this option ‘smooths’ the water, removing any trapped oxygen, for example, which can hamper the cleaning process. The operation takes two minutes and 15 seconds. Once underway, the Degritter takes the water from the bath and does the deed.
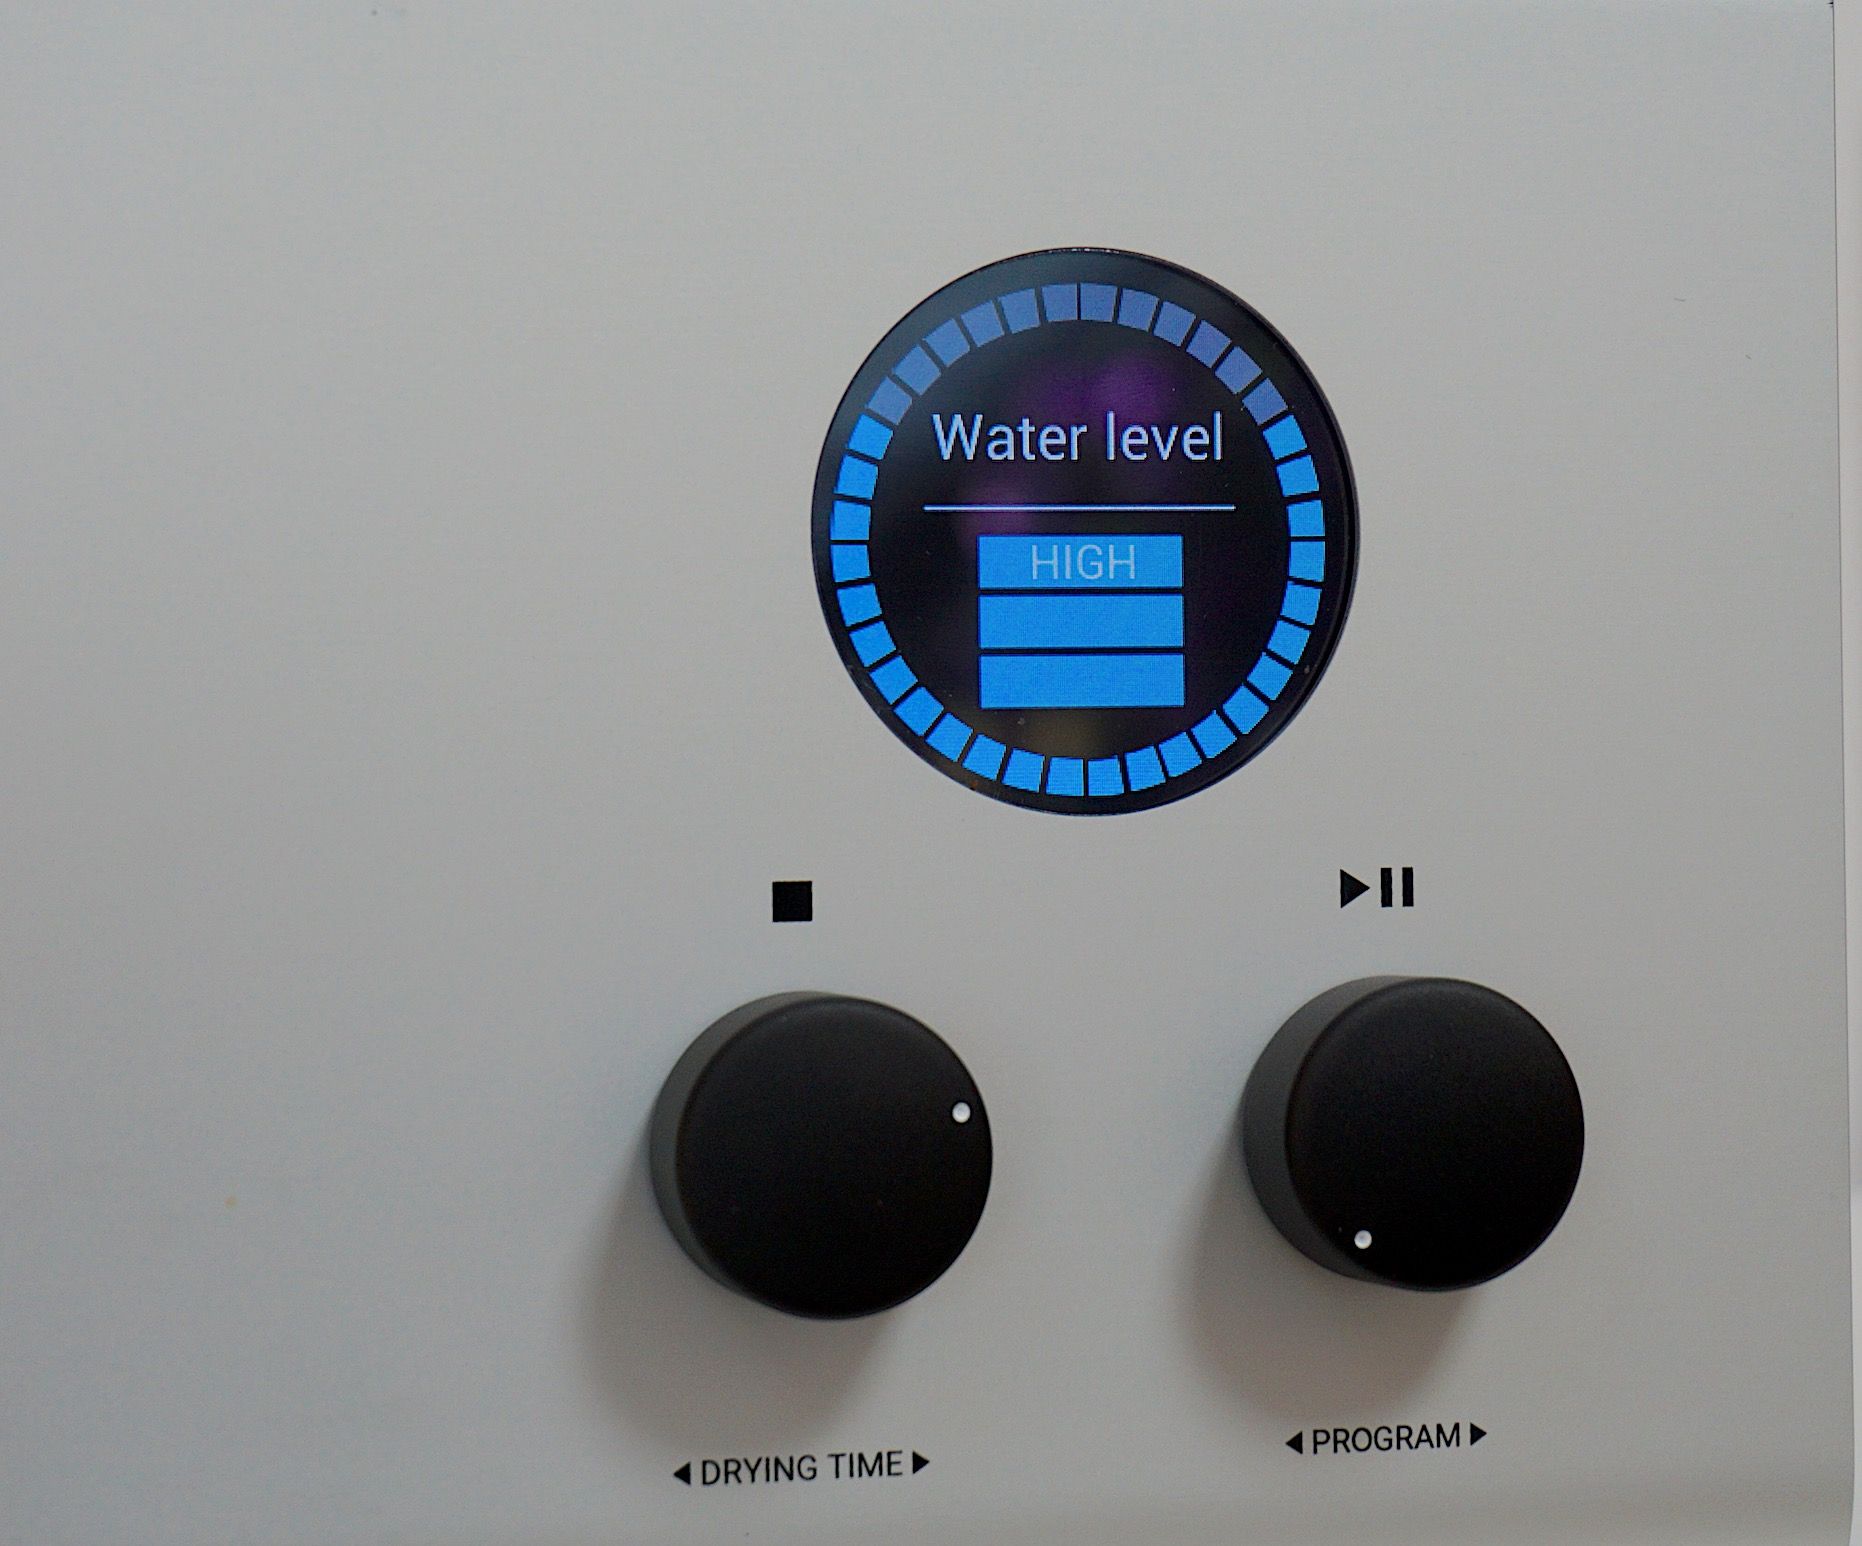
There’s also a Water Level setting: Low, Medium and High. These settings will basically move the water closer to or further away from the central vinyl record label during cleaning.
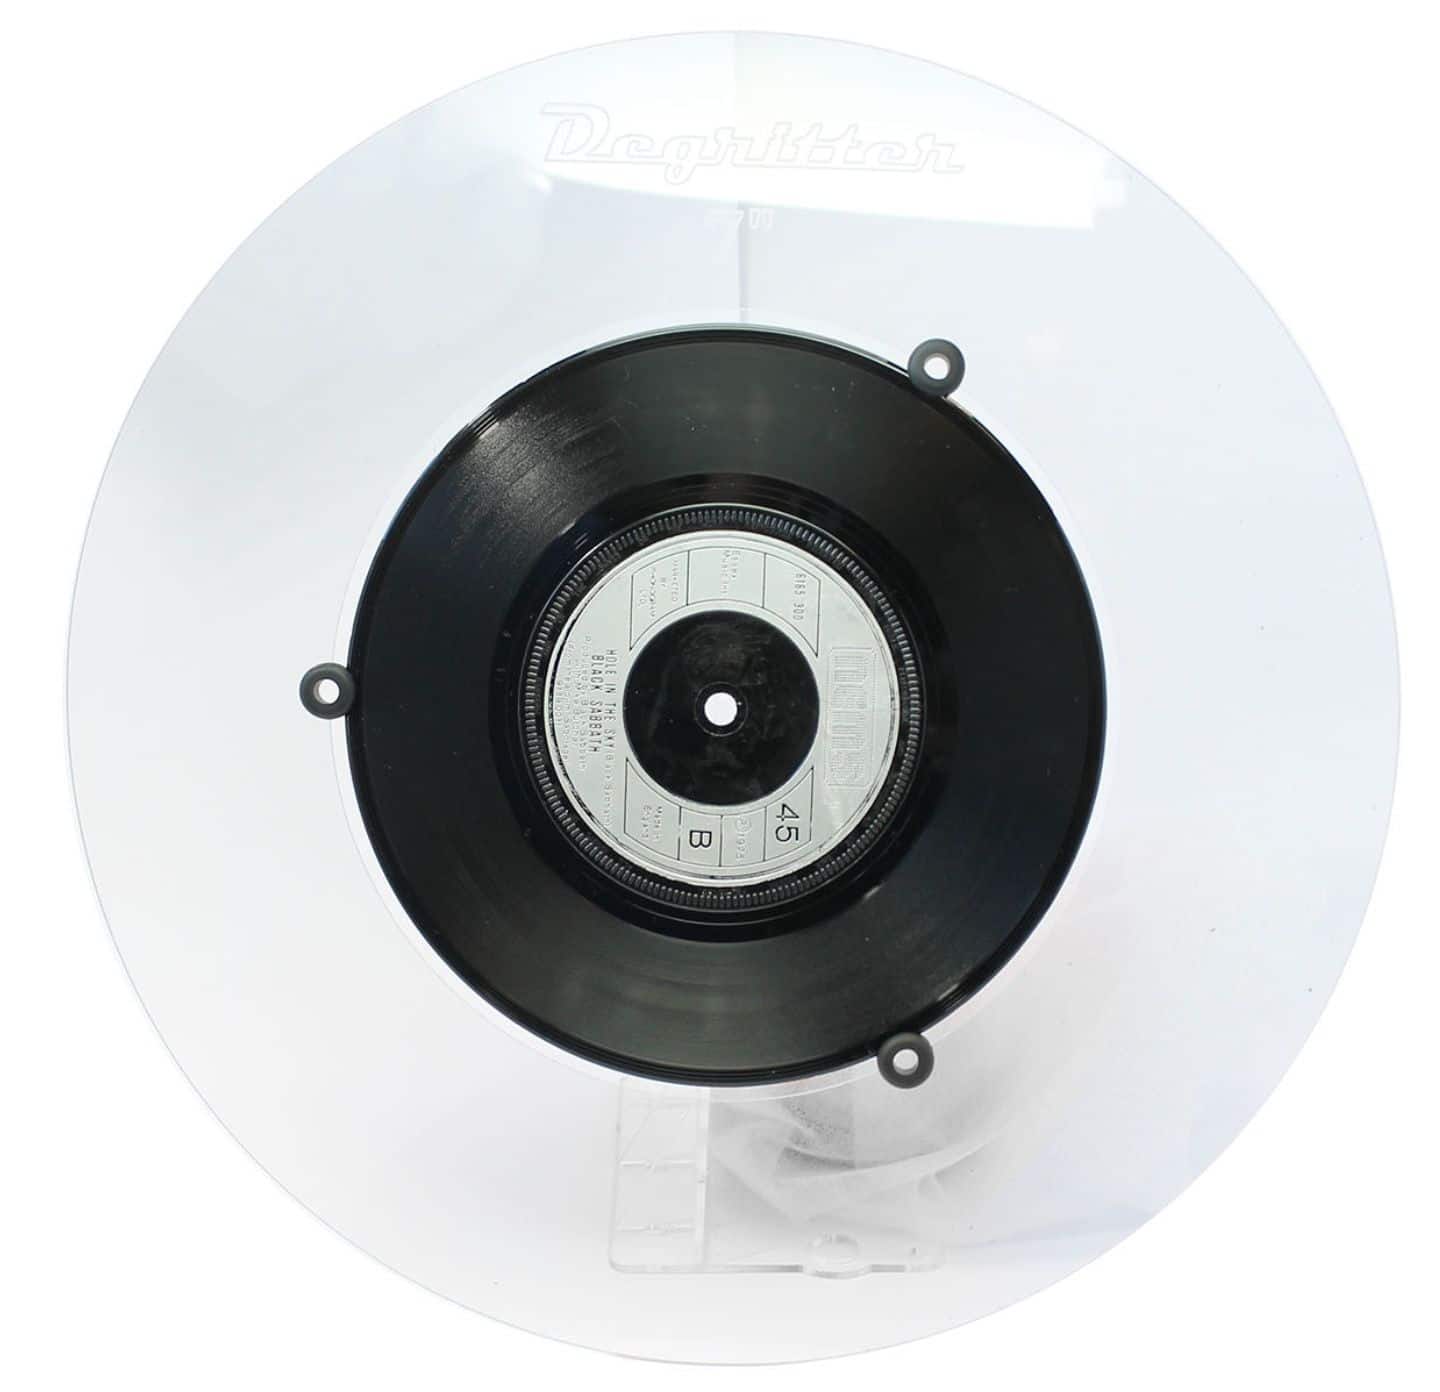
Again, this is ideal for oddly-sized labels that risk damage during cleaning while it also allows you to experiment to maximise the cleaning process. You’re given a measurement strip jig in the box that will allow you to guesstimate exactly how any particular record will be affected by the water level.
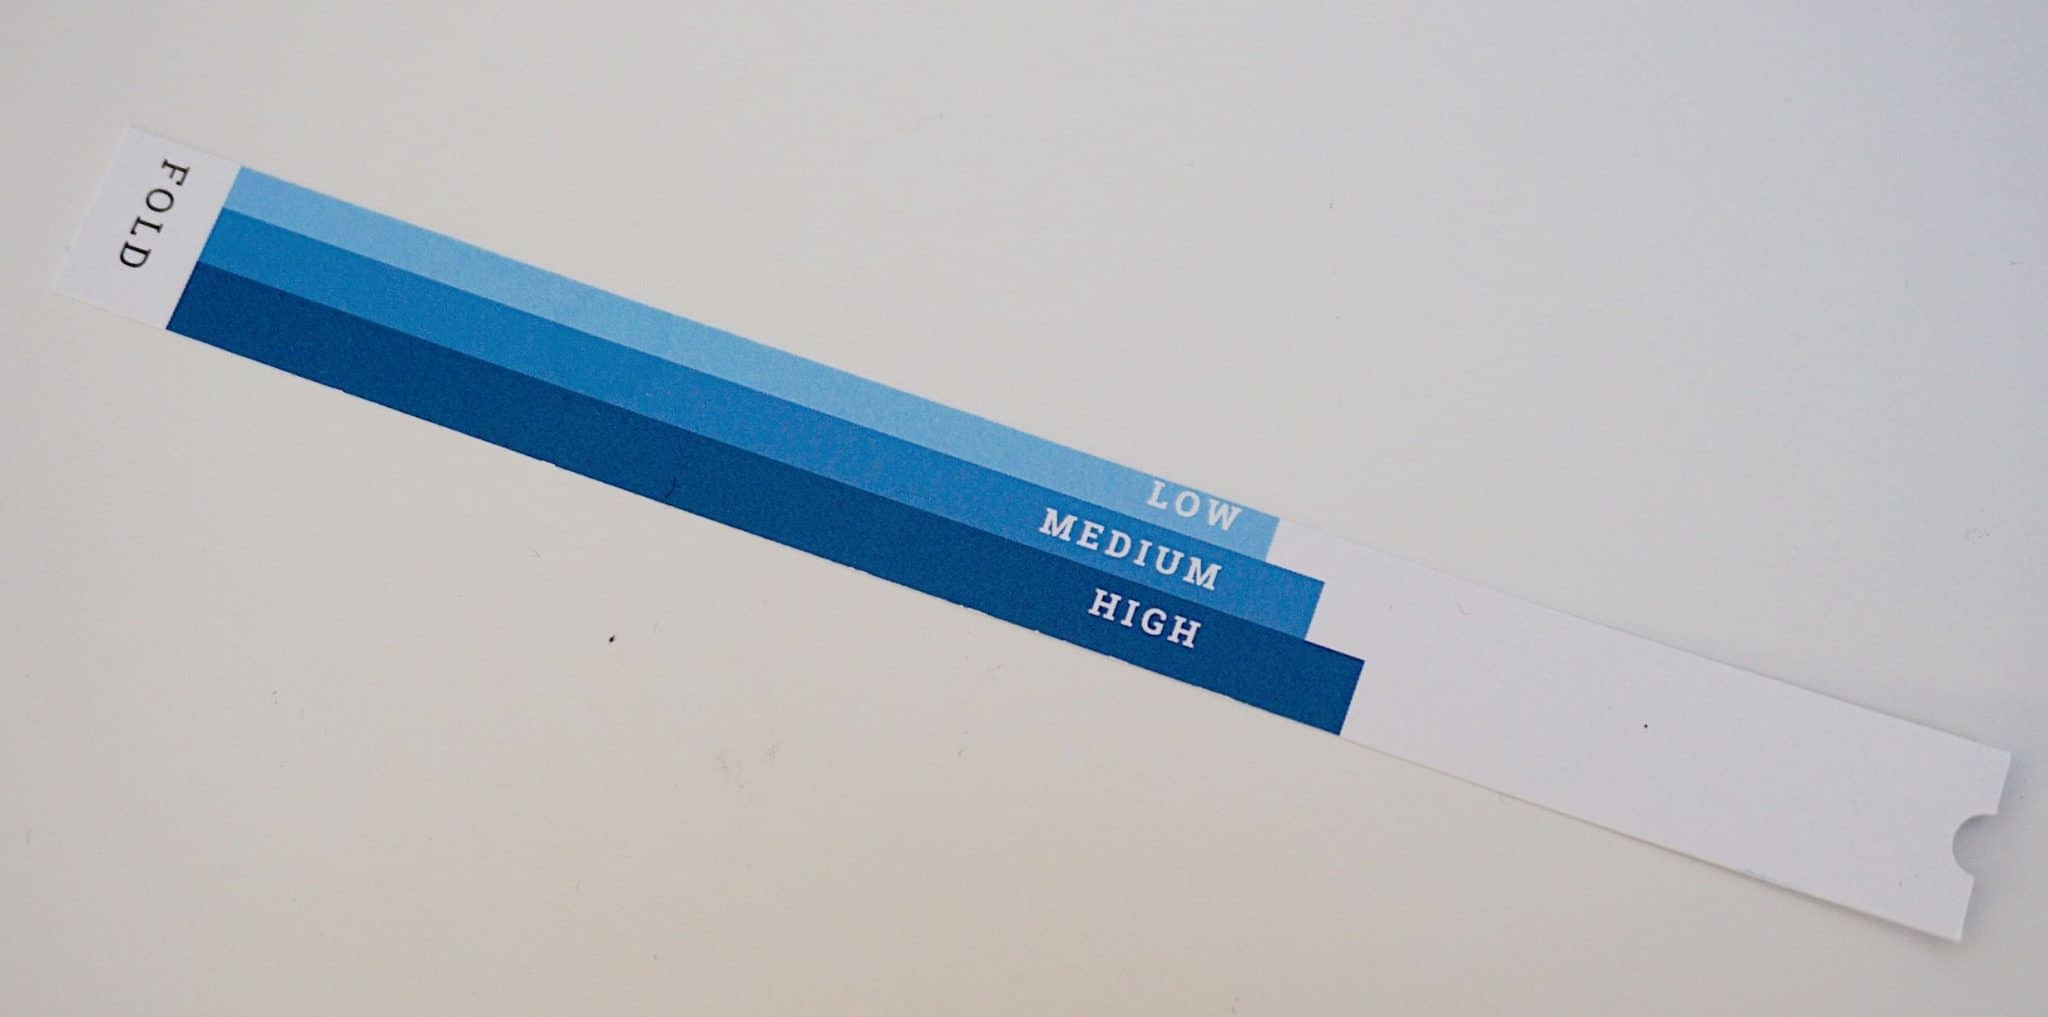
Just lay the jig on the record to see how far Low, Medium and High actually reaches on your dirty record. That semi-circle bit on the right of the jig (image above) is where you rest the jig against the turntable’s spindle. Then you can apply the correct settings according to your jig’s findings.
Again, an excellent feature. This one should greatly appeal to nervous record collectors. The only issue I had here was that the jig is made from card. A relatively fragile material. I would have preferred something rather longer lasting.
I asked the company about that and it said, “We do not expect our users to adjust the water level very often. In most cases this will be set and left as is. Still, a sturdier material may be beneficial and we will consider this for the future.”
There’s a useful Info screen in the Navigation section too. It provides a serial number for your machine (this number should be used to register your machine on the company website), software version, the current temperature in the water tank (again, very useful) and how many cycles the machine has run. If your machine has undergone 100 cleaning cycles, then the number 100 will show here.
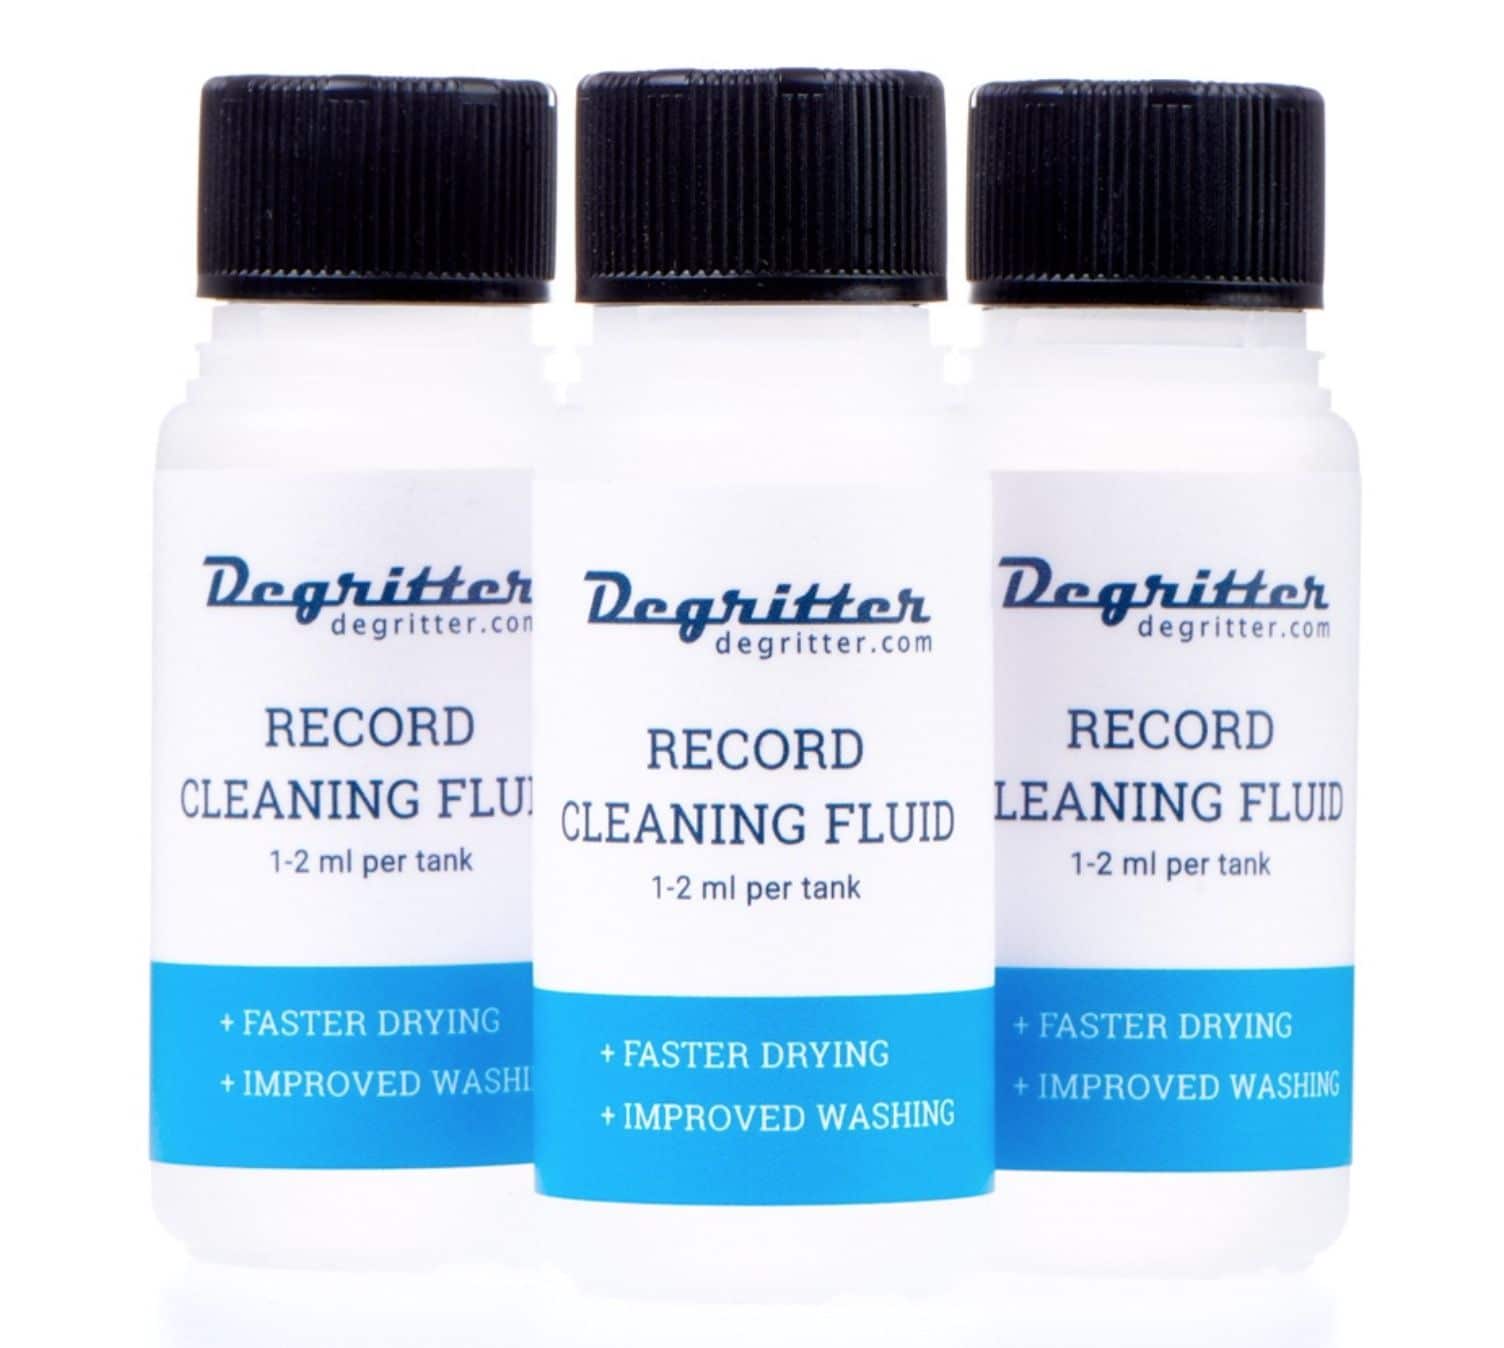
You’re also provided with a bottle of Degritter Cleaning Fluid. A couple of drops of this liquid is added to the bath and serves as a surfactant to aid cleaning. I’ll be reviewing this liquid later on.
FACTS & FILTERS
Oh, and software? Yes, this machine is run on a software basis and can thus be updated. Features can be (and have been) enhanced and tweaked by the company.
I did perform an update during the review period and found it quick to do. Just transfer the ‘bin’ file from the website to a SD card, pop the card into the rear of the Degritter (which is turned Off). Then turn the machine On and the update is done in a flash. So quickly in fact, I initially wondered if there was a fault because the machine told me to remove the SD card almost immediately. Checking the Info screen confirmed that the update had occurred, though.
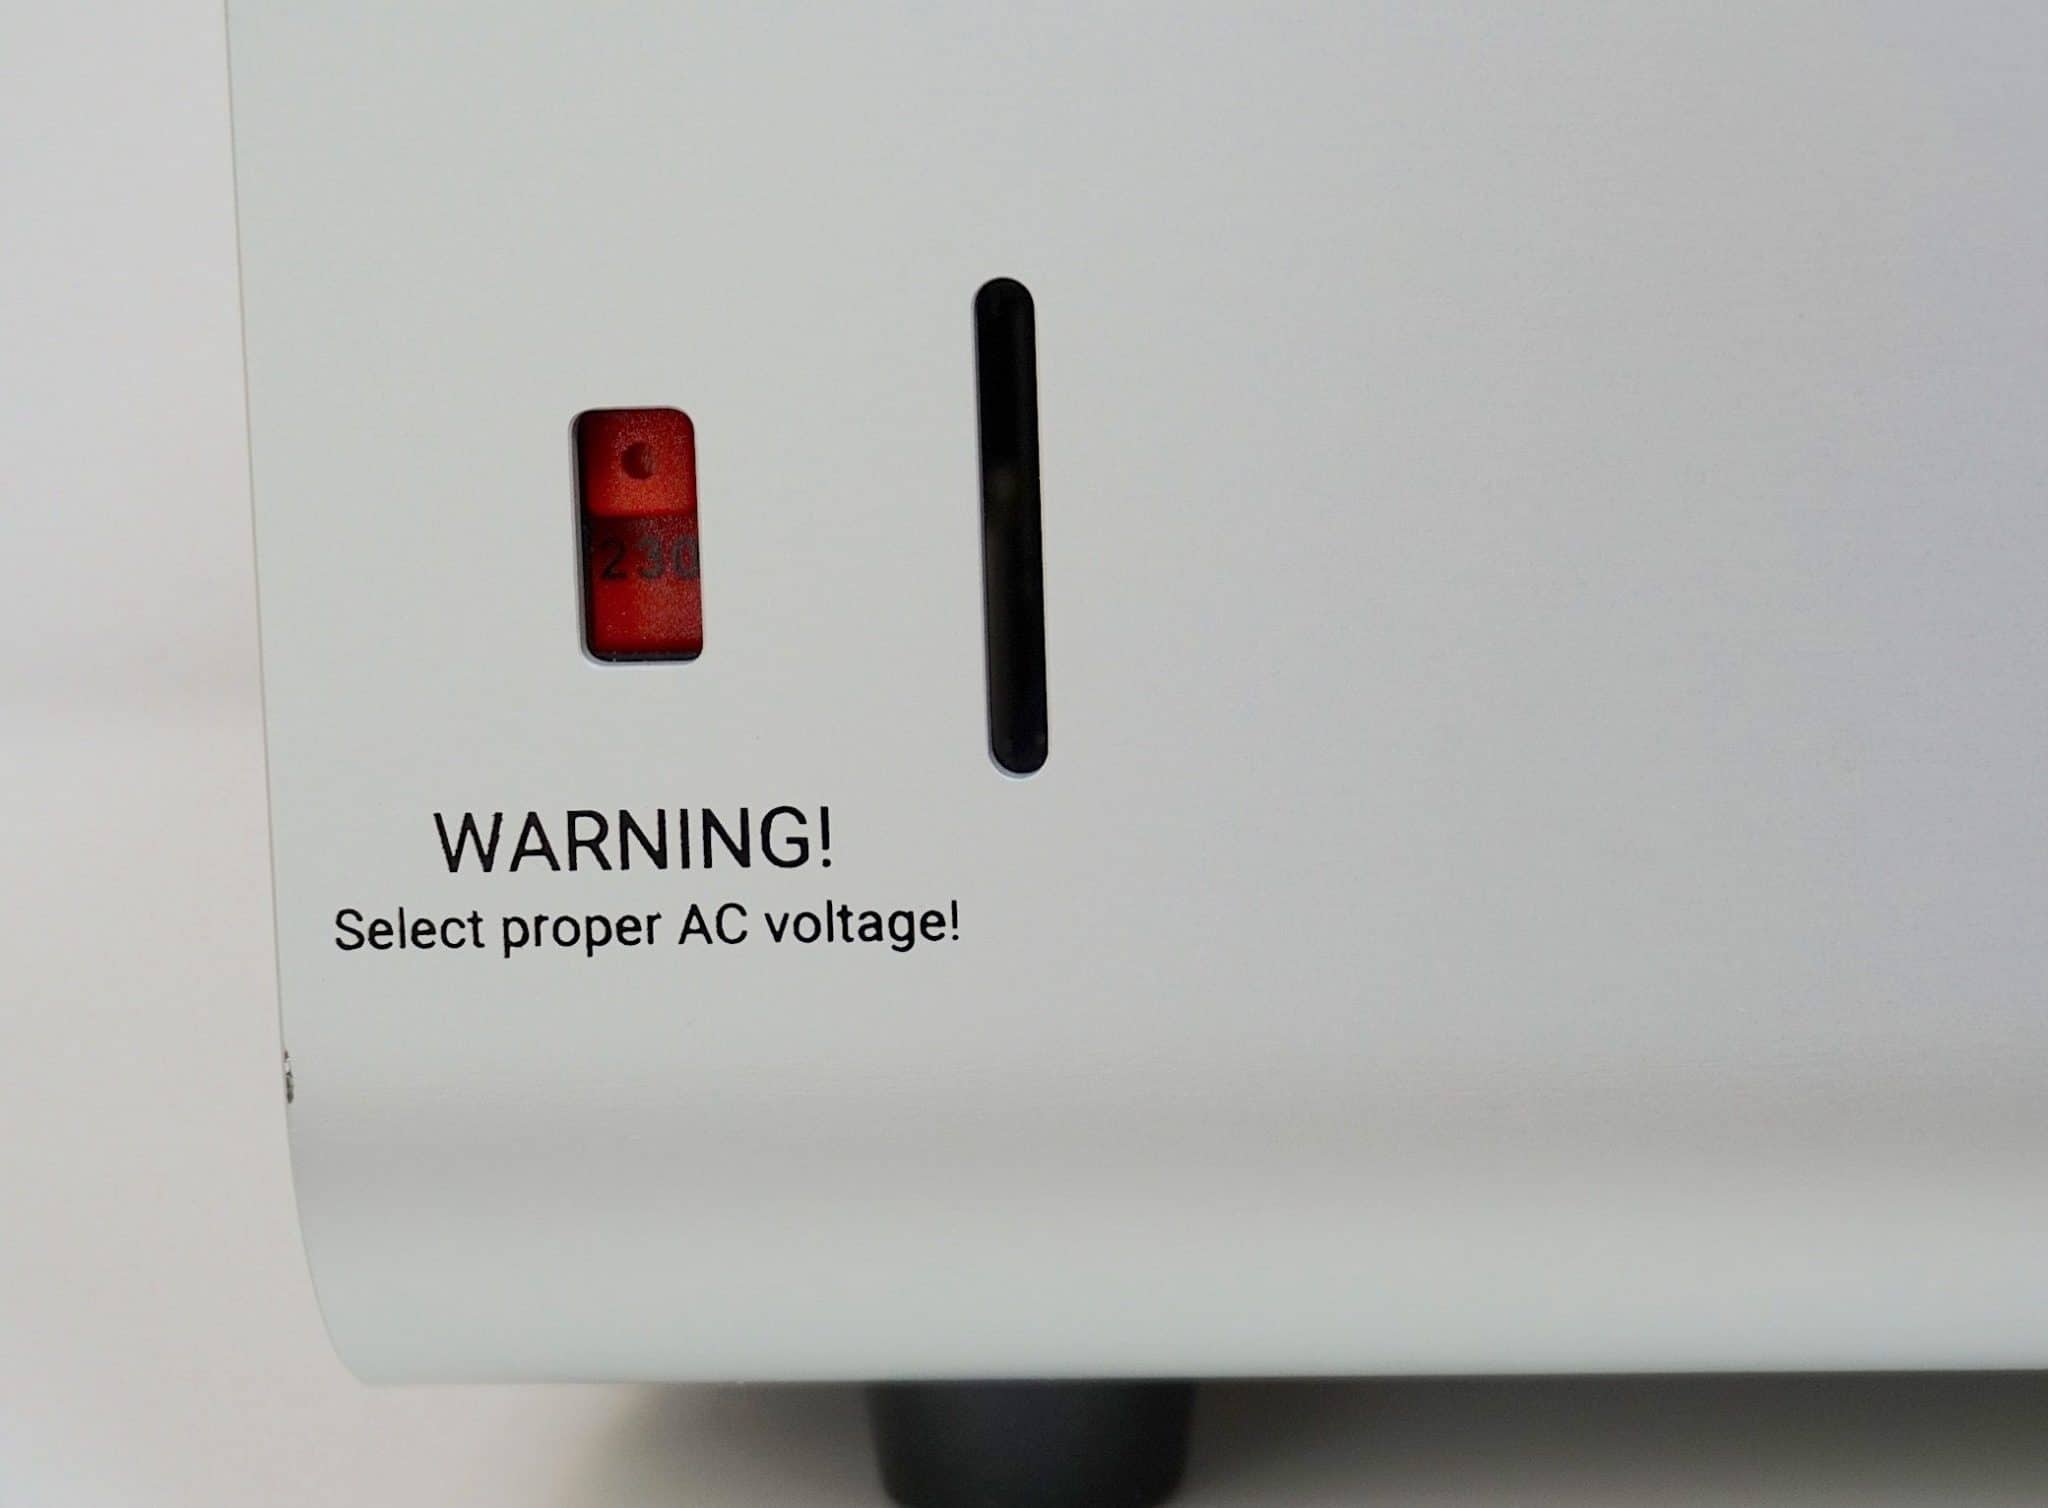
The machine is run off a basic IEC power chord. The chassis features a rocker power switch on the rear but a ‘soft’ shutdown and start up can be initiated by pressing the left multifunction knob for two seconds. Good if you’re going to be away for lunch as the only power left is a small amount to the processor and its power supply. If you press any button later on, the machine springs back to life again. The said, if you don’t touch the Degritter for 15 minutes, then the machine will power down automatically.
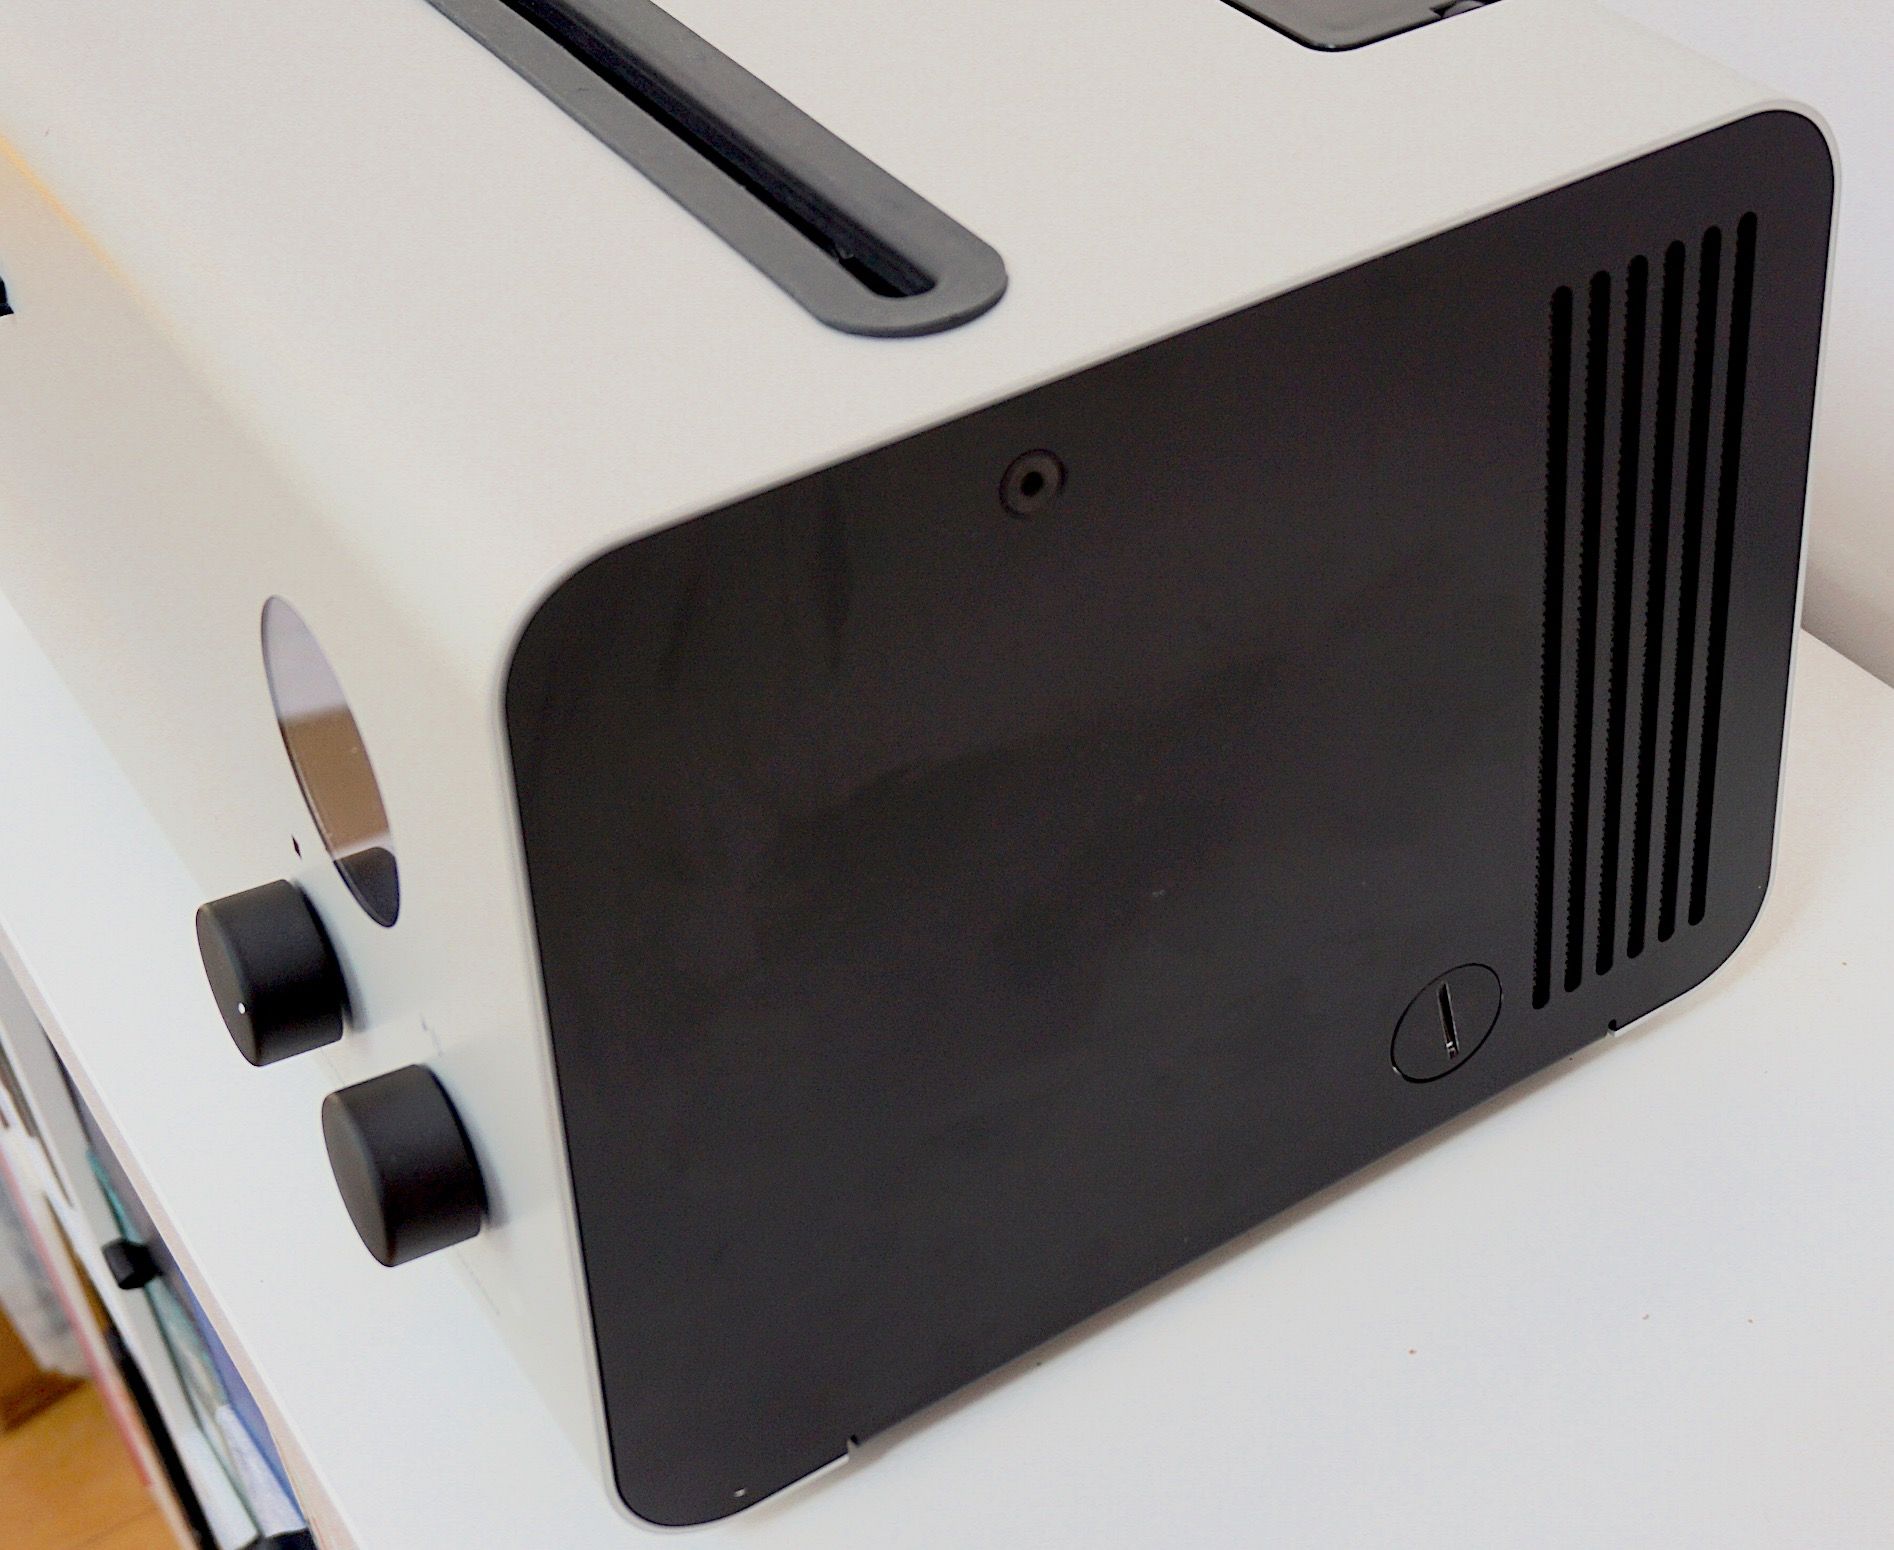
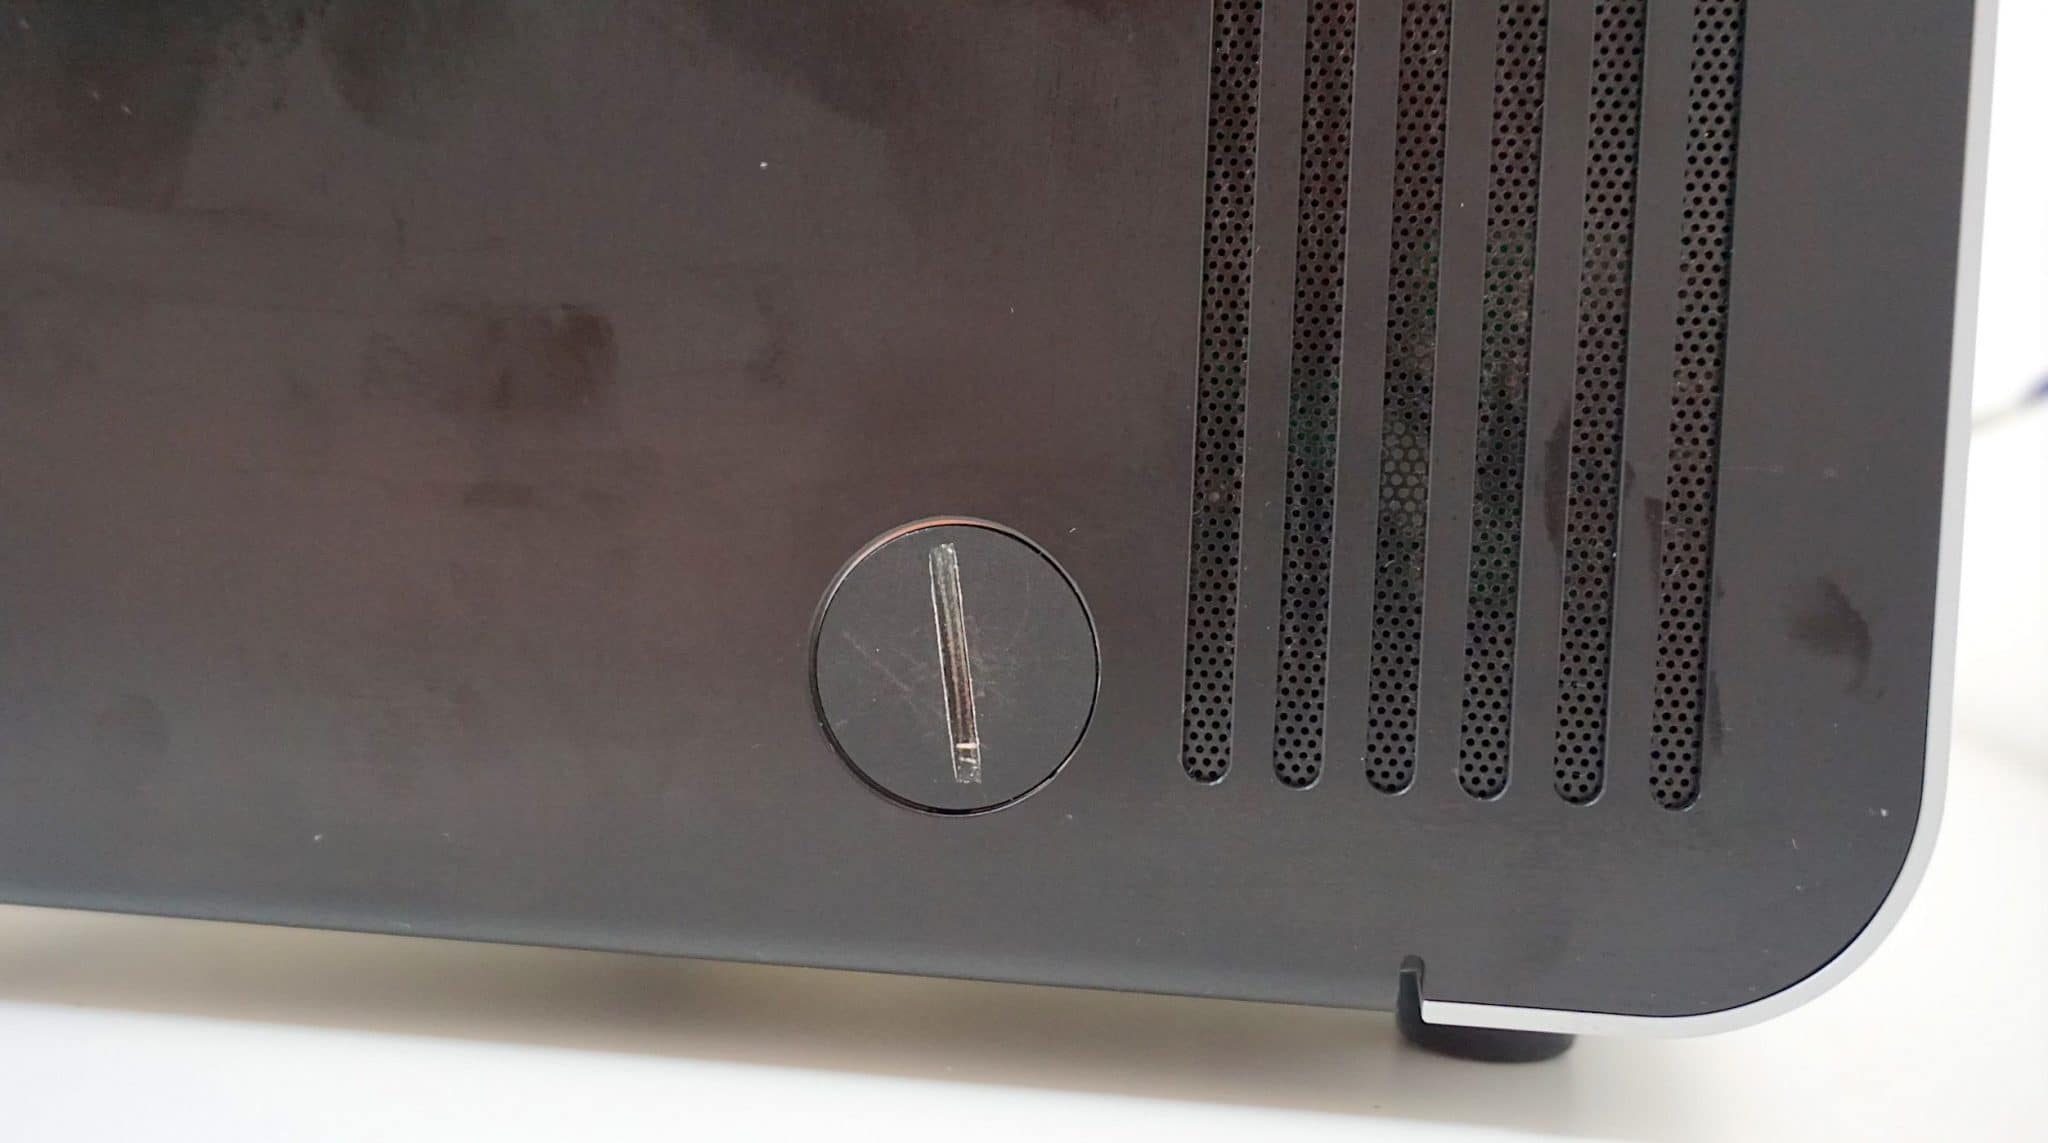
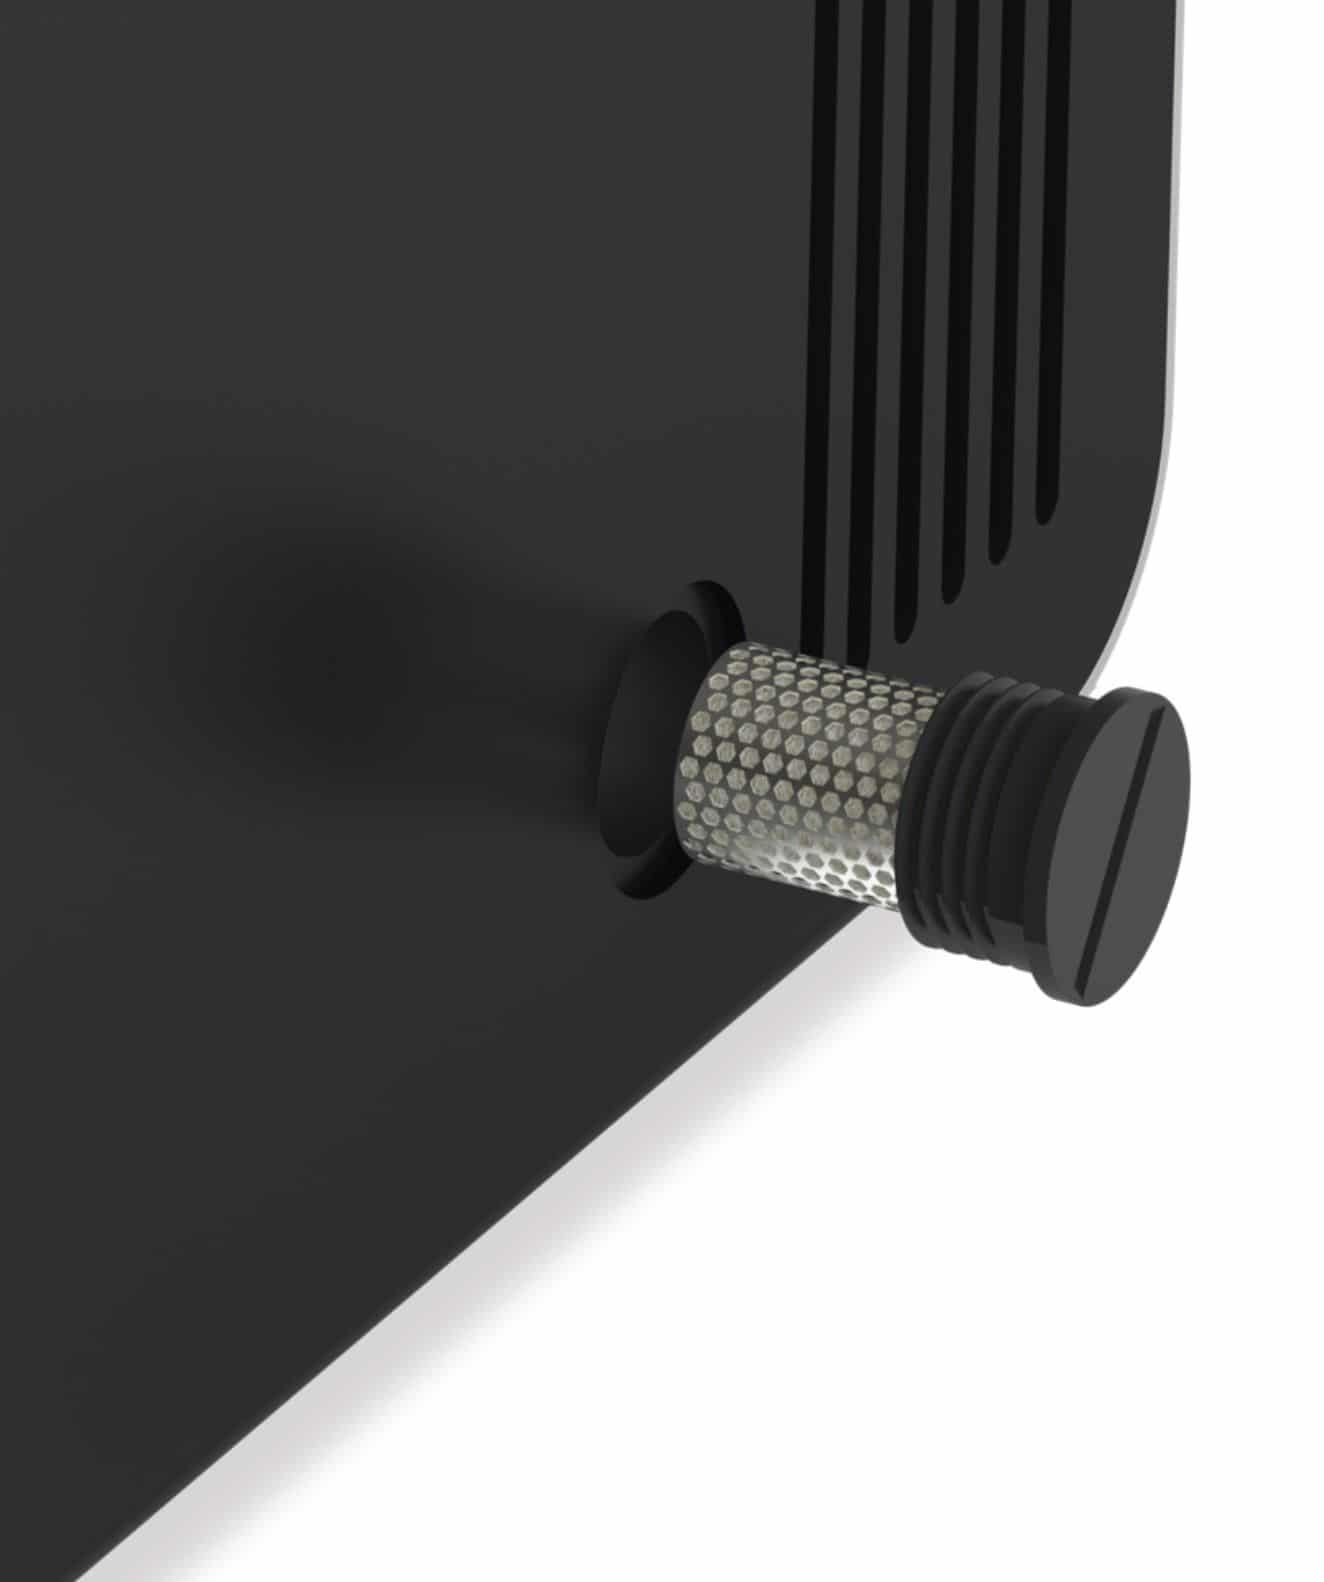
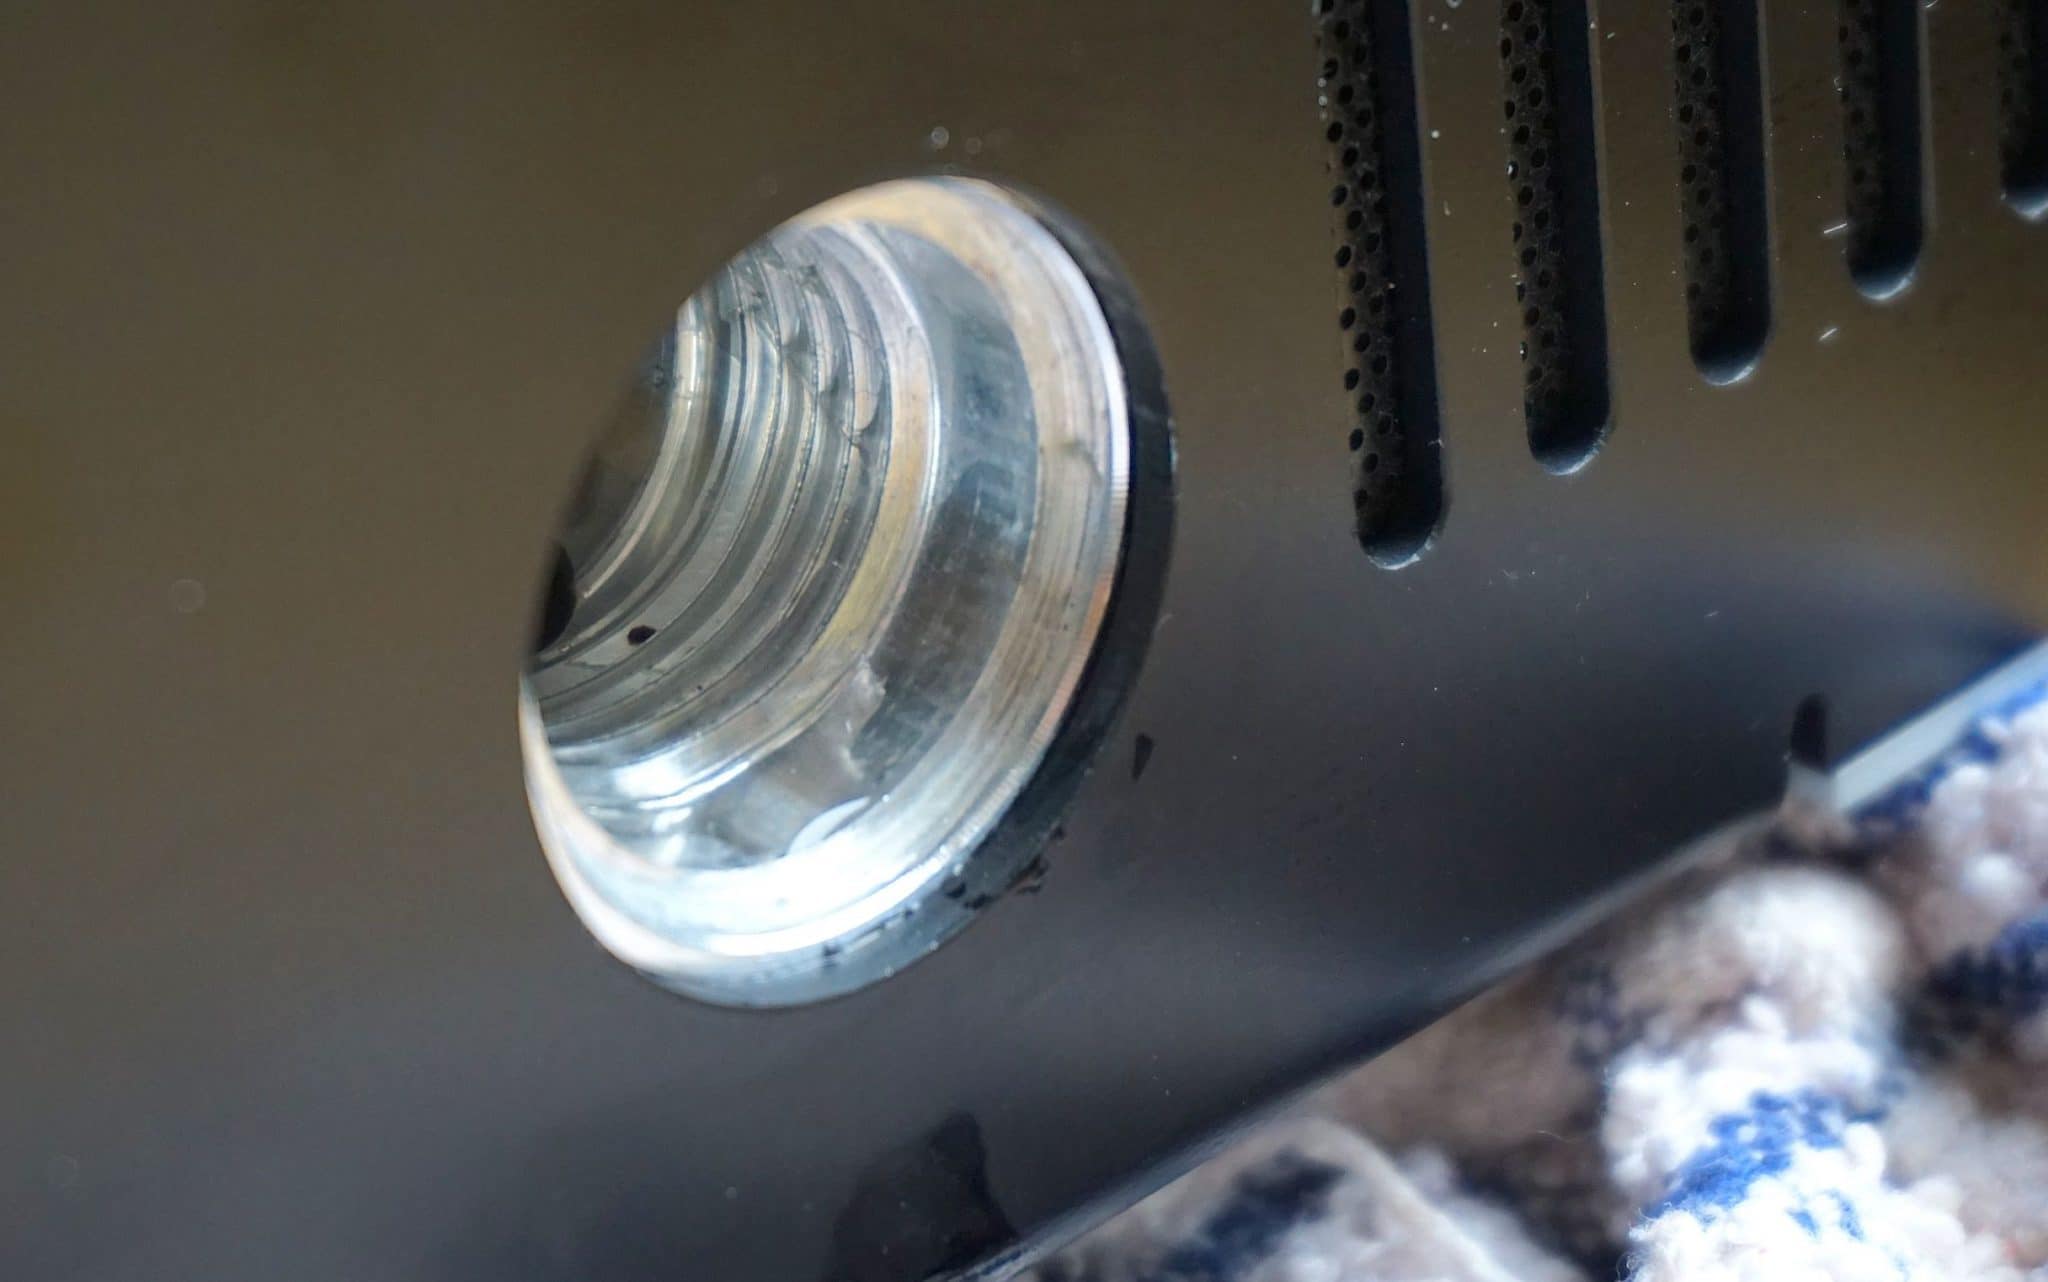
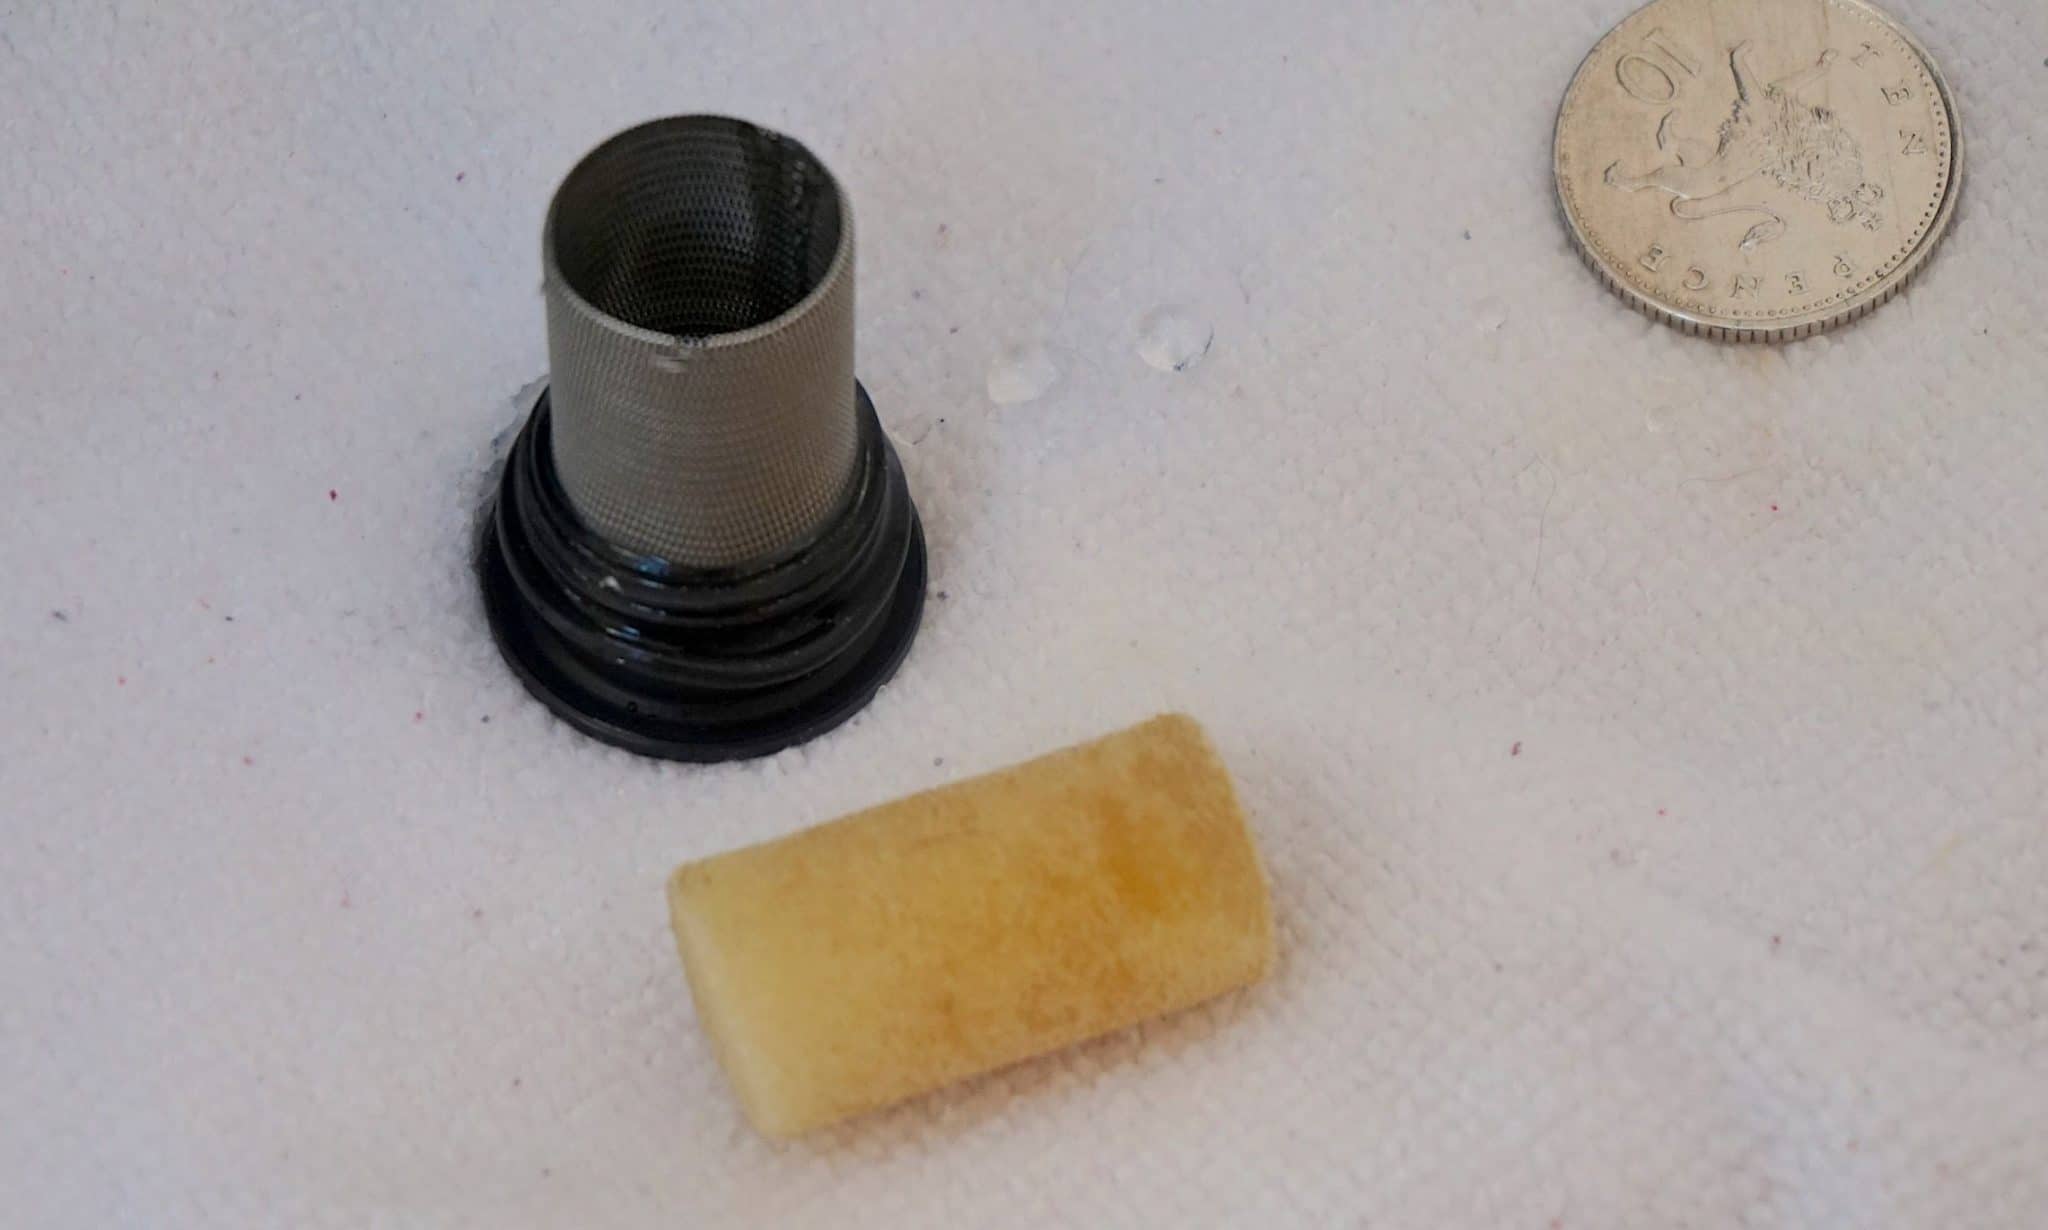
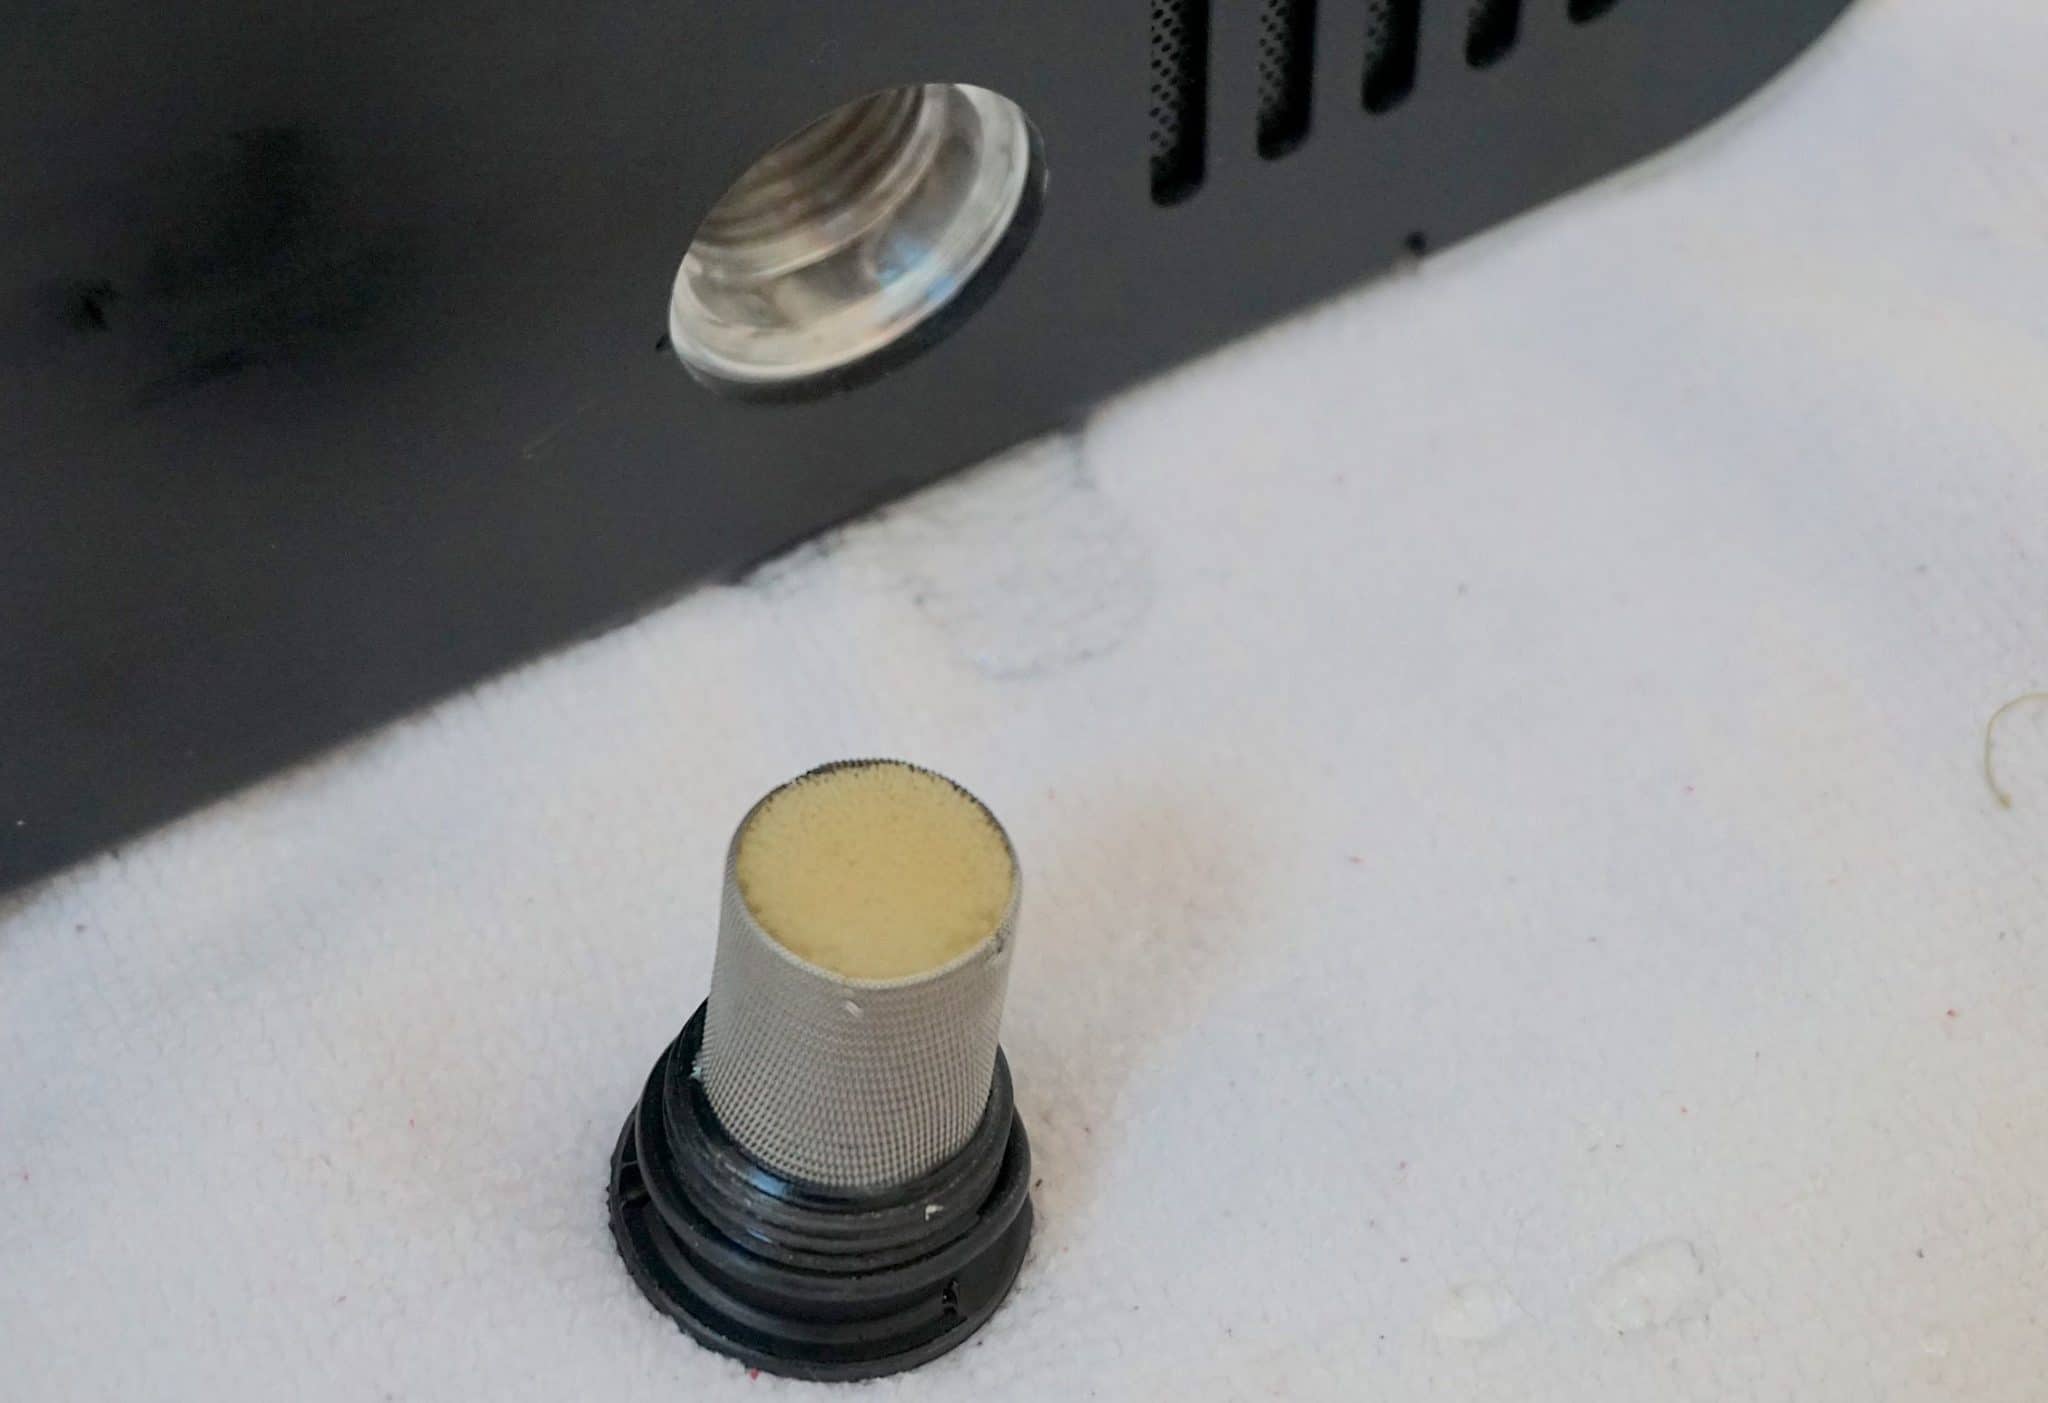
On the right side of the machine are the ventilation slots and a cover for a small filter capsule that hides behind a screw cap that can be opened with the application of a small coin to be used as a pseudo-screwdriver. Be aware that opening and closing this tight-fitting filter cover will scuff and remove paint over time because you’re using that coin-type screwdriver. It’s not a big deal though and this cover is hidden away around the side so can’t be seen on a day-to-day basis.
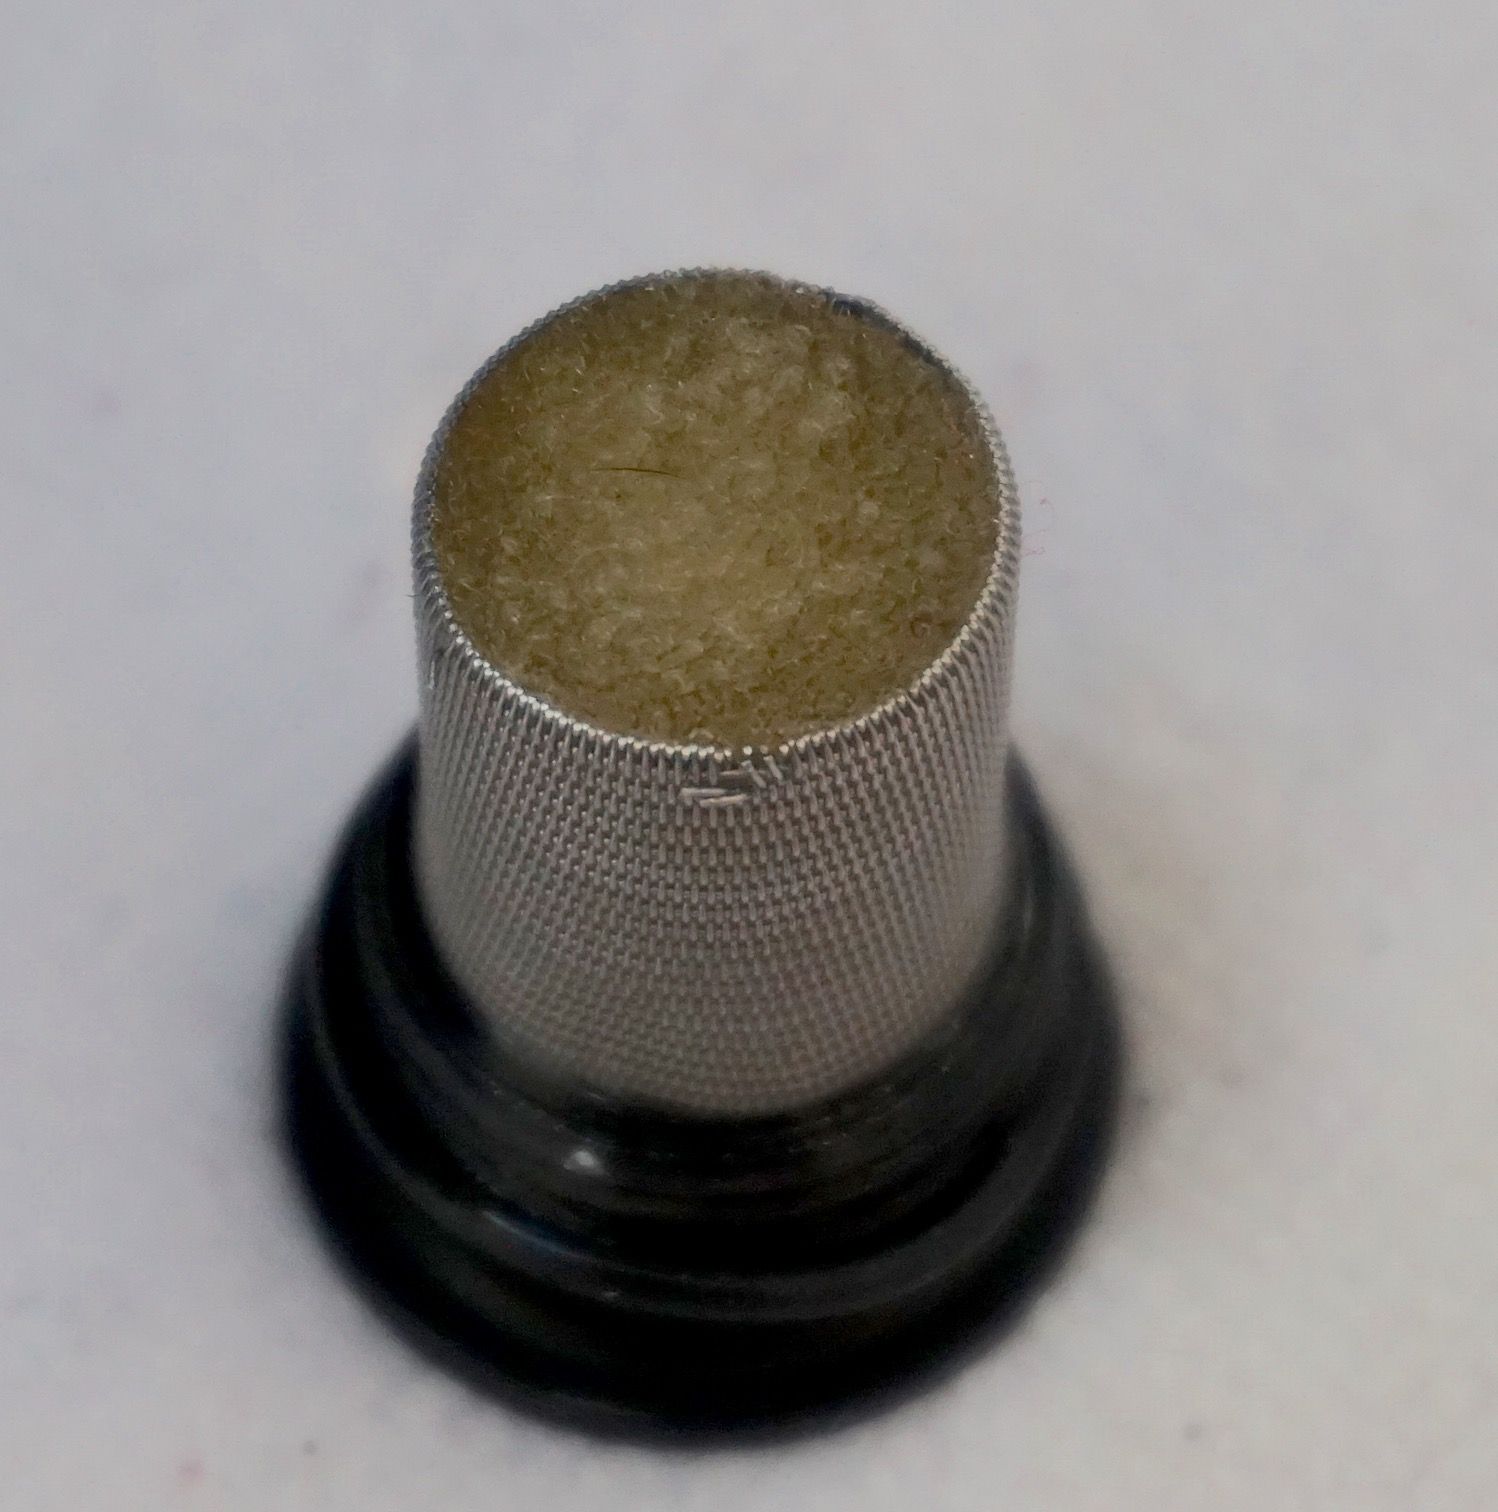
The filter – which looks a bit like a suppository or a left-over Cheesy Wotsit – can be removed and washed. Washing is recommended after 50-100 Degritter cycles. The actual figure depends on the mucky nature of the records themselves. That said, if the machine thinks the filter is too dirty, it will tell you in no uncertain terms and will actually down tools and not move until you’ve cleaned it. An excellent feature. Petulant but excellent.
Before removing this filter for washing, I recommend placing something like a tea towel under the Degritter because a dribble of bath liquid will probably emerge. Not much, but enough to form a small puddle. Laying a cloth under the Degritter will catch and soak any minor spill.
Degritter recommends replacing the filter after reusing it two to three times but this also depends on the filter and your level of use. Replacement filters can be bought either directly from Degritter for €22 for a pack of five but, “…we do not mind when the users create their own,” said the company.
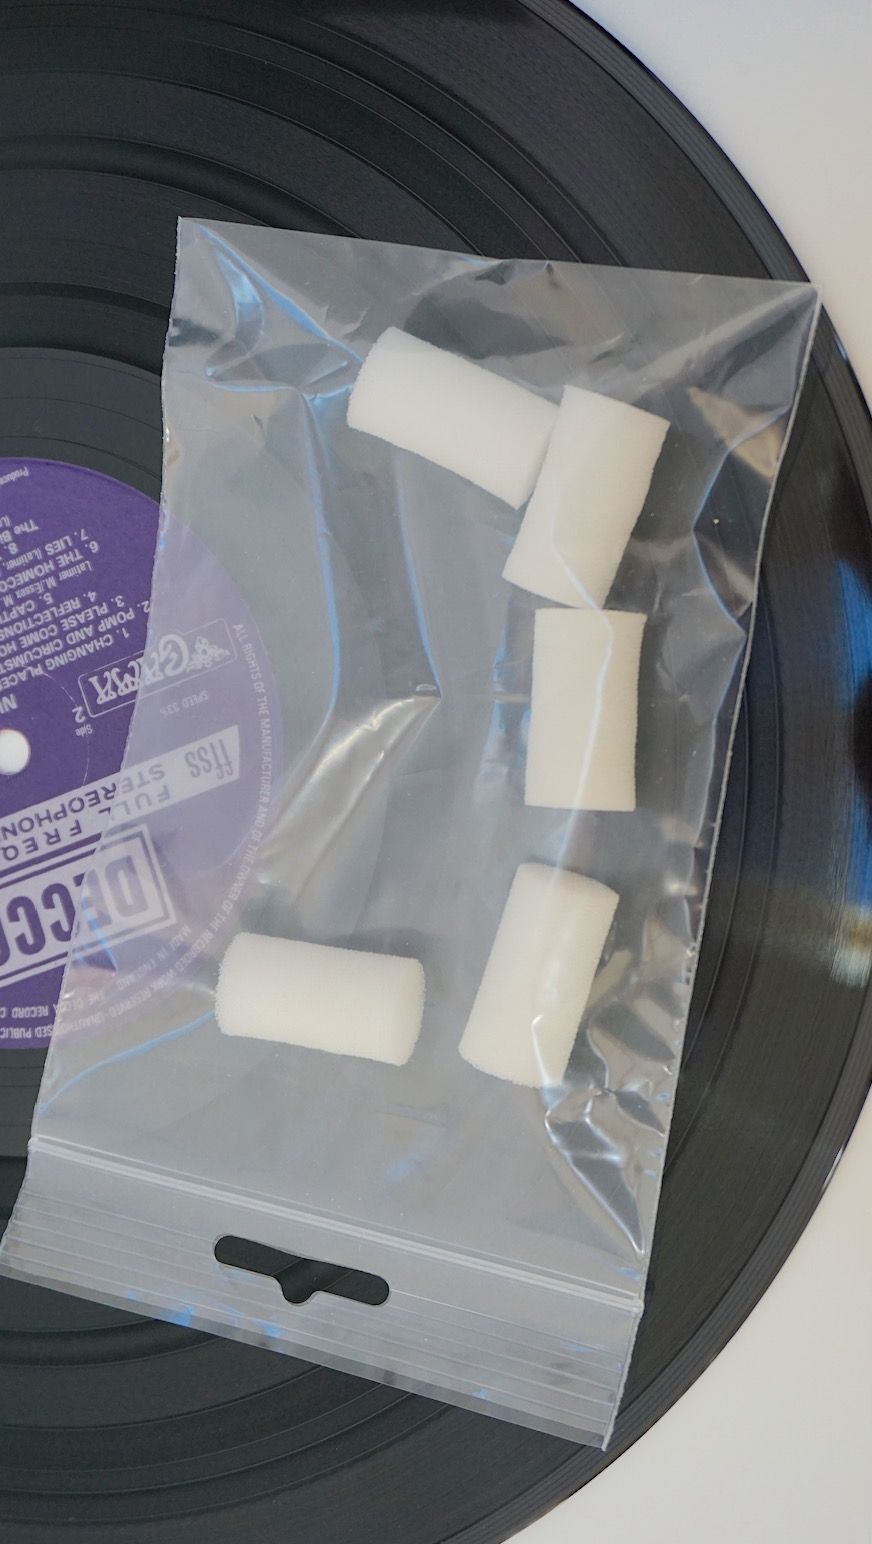
Utilising filter foam – you might have seen this stuff in use for aquariums – you just need to cut out a ‘Wotsit’-shaped filter. How is the question, though. There are a variety of possible tools to do the job from sharpened copper pipe to specialist craft tools. I can investigate the options later, if you want me to delve into this area.
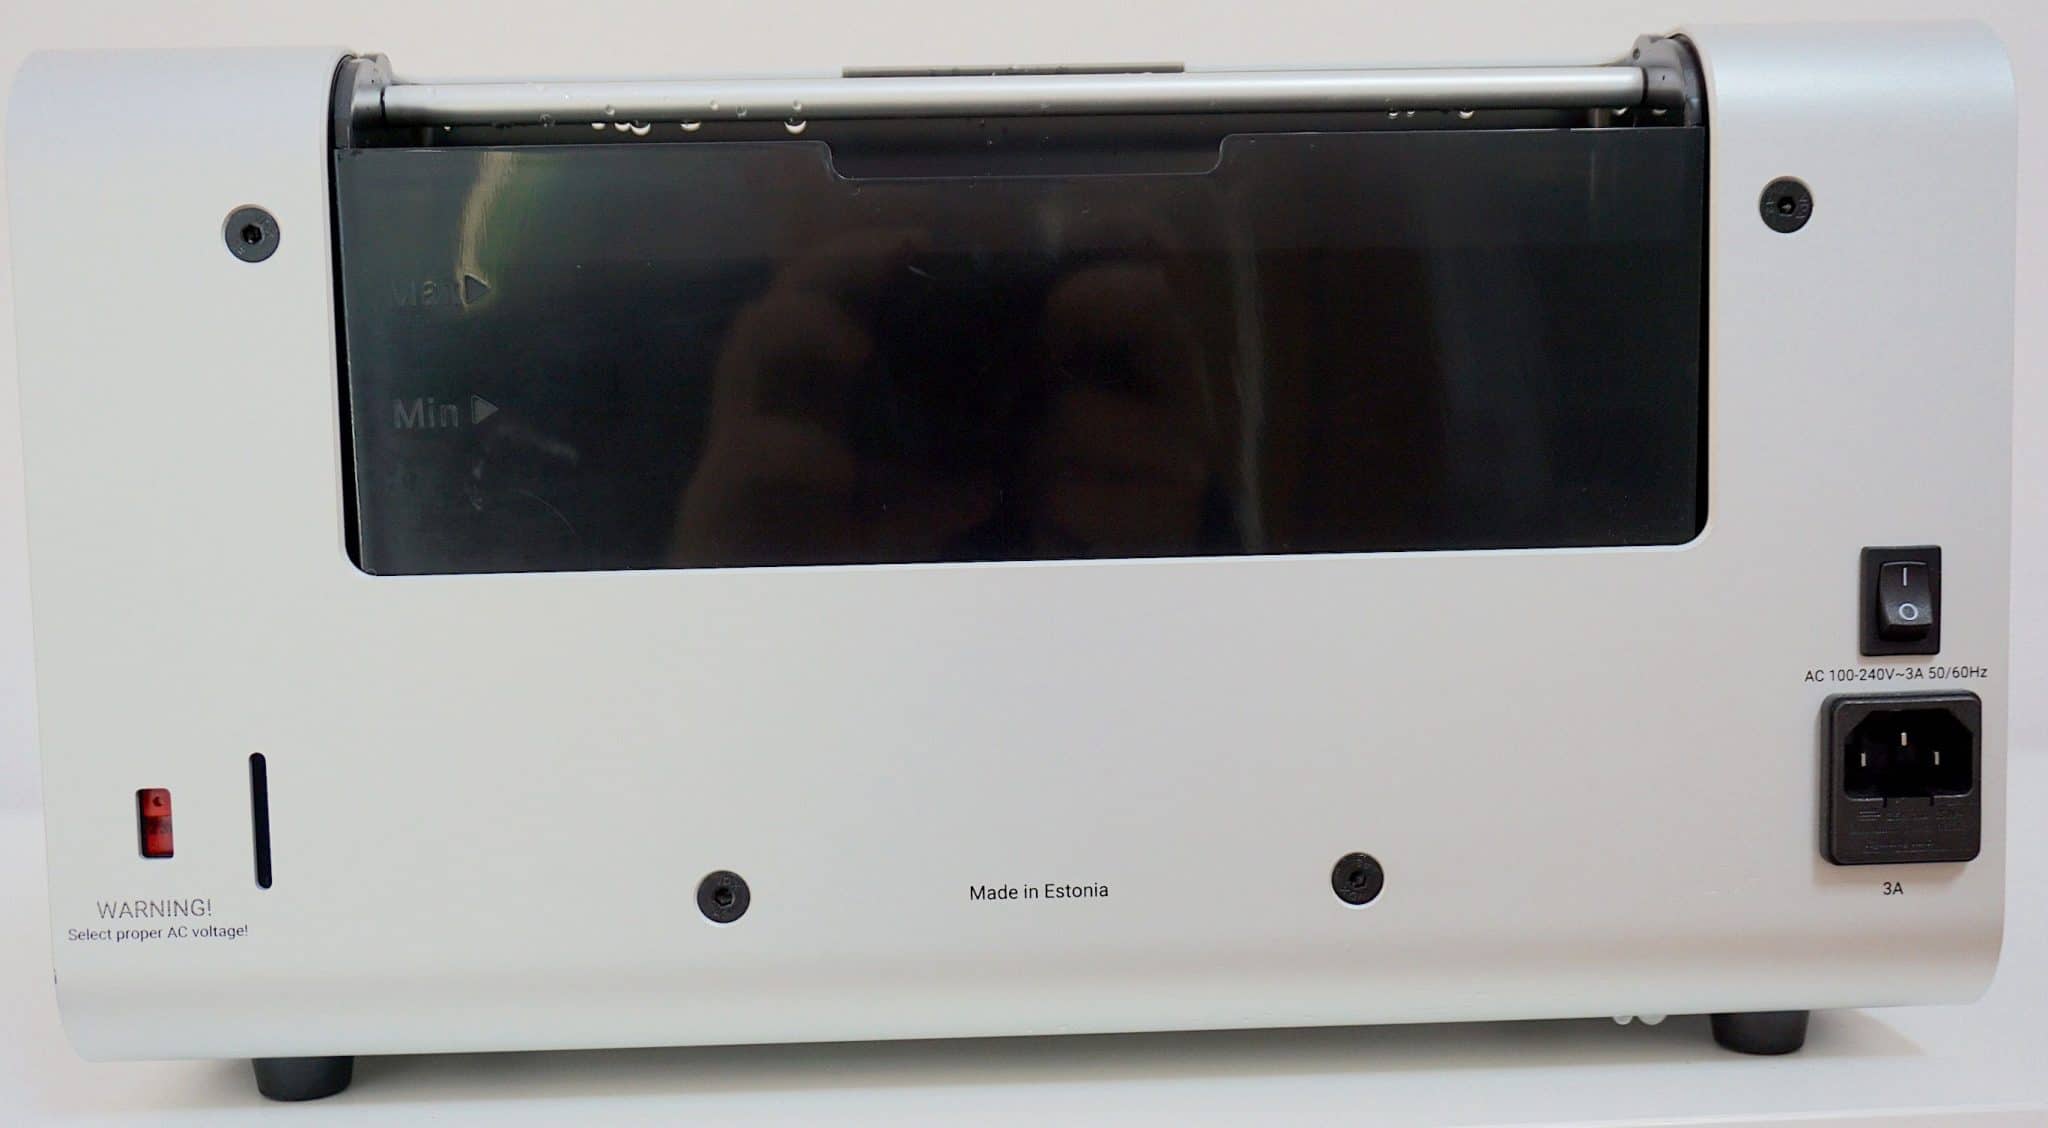
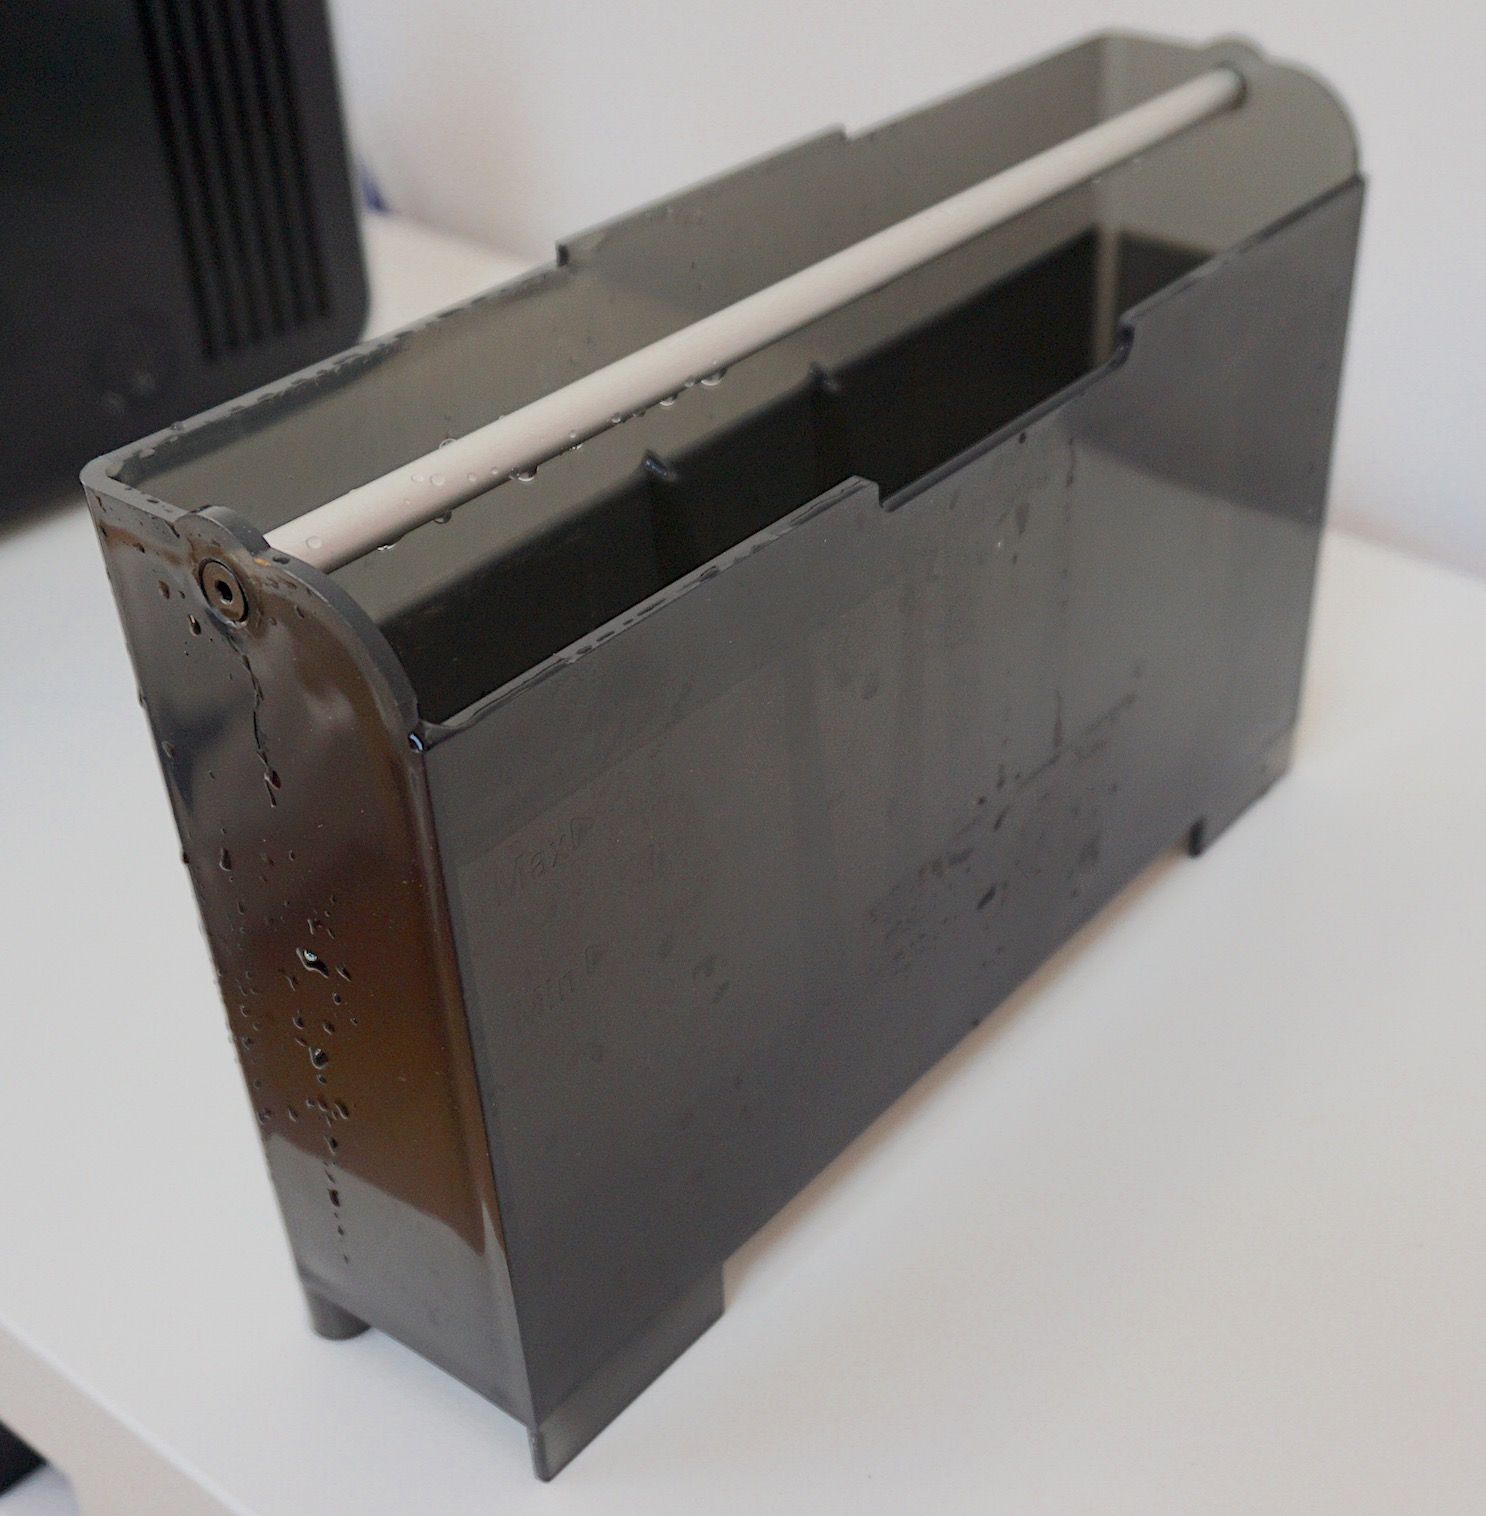
Unlike other ultrasonic cleaners I’ve used, the Degritter’s water tank is mounted on the rear of the machine, is removable and washable in a dishwasher, although I would recommend a gentle hand wash. The external bath is a superb addition and one that is particularly user friendly because you don’t have to disturb the rest of the machine if the bath needs re-filling.
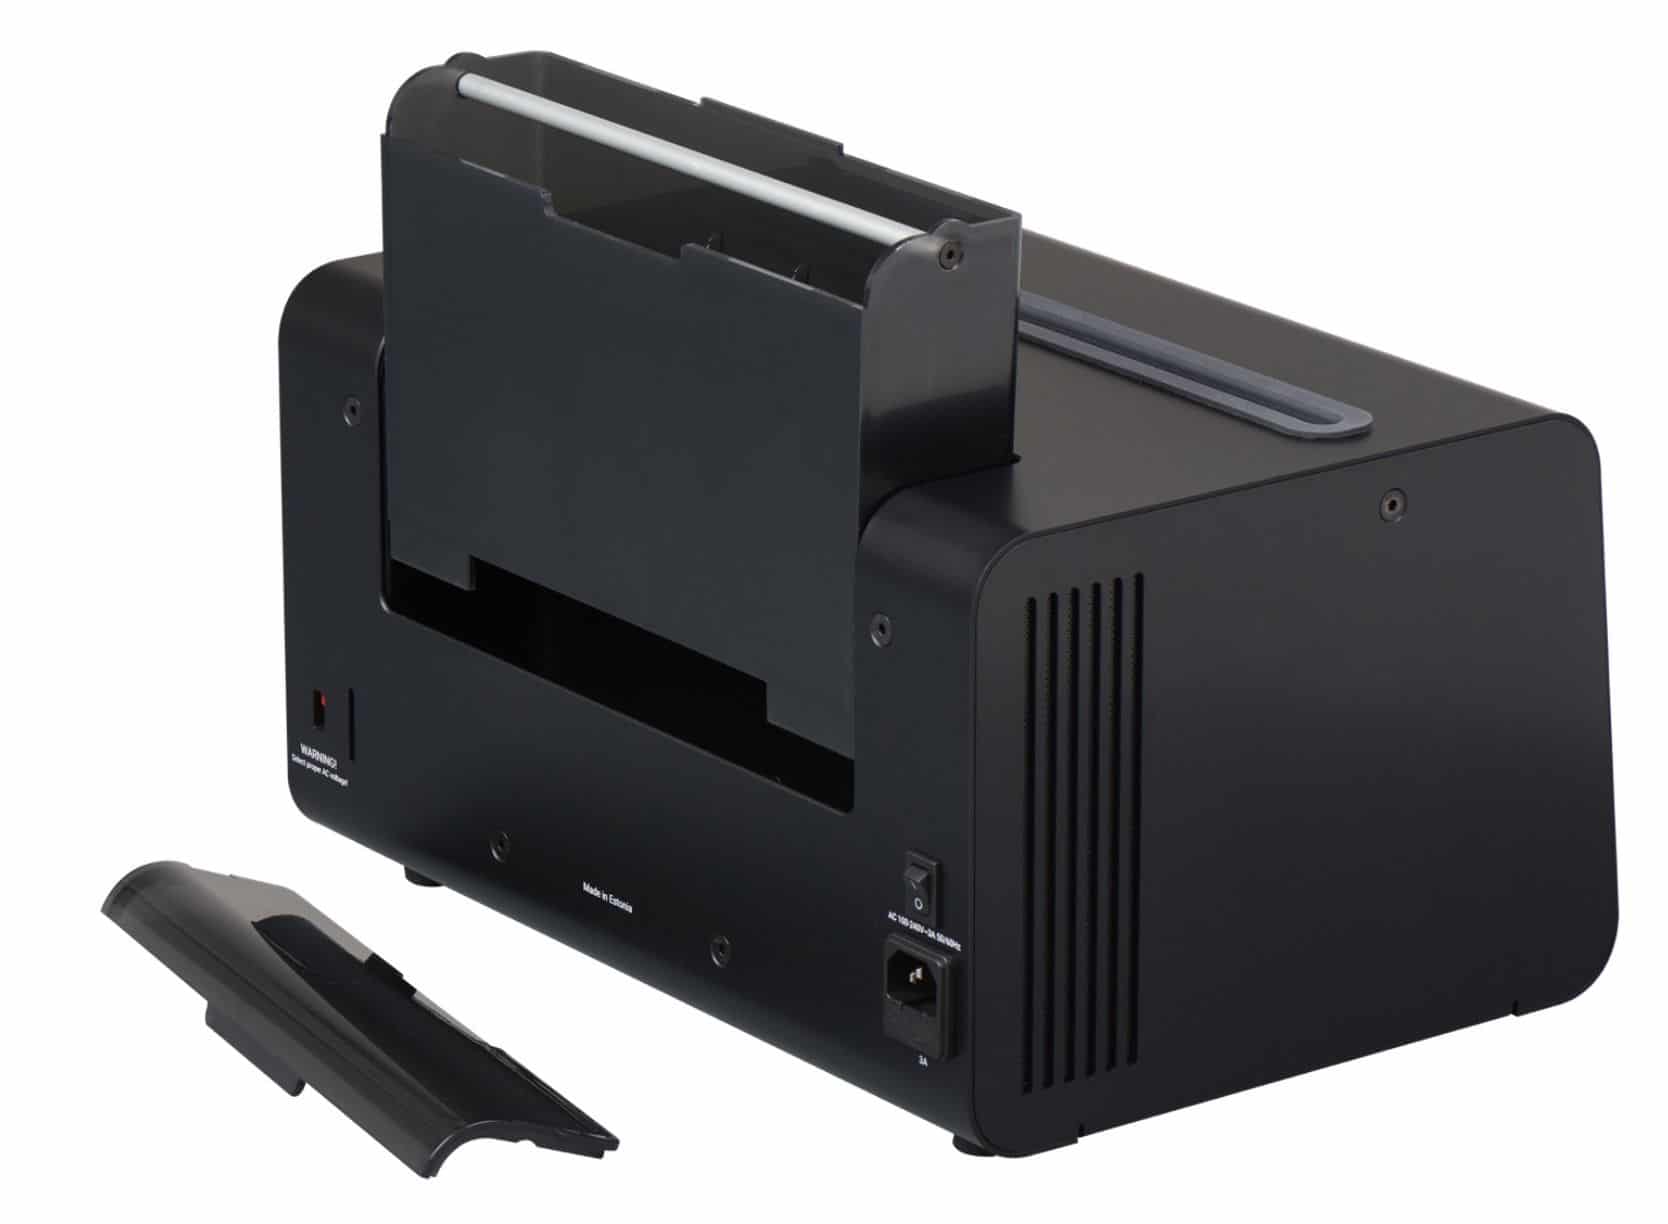
If the bath does need filling but doesn’t require an infrequent empty out/wash then you can fill from a bottle directly into the bath. I personally used a ready-mixed concoction of 7% isopropyl alcohol and distilled water stored in a 2 litre plastic bottle.
The bath features a loosely-fitting yet secure, removable lid to facilitate cleaning and filling (you can see the separated lid positioned to the left on the image above). Alternatively, you can pull out the bath from the rear of the Degritter. To help, the bath has a metal bar (that aluminium-coloured bar is shown running the width of the bath in the image above) that runs horizontally across the bath. It can be used as a handle. I did wonder if the handle could bear the weight of the bath full of water but Degritter confirmed that it could and I never had any issues.
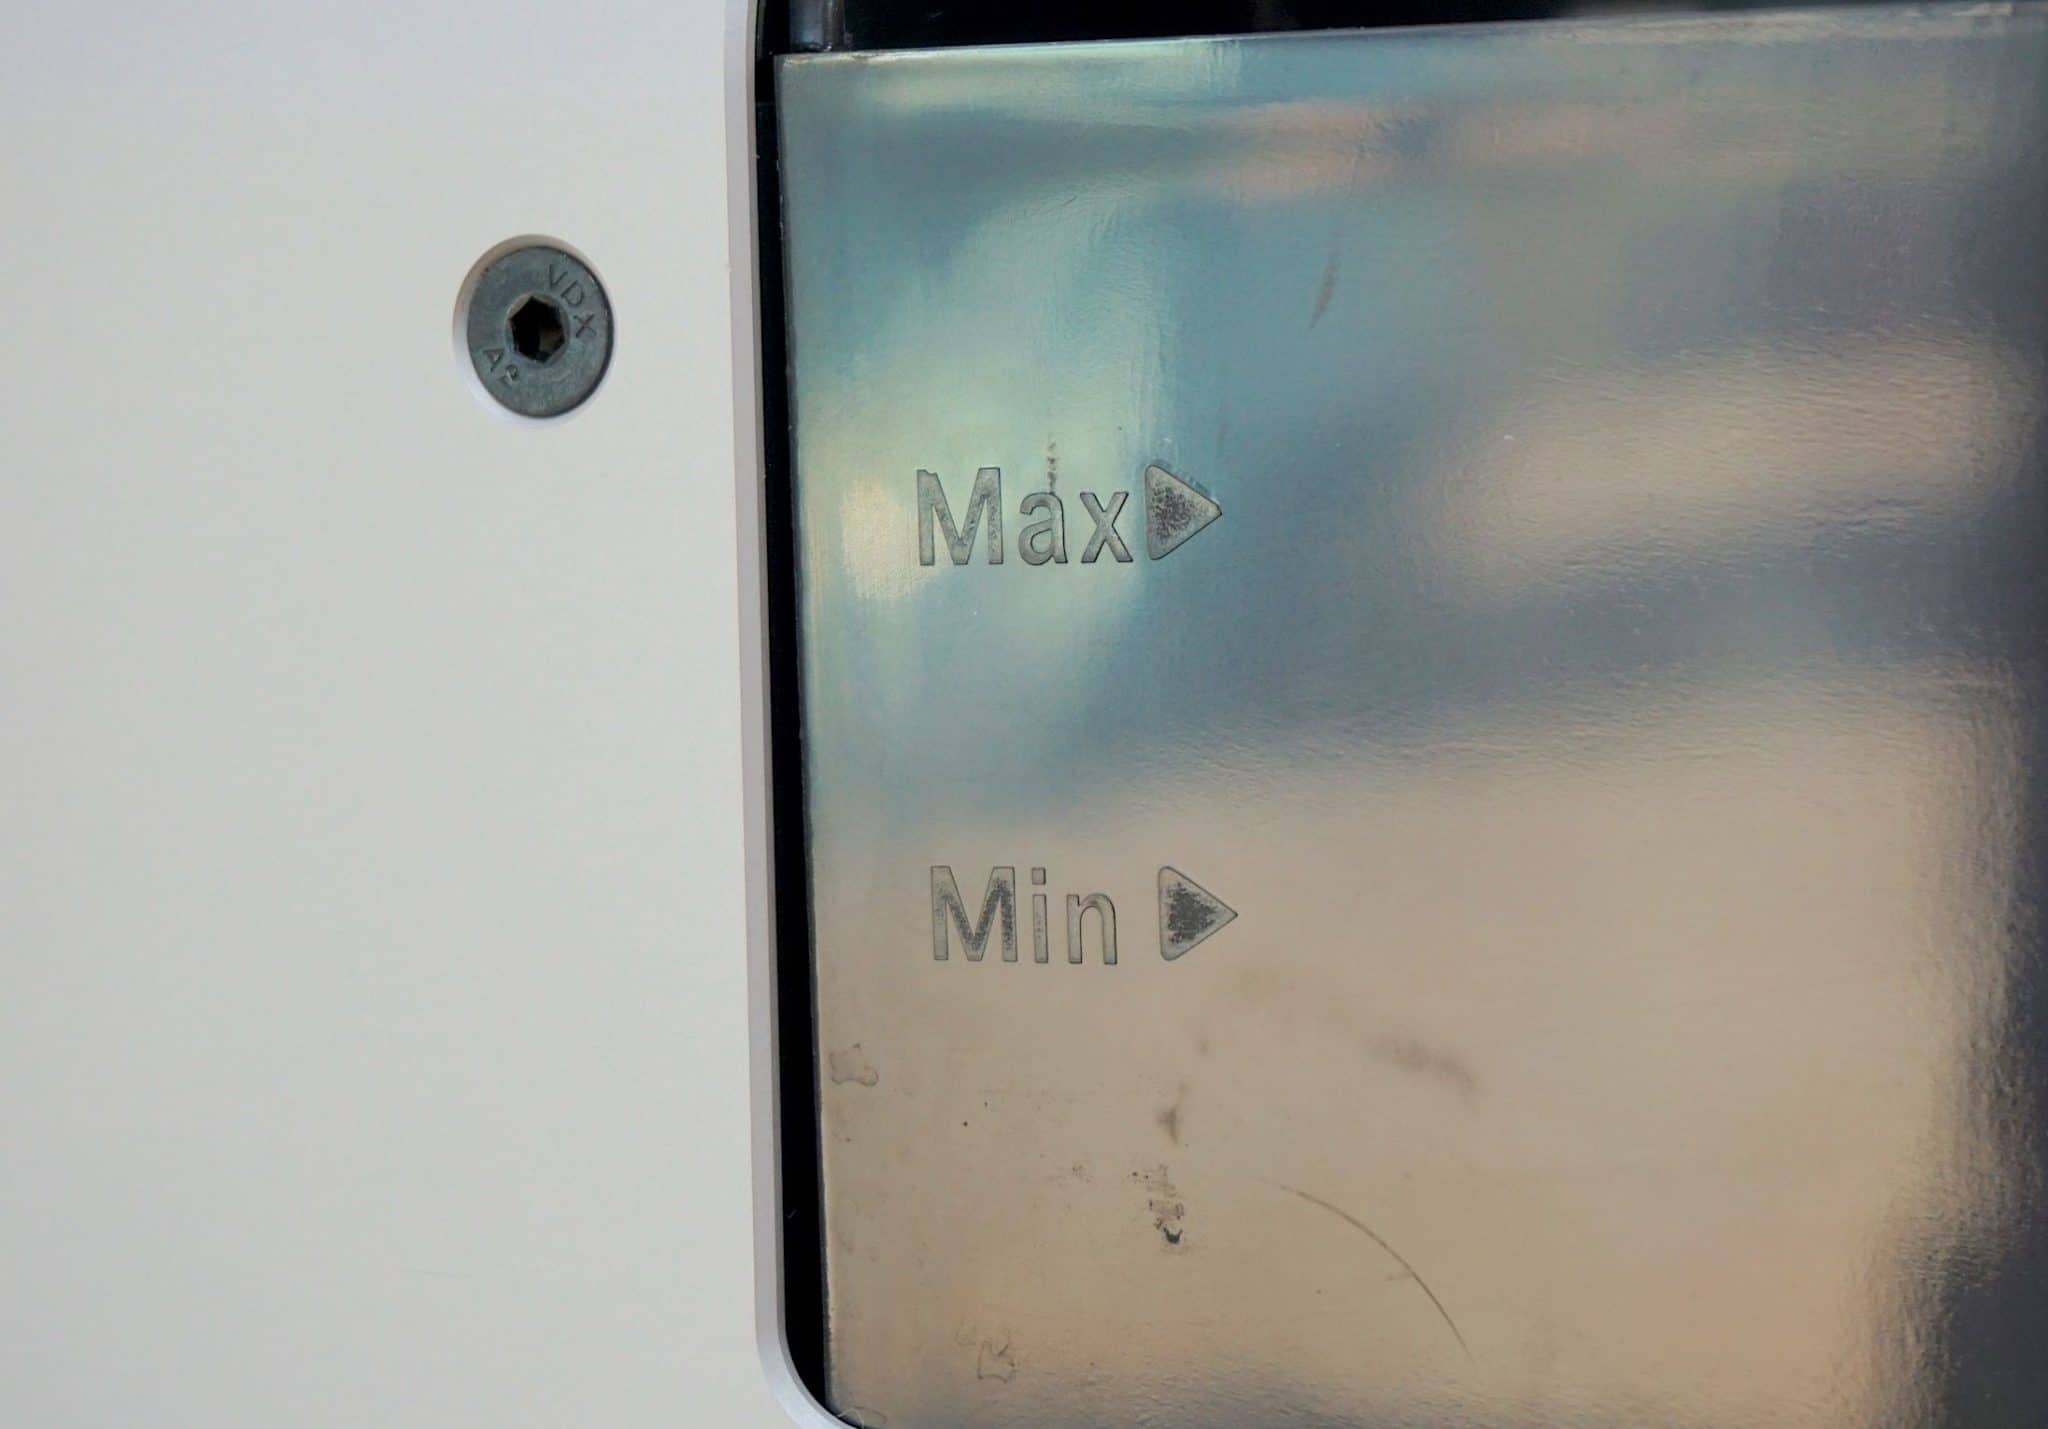
One slight oddity is the Min/Max water levels etched onto this plastic, slot-in unit. The company now recommends that you ignore them, recommending that, when filling the bath, you actually exceed the Max level during use.
“When designing the machine, the main goal was to create a compact and simple to use device for home users,” said Degritter. “A detachable water tank solves the hassle of replacing the water. The tank is at the rear of the machine, as this allows for a compact design. The Max level on the water tank was added to the water tank to aid the user when filling the tank. Unfortunately it was added to a level that is a bit too low and having more water in the machine is beneficial. The water tanks are produced with plastic injection molding that requires large initial investments when the moulds are created. In a common appliance the initial investments would be covered by hundreds of thousands of pieces that are being produced this way. With Degritter our manufacturing power is lower and having injection moulded parts is large initial expense. Because of this we have not yet managed to remove the Max label from the tank.”
So, cut the guys a bit of slack on this one and fill the tank above that Max level.
I added distilled water to this tank. The company recommends a water change after 30 record cleans to prevent microbial growth.
Another note, ultrasonic cleaning does increase water temperature. The Degritter’s software automatically monitors this and, if the temperature exceeds 35 degrees centigrade, the action will pause and “cooling” will occur for three minutes to restore normal temperature levels. The machine pushes cool air through the machine to reduce the temperature.
WASH & BRUSH UP
One thing not talked about in the boxed manual is that you can give the Degritter a clean, internally that is using a toothbrush.
“We recommend it every 300-500 washing cycles. Depending on how dirty records are being cleaned. Roaming the toothbrush around that has been wetted in isopropanol (IPA) will do the trick. It would be good to clean the bottom of the tank (with a small bottle brush), but most of the dirt will accumulate on the ultrasonic cleaning tank sides and what is left at the bottom does not affect the cleaning, so it is not as important to cleaning the bottom.”
Now, because the supplied, printed manual doesn’t take you through the above process at all, never mind methodically, I thought I’d do that very thing here and so asked Degritter for help. It very kindly produced this list of action for cleaning the internals of the Degritter machine:
1. Remove the rubber gasket. This is a rubber collar that fits loosely around the upper slot.
2. Clean the ultrasonic tank sides with a toothbrush. The brush can be wetted in isopropyl alcohol (IPA).
3. Once the scrubbing is done, follow it up with one Quick wash cycle (no drying) with pure distilled water.
4. Add about 100-200ml of vinegar to the distilled water and run five Quick wash cycles (again without drying).
5. Replace the vinegar solution with pure distilled water and run three Quick washing cycles to rinse off the machine.
IN USE
To use, I inserted Roxy Music’s Avalon into the machine and selected the Degritter’s Heavy clean variant.
Inserting the record into a Degritter’s slot, I noticed that nothing ‘grabbed’ onto the record itself. The slim slot configuration did do an effective job of keeping the record in a vertical position during the clean. I didn’t feel any resistance or a sense of inserting the LP into machinery to be rotated. Something you will find on competing products. In the Degritter, the record was never physically held in place. As for the rotation itself? That was performed by rollers placed at the base of the slot. Record placement and rotation was thus simple and gentle without stresses or strains.
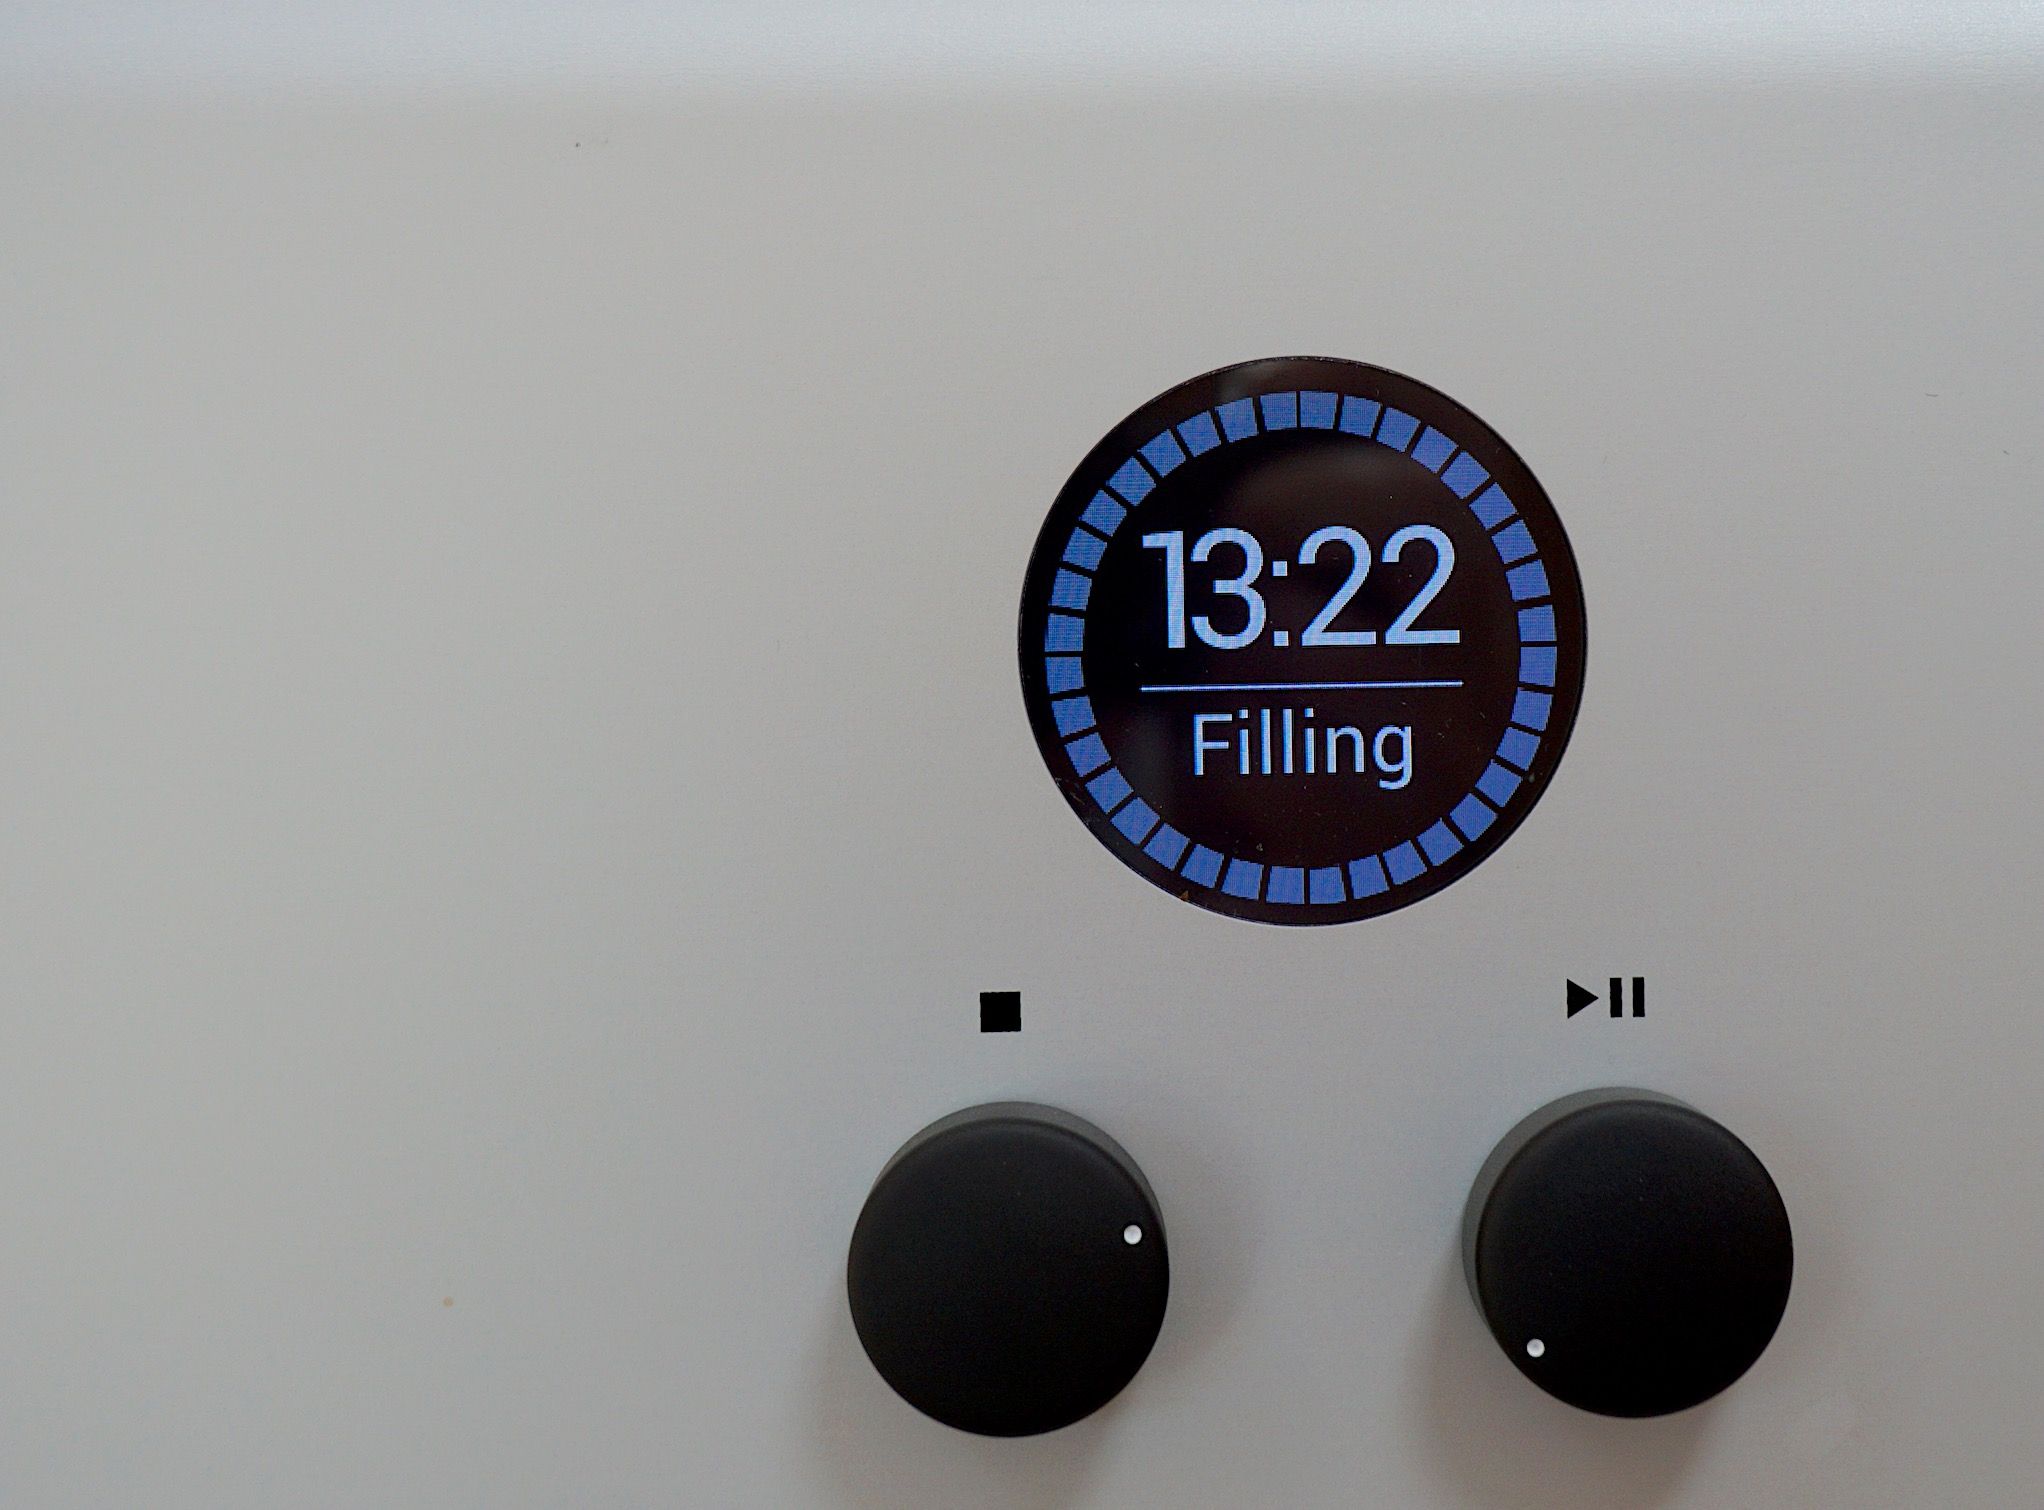
Pressing ‘start’ fired up the machine into a hum, nothing too aggressive on the ears. It was certainly bearable. I could also hear the sharper sounds of the cavitation process during the ultrasonic cleaning. The disc was rotated several degrees to the left and then a few degrees to the right and more to the left and so on. I was struck that the Degritter used (and stored) relative less water than any other ultrasonic RCM I’ve seen on the market. It’s an efficient machine in this regard.
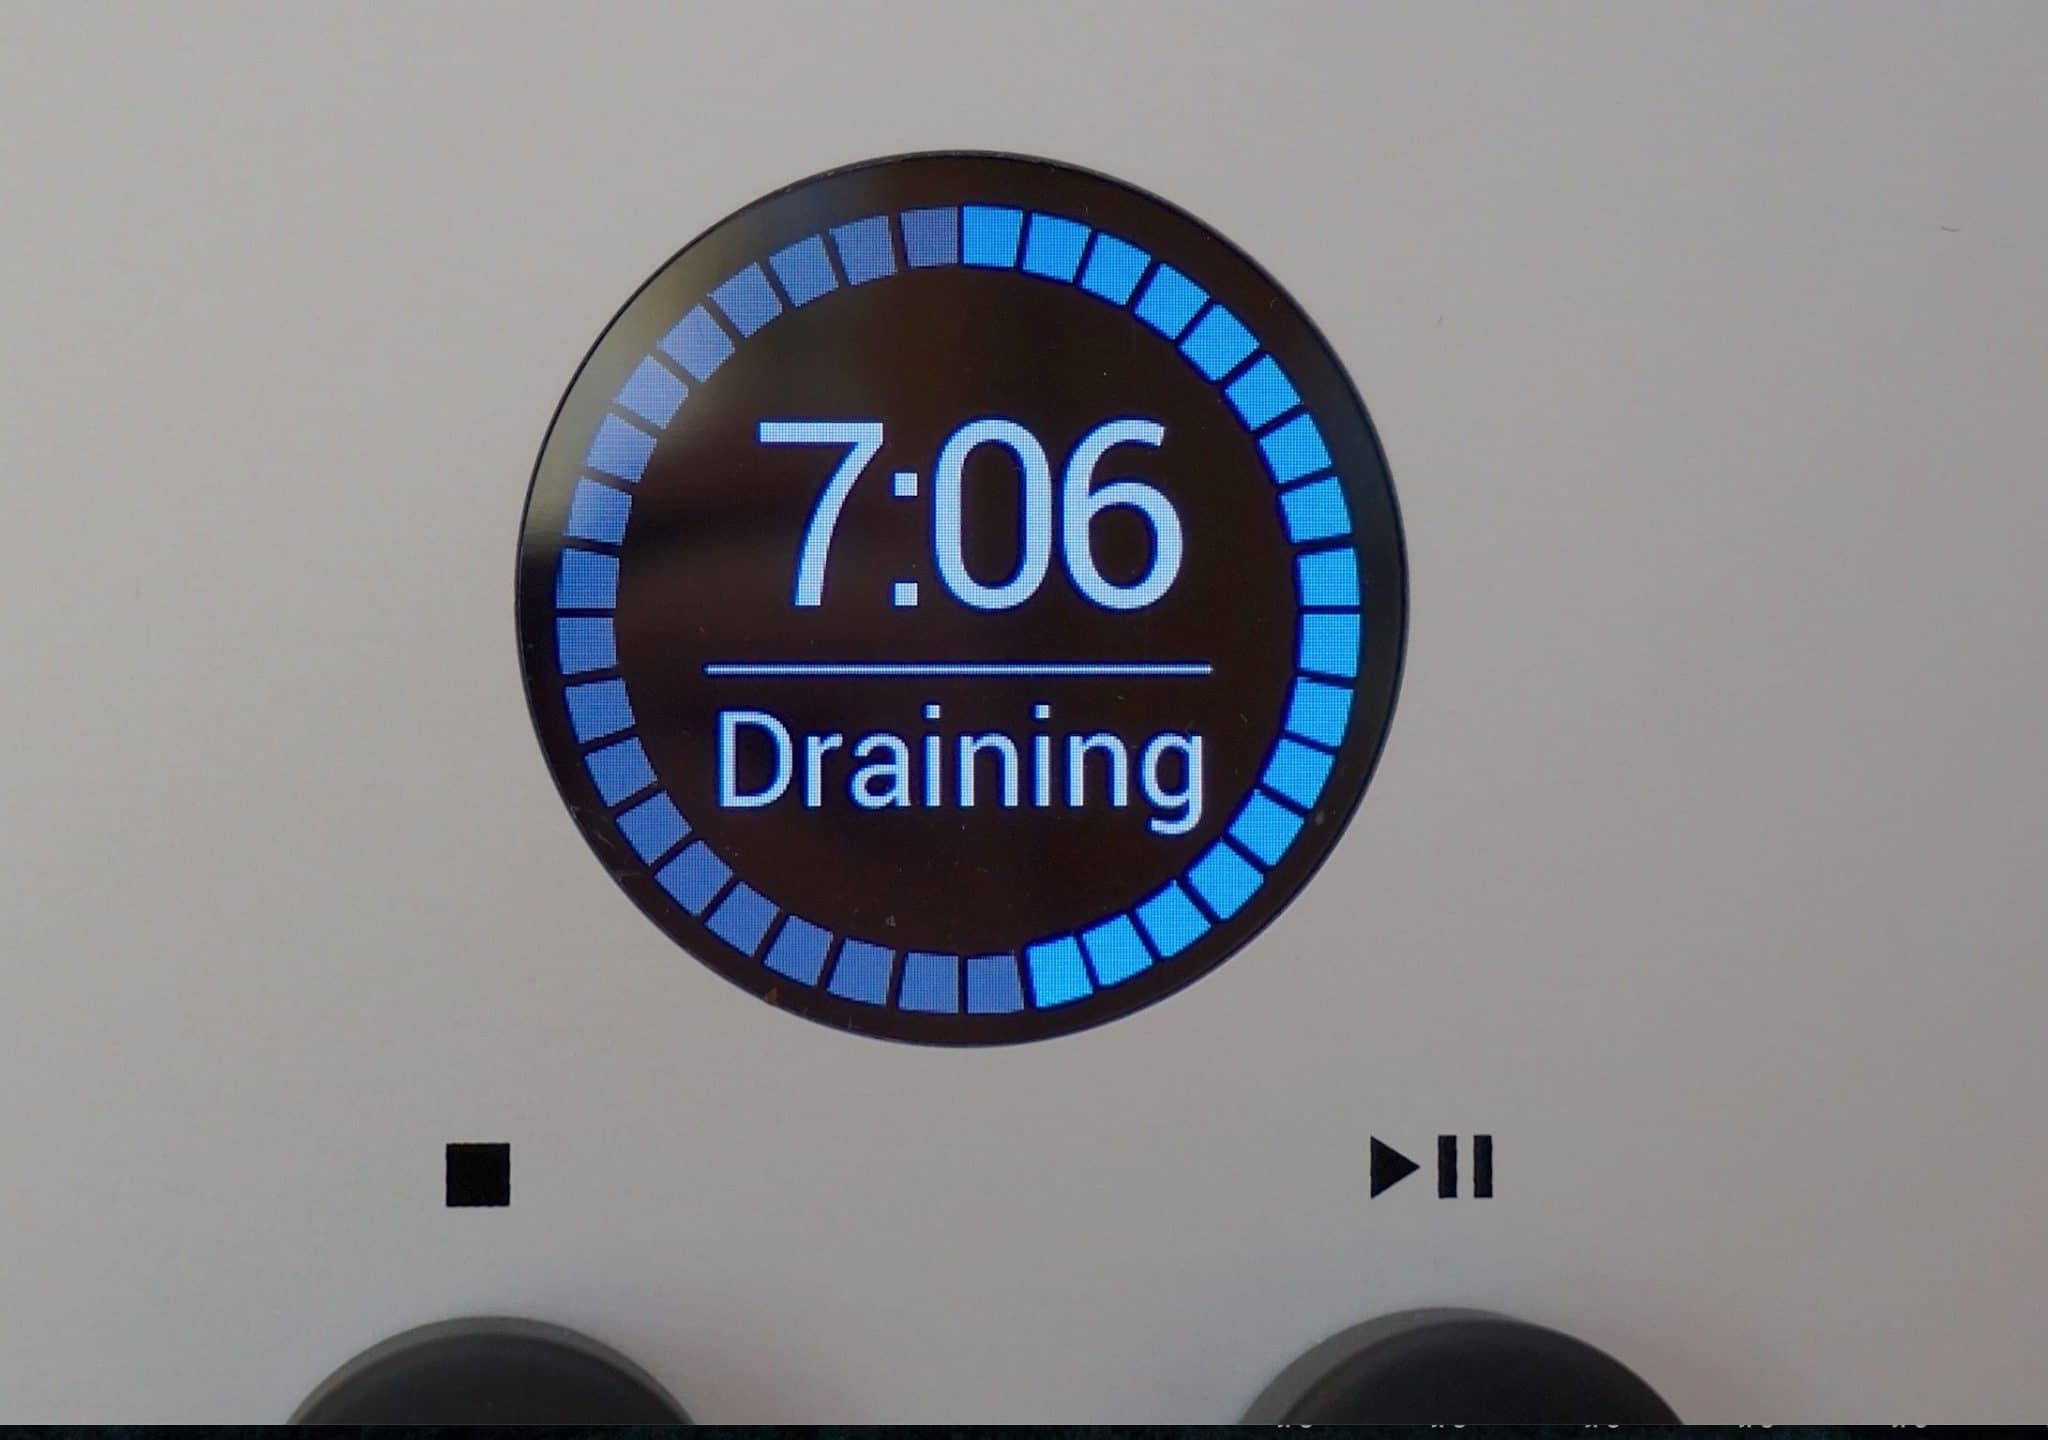
This bouncing, to and fro action carried on for several minutes until the water was drained and the drying took place for around seven and a half minutes.
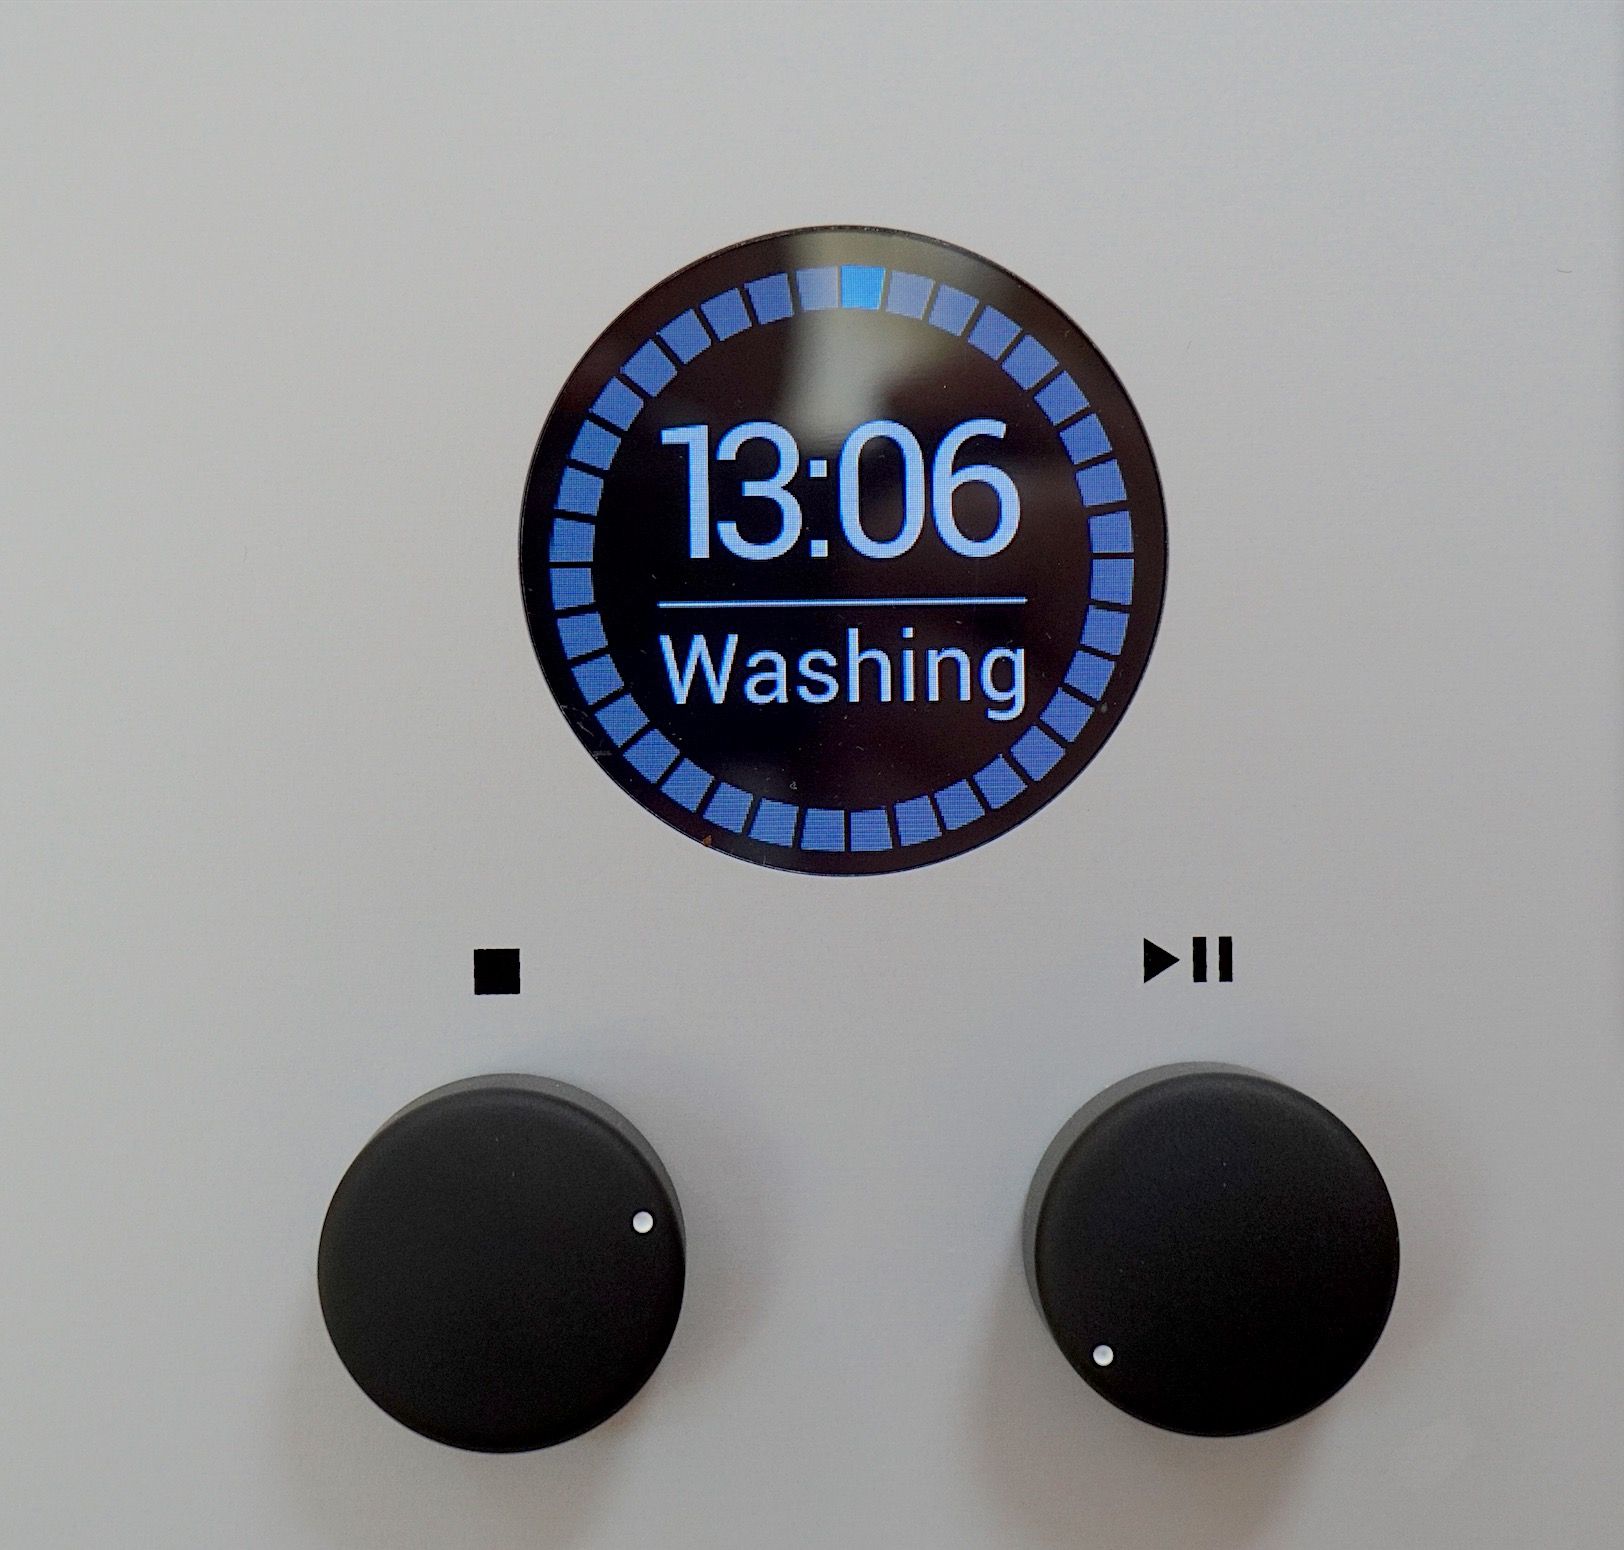
Over all of this time, the circular LCD output around the edge of the circle output screen monitored the cycle. Each cycle was titled inside the window. So, for example, the drying process featured a large white ‘Drying’ text underneath the numeric countdown. The Drying process also displayed green coloured LCD segments while the Wash was in Blue segments. The remaining time/segments were in a lighter grey.
Once completed, the machine offered a few subtle beeps and the drying vacuum sound ceased and that was that. Drying was complete and efficient with no smearing or wet spots and removing the disc was easy. Again, you never felt that the vinyl was dragging against anything during removal. It just lifted easily from the slot.
Another thing I want to add, one also not mentioned in the manual, is a strange little cycle that pops, seemingly out of nowhere, takes control of your machine and sends it through an action of some sort. This is the mysterious ‘Machine Maintenance’.
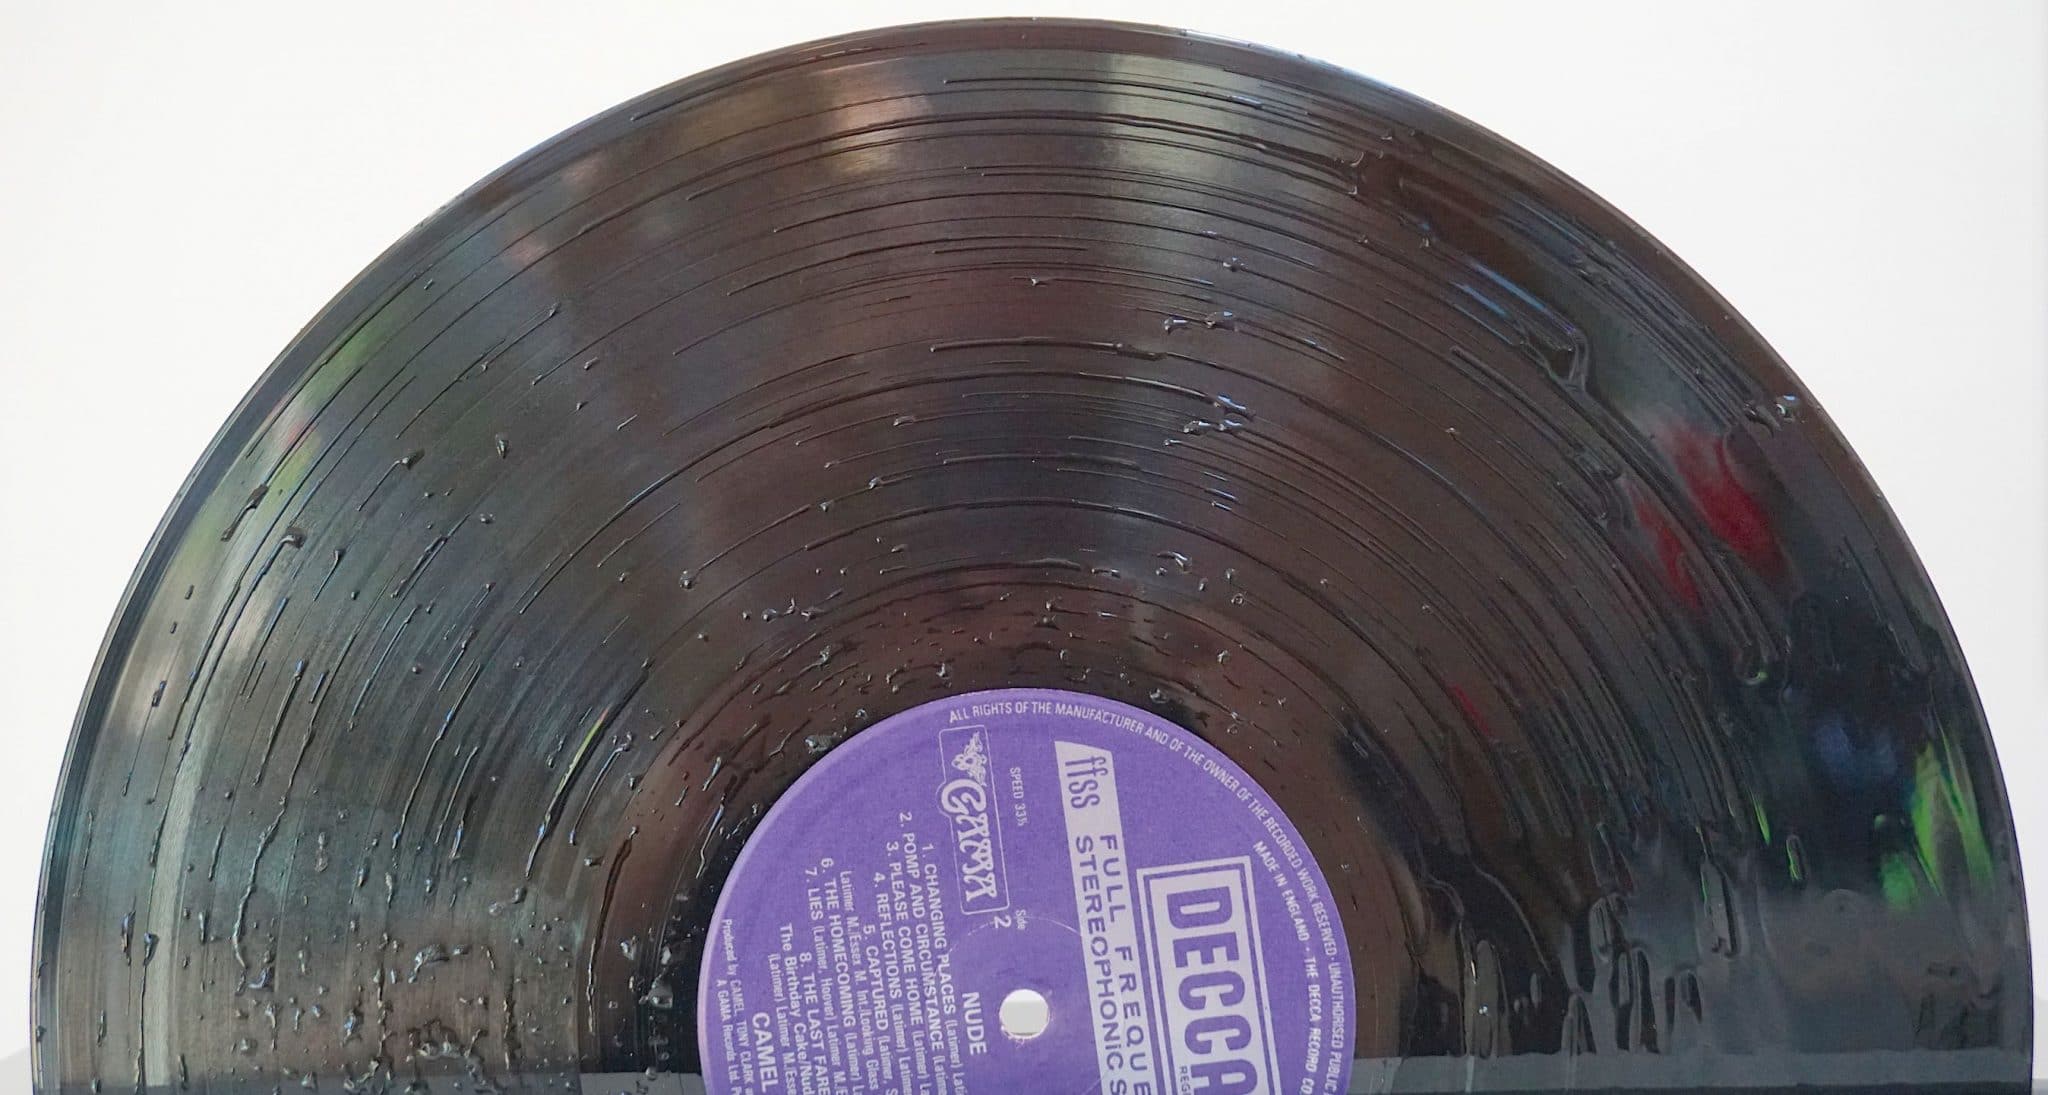
Unprompted and unasked for, this operation appears as an automatic procedure run on every 60, 110, 160, 210 runs to clean the machine’s valves. The process takes about 30 seconds and the machine will continue with the regular cleaning afterwards. Degritter promises to add this to the manual ASAP but, if you see it occurring on your machine, don’t be concerned, all is well.
SMELLS
One thing I did note was that, because I was adding a few percentage points of alcohol in the bath and using an on-disc surfactant, when the Degritter cleaned and dried the disc, some of that was pushed into the air along with water vapour from the Degritter’s bath. And it produced a smell. Now, this might not be an issue for you, you may use different additional liquids to me or none at all or you might not smell anything. Cleaning systems will vary and so will our noses.
If you do smell a problem – and I didn’t see this as a major problem but thought I’d note it anyway – then I suggest using the Degritter in an aerated room, by an open window, popping an extractor near to it (the main expulsion of drying air appears to occur on the left side of the machine, on the logo side that is) or adding a cover during drying.
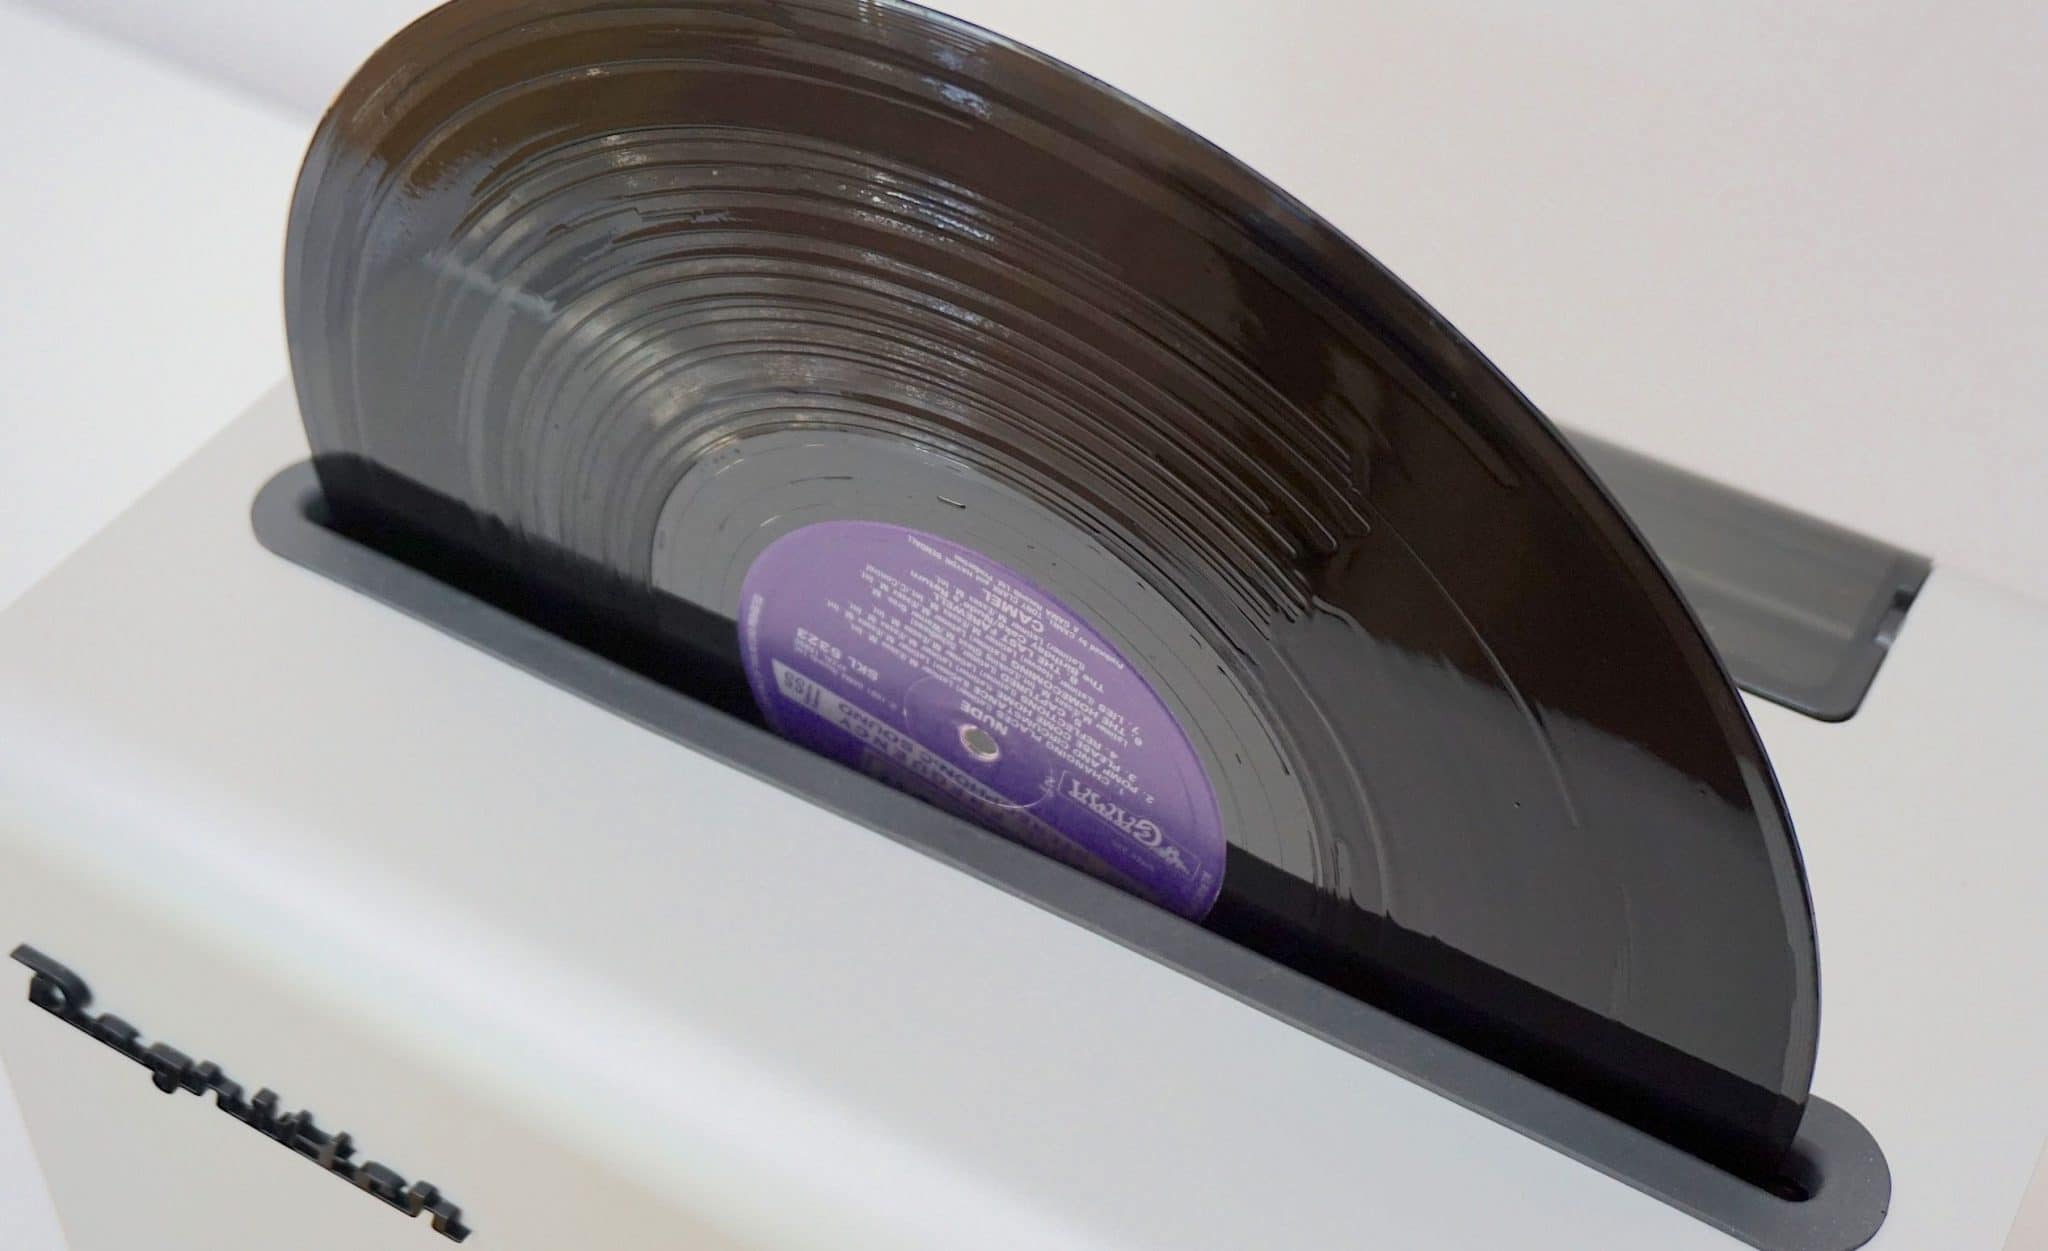
“So far, we have only had requests for a dust cover for the machine,” said the company. “An enclosed compartment for a working machine would indeed trap the vapors but this also means that the humidity would go up and the record does not dry as quickly. It would be a tricky problem to solve. At the moment we also do not offer a dust cover for the machine on sale, but we have noticed a simple dust cover being sold for Degritter on Ebay for $25: www.ebay.com. We do not own one and we have not been in contact with the manufacturer, so we cannot tell how well it will fit the device. Also, a few of our customers in Europe have ordered an acrylic (plexiglas) cover from a local company.”
SOUND QUALITY
As my original pressing of Roxy Music’s Avalon was the first record to be cleaned, I decided to run that first in sound tests but without any surfactant. I didn’t add the Degritter Cleaning Fluid either. Just as a result of a single clean, albeit just the once on Heavy mode.
And before we get to the core of the sound tests, the first thing to report was that the jig worked perfectly. The latter reported that the liquid would clean just short of the label surface on this Roxy disc and it did just that with no splashes or other irregularities to report.
Next, this is an early stage of the cleaning but even after one cycle, with no surfactant added as a preparation, I could hear sonic improvements. There was an infusion of air and space into the soundstage. The latter was also opened up a tad while the midrange sounded smooth. Very smooth. It flowed very easily indeed with backing harmonies sounding almost tidal as they wafted in and out of the music during the chorus. The reduction in the noise floor also added a swathe of new reverb which was added across all frequencies, adding life and a sense of dynamic pizazz to the playback.
This extra reverb was probably the most noticeable and, in musical terms, the most dramatic element because this was an effect that was new to much of the music. Not all of it but it was new in certain areas at certain parts of the replay. That is, it just wasn’t there at all and then, post clean, there it was.
A good start.
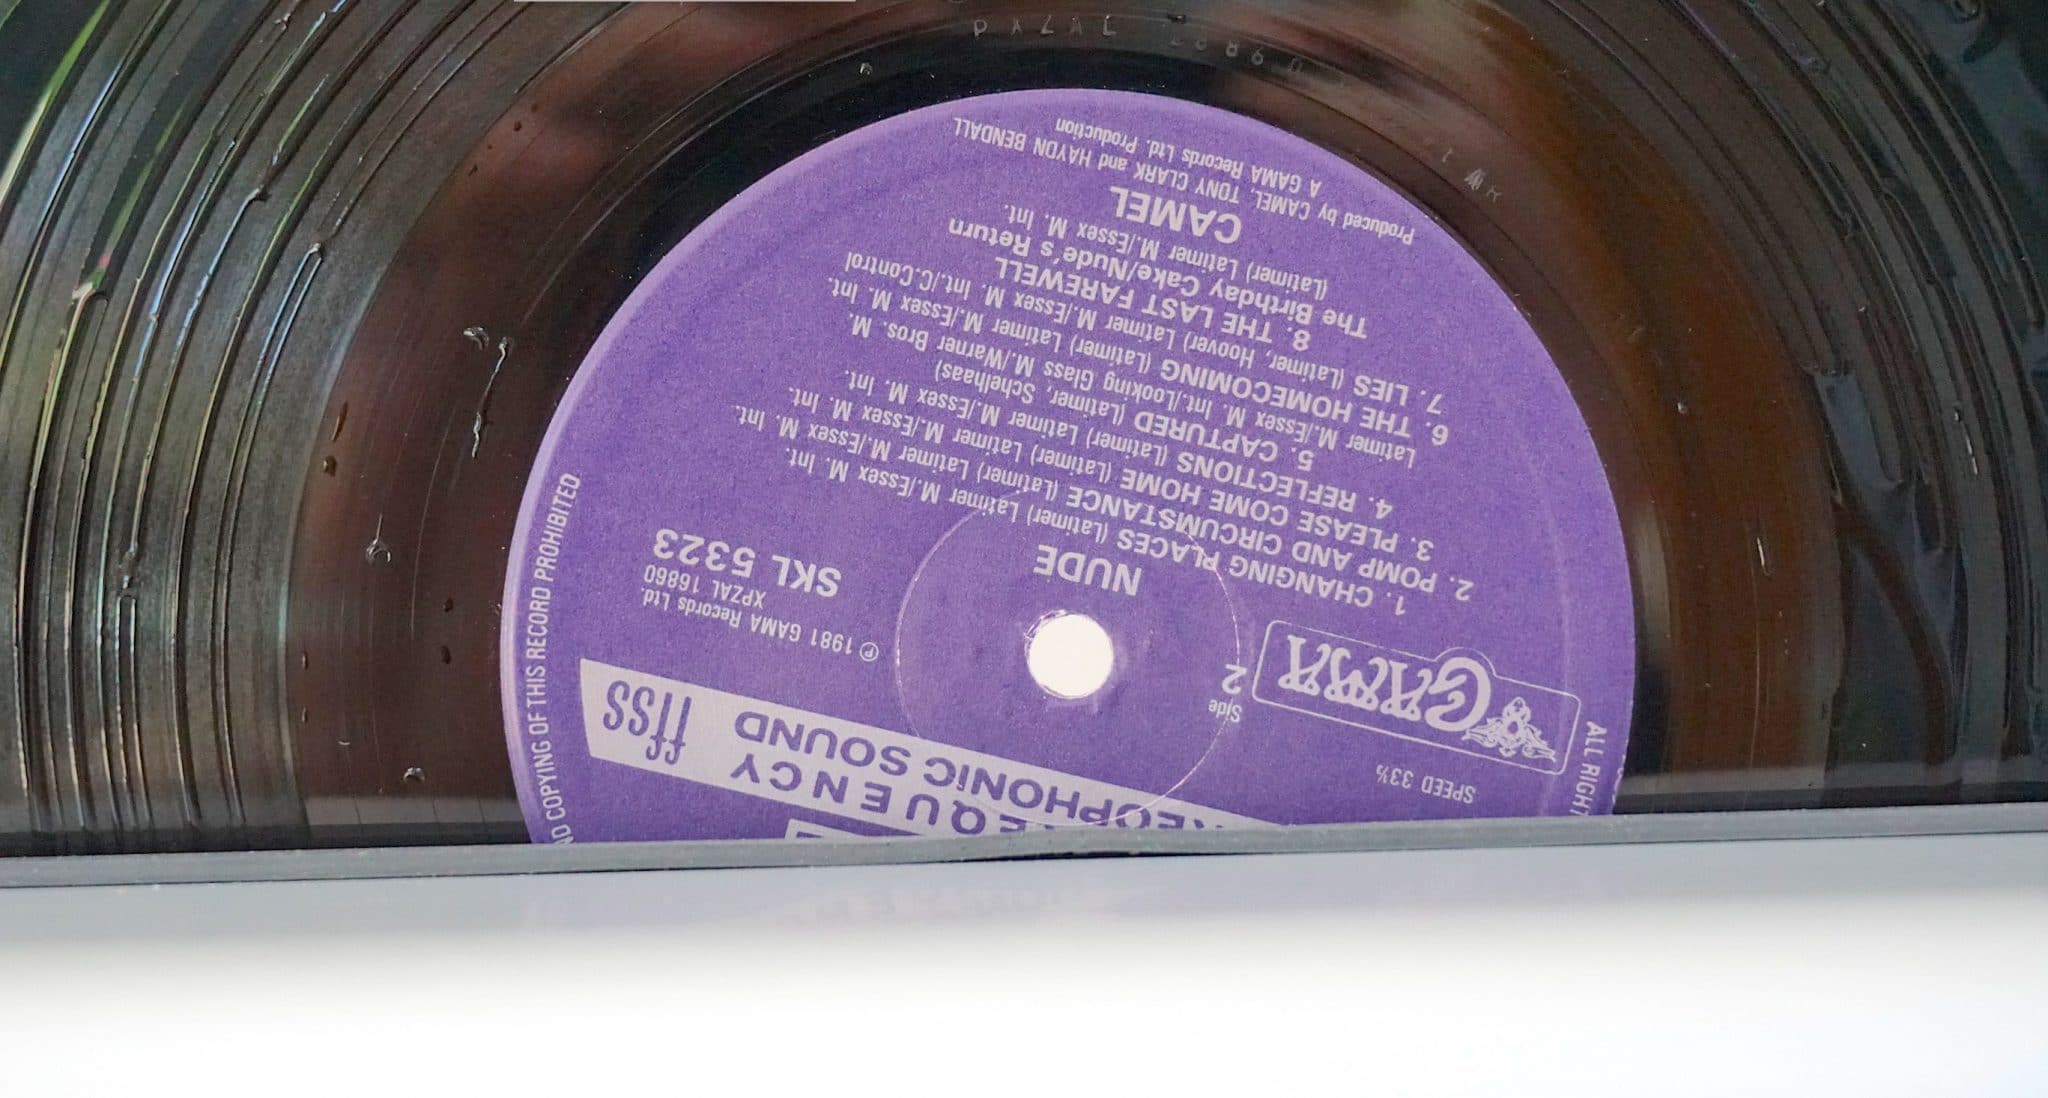
I then added my usual surfactant to the vinyl surface (using a combination of diluted Tergitol in distilled water) before another Heavy cycle clean. In fact, I decided to run for three cycles. That is, I added surfactant to the vinyl surface and cleaned in Heavy mode as one cycle. Running for three cycles in all. I was expecting to hear a further sonic improvement but I wasn’t sure exactly how much.
My response to this was intriguing, looking back on it now, because I began by wagging my finger in the air and exclaiming, “Oh yes, that’s the one. That’s the one.” With plenty of head nodding and pursing of the lips.
Why? Well, the combination of multiple Heavy cleans along with my surfactant addition retained the extra reverb, low noise and smooth mids from earlier but now added a sense of grandeur to the soundstage, an organic element to the vocal presentation and percussion, a solidity to the bass guitar and a sense, from the guitar, that it was a real thing, a solid, had weight and electricity flowed through it. That is, the guitar felt more well, alive. More present in the mix.
The sheer confidence from the music was just brimming. Actually, the music wasn’t confident. It was arrogant.
I then turned to a recently released Ella Fitzgerald disc reissued via the German audiophile outfit, Speakers Corner. From this jazz-centric genre, I was expecting less high energy and more precision and accuracy. I wondered how the Degritter might cope.
Again, I began with a basic clean, no surfactant, on the Heavy mode and tested that. Again, the initial response here was an opening up of the soundstage, especially within the upper frequencies but the lower benefitted too with the addition of a new level of reverb. This extended upright bass notes, gave the strumming acoustic guitar and piano on the right channel a more noticeable character but also allowed the ride cymbal to become far more prominent in the mix on the left channel.
I then added surfactant to the surface and cleaned the disc over just one cycle this time, instead of immediately zooming to three as I’d done above. Just to see if one cycle offered a similar change. Again, though there was the soundstage expansion. The soundstage just sounded larger, more impressive and expansive. This would actually make sense if, as I suspect, more of the stylus was hitting more of the (now) bare groove. The more barriers removed between the stylus and groove would mean more information would be read. That’s what I was hearing here. Individual details were just beautiful too. The almost rubbery ‘twang’ on the upright bass from a plucked string was quite delicious, for example, while the little titbits of effort from Ella Fitzgerald as she leapt up and down her vocal chords was a wonder to behold.
The combination of the Degritter and surface-applied surfactant was a real winner.
CLEANING HELL…OR HEAVEN?
So, I zoomed onwards this time. I moved from one cleaning cycle to a whopping five. This took…a while. Over an hour. Nevertheless, I wanted to see if it was necessary or otherwise. I just had to know! Time or no time. If, like me, you must have the best sound you can fully extract with the tools to hand, you’ll need to know too.
The result? Wow. Just…wow.
The noise floor took a nosedive and the richness of tone, the sheer imagery and the organic flow from this song was jaw-droppingly, quality-drippingly, incredible.
The ride cymbal never once faded before the next splash was applied, it just rode on the reverb tail, the brass offered a 3D solidity that you could almost walk around while the upright bass provided low-key power. I could also better hear the early piano and acoustic strains now. Normally both were so shy and reserved. The focus here was completely, utterly and wholly impressive.
But let’s hang on a second. Some of that surfactant might still be on the vinyl surface, so I decided to do a rinse to see what happens. Another 13 minutes, then.
The results this time? More clarity. A cleaner presentation.
So what am I saying here? Do you now have to use a Degritter to clean each and every vinyl record for over an hour each? Of course not! Life’s too short. That would be one step away from lock-up crazy!
I will be though. But I realise that I’m too far gone to care, anyway.
The problem is, you see, I’ve heard the difference. I can’t go back. If I didn’t do that, I’d know wouldn’t I? I’d know what I’d be missing. And it would eat away at me.
A deep clean like this is a one-off thing, though. Once in a vinyl record’s life. A sort of initiation to your collection, you might say. After this, you’ll only need a quick two-three minute clean every, what, 10 plays or so? It’s your choice, of course. Depends how rabid you are. Me? My mouth has been frothing for years.
To repeat? Look, you don’t have to go to the cleaning lengths that I did. A simple, single clean will be fine for most users, as seen at the beginning of the Sound Tests, detailed above and you will hear sonic improvements after that. That said, if you want the ultimate in cleaning action, if you want to go to the brink then I’m also here to tell you that the Degritter will stand by your side, every step of the way and will produce sonic improvements every step of the way too.
Finally, what happens when you don’t use a surfactant applied directly to the surface of a record? What happens if you just use the supplied Degritter liquid? I added 2ml of that to the tank. As such, this liquid will last you a long, long time. You use such a small amount per application. It offers great value.
In use? The Degritter liquid is…ok, it does a decent job and its perfectly usable but it’s not as good as a direct-to-disk application of diluted Tergitol. Applying the Degritter liquid after a Tergitol dose adds a veiling layer to the overall soundstage, across all frequencies. So yes, it does help in the cleaning process and it’s fine to get to you underway once you’ve bought your Degritter. But there’s better out there and I recommend a surfactant upgrade, when you can.
CONCLUSION
The Degritter is well designed and solid, I never had any reliability or usability issues and, in the short time I tested it, I put it under real pressure over an extended period of time with exactly 173 vinyl cleans (and counting). It is also cheap to actually run because it doesn’t have any short, limited-life, replaceable parts except for the filter which you’re welcome to make on your own.
It’s also very easy to use and offers great feedback from the clear and informative interface. I love the external water bath, I love the software control and the hand-holding nature of the cleaning process and the related output screen. I also loved the way that you just drop the vinyl in the top slot, press ‘go’ and then you walk away. This is the easiest record cleaning machine to use currently for sale on the market.
Most of all, though, I love its performance and the extra music it can drag from your vinyl grooves. That was, in a word, stunning.
Standards are created and are made to be improved upon. The Degritter has done just that. If you can afford it, get it. The sonic improvements are akin to a major component upgrade. More so, in fact. Frankly, the Degritter is the best record cleaning machine you can buy. Nothing else can touch it which is why I have no choice but to award the Degritter a very rare Golden Groovy, perfect score.
DEGRITTER RECORD CLEANING MACHINE
Price: £2,275
Tel: +372 5884 8839
Website: degritter.com (click here for local suppliers: degritter.com/region)
GOOD: cleaning performance, build quality, design, interface, ease of use
BAD: nothing
RATING: 10
[Don’t forget to check out my new Patreon Page at www.patreon.com/audiophileman, for exclusive postings, giveaways and more!]
REFERENCE
Origin Live Sovereign turntable
Origin Live Enterprise 12″ arm
Icon PS3 phono amplifier
Aesthetix Calypso pre-amp
Icon Audio MB845 Mk.II Monoblock Amplifiers
Blue Horizon Professional Rack System
Harmonic Resolution Systems Noise Reduction Components
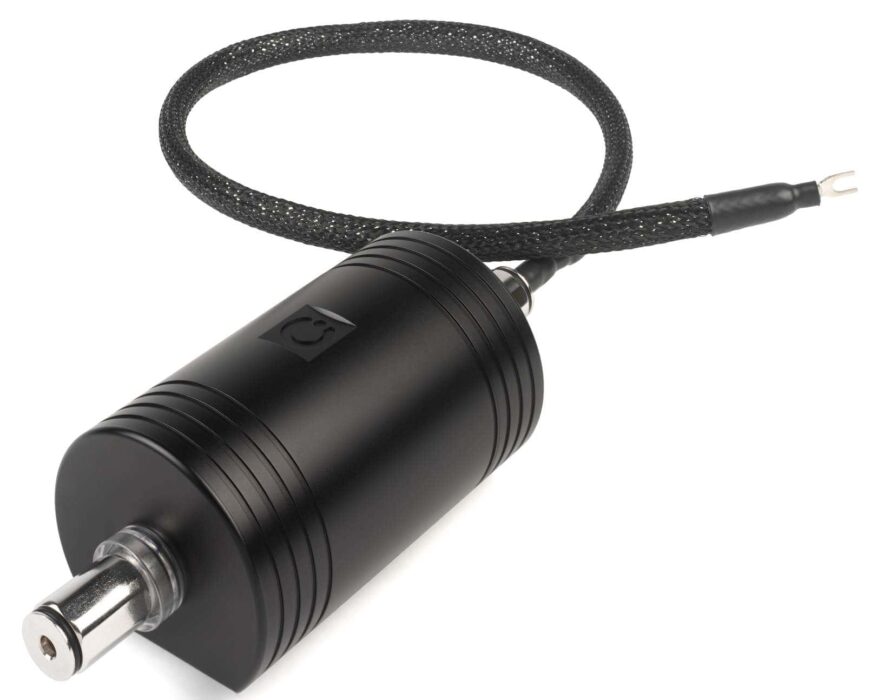
Gutwire Consummate Grounding Cable
Air Audio AC-2K Balanced Transformer
All vinyl was cleaned using an Audio Desk’s Ultrasonic Pro Vinyl Cleaner


Sorry to ask again, but I am still not sure I understand your cleaning method correctly.
This is, in short, what I understood:
You put 15-20 drops (per litre) of Tergitol (or Ilfotol, in case Tergitol is not available) into distilled water and mix it. Then you apply this mix with a Kibuki brush onto the surface of the record and afterwards put the record into the DEGRITTER machine. Is that correct?
Now, is there just distilled water in the DEGRITTER tank, or do you also put some isopropyl alcohol (or something else) into that water (if yes, how much)?
And, you do not use the DEGRITTER record cleaning fluid, is that correct?
Thank you for clarifying!
Hi A.E – yes, I need to produce a more wide ranging feature to fully explain. Decant the surfactant into a pipette bottle. It’s easier to handle there. You can buy them at places like Amazon. You apply the mix to the vinyl with a pipette for more accuracy. Distribute it with the brush. Move the fingers down the bristles to stiffen them and then move in a clockwise and then anti-clockwise direction to force the surfactant deep into the grooves. Put that into the Degritter. You can improve the surfactant performance by mixing the surfactant with two pipettes of Glycol to the mix – there’s more info in the Kirmuss review if you want to scan that – the Glycol will keep the surfactant fixed to the vinyl and resists gravity which wants to pull the surfactant off the grooves during its vertical stay in the Degritter. I’ve done A-B tests on the latter and the performance improves. Again, I need to spell this out properly with a step by step feature and video which I am planning.
Hi Paul,
Another excellent record cleaning arcticle that is making me question my 30 years of record cleaning – thank you.
You talk about Tergitol – am I correct in thinking this is not Tergikleen, which I understand is a mix of two Tergitol formulas?
Also what do you now about Degritter Rinse Aid? I am now convinced of a post ultrasonic (not a degritter [yet]] clean with distilled water using a Loricraft and wondering if there is a better rinse liquid too. Didn’t Walker Audio have a sparkle rinse?
All the best
Thanks Simon and yes Tergikleen is the one. I believe the combo mix is part of the standard package. it certainly works well for me, at any rate. And yes, I gave the Degritter liquid a quick review at the end of the Degritter review. Did you catch that? I find that an ultrasonic rinse before use is the most effective. Just leave off any usual surfactant and the ultrasonic machine will get the job done.
Hi Paul, Thanks, and yes I read your comments about the Degritter Fluid. I had assumed they related to their cleaning fluid you mentioned earlier in the review, and not their Rinse Aid that I have just seen advertised.
Hi Simon – can’t confirm right now but I *think* it’s one and the same thing. If so, it’s good. One of the better liquids out there, sure. But there’s superior options.
Hi Paul, Yes I have just seen some photos of the “new” bottles and it looks like the Record Cleaning Fluid you used in your review has been renamed Record Rinse Aid and there is a new Record Cleaning Fluid with a yellow band on the bottle instead of blue. Maybe you can do an update when you know more.
I’ll ask if there’s any change to the liquid, Simon or if its just a rebrand thing, sure.
Would it be sufficient/good enough to take a record cleaning fluid like Hannl X2000, Hannl VI3C, Clearaudio Pure Groove, Nessie Vinylin etc. and rub this onto the record using the Kabuki brush and then put that record into the DEGRITTER?
Or is your “homemade” surfactant doing a better job?
I haven’t tested those so cannot recommend, I’m afraid. One quick tip, check the ingredients. If there’s any alcohol in the solutions, then no. Don’t apply directly.
Paul – I hate you üòÄüòÄüòÄüòÉ
Just tried the tergikleen and then the degritter – OMG – so much difference. The tergikleen vinyl sounds louder, more detailed more spacious – I agree with your comment of like a veil has been lifted off the vinyl.
Why do I hate you ? – now I have to reclean my entire collection!
But thank you
Ahhh tell me about it Lance! Exactly the same position when I heard the difference too. I felt simultaneously deflated and excited (about the new music I would hear). It’s worth it though 🙂
Great review. I finally took the plunge around May this year and have been delighted by the results.
I have a copy of Abbey Rd I’ve rarely played, purchased new in the 80s. I’d cleaned it on a Moth, played it before Degritter cleaning and the stylus came back clean. After Degritter my stylus had a beard by the end of side 1. Played it again, virtually no beard. Cleaned again, beard. I went through 6 cycles before I got through side 1 with a clean stylus. I didn’t play side 2 at all until the last cycle and the stylus came back clean. From which I concluded that some LPs are just born dirty, and that if there’s a *lot* of dirt in the groove it gets removed, like paint, a coat at a time, with the next layer loose, but not removed. I’ve since seen this with three or four other LPs (out of the 500 I’ve cleaned) so not common, but still a thing.
One thing Degritter isn’t good at are surface fingerprints & smudges. They can stay. I’ve been using my Moth on second hand vinyl to do a thorough surface clean to remove the obvious gunk, then a Degritter clean.
It’s amazing how much cheap charity shop vinyl springs to life after a couple of Degritter cycles. I’d got a job lot of former DJ EDM 12″ singles, they looked wrecked and sounded as bad. They cleaned up amazingly, some are still awful, but the majority are close to as new I’d say.
The after sales from the people in Estonia has been first class. Polite and responsive to email queries. My Degritter developed a fault in one of the transducers after about 600 heavy duty cycles causing an intermittent, fluttering, high pitched noise. I sent them a recording and got a response the same day saying that while the machine was safe to use, the noise was not normal and that they’d replace it. I didn’t even have to ask.
The replacement is on the way and expected at my door this Friday.
I really couldn’t expect better.
Thanks for your thoughts on the Degritter, Steven.
Hi Paul
First many thanks for your reviews and your videos.
After reading your reviews of different RCM I decided to purchase the Degritter.
I have a question concerning the percentage of isopropyl alcohol.
In your review of the Kirmuss KA-RC-1 you wrote:
“When preparing the bath of liquid for the KA-RC-1, you add 40ml of the 70% solution to the bath of distilled water which amounts to 0.43% total volume. A very low figure indeed”
In your review of the Degritter you wrote:
”I personally used a ready-mixed concoction of 7% isopropyl alcohol and distilled water stored in a 2 litre plastic bottle”
These two “percentage of alcohol”: 0.43 % and 7% are very different. I guess that your concoction is made with 70% isopropyl alcohol and a “0” is missing. Is my assumption correct?
I received my RCM last week and I begin “on the safe side” to prepare my concoction for my first trials.
As I have 99.9% isopropyl alcohol I did the following for 5 litres (5000 ml) distilled water
5000 x 0.0043 x 0.7 (to transform my 99.9 % isopropyl alcohol into 70 %) = 15 ml of 99.9 % isopropyl alcohol.
I am waiting for Triton X 100 from UK and Tergitkleen from US that you quote in You tube as the best ones for you.
To try and improve further the good results I already get by using 6 drops of a concoction (1 ml Degritter cleaning fluids in 1.6 liters distilled water) the is made of the above concoction. These drops are spread with a Kabushi brush before a first “Heavy” cleaning followed by a “Middle” one to rinse the rest of cleaning solution.
This is a useful way to occupy the confinement time here in France.
I am waiting with impatience your video showing your cleaning process with ultrasonic RCM
The 0.43% of alcohol – or 1% if it makes it easier to work out in ratio terms – is fine if you don’t use Glycol. 7% is needed if Glycol is used to melt the Glycol itself. The latter wasn’t part of my regime when I reviewed the Kirmuss machine. If using an ultrasonic machine, Glycol is needed to fight against gravity, to stop the latter pulling the surfactant off the vinyl surface during cleaning.
I would avoid the Degritter liquid if you’re using the recommended surfactant concoction and alcohol/distilled water bath. Please don’t add alcohol directly to the vinyl surface. Degritter liquid features alcohol within it.
I am also impatient to see the video 🙂
Hi Paul, can I just clarify please? In the Degritter tank you use a 7% IPA mix when you use your TergiK/Glycol solution, and that that equates 200ml of 70% IPA (not the beer) mixed with 1800ml distilled water in your 2 litre bottle you have mentioned ? Also have you tried this mix in the Kirmuss or AD to see how mush difference it makes in those machines? Thank you for you ongoing investigations. Simon
Sure, Simon. Quick tangent. Can you get yourself full strength Isopropyl? More reliable than the 70% stuff, partly because there’s always questions about the other 30% which should be nothing but distilled water but, even so, to be absolutely sure and all that… It’s better value for you too because you’re needlessly paying for distilled water in there otherwise.
So whatever big bottle your using to store the distilled water/alcohol mix, if you’re using Glycol as part of the regime, 7% of that bottle’s volume should be alcohol. So, for a 2 litre bottle? That would be 0.14 litres or 140ml.
I first tried the alcohol/distilled water with a Glycol-infused surfactant when I initially reviewed the Kirmuss. That review took me about 3 months to do because it was at this point that I grew suspicious and slightly annoyed with the Kirmuss way of doing things. Hence, I did my own independent research, interviewed vinyl industry people, etc. That’s how I came up with the system I use now and it worked well with the Kirmuss. That said, my surfactant choice has been modified over time to Tergikleen I use now. To answer your question further, yes I also used the system on the Audio Desk and then Degritter. The designers at Degritter have also taken my findings to heart and are looking at modifying their own cleaning liquid solutions for the future, incidentally. At least, that’s what they tell me.
Continuing the tangent, the Kirmuss holds 6 liters of distilled water, which requires 420 ml of IPA. Since it is recommended to dispose of the tank liquid every 15 records or so, that is a lot of alcohol wasted. Thoughts?
As Frankie Goes to Hollywood once advised – don’t do it, Volker. I would recommend a minimum of 30 or better, play it by ear (ha!) and judge over time. It depends on the condition of the vinyl being cleaned. It depends how dirty they are. You might be cleaning relatively ‘clean’ records so that figure might go to 60 or more. In short, there is no fixed figure.
Thank you Paul. 60 ml of IPA = 1% of 6 L water. Do you think that would be sufficient to melt the glycol? How would you tell if the surfactant and glycol is completely removed? By inspecting the needle for any remnants of gunk?
Thanks again.
Hi Volker – no, if you use Glycol (and you should with a vertical cleaner, in my opinion), then I recommend 7%.
You can tell by hearing it before and after the rinse cycle.
What do you think about this? Do the scrubbing process you mention with the surfactant (tergikleen based) and glycol. Then use the Kirmuss ultrasonic with the 40 ml IPA. Finally giving a final rinse in a Spin-Clean that has the Distilled water with the 7% IPA to melt the glycol. This would reduce the amount of IPA required in the. whole process. Any positives or negatives that come to mind?
Thanks,
Volker
Hi Volker – nice idea and you might save a few pennies in alcohol but the overall cleaning process will be greatly reduced in efficiency terms because you’re moving away from ultrasonic cleaning at that last rinse. The Spin Clean is nowhere near as effective as as thorough. You will get a better result if you forget the Spin Clean and just rinse in the Kirmuss.
Thank you Paul, I don’t know how you kept your sanity during the experiments! I will trial over the next week . Kind regards Simon
Me neither! Hehe.
You have beguiled and ensnared me, Paul and I am about to get a Degritter. I think after reading this, and the comments, and the other machine reviews that I have a inchoate grasp of the regime you have followed or rather, created, except for the manual application of surfactant. There is the distilled water and the surfactant (I would probably use equal parts Tergitol 15-S-3 and 15-S-9), in the recommended concentration, and then there is propylene glycol; I can’t get to grips with the concentration of Glycol. It is the pipette thing that is confusing me. How much Glycol in how much water do your pipettes represent? I know I can experiment myself , but it would be useful to have a quantified concentration as a starting point. Give us the numbers, Paul , please.
Thanks for your kind words, David – I do intend to produce a video on this point so will provide more exacting results there but, for now, I use these two glass vials, soured from Amazon: https://www.amazon.co.uk/gp/product/B00IZOCRB8/ref=ppx_yo_dt_b_search_asin_image?ie=UTF8&psc=1
One is full of decanted Glycol – it’s easier to handle in one of these bottles.
The other is empty, ready to receive diluted Tergitol.
What I do is this. I take the Glycol bottle, remove the pipette, fill the pipette twice and deposit the load into the second, empty bottle. The Glycol tends to fill around half a pipette, on average. Tiny variations are not important I’ve found. I tried several pipette ‘fills’ and that was the amount ‘sucked up’, as it where. About half a pipette.
Two of those are added to the empty glass vial. Then the remainder of the bottle is filled with the diluted Tergitol. Then you shake vigorously and for a couple of minutes.
Then you can apply the result to the vinyl surface.
Hope that helps.
Hi Paul R.
Interesting about all the options for cleaning and cleaning fluid. For now, I settled on a four-step process in order clean a thousand 30-70 year old pre-owned records I’ve accumulated in the past two years. Although I could do more, I can comfortably complete 15 records an hour.
Step 1. Clean record in a spin clean with spin clean fluid or other cleaner (maybe Liquinox in future).
Step 2. Run 2 records at a time in Kirmuss with 0.1% Turgitol surfactant (15-S-9) for the 40kHz “big-bubble” clean.
Step 3. Rinse in second spin clean device with distilled water only.
Step 4. Run through DeGritter at 3:45 minutes as a 120kHz “small-bubble” thorough final rinse and quick dry (distilled water only). Then put on dry rack.
It’s an interesting production line that I set up on a weekend afternoon, keeping both machines running. Records sound great and no residue on stylus. At some point, I may decide to eliminate the Kirmuss step and rely more on the DeGritter. Even with these steps, the DeGritter filter gets somewhat dirty and needs to be replaced about every 40 records or so. My guidance on the Tergitol and Liquinox comes from Neil Antin’s piece on Precision Aqueous Cleaning of Vinyl Records (https://thevinylpress.com/precision-aqueous-cleaning-of-vinyl-records/).
I’m curious how dirty the filter gets for those using the DeGritter only.
Thanks. Paul L.
Gracious – you’ve got quite production line there, Paul 🙂