The Article
VINYL CLEANING GUIDE PT. 1: MANUAL METHOD
18th December 2020
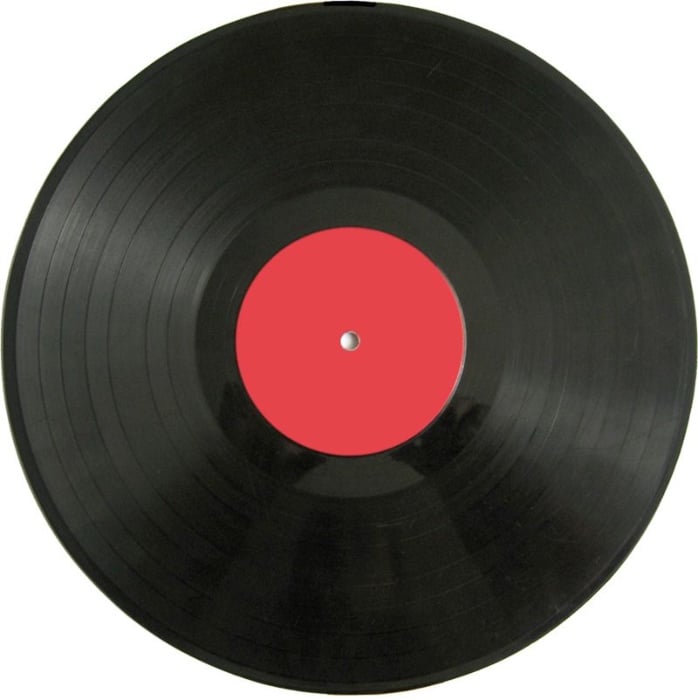
Much requested and long promised but it’s finally here, the Vinyl Cleaning Guide. This is the first of a proposed trio of ‘How To…’ features. In this initial outing, Paul Rigby examines how to clean vinyl using a manual process
As there are a multitude of ways to clean your vinyl, I’ve decided to split this Vinyl Cleaning Guide into three parts.
Part 1 is the manual option and the one I’ll be looking at here. There are a multitude of ways to clean your vinyl. If funds are tight, you can use a manual process. What do I mean by manual? Things like a felt pad, a Pixall Roller (remember them?), carbon fibre brush, Disco Antistat manual machine and its brethren Spinclean and the like. More on this below.
Then there’s the fully-fledged record cleaning machines based upon a vacuum process. Everything from the low-cost Moth and Pro-Ject machines up to the more expensive Loricraft et al. The RCM method will be reserved for the Vinyl Cleaning Guide Part 2.
Finally, ultrasonic technologies will be discussed in the Vinyl Cleaning Guide Part 3.
To save time, if you just want to skip to the cleaning methods and that’s all you signed up for here then, by all means, scroll down to the heading: Required Tools.
If you’re already kitted out then skip that and scroll down further to Cleaning Your Vinyl – Step by Step and read from there.
ROOTS OF THE SYSTEM
For everyone else, a bit of background might reassure but also provide a bit of context as to why I decided upon this method.
After all, you’re being asked to use this new Vinyl Cleaning Guide on your precious vinyl. To have confidence in the system itself, via a bit of background and an explanation of the system itself, should be in order I reckon.
I haven’t come to this point in isolation and I haven’t just picked it out of thin air because it sounds good or a chap told me about it down the pub. There’s been years of application and research behind it.
This Vinyl Cleaning Guide was the result of ongoing and exhaustive testing. If new technologies or techniques presented themselves, I experimented with those and either discarded or adopted them as part of the ongoing evolution.
In that quest I was aided tremendously by my job. That is, as a full time hi-fi journalist I have been very fortunate to be able to call upon new products, of varying types and price points, to test on a regular basis. Whether they be low cost tools, elaborate cleaning machines, liquids, brushes and more. Having the opportunity to compare and contrast a host of products, I was able to undertake a broad comparison with most of the products out there, currently on the market.
Hence, there have been numerous occasions over the past years where I thought I’d found ‘the answer’. The final cleaning system. The One. Only to be presented with a new cleaning liquid or new technology or new technique. That’s then opened new doors to further tests and possible improvements.
Hence, I realise that the Vinyl Cleaning Guide I offer here will, I have no doubt, be improved and enhanced in the future sometime.
As such, there is no ultimate cleaning system. And don’t be fooled by the person that says that such a system exists. There’s only the best system you have, thus far. Improvements will be lurking around the next corner. Or should be. I know that I never rest and am always testing new hardware, liquids and techniques.
The final parts of the puzzle began to be applied late last year. At that time, I began to undertake the testing of a range of ultrasonic machines. This began around September 2018 and finished during the Summer of 2020.
During that time, I took it upon myself to seek out and interview a host of professionals who might be better able to shed light on the vinyl product itself, its make up and behaviour. The idea was to better understand thus stuff called ‘vinyl’.
That involved a range of interviews with the vinyl industry itself. And when I say vinyl industry I mean people who are involved in actually creating the raw material, those who use it in pressing plants and recording studios.
Hence, I talked to two UK companies who create vinyl pellets (i.e. INEOS and Dugdale). Two of the most important outfits currently in operation in the world, actually. Vinyl pellets are the raw material that’s bought in by vinyl pressing plants and is used to make vinyl records.
I also talked to a lady, based in Canada. A chemist, she is employed as a consultant to Abbey Road and has an excellent knowledge of vinyl.
Similarly, I talked to the MD of a company, based in the UK this time, who create blank acetate discs and cutting stylii for the recording industry called Micro-Point, formerly Transco-blanx. Both products were and are used by Abbey Road during the creation of demo discs. Micro-Point’s products have been in use since the 50s. Again, their knowledge was invaluable.
As was the information I received by the General Manager of the current Vinyl Factory vinyl pressing plant, the old EMI Hayes site. The same one used to press all of those old Beatles records of yore and one that originally swore by its original ‘kite’ marks of excellence, I recall. In fact I myself once paid a visit to the place and was shown the thick ‘kite’ standards document they used, when the plant was still in EMI hands. Oh and by a man in a white lab coat, would you believe. Yes, they still existed, even then. I think this was around the year 2000. Possibly a bit later.
So you can see. I ran around collecting as much information as possible, over the months, in my quest to find the best possible method of cleaning vinyl discs.
I repeat though, the Vinyl Cleaning Guide I present here is not perfect. It can’t be. Such a thing doesn’t exist. It remains the best system I have to hand for now. Who knows, next week, I might change and improve upon it.
THE SYSTEM
The Vinyl Cleaning Guide I use is based on three elements:
ALCOHOL
The first is the use of alcohol. Depending on the advancement of my own research, I have rejected, adopted, rejected and have now adopted it again. My initial caution in its use related to the fact that alcohol can be aggressive when used in direct contact with vinyl. It can soften the material leading to groove wall distortion and even brittleness in extreme cases, if used over long period of time.
Used judiciously and in small amounts though, it can be highly beneficial in terms of vinyl cleaning. It took me a while to find that out. I eventually found the correct proportions over months of testing.
I have produced a more in-depth study of alcohol in video form. You can find the link below. This video also talks about the nature of vinyl itself. A subject that is also important when cleaning the stuff is being considered.
Most people think that vinyl is made purely from PVC. More knowledgable people realise that other substances are used in its creation. In fact, a vinyl disc is an amalgamation of a dozen or so different chemicals (the quantities vary depending on the individual pellet company producing the recipe). All of which are useful in terms of vinyl production and sound quality.
What many don’t know though is that the recipe for vinyl itself is not fixed or constant. Each vinyl pellet company has their own recipe (well recipes, six variants are on hand every single working day) while that recipe can change multiple times over the years via modifications and tweaks.
Which means, if you add up the multiple recipes used on a daily basis by each company, that there’s a 40-50 pellet companies currently operating in the world and hundreds more have gone to the wall over the past several decades, the history of vinyl consists of possibly thousands of different vinyl recipes, all of which hold their own chemical properties and behave differently when faced with stress, pressures, heat and yes, cleaning products.
This also means that, quite possibly, and especially if you hold older examples, every vinyl disc in your current collection may very well be chemically unique.
You can find more via the link below:
SURFACTANTS
Alcohol is one of the main points of this cleaning regime but surfactants is another. Finding out about surfactants was a revelation to me in terms of vinyl cleaning. Its use took the standard of my cleaned vinyl discs onto another level. I only came across the technique when ultrasonic technology entered my professional life a few years back but I soon found that surfactants could be applied to any sort of of vinyl cleaning.
I have written a Guide to surfactants HERE which will explain what they’re all about, what surfactants are currently out there and my preferred product. I won’t repeat myself here so please check out the link for more on that. Suffice to say that surfactants play a part in this cleaning guide.
ABRASION
Finally, one of the most neglected parts of vinyl cleaning is abrasion. I haven’t talked too much about this in the past so let’s examine the process now and find out why its important to the cleaning of vinyl.
Talk of abrasion is not something you tend to see within editorial dedicated to hi-fi. And yet. Here we are.
Don’t settle down too much because I want to whisk you off to your school days for a moment. Abrasion was always that thing you talked about in Geography class as the force that transformed rocks into nicely rounded pebbles. Ready made to add a tad of textural variety to your garden or to hand paint as a ladybird or hedgehog and sell on Etsy. Isn’t nature wonderful?
Abrasion is also something that’s sorely needed in hi-fi. Trouble is, we ain’t getting enough of it.
To explain why, I want you to picture TV personality and actor, Tony Robinson. The Baldrick of this parish and the man who would gaily bounce around a different sort of trench on the BBC TV programme, Time Team. Within which, he would run around terribly fast, hither and thither, securing breathless updates on the latest dig, offering wide-eyed excitement and puppy-dog enthusiasm. Fit to burst, he was.
Archeology for the masses it might have been but I want you to recall the sights inside one of those trenches.
Just ignore the wide-brimmed hat and West Country accent of Phil Harding for a sec and look below. There you will see an eager young tike, prodding the hardened soil. A piece of pottery is partially revealed. Our intrepid urchin is carefully brushing away the friable dust and soil. There, like some remnant of the Roman version of Habitat, we can see the patterns on a fragile pot. No doubt used to contain olives. Perhaps wine. Who can tell?
Now keep looking at that pot.
This trench is actually a metaphor. A metaphor for a vinyl groove. That dust is the daily grime that builds up in the groove. The solid, caked, baked soil? That is a heady concoction sautéed lightly from hardened oils emanating from sweat, the fabled ‘release agent’ from the original pressing plant and other substances that I wouldn’t like to dwell upon in a family-friendly website.
The pot itself? The detail you’re desperately trying to access when you listen to a vinyl record on your hi-fi.
Time Team perfectly illustrates, not just how difficult it is to properly clean your vinyl, it offers the essential clue as to why many of us vinyl fans are not cleaning our vinyl properly. Because your detail remains stuck in the trench. It’s all down to abrasion. Or the lack of it.
Whenever you clean your record, the chances are that you will clean it manually with a felt pad or carbon brush or some such. If you’re flush with a bit of cash, you may have spent out on a record cleaning machine (RCM). There’s plenty out there, you know the brands. They range from a couple of hundred pounds to a couple of thousand.
I’ve tested and used most of them.
In use, you either clean ‘dry’ with that felt pad or brush hoping to dislodge as much dust and grime as possible.
With a RCM, you’re probably looking at using the machine in conjunction with a liquid of some sort. The reckless will apply, directly to the vinyl surface, a liquid containing a high-strength alcohol that will risk immediate damage to the groove. Others will apply an enzyme-based liquid.
The upshot for both applications is that you spread the liquid around the vinyl surface with a brush of some sort, cross your fingers then you hoover up the liquid and then you’re done.
The hope is that you will improve sound quality. You will. But the degree of improvement will only go so far and not far enough.
I’ve been testing record cleaning liquids and hardware for decades now. Every time I found a new toy to play with, one that did a good job, right then I would think to myself, “This is it! I’ve finally found the answer! I can rest easy now and just play my vinyl.”
Then I would write about it, proclaiming how amazing liquid Y was and how much more efficient RCM X was and how System Z was truly the way to go.
Three months later, I would discover a new liquid/system/hardware and I’d have to think again.
Well, I’ve been doing a lost of testing of late and the one element that is becoming essential in terms of vinyl cleaning is, you guessed it, abrasion.
Liquids – whether applied directly to the vinyl surface or applied as vinyl is dunked into a machine-held bath – act like an archeologist’s brush. They shine the easily accessible detail, the detail that’s there yet veiled.
If you want to find the rest. The detail hiding behind the hardened oils? That trench-based hardened soil I mentioned above? The hardened stuff in the groove that won’t shift by dowsing with a drop or two of liquid? You need abrasion. Nothing too aggressive of course. We have to be gentle when applying it because this is vinyl we’re talking about, after all. Nevertheless.
Abrasion is also part of this cleaning system. We’ll find lots of abrasion below, during our cleaning process.
REQUIRED TOOLS
The above forms the basis of this Vinyl Cleaning Guide and provides clues as to how this thing actually works. Now I turn to the tools. What will you need to complete your clean?
Buyer’s links are provided below.
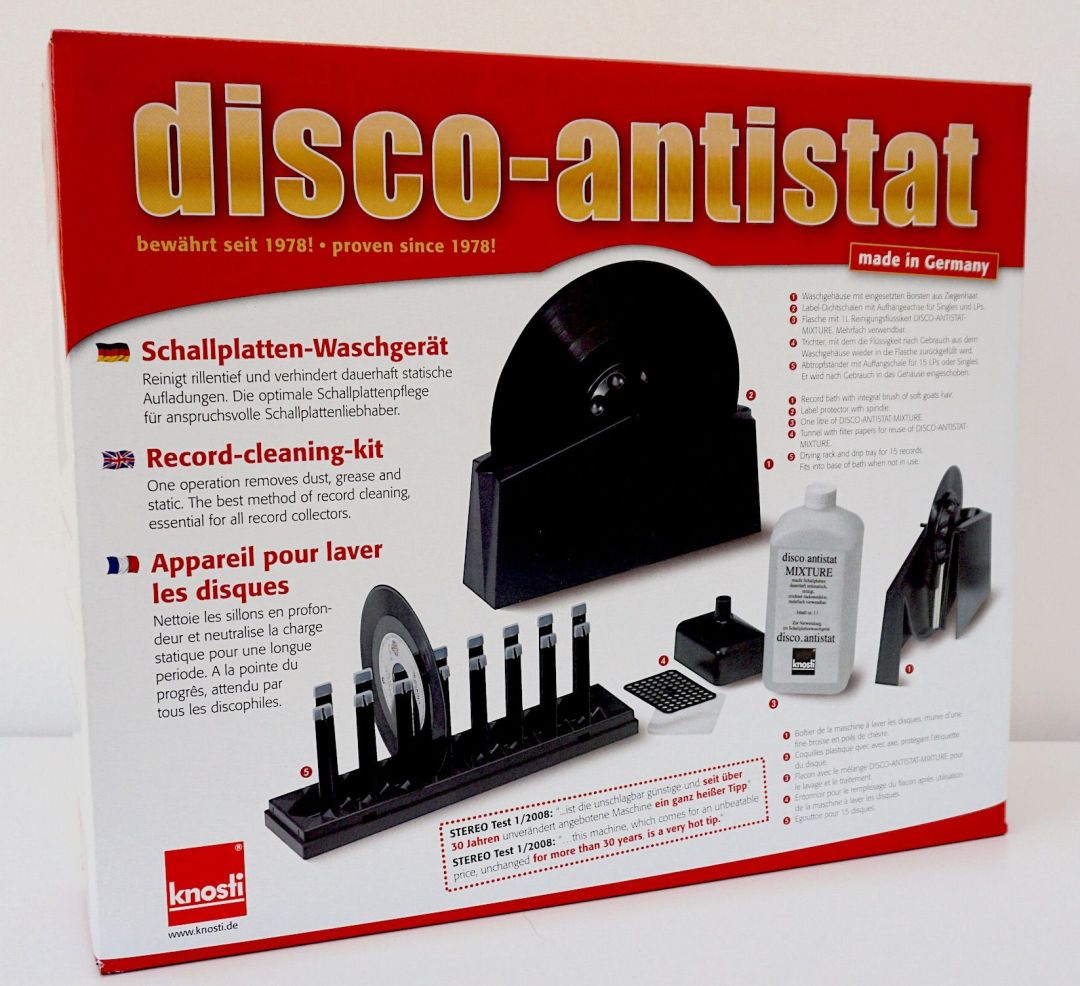
1: Disco Antistat
Price: £46.50
Contact: Amazon, eBay, etc
This Vinyl Cleaning Guide looks at cleaning your vinyl. It’s not a buyer’s guide of manual cleaning tools. I have spent years doing that sort of filtering and the Disco Antistat is my manual cleaner of choice. This is the best manual cleaner I have found, currently for sale on the market. It offers a relatively low cost, great value, it’s easy to use and is wholly effective. But look, I won’t repeat myself here, either. You can read a full review of this product HERE. Oh and ideally, you will need two units for this Cleaning Guide. You can get away with one but two is best.
2: Distilled Water
Price: £2.95 per litre
Contact: Amazon, eBay, etc
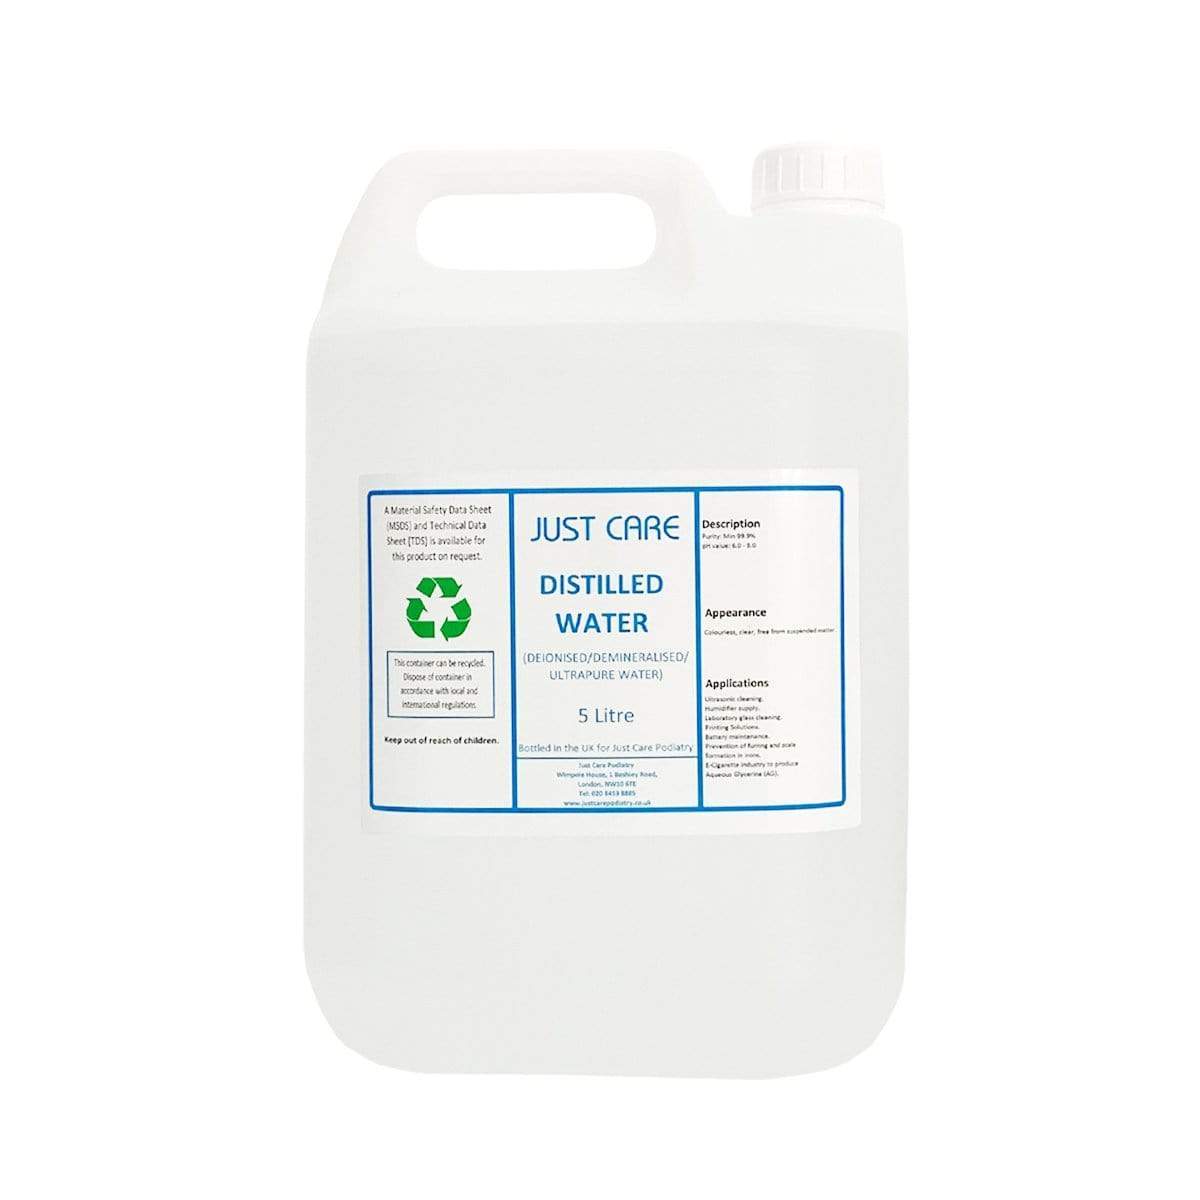
Distilled water will be the main content of the Disco Antistat’s bath. I use distilled water as opposed to any other filtered variant because of the range of potentially troublesome elements that distilled water rejects and other do not. For example, deionised water reportedly does not remove bacteria, viruses or other organic compounds.
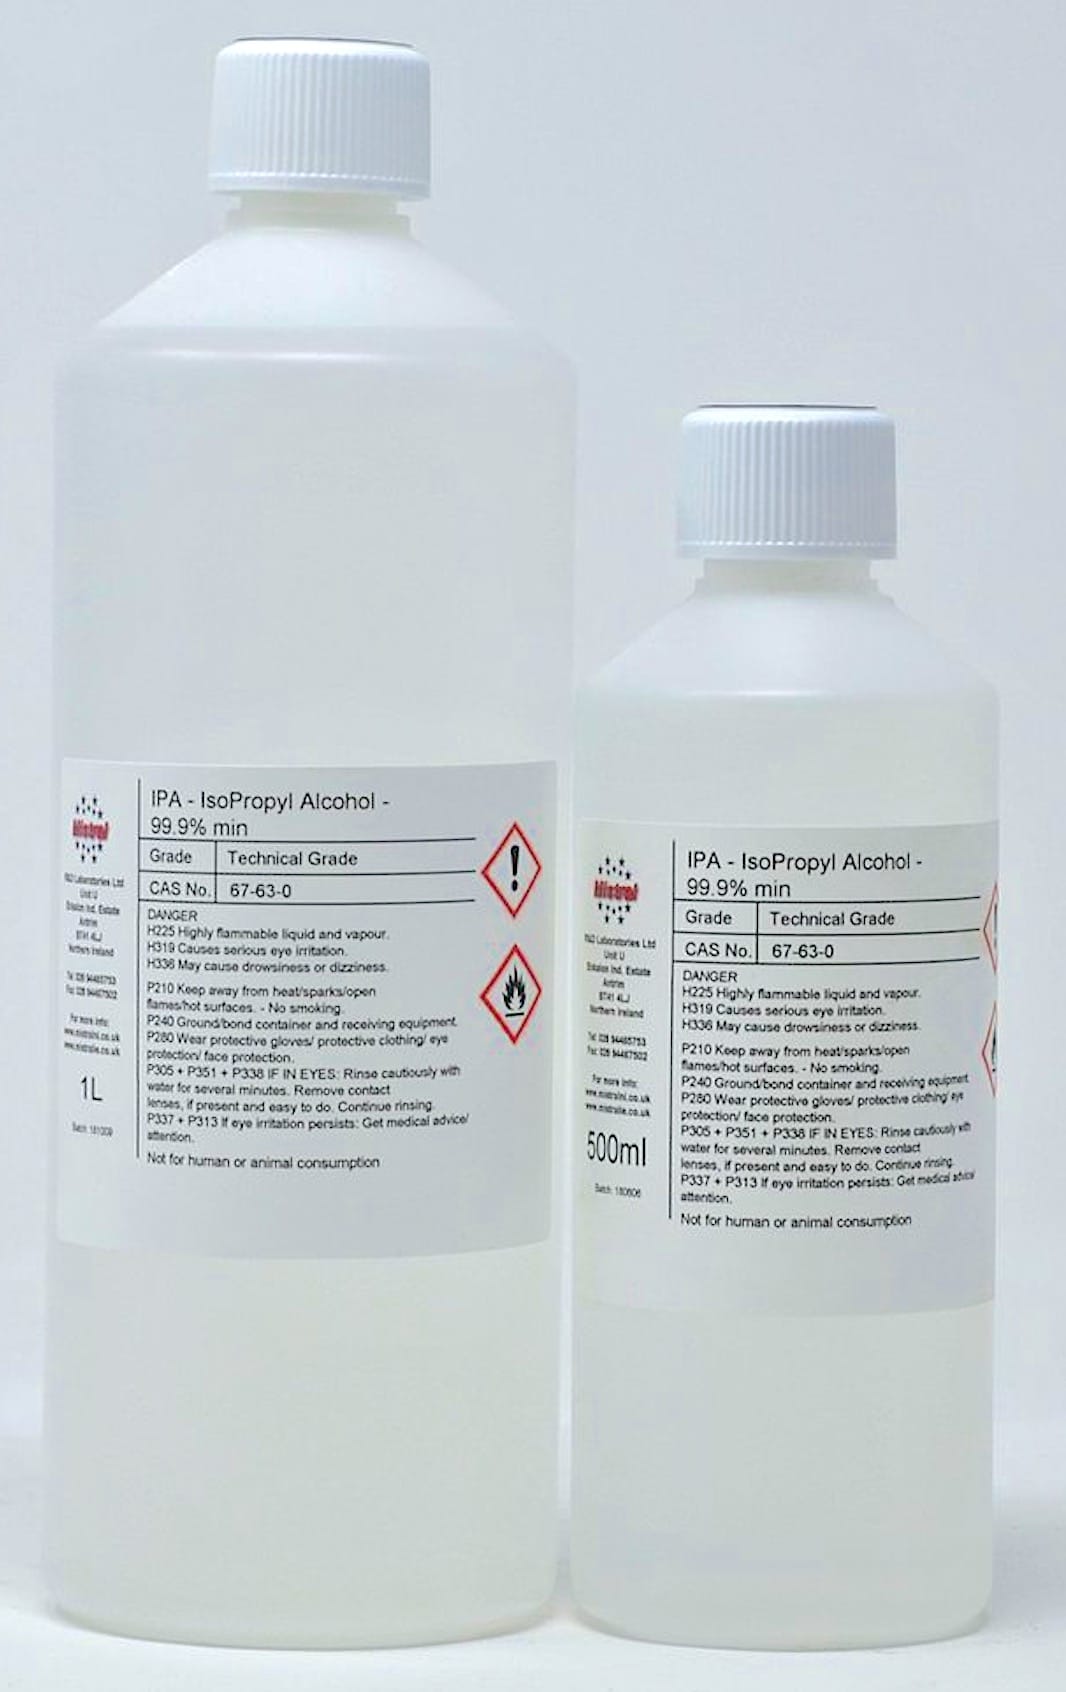
3: Alcohol
Price: £4.05 per litre
Contact: Amazon, eBay, etc
I use Isopropanol at 99.9% strength. I see no purpose in using a solution of lower strength because products such as Rubbing Alcohol (70%) merely fill the other 30% with distilled water, lowering the monetary value of the product because you’ll need to use more of the stuff to achieve the same ends. Hence, I would recommend using Isopropanol at 99.9%.
4: Tergikleen
Price: £26.50 per bottle
Contact: eBay
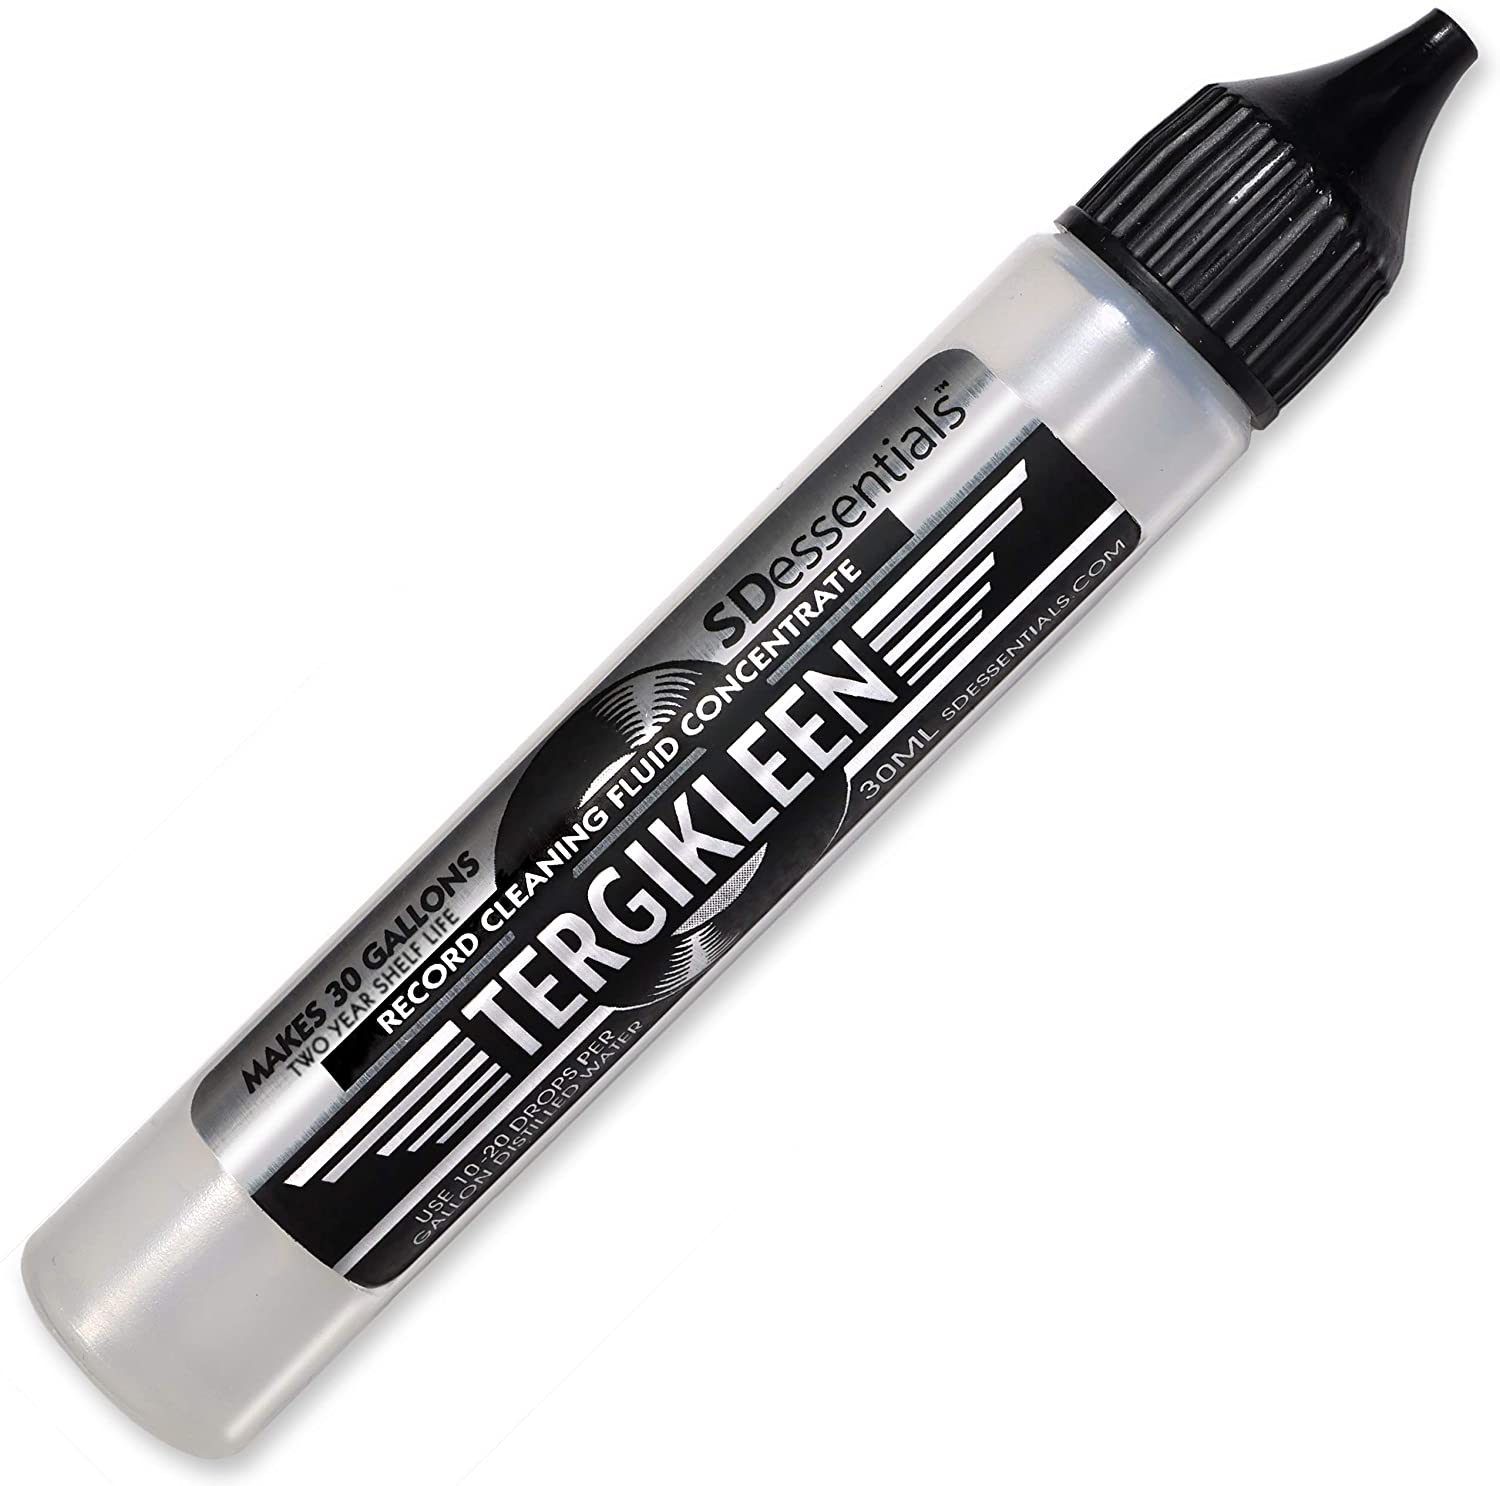
This is my surfactant of choice but you might prefer another. The surfactant feature I talk about above provides a selection of surfactants to choose from. Tergikleen is based upon the well-known surfactant, Tergitol.
5: Pipette
Price: £7.69 for two bottles
Contact: Amazon
To apply surfactant to the vinyl surface. Or more specifically, a glass bottle secured with a pipette, screw-top vial. I use two at 50ml capacity which provides a bit of leeway before it has to be filled again but it’s small enough to be used ‘on site’. That is, where you do your vinyl cleaning. Use one for the surfactant and the other to hold your Glycol. Label both in case of future mix ups. Both liquids are easier to dispense form these small vials.
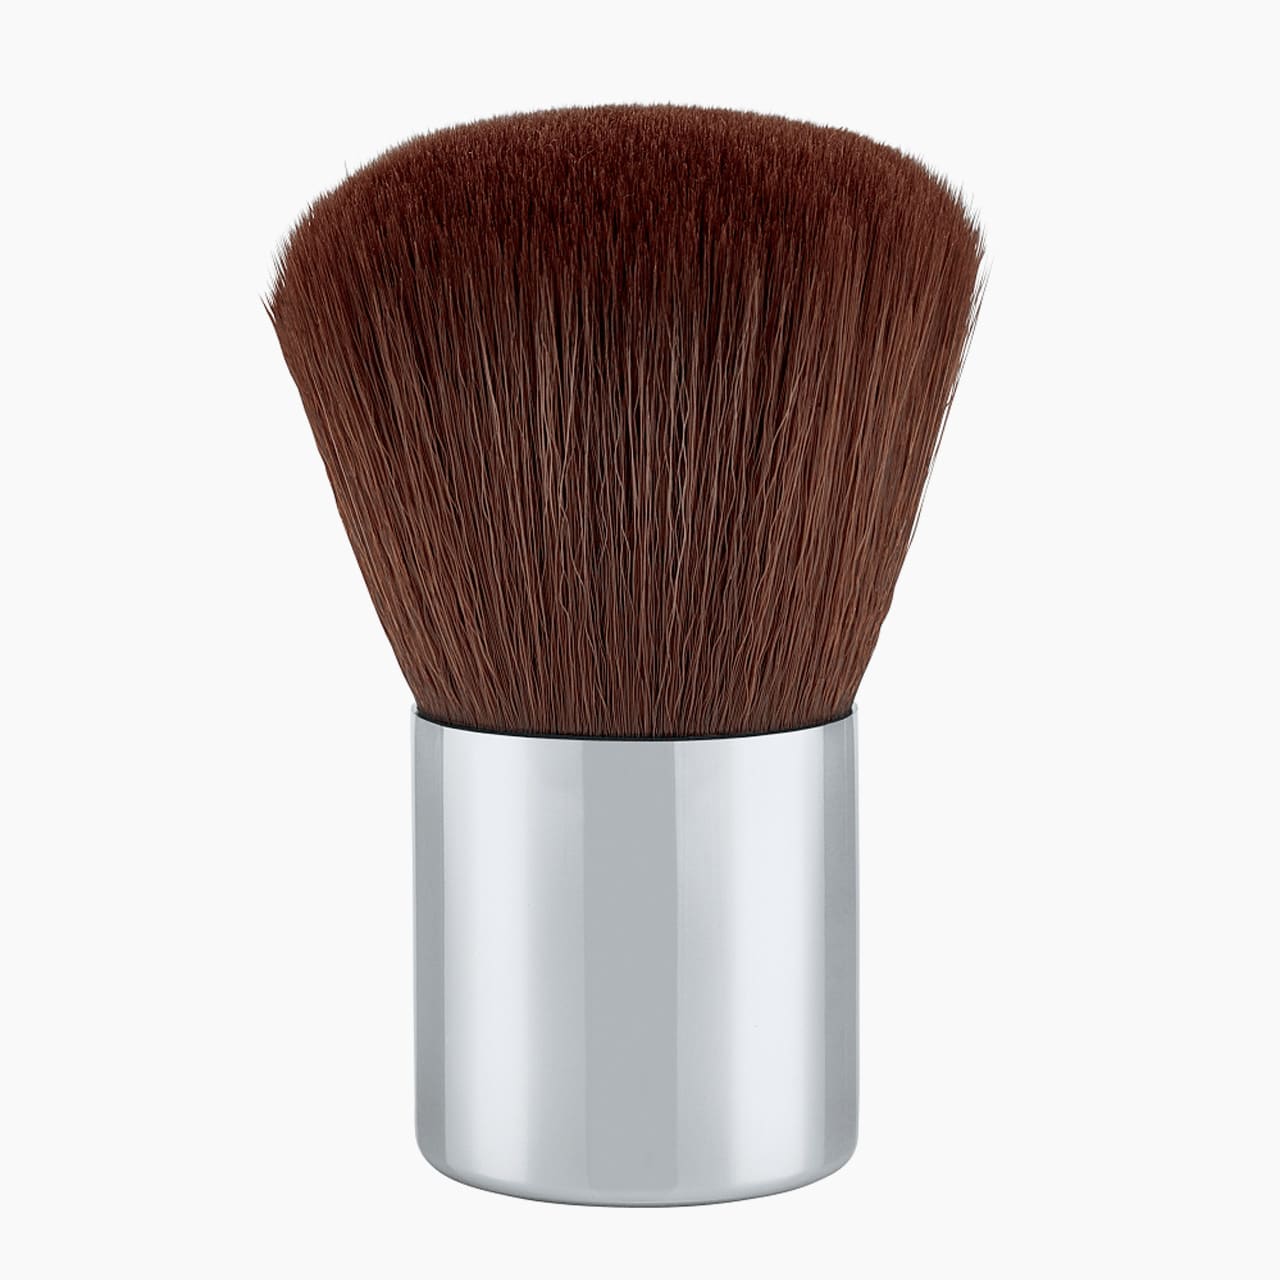
6: Kabuki brush
Price: Various [see text]
You will need this when applying surfactant to the vinyl surface. A Kabuki brush is a lady’s make-up brush. Short and wide in nature and featuring stubby bristles, this little thing is perfect for pushing surfactant deep into the grooves. Don’t be afraid to spend out on this one. You can buy one for a couple of pounds but I’d recommend getting a good quality example to prevent bristle and fine hair shedding. There’s no point in trying to clean your vinyl if you only succeed in adding more debris to the grooves at the same time. Mine cost around £20. There’s lots of brands out there. Try a specialist make-up store on line but Amazon should be fine too.
7: Water Bottle [two]
Price: £2
Contact: Supermarket and general shops
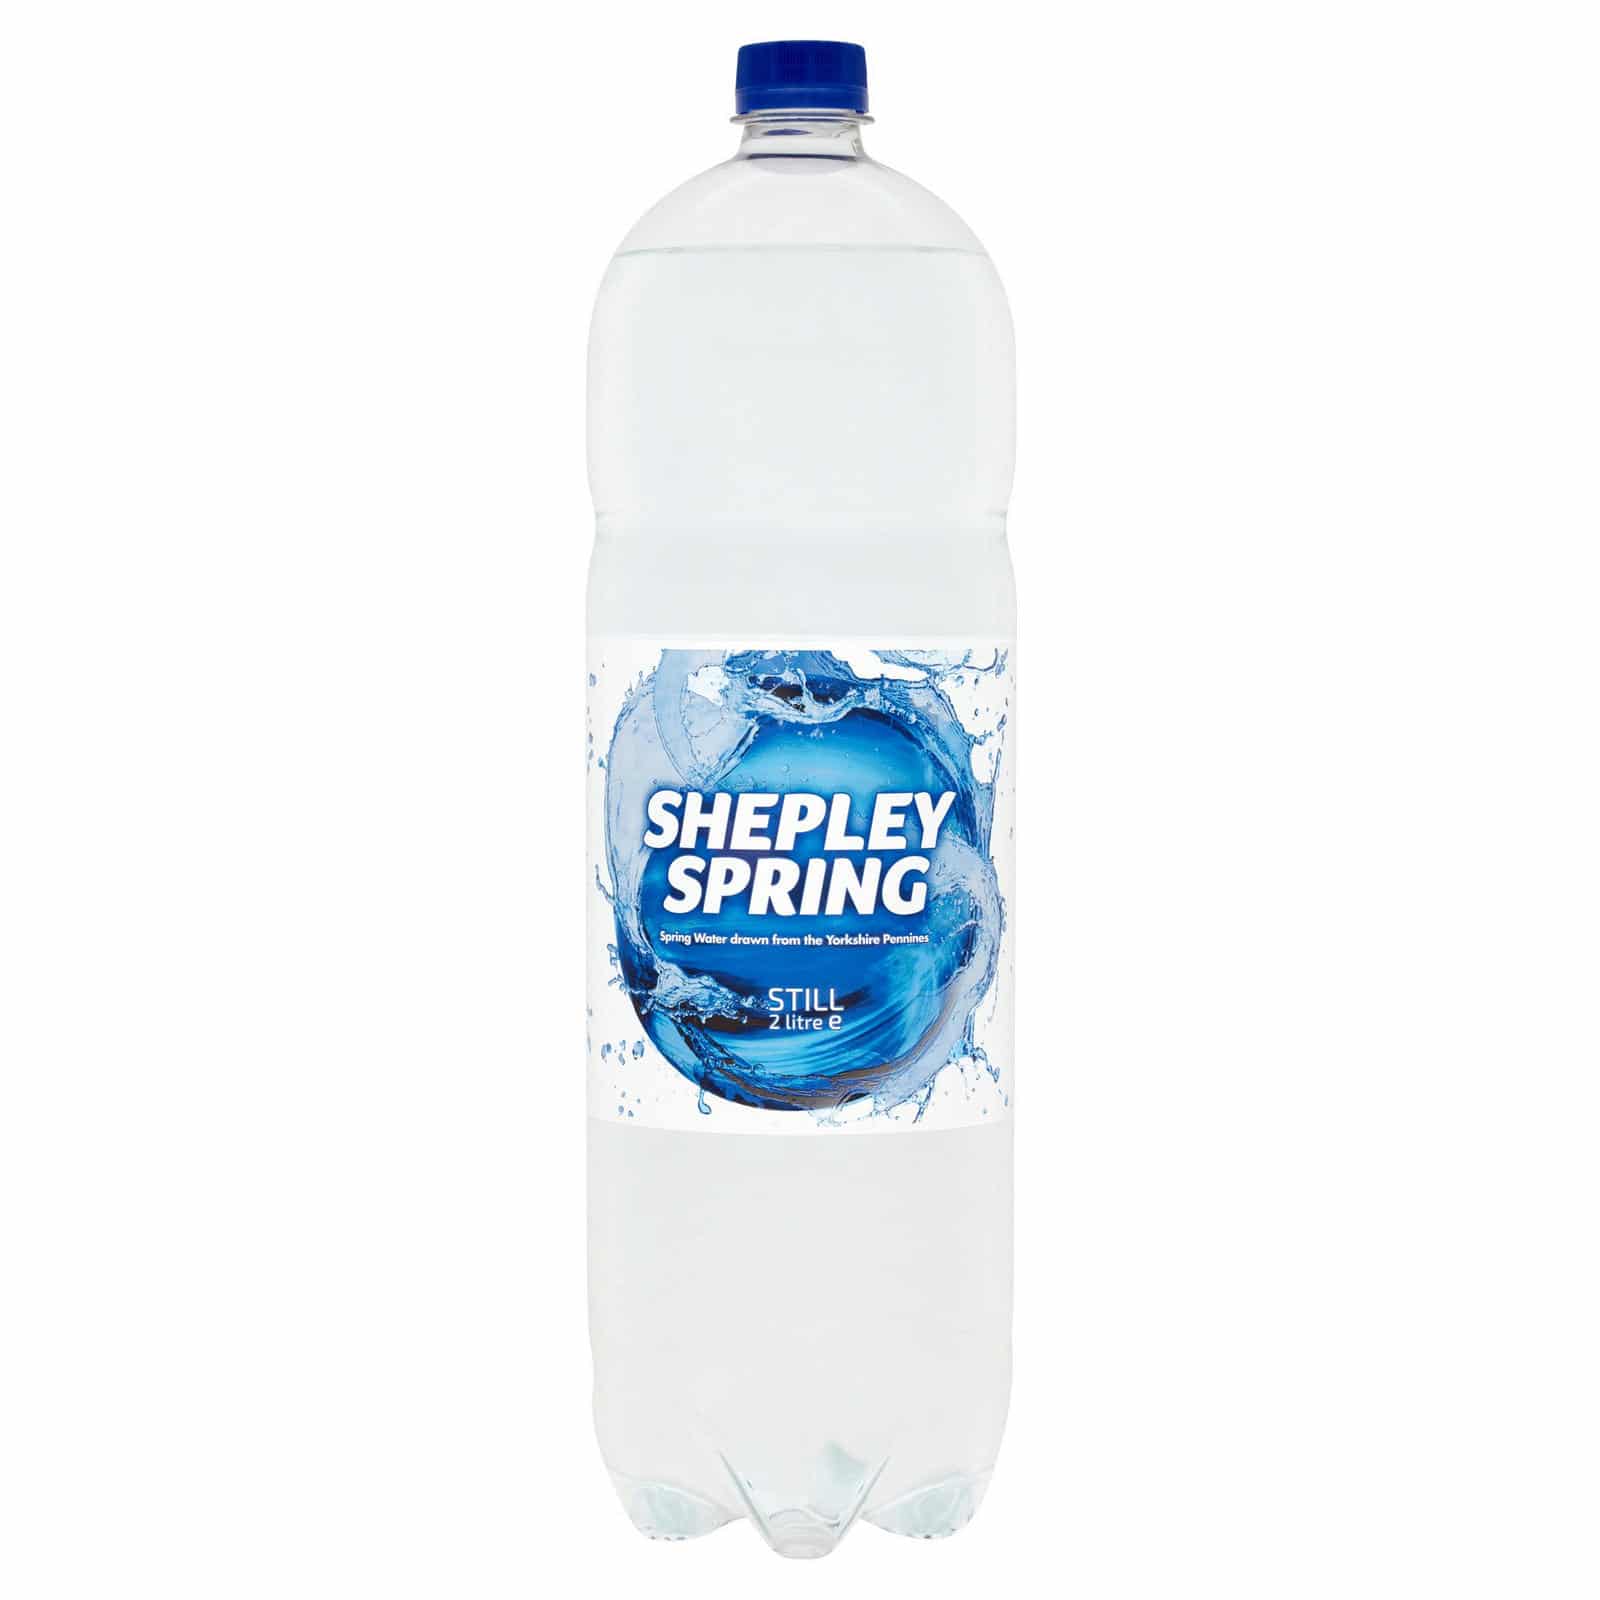
What I’m talking about here is an empty spring water-type bottle of 1.5-2 litres. The sort you might buy from a typical supermarket. You will need two of these.
8: Propylene Glycol
Price: £11.67
Contact: Amazon, eBay, etc
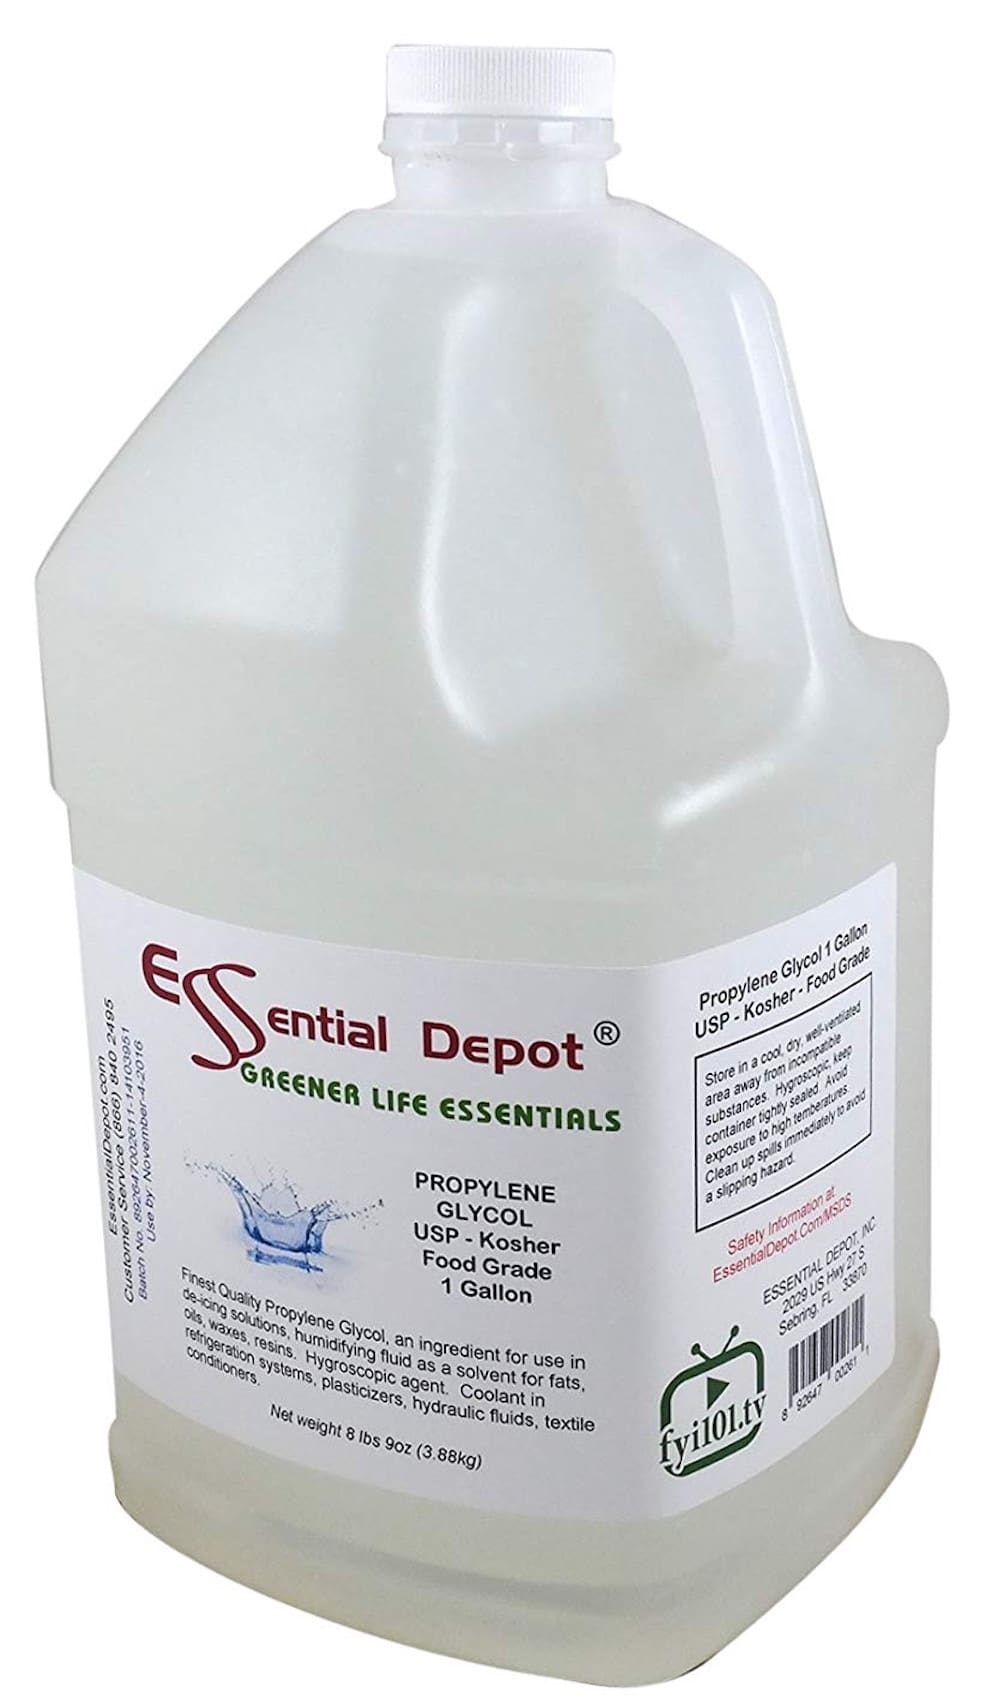
Because the Disco Antistat cleans your vinyl in a vertical position, if you add surfactant to its surface, gravity will try to pull it off again when the disc sits vertically. Mixing your surfactant with a measure of Glycol will fix the surfactant deep into the grooves with no loss of surface contact. Do NOT buy ethylene glycol, it’s particularly nasty stuff. When you receive your large bottle of Glycol, decant a small amount into a glass vial (see 5).
9: Measuring Tube
Price: £8.50
Contact: Amazon, eBay, etc
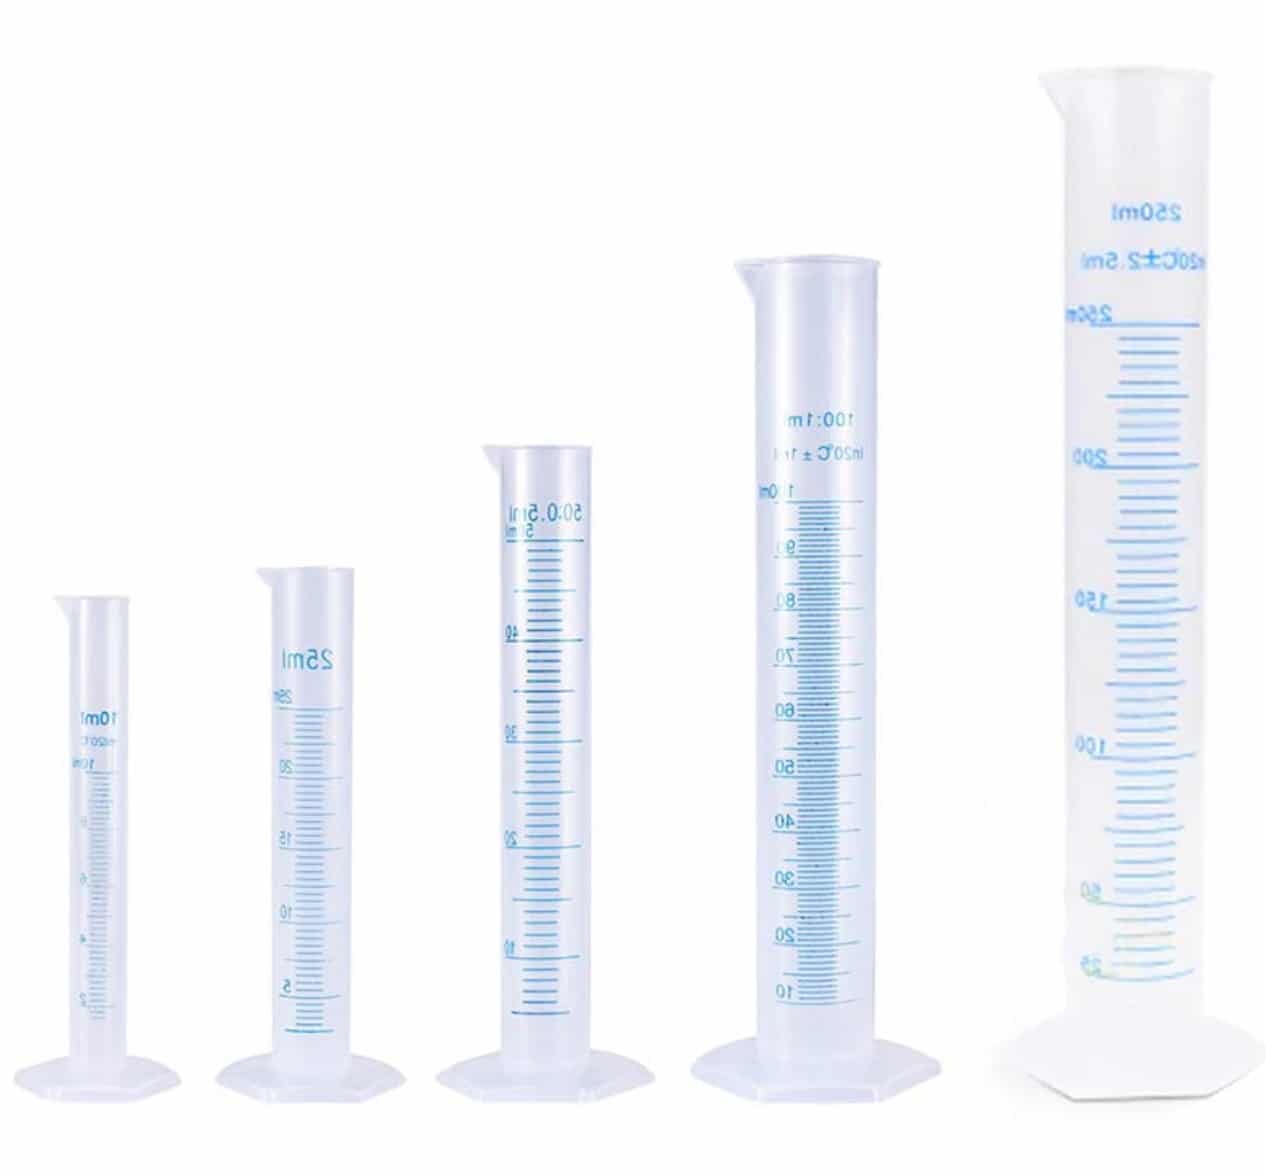
To measure the amount of alcohol you will need per litre of distilled water. The price here include a pack of five plastic measuring tubes.
10: Container tap
Price: £5
Contact: eBay
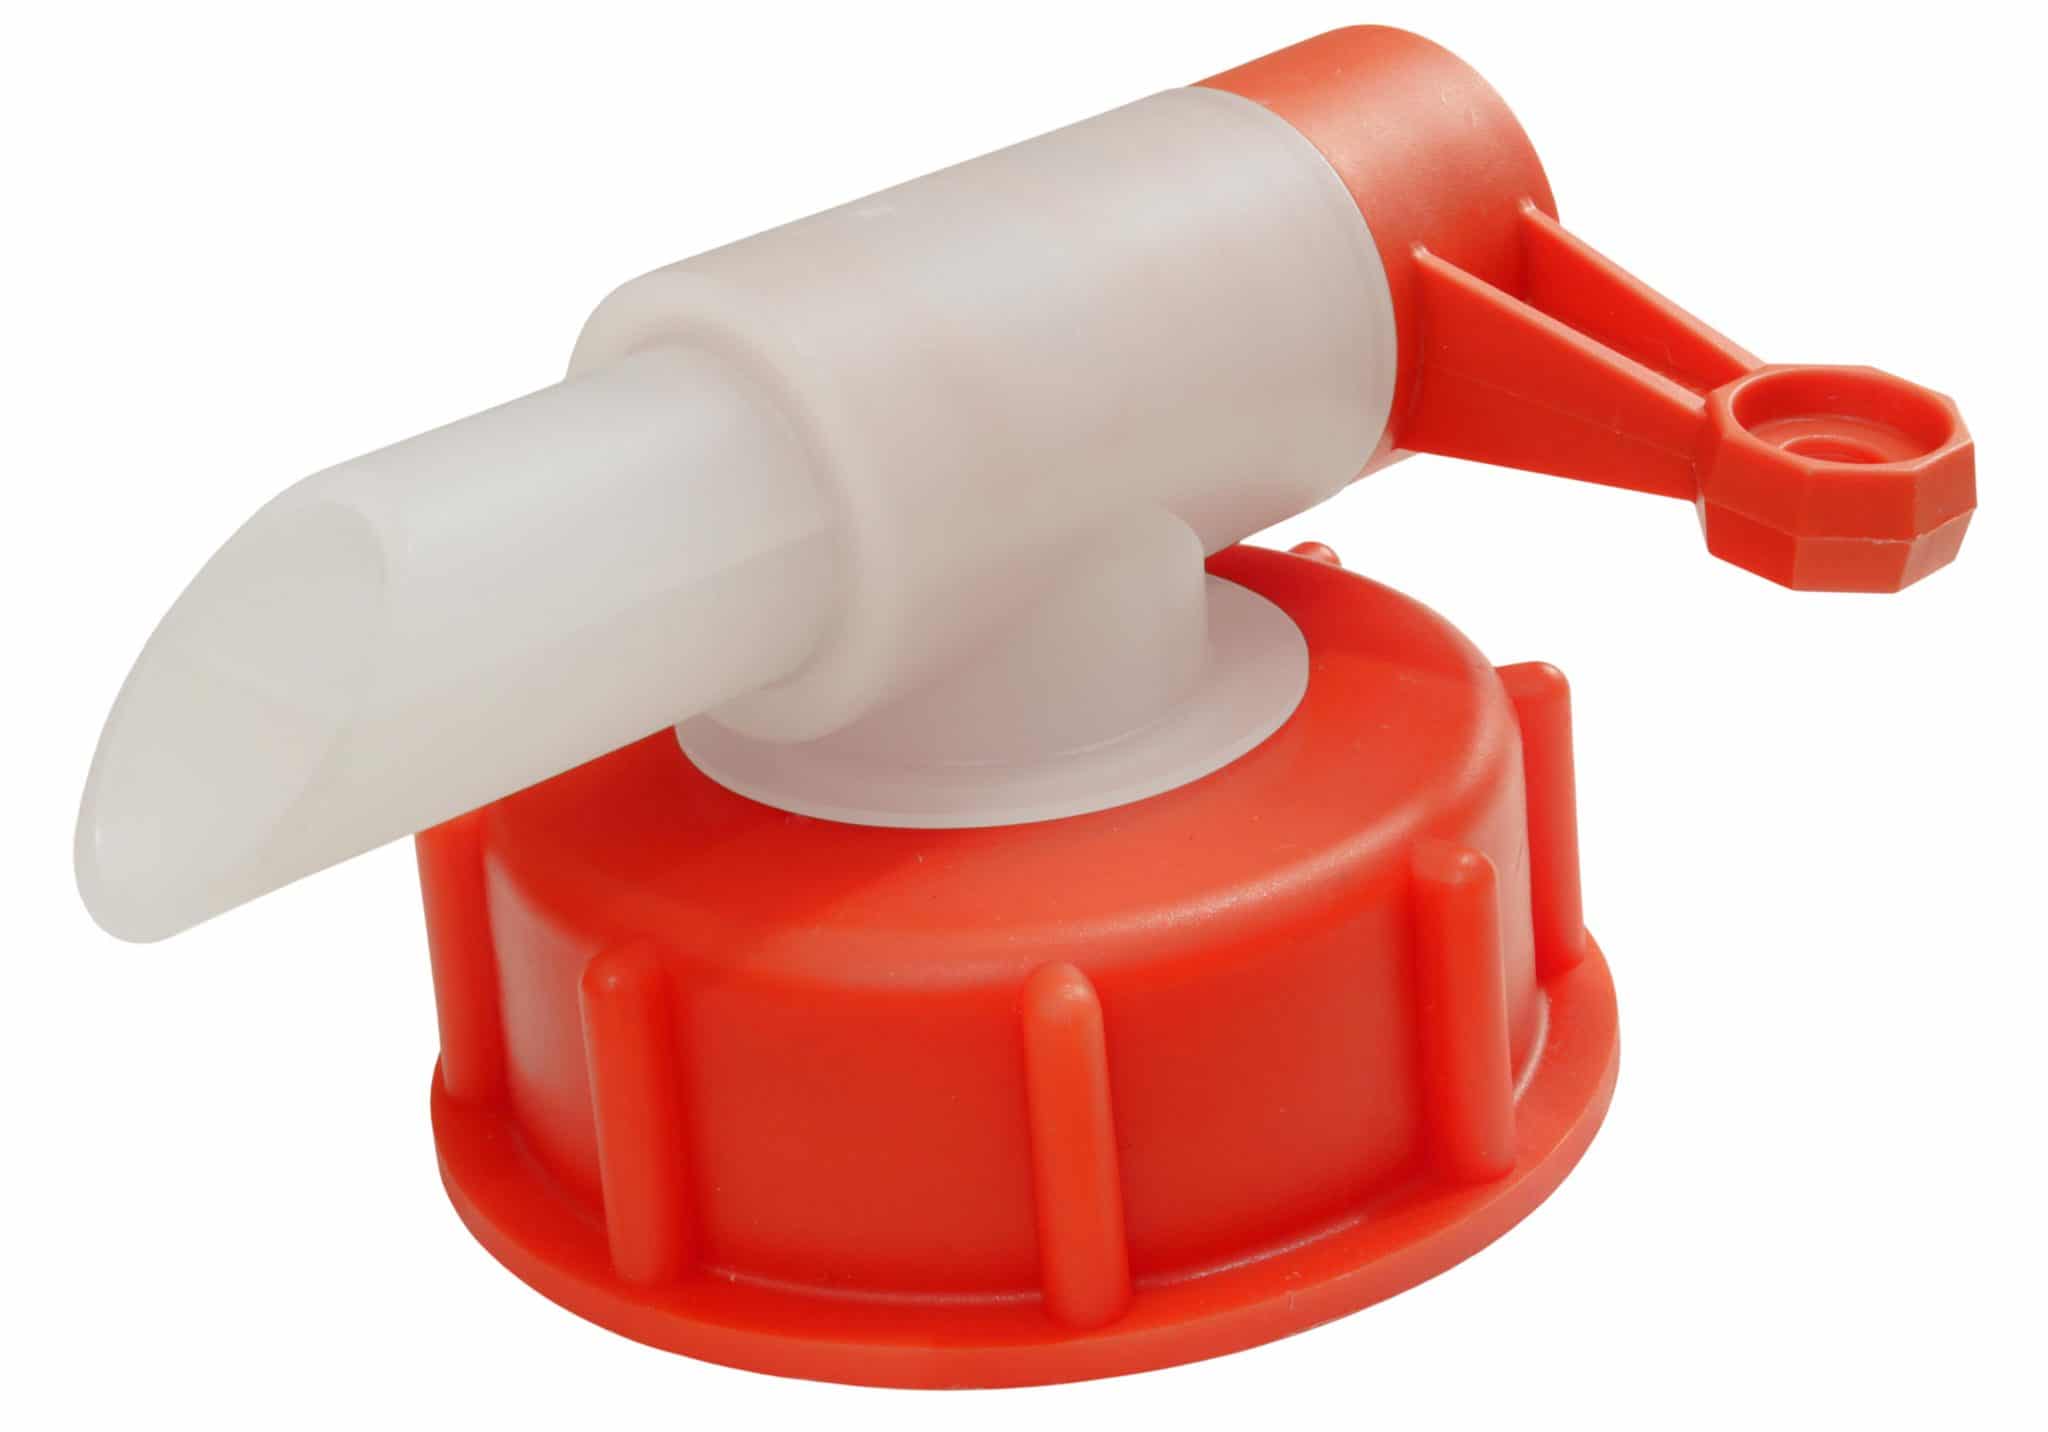
Because I know that I’ll be cleaning vinyl for some time to come, I tend to buy 25 litre ‘barrels’ of distilled water. Then I remove the default screw lid and attach this tap instead. I lift the barrel onto a bench surface, lay it on its side and the tap easily dispenses water into my 2 litre bottle easily and efficiently.
TO THE EXTREME
Before I begin the actual Vinyl Cleaning Guide’s step-by-step sequence, allow me to say this. What you’re going to read below is cleaning to the extreme. Not to me but maybe to you. The amount of cleaning I do below might seem excessive but I do it because, of course, I can hear the difference. Otherwise I wouldn’t bother.
But look. Just because I wander towards the halls of madness, doesn’t mean that you have to follow me. You can reduce the actually amount of cleaning to suit you and the time you have available so look upon this section of the Vinyl Cleaning Guide as that only, a guide. Take what you want from it. You don’t have to copy the entire Vinyl Cleaning Guide step by step if you don’t want to. You will hear sonic improvements even if you only clean to a fraction of the level.
CLEANING YOUR VINYL – STEP BY STEP
1: Let’s address the Disco Antistat’s bath first. First rinse the bath with distilled water. Then we need to fill that bath with cleaning liquid. That will consist of a mixture of distilled water and alcohol, mixed together. To contain that mixture, we need to find a suitable bottle which is where one of the plastic spring water bottles comes into play.
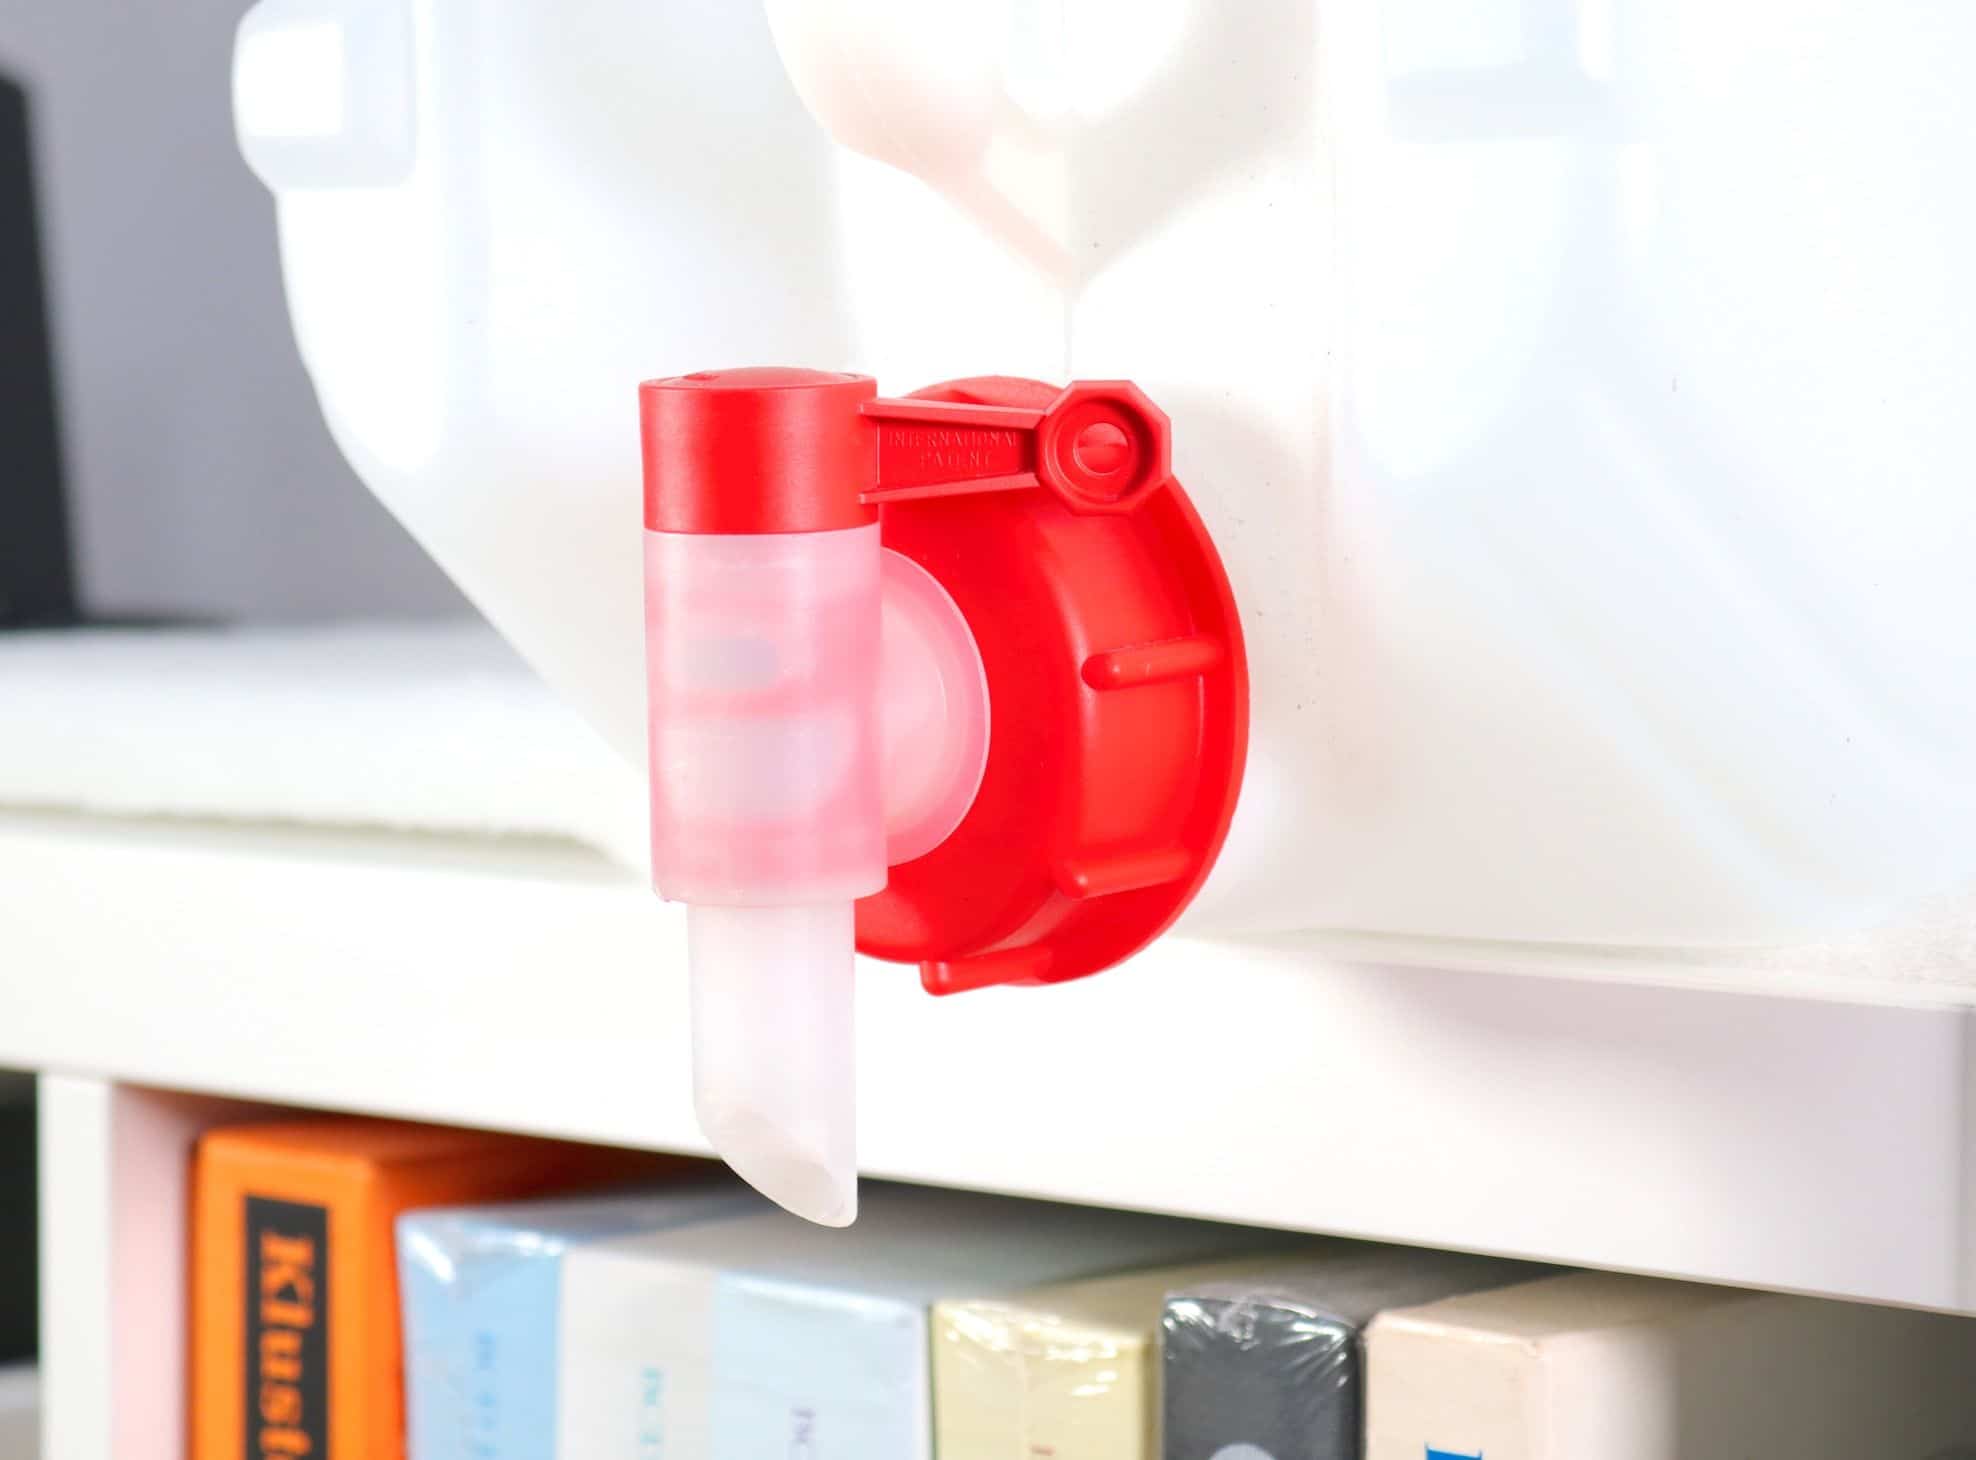
Before you use either bottle, give them both a good clean. Spring water contains impurities (in vinyl cleaning terms, at least) so add around a quarter to a third of the capacity with distilled water. Seal with its cap. Give it a thorough shake, empty that out and repeat twice more. Once done, the bottle is primed for use.
2: Fill your first bottle with distilled water.
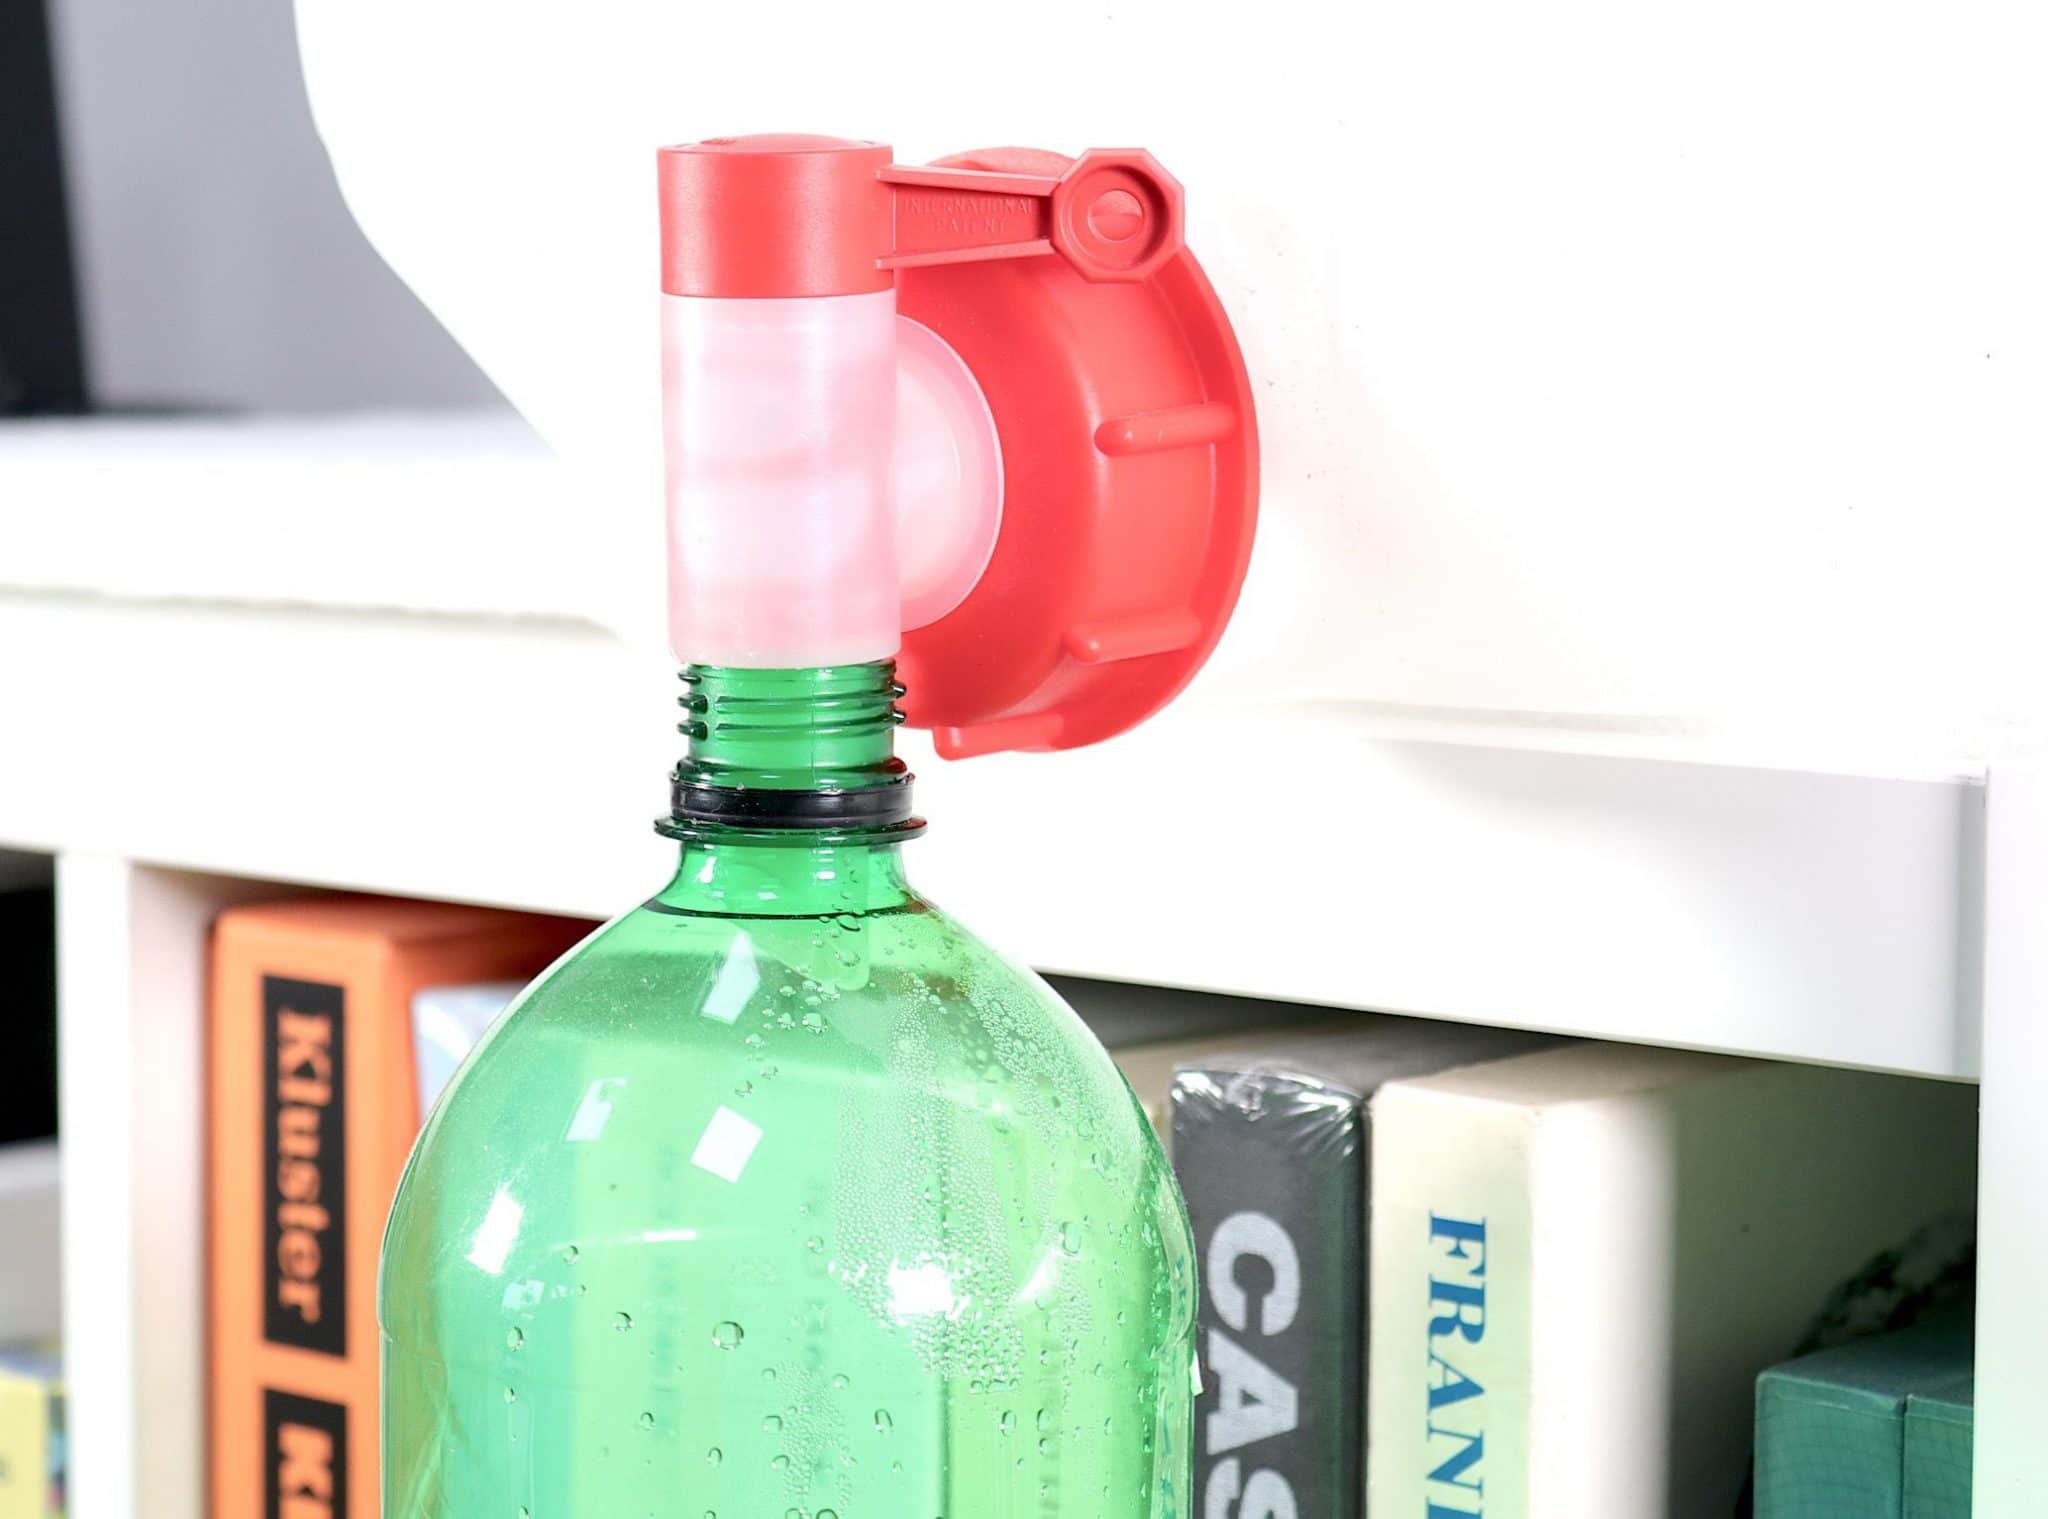
3: Add your alcohol. You need 7% of the capacity of the bottle. So, if you have a litre bottle, that’s 70ml of alcohol you need to add to the distilled water. Use a measuring tube for this task. Seal with a cap. Give that mixture a shake and you’re sorted.
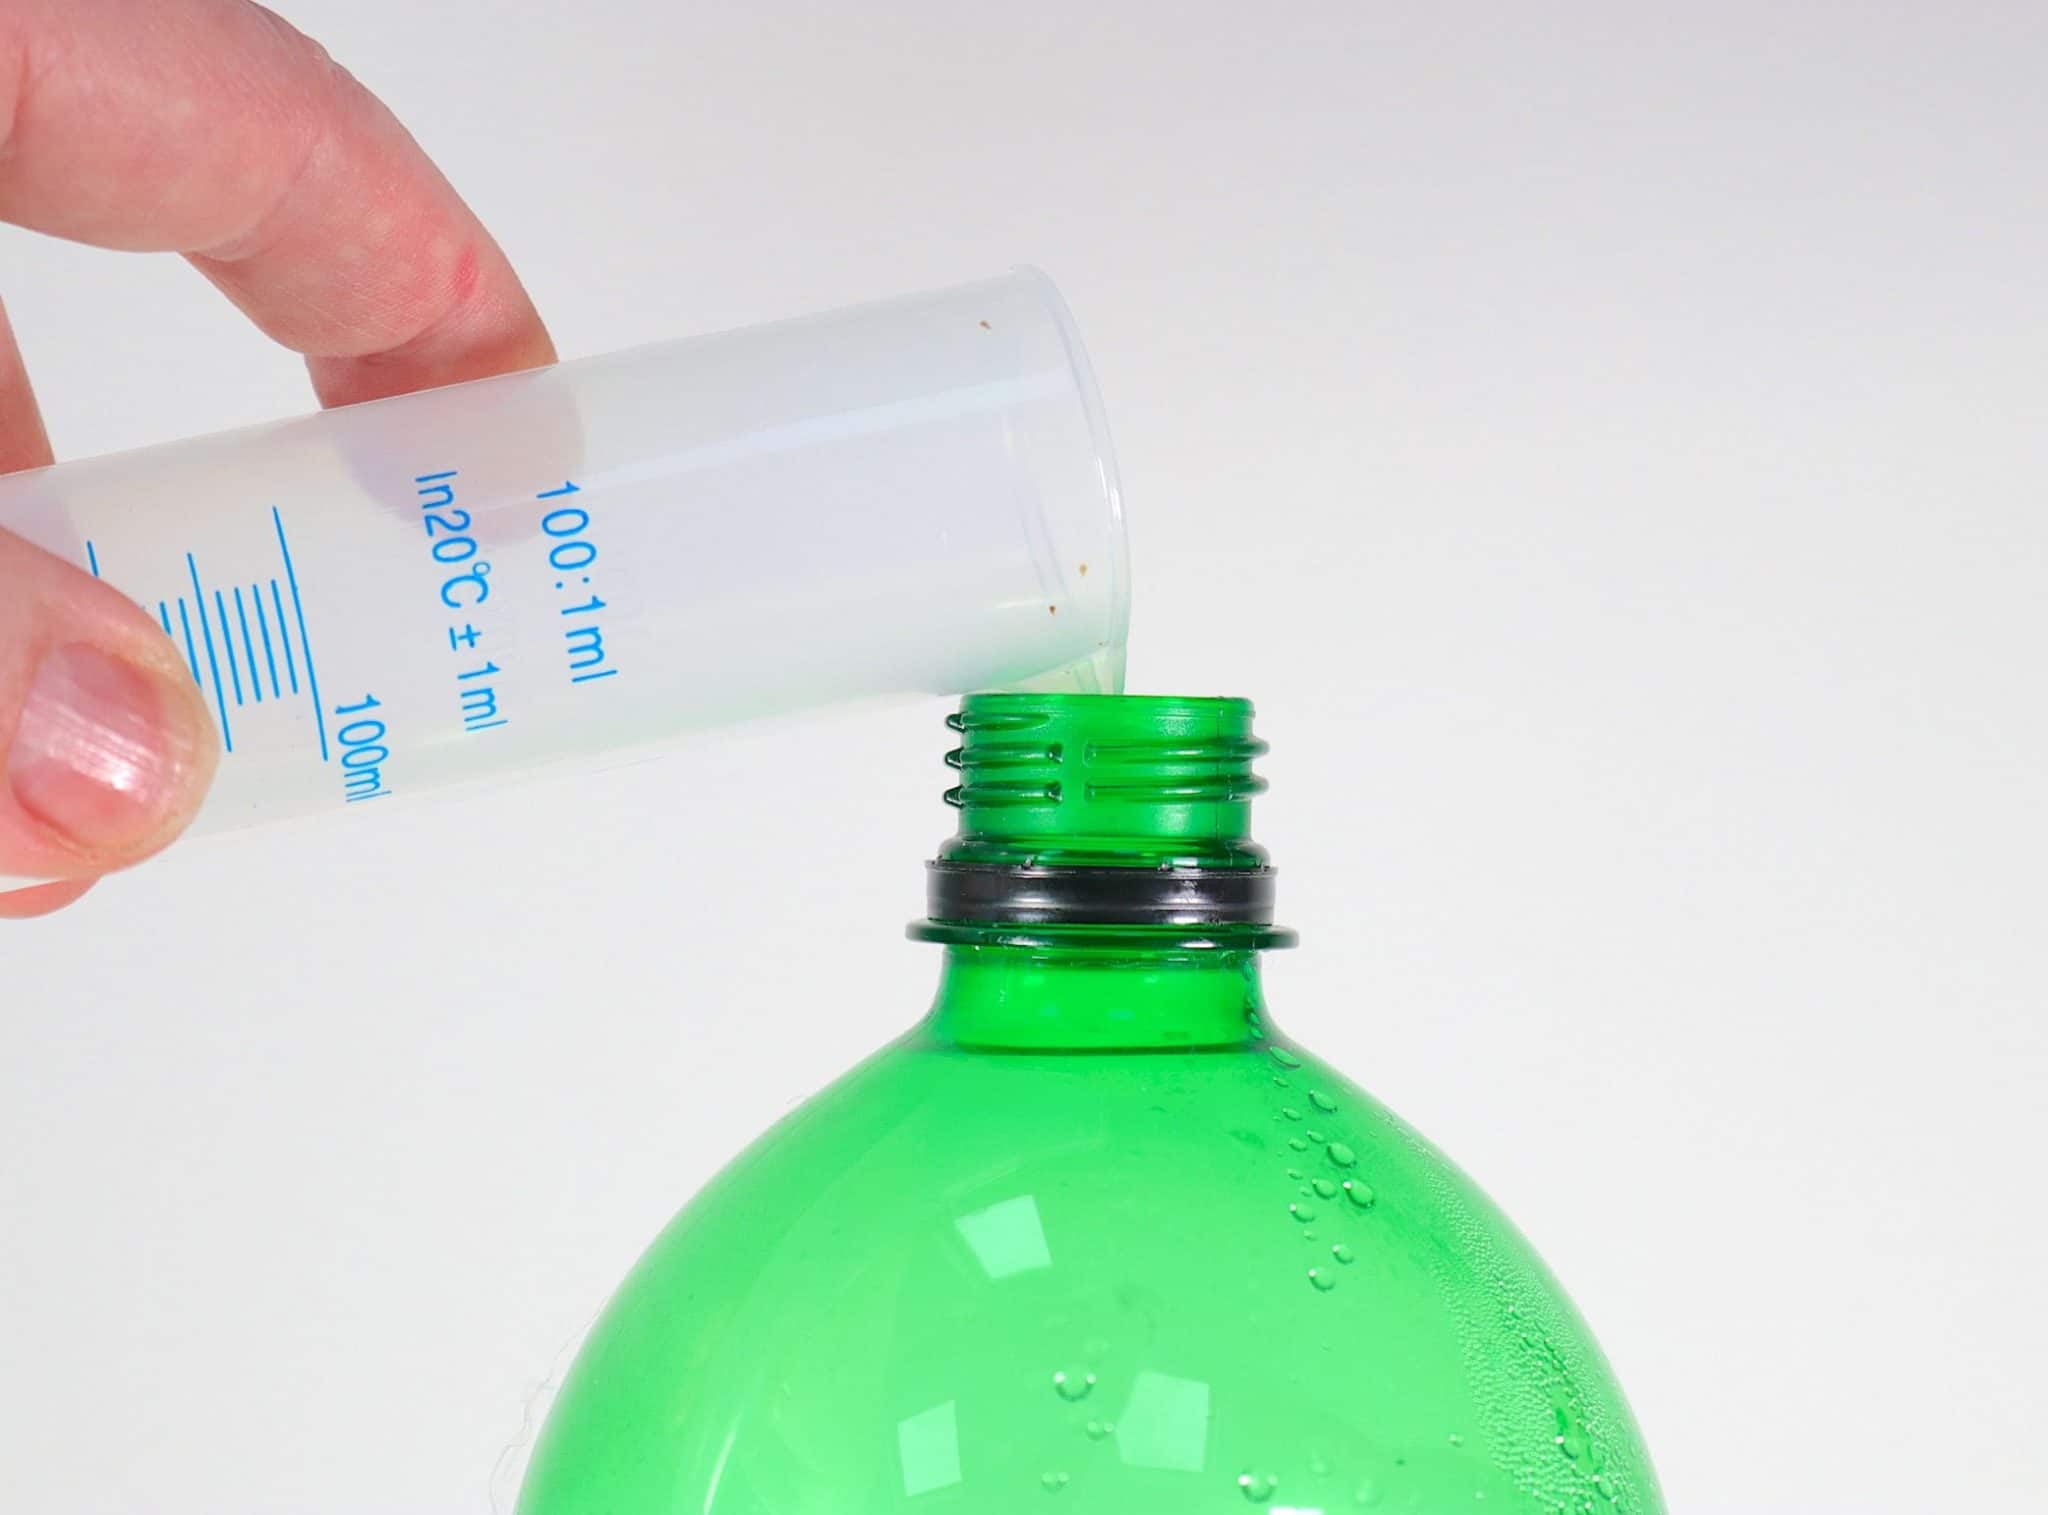
You only need 1% of alcohol to make a sonic difference but 7% is the figure of choice here because you also need to melt the Glycol off the vinyl surface.
Just 1% won’t be enough for the job. 7% will melt the Glycol but also perform cleaning in the groove.
The alcohol cleaning is a bit like brushing that pottery I mentioned above in the Abrasion section. Alcohol will effectively clean away the friable and easily removable grime.
Never apply alcohol directly to the vinyl surface, though. It’s too aggressive for that.
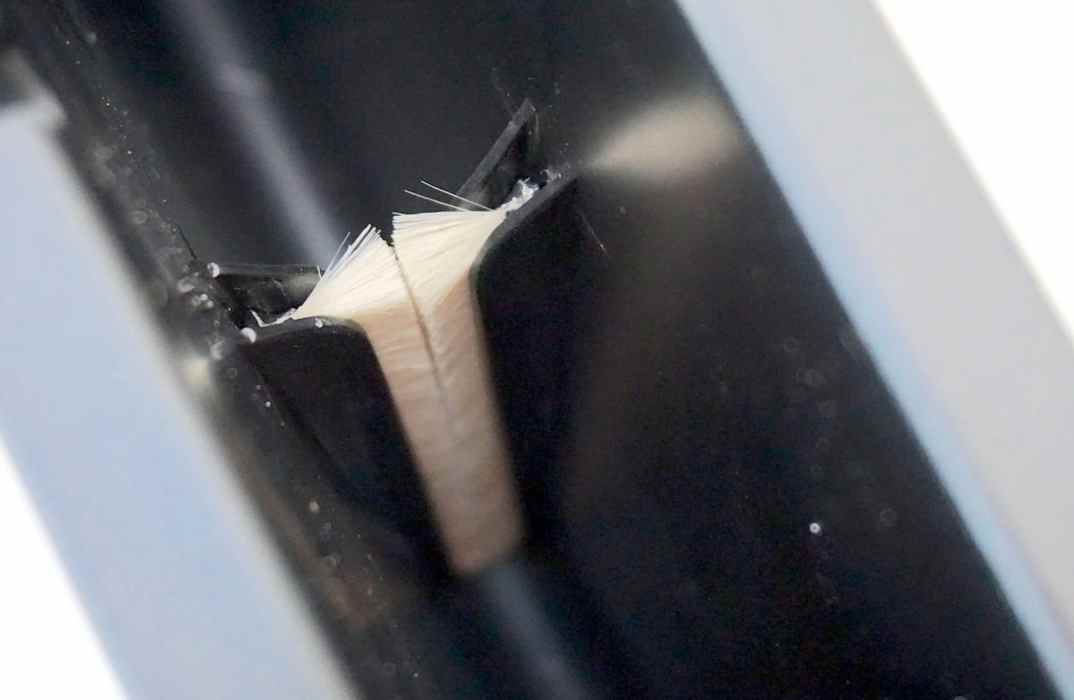
4: Fill the Disco Antistat’s bath with the water/alcohol mixture but stop just below the top of the fixed bath brushes. Just to be on the safe side, to avoid wetting the record labels. I know that the Disco Antistat’s clamps are designed to prevent that happening but, you never know and I’d rather be safe on this matter. By all means perform a dry run and vary the level for your record to make sure. OK, that’s the bath sorted. Now onto the vinyl itself.
5: Prime another spring water bottle. Fill that with distilled water.

6: Take your surfactant and dilute it as directed using the included instructions. If you are using Tergikleen, I use 10 drops per litre. The drops are dispensed from the built-in dropper which offers micro-drops, smaller than the usual drops you might see from a pipette. So add 10 drops of Tergikleen per litre to the bottle of distilled water. Once applied, seal the bottle and shake for a while to mix thoroughly.
The surfactant is now ready to apply to the vinyl. The bottle is too big and cumbersome to try to move surfactant from there directly to the vinyl surface so you’re going to have to decant some of it to make the task more manageable.
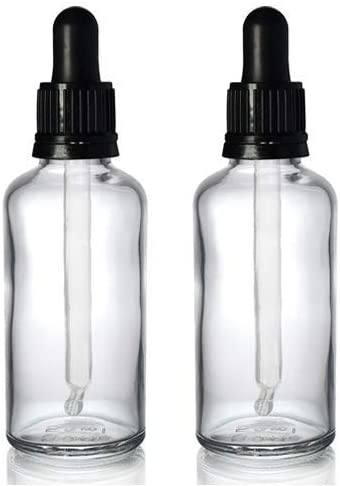
7: Fill one of the glass bottles (see image above) with Glycol. It’s easier to handle that way.
8: Before you decant the surfactant from the large, plastic spring water bottle into one of the small glass bottles take the vial from the Glycol bottle and fill it with Glycol. I say ‘fill it’ but you’ll find the vial will probably reach half way with Glycol (see mage below). Add that to the glass bottle. Repeat. You should have two vial’s worth of Glycol in your surfactant glass bottle. Fill the rest of the glass bottle with the diluted surfactant from you spring water bottle. Be careful not to spill the surfactant all over you floor. Do this over a sink and take your time. So you should now have two glasses bottles. One is filled only with Glycol. The second is now filled with surfactant and two vials of Glycol.
9: Seal the glass bottle filled with surfactant/Glycol and give it a good shake to mix thoroughly.
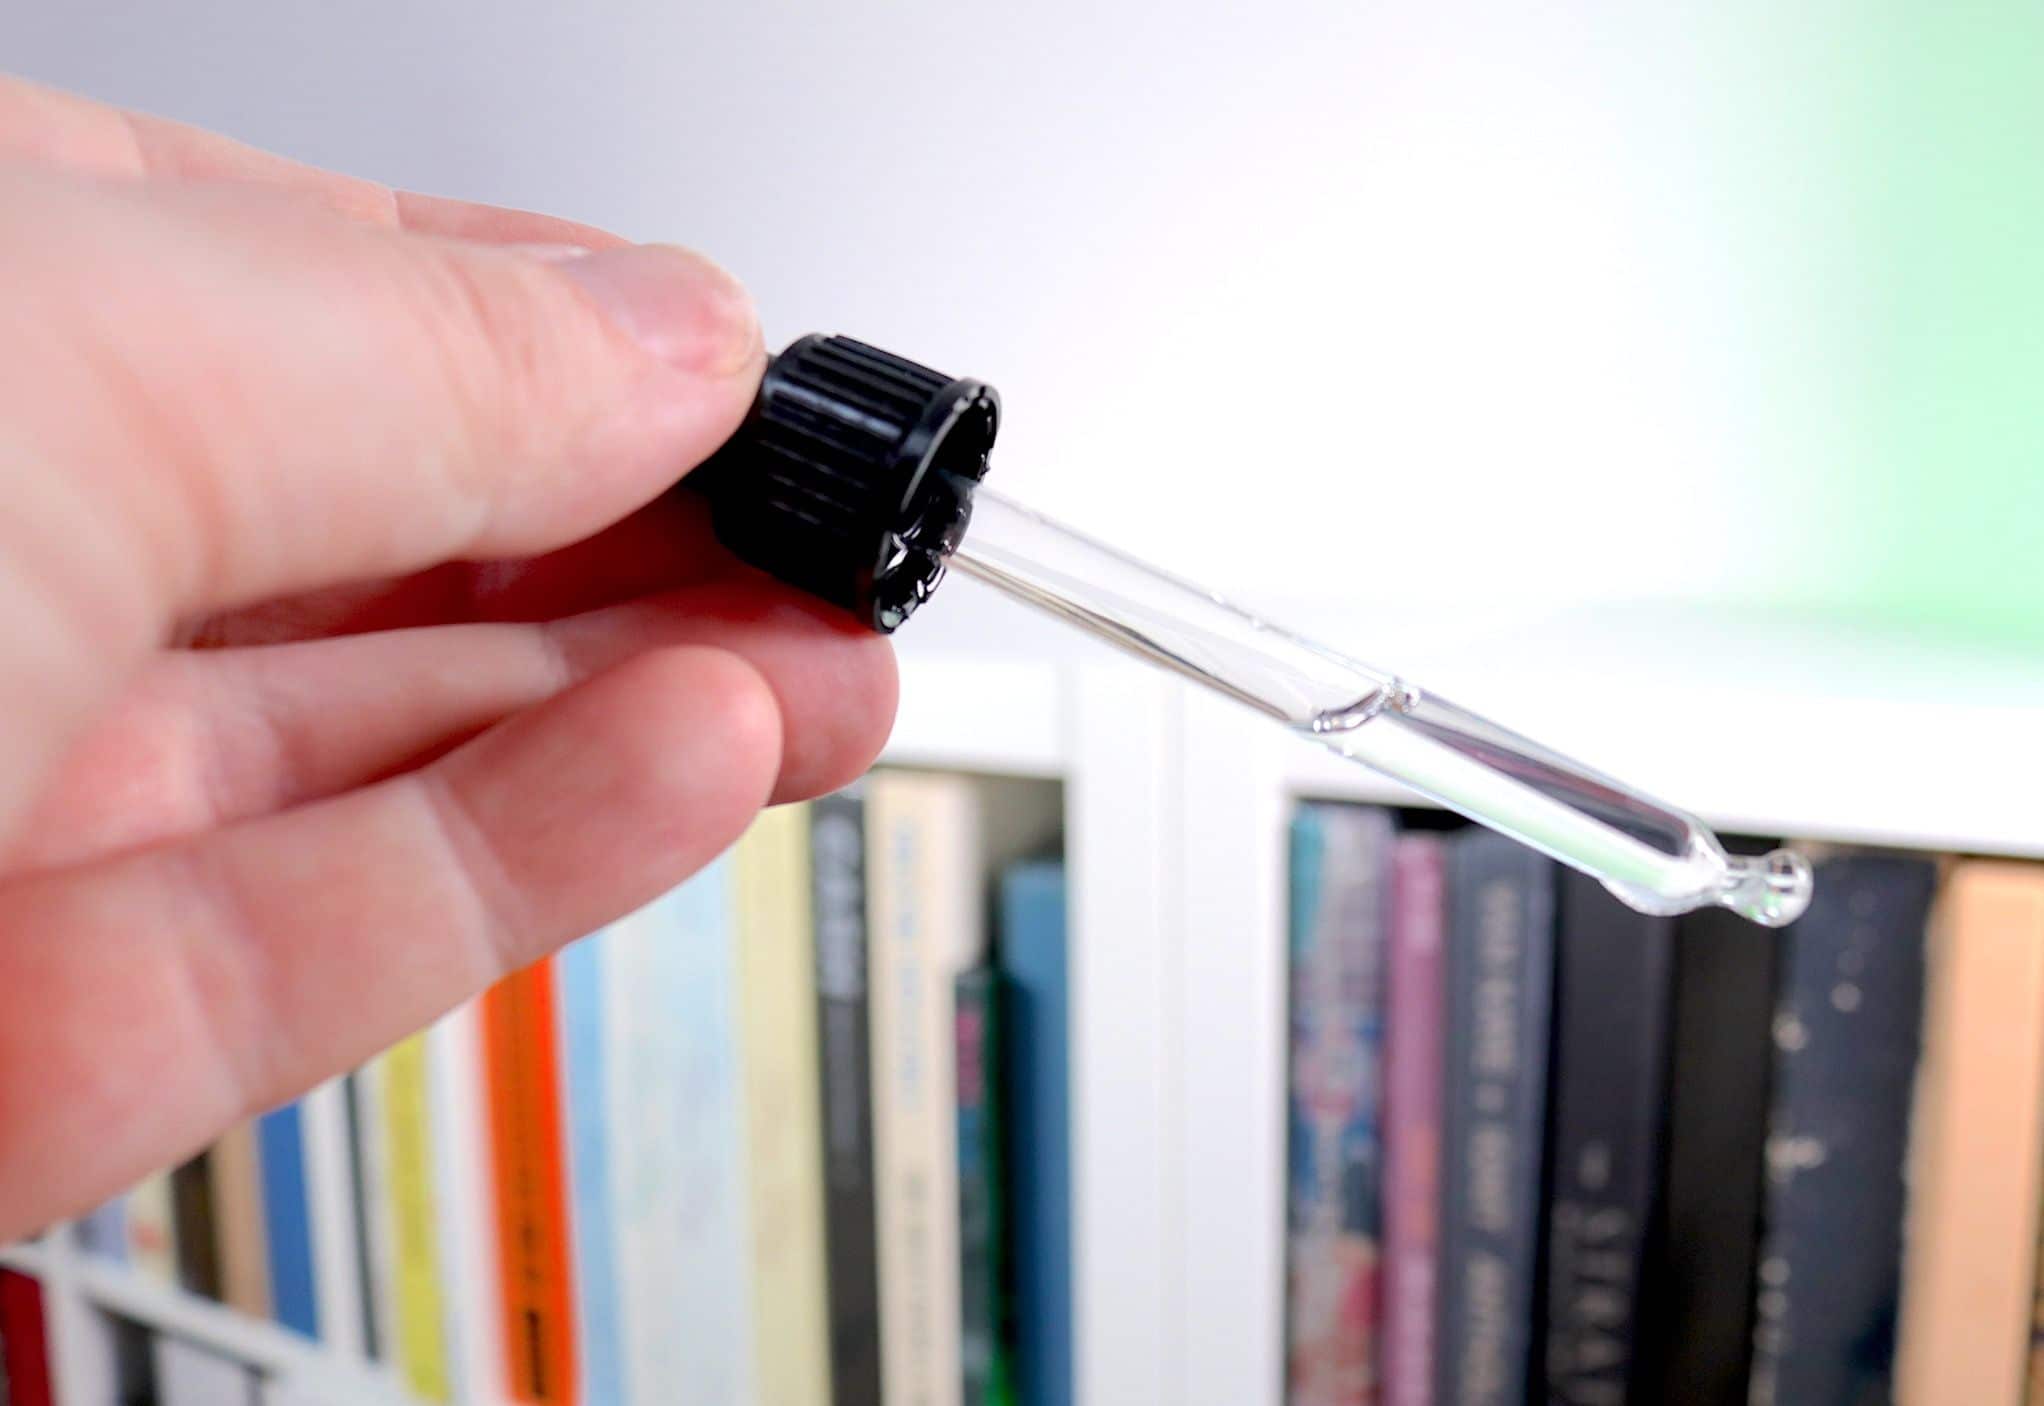
10: Now, take the glass bottle full of glycol/surfactant to your vinyl. Fill a vial with the mixture (again, it will be around half full (see image above).
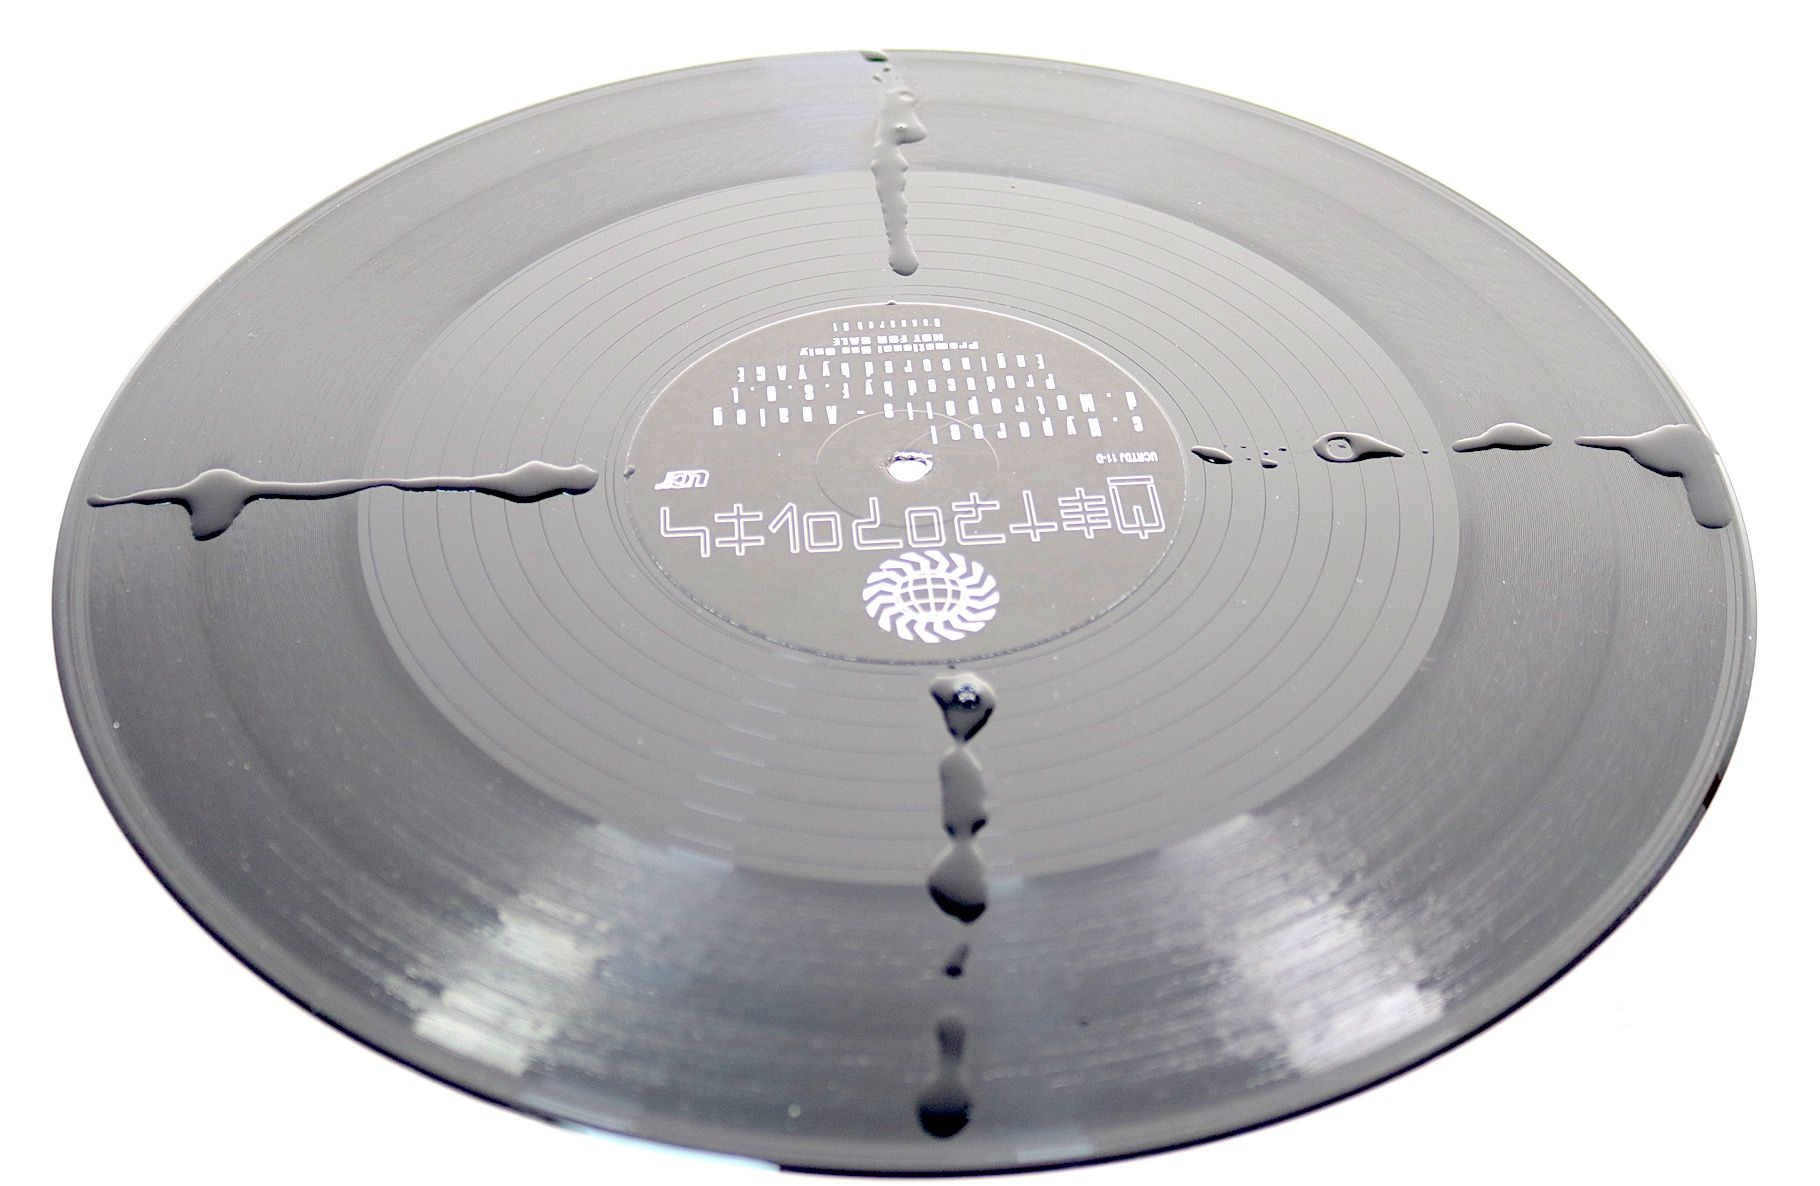
You need to apply this mixture to the vinyl surface but you want an even spread of the liquid across the record’s surface. Hence, ‘draw’ a stripe of liquid, using the pipette from the inner edge of the run-off outwards to the edge of the record itself. In a straight line. Draw four lines. One at 12 o’clock another at 3 o’clock, then one at 6 and the final at 9 o’clock.
11: Take your Kabuki brush. Move the brush around the vinyl surface to evenly spread the surfactant. You don’t have to be too OCD about this. Don’t worry if there are dry spots after you do this. We’ll get to that next.
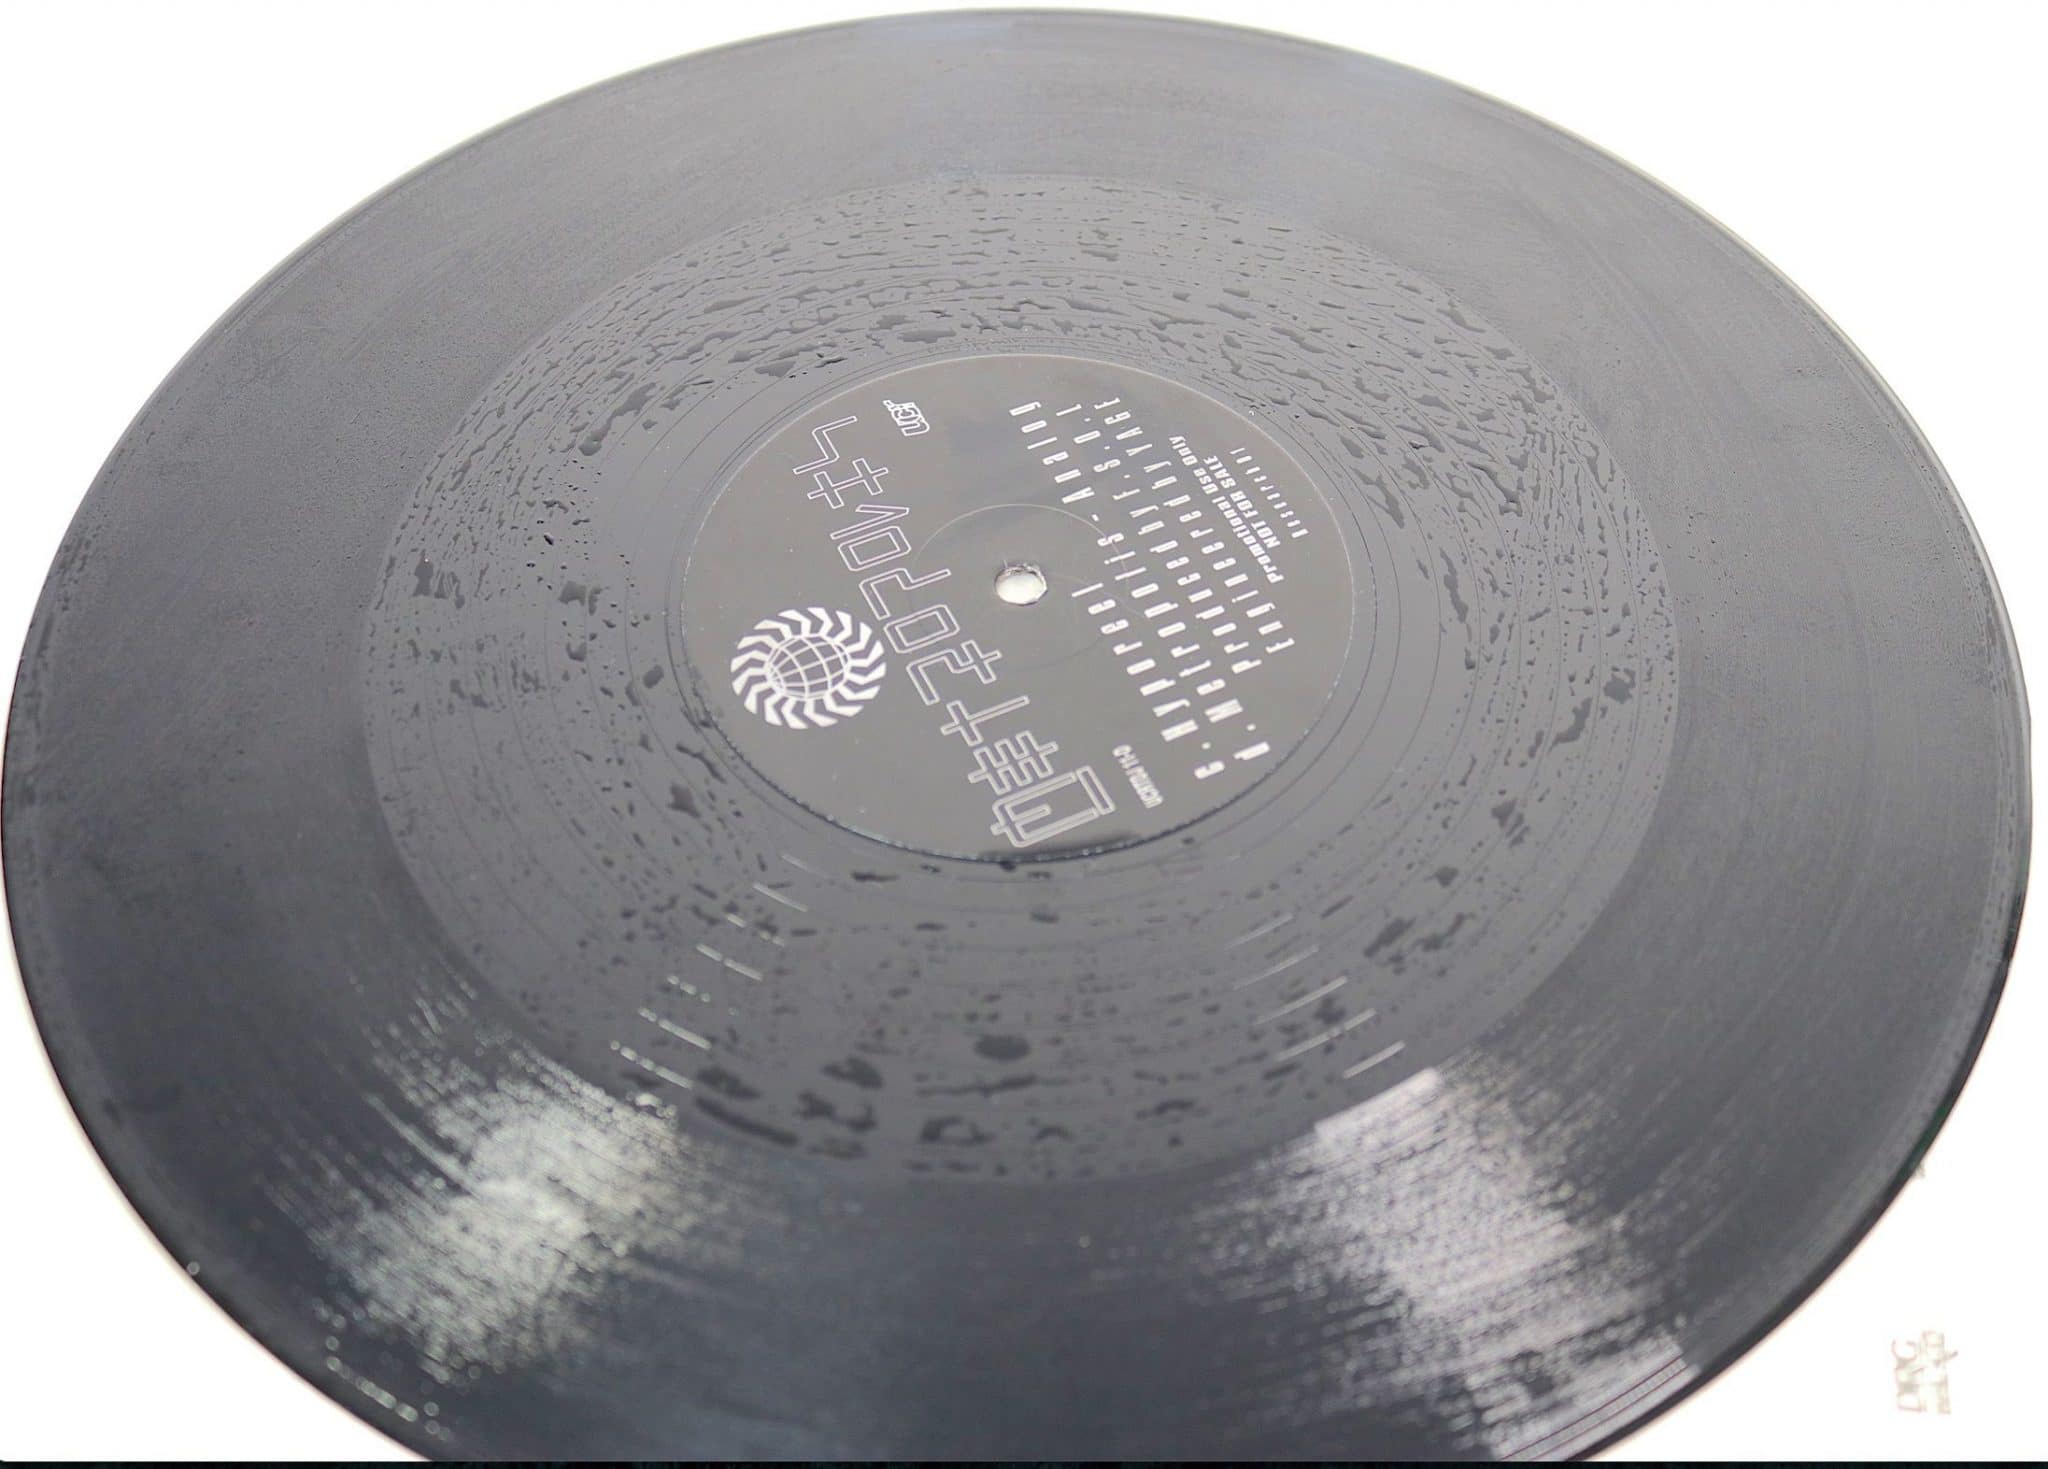
12: Holding the Kabuki brush move your fingers from the handle and down to the actual bristles themselves. The idea is to have around a centimetre of bristle sticking out from your fingers. Holding the majority of the bristles with your fingers, that’s the amount of visible bristle you should see. The remaining bristles will be quite stiff in nature now.
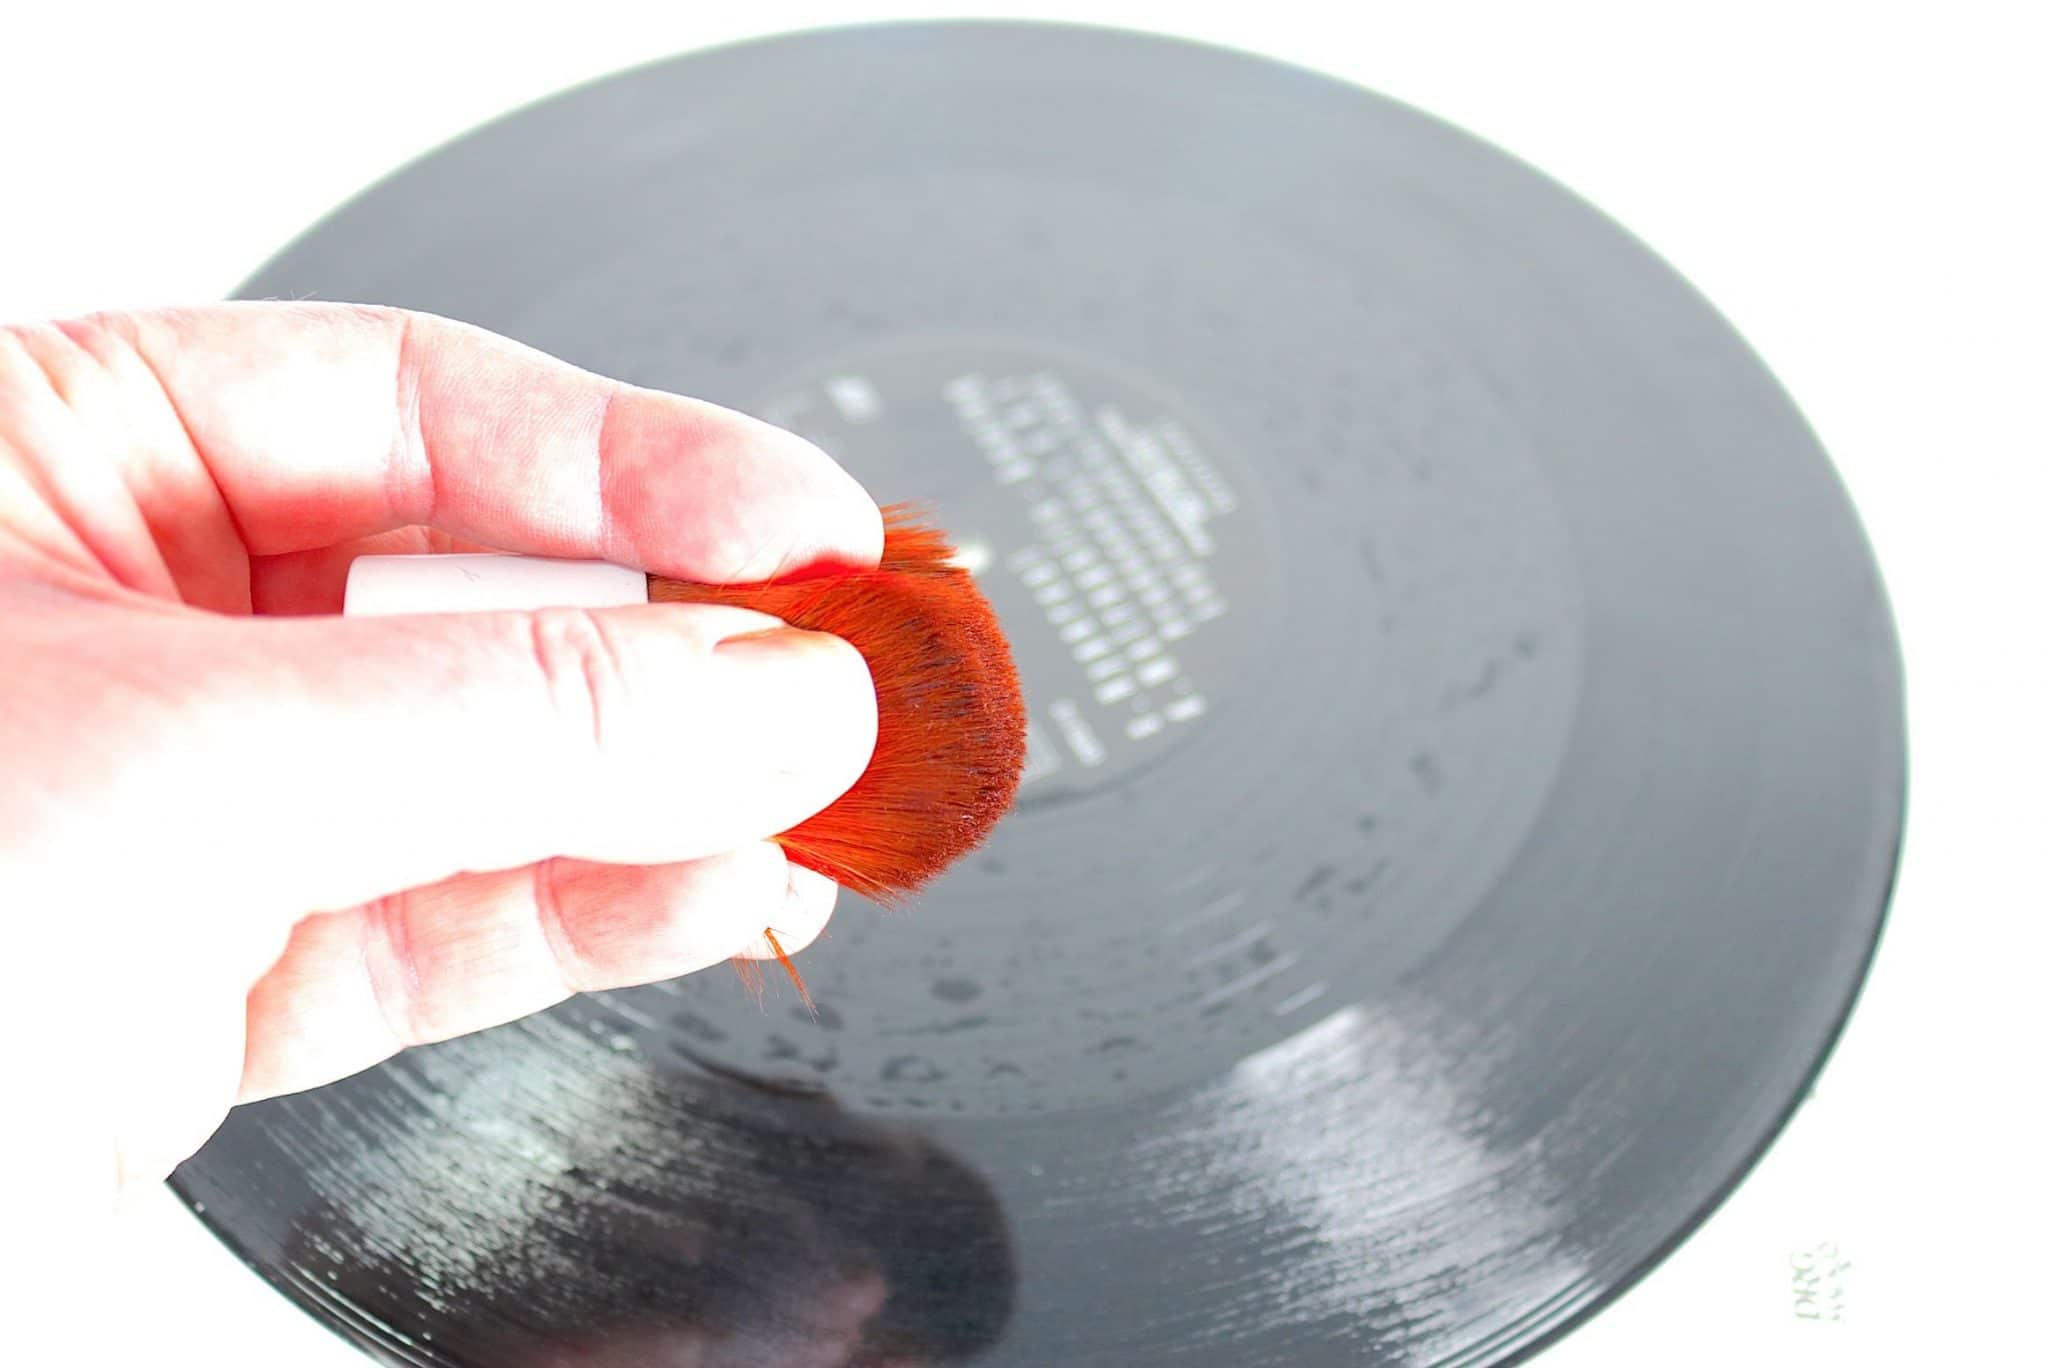
13: Using this stiff bristle, press the surfactant into the grooves in a spiral fashion working clockwise from the outer edge towards the centre and then anti-clockwise from the centre to the outer edge. That’s one side done.
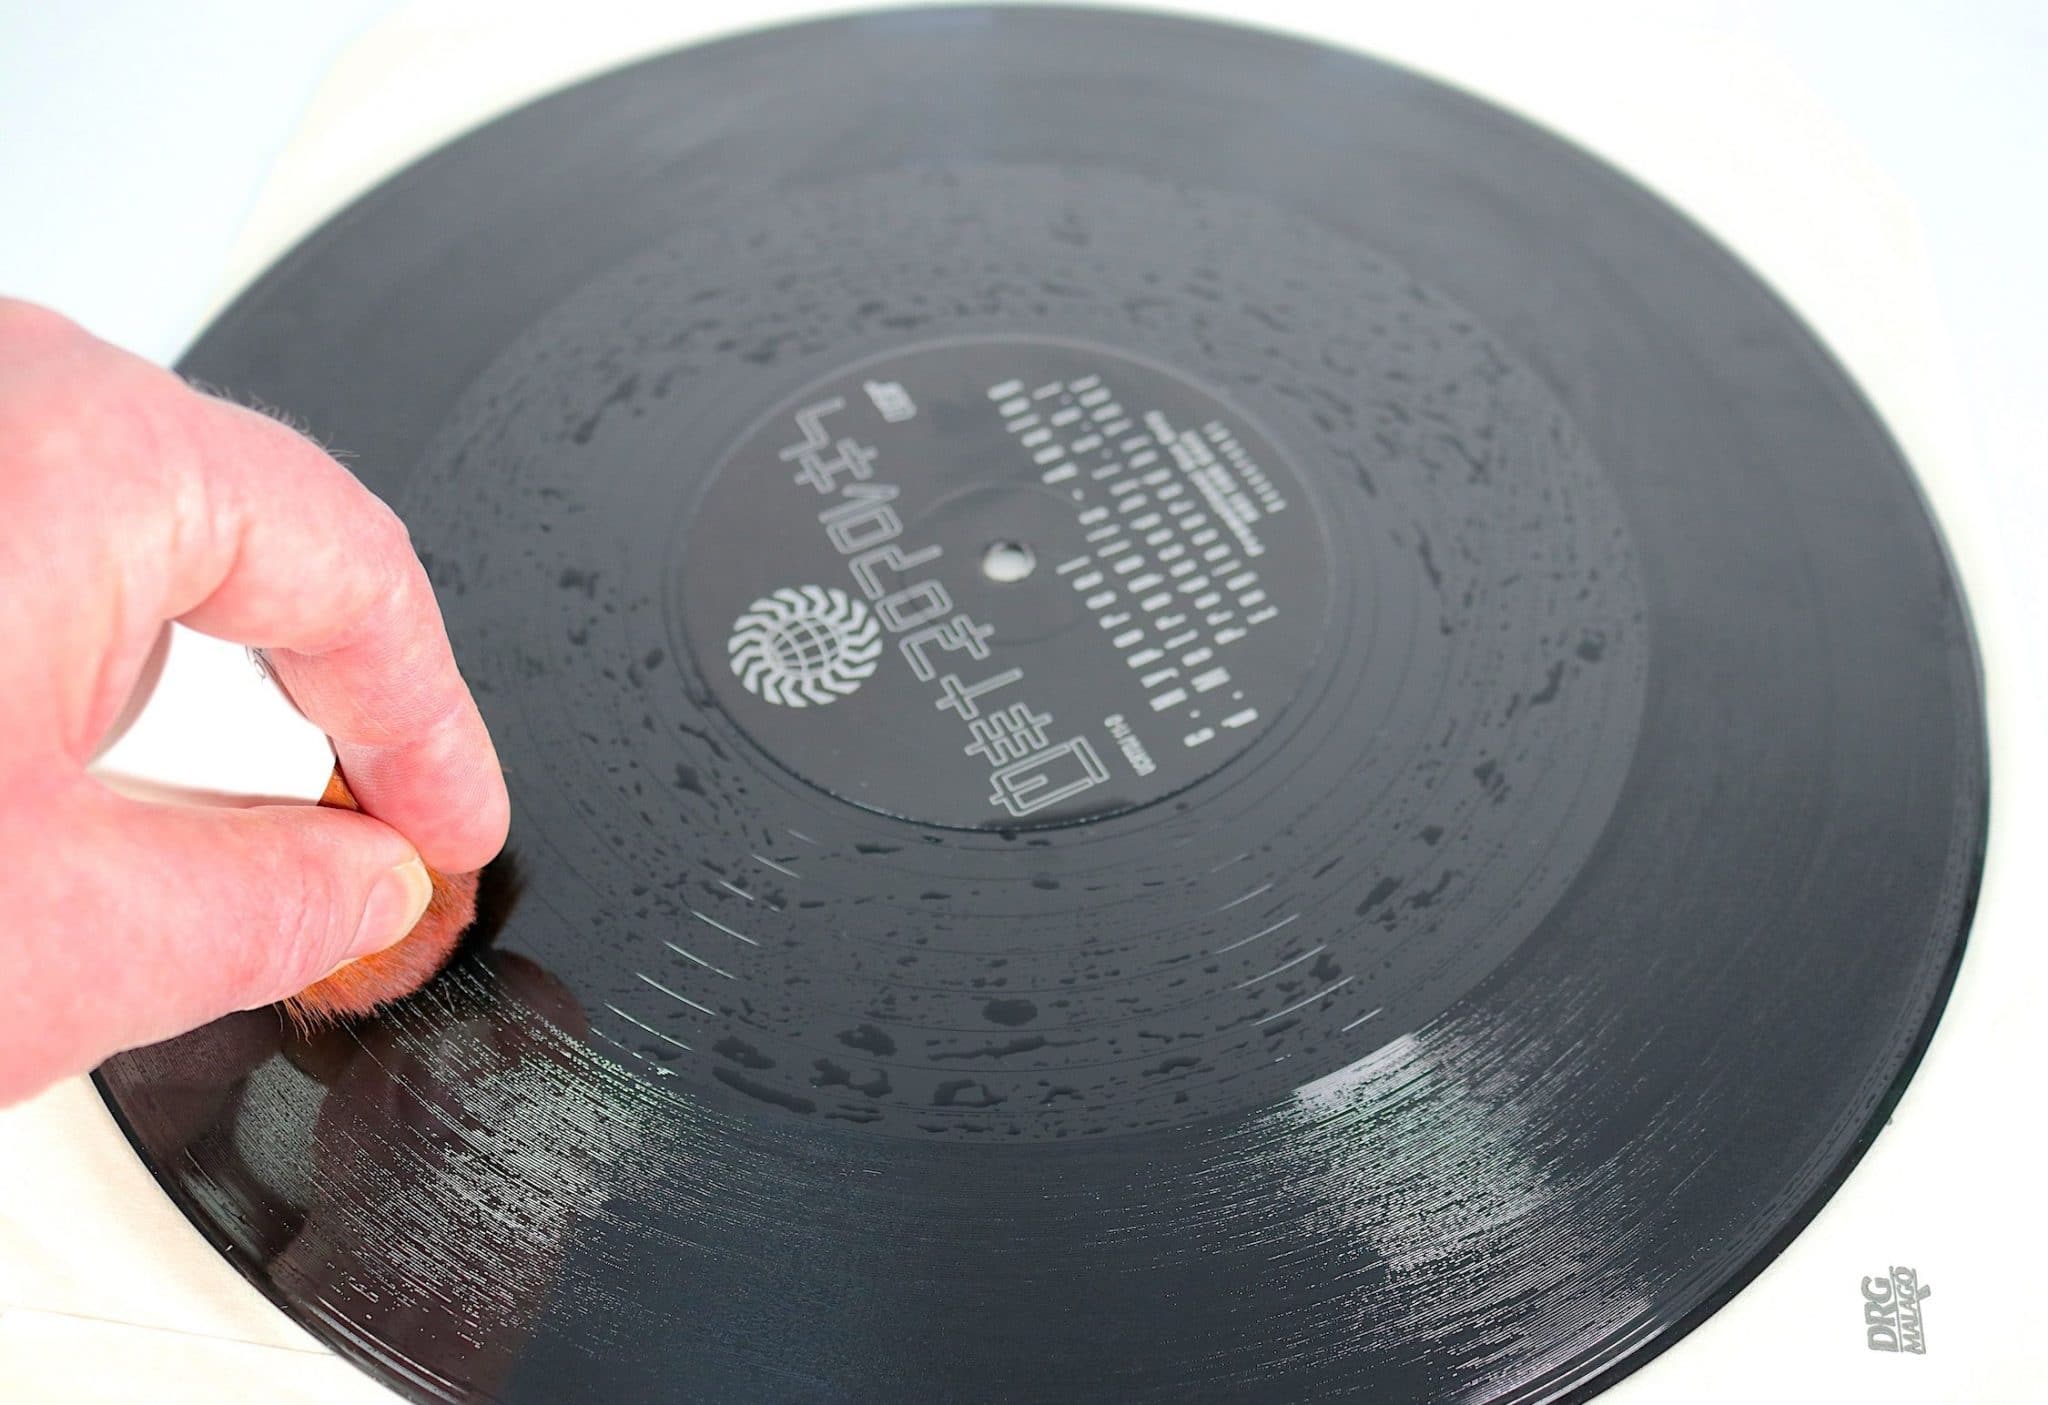
14: Repeat the whole process on the flip side of the record. Your record has now been prepared for cleaning.
15: Add the Disco Antistat clamps to the record as per the Disco’s own instructions and insert the clamped record into the Disco’s bath. Slowly rotate the record six times in a clockwise direction. Stop. Then rotate the record six times in a clockwise direction. Stop.
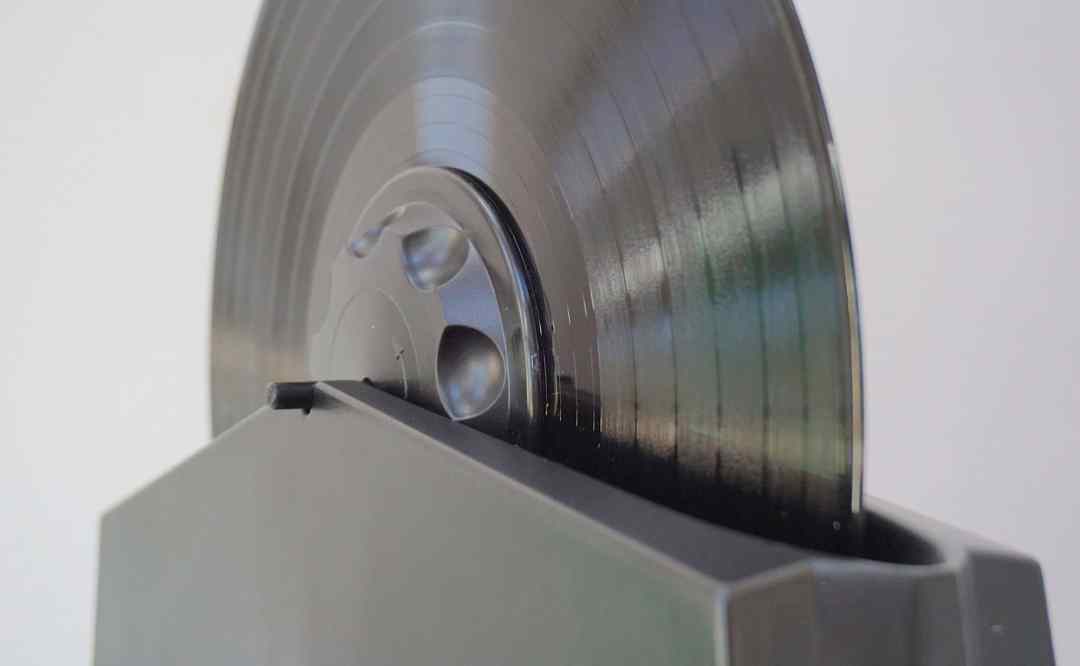
What is happening is this. The surfactant is allowing the liquid to get closer to the vinyl groove surface by breaking surface tension. Allowing for a deeper clean, if you will.
The Glycol is ensuring that the surfactant sticks to all of the grooves during this time to maintain an even clean.
The alcohol is cleaning the loose, friable material and more easily removable oils from the groove surface.
The abrasion is being applied by the built-in goat-hair brushes. The relatedly tough Disco brushes will help to break down the hardened oils and gunk I mentioned above.
The combination of these products and actions will produce an effective clean, noticeably improving sound quality.
16: Steps 10-15 are seen as a single ‘cycle’. The extreme bit for some is this. While one cycle takes long enough to achieve and will enhance sound quality and you can stop there if you wish, during tests, I found that more cycles applied to the same record improved sound quality. That is, the sound from a record sounded better after two cycles when compared to one. And with three cycles when compared to two. And so on.
I stopped – finally – at six cycles. This will take a long time. Over an hour for each record. I repeat, you don’t have to go there but I’m doomed because I’ve heard the differences so I can’t go back, I’m afraid. You decide how far you want to push it.
17: When the cleaning cycles are completed – however many that may be – then insert the record one final time but do not add any surfactant this time. Don’t add anything to the vinyl surface. Just add the record ‘as is’ and complete the same rotations clockwise and anti-clockwise. This is a rinse cycle to remove any lingering residue.
If you are able to buy a second Disco Antistat then perform the rinse cycle in the second unit. Keep the second unit for rising only with a bath filled with the same proportion of distilled water and alcohol. In this way, the Rinse bath will last longer before it has to be changed.
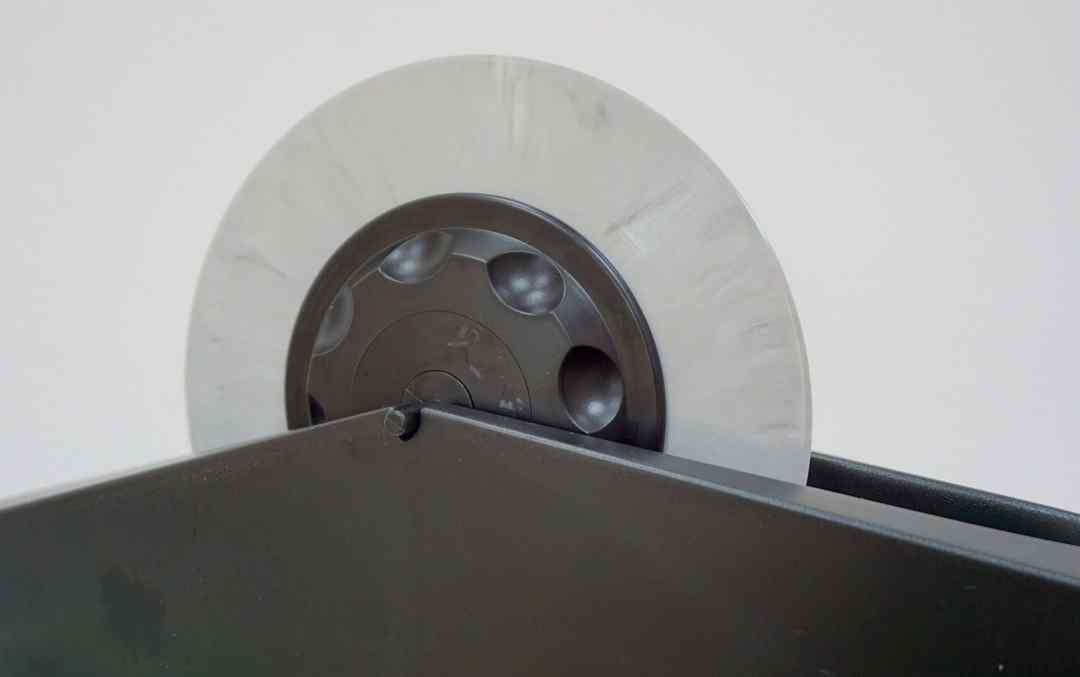
After a series of cleans, you may want to change the bath water for a fresh batch because the surfactant will slowly build up in it. I’ll leave that change over time up to you because it depends on how much surfactant you apply to the vinyl surface in the first place, the frequency of your cleaning and the amount of cycles you decide to run with.
18: Once the rinse has been completed, remove the record and the clamps and insert the record into the supplied drying rack for drying. A warm room will be more efficient.
CONCLUSION
And that’s it for this Vinyl Cleaning Guide, folks. I must add though that the above is a one-off intensive clean. You won’t have to do this every time you want to clean the same record. So don’t be concerned about that.
See this Vinyl Cleaning Guide above as a sort of ticket into your record collection. A test that any piece of vinyl has to run through before it earns the right to sit on your storage shelves.
Once a record has been through the above then you only need a maintenance clean whenever you feel it’s necessary. If it is, do one cycle only, when required.
If you have any questions about the above or if you need me to elaborate then, by all means, give me a shout in the Comments and I’ll help all I can.
I hope that this feature has helped in some way to improve your vinyl cleaning technique and, more importantly, the final sonic performance of your records. Next up? Cleaning with a vacuum-based record cleaning machine!
[Don’t forget to check out my Patreon Page at www.patreon.com/audiophileman, for exclusive postings and more!]





Hi Paul,
Brilliant work, many thanks for this and it is much appreciated.
I have already done about 50 discs out of my 223 with the Mk2 Knosti Disco Antistat. The only problems that I have found, so far,are that the record clamp can and does work loose ,especially when reversing direction to anti-clockwise when in the bath. I gather that this is a known problem with both the mk 1 and mk 2 versions, but there is an aftermarket version available which has a proper clamp together with a far better seal ( see http://highqual.co.uk/clamp-details/4580311057 )However the two versions that they do cost around £ 40( mk 1 )- £ 47( mk 2 ). But, I suppose, long term they will pay for themselves.
Another problem is one of drying times, with minimal dust floating around in the air. I use my conservatory for the process, having been ‘moved’ from the kitchen by my long suffering Wife ! In this cooler weather, without the use of extra heating which stirs-up the dust, I have found that it takes around 3 hours, or more, to clean 8 lp’s ( one drying rack full). The filters in the mk 2 kit are ok, but do not fit the rectangular funnel too well, allowing fluid to escape around the edges. I will try some different filter material in the future, that I can cut out myself which covers both the base of the funnel, as well as the sides. That should do the trick. At present, I discard the liquid after 24 cleans. I use a solution of 1 % IPA/distilled water in the bath (The Knosti one !! ) and use a 1:200 solution of Ilford Ilfotol/distilled water using the droppers as a pre-wash, spread around by a Kabuki brush. I have, not yet, tried Tergitol etc, but the results seem to be ok, though I find that some of the treble on the lps does sound a bit ‘tizzi’ after cleaning on some lp’s so I may do a few more cleans of the affected ones and, maybe try the Tergitol at some point. Looking forward to parts two and three in due course. Cheers Ian
Very kind of you to say and…intriguing, Ian! Never seen that Knosti mod before, I’ll make a point of reading it ASAP. Part 2 might be of some interest to you yes because I look at using a low-cost RCM as part of an accelerated drying process.
Hi Paul,
i really appreciate your way of cleanig records.
For my 10inches i do it your way.
As a owner of the audio desk (AD), i combine your manual way of cleaning with the AD for the 12 and 7 inches.
Three cycles of the steps 10-15 and then the record goes to the AD, which is filled with 1% Isopropyl.
After playing the record, the record goes straigt to the AD.
Now i have, after cleaning about 50 records, an question (the question suddenly popped up in my head) to step 13 – the spiral working with the Kabuki.
Is it a spiral just like the way of the needle….and reverse, or is it more straight from the in- to the outside of the record?
And yes, i´ m looking forward to part 3.
Have a nice day
Hi Michael – re. the spiral: like a needle.
What am I enthousiastic, almost a perfect description of how to clean vinyl.
I already did have the Disco-Antistat in my possession and it works quite good.
Now I ordered the rest, but that was difficult, especially the Tergikleen you cannot get in The Netherlands.
Though I look forward to receive all ingredients and cannot wait to go on work.
However I do have some questions. Why don’t you mix all together: distilled water, alcohol, Tergikleen and Glycol.
A lot of steps make one step ( one Disco Antistat mixture). It seems to me that this is a lot easier.
Another question: How do you dry your records at the end of the session?
With a microfiber towel or in the drying rack of the Disco Antistat?
Or am I wrong, does Acohol, Glycol and Tergikleen cannot get along??
Hi Henk – thanks for your kind words. If you combine the liquids in the bath, if will work…at a push. But only to an extent. You will lose most of the effectiveness. I have tested both and can confirm this. Also, the Glycol will be instantly attacked by the alcohol.
Drying? For a Knosti only? In a warm room on the supplied rack, as per the product instructions. I would advise against using a towel, you may reintroduce dust or other elements which will only reduce the effectiveness of the clean.
Much anticipated feature and perfect timing!
What else could we do during this “locked-down Holiday season” other than cleaning or records? LoL
Now all the stars and planets finally align (your tube videos, your articles, comments here and there, etc.).
Just one note, not to be picky but…just following your explanation I was wondering: in the last rinse, given there’s no surfactant/glycol applied before, shouldn’t alcohol be reduced to 1% instead of 7%?
That’s a good point, actually. I was going to change my feature to suit but, thinking again, this rinse section is also intended to remove any residue so 7% would be recommended to do a thorough job.
Hi Paul,
Hope this finds you well. Thank you so much much for this thorough and thoughtful guide! I have a process question: do you allow the records to dry on the rack before each surfactant mix application, or do you go straight through, applying the next round of surfactant mix right after the bath, an only dry them after the final cycle?
Best,
Miguel
Hi Miguel – a quick bath in distilled water every now and again will clean the brush.
I advocate a full dry before you start the next cleaning cycle otherwise the distilled water remaining on the record surface will alter the liquid ratios you’ve already carefully curated. Also, there may be part of the disc where your pushing pure distilled water into the grooves instead of diluted surfactant.
To cut waiting times, you might want to stagger a series of discs for cleaning. Say 5 at a time. So by the time you’ve cleaned the 5th disc, the 1st disc will be dry and ready for another cycle, for example.
Having watched all of the previous vids i could get my hands on for a few years, i knew pretty fast this one was different than the rest. No secretive formula or product pushing, just straight up science performed by someone who knows what he is doing. I can’t thank you enough for this series other than to subscribe to your Patreon, which i just did. (A small price to pay for the saved time n useless products you have stopped me from buying)
After a frustrating year of watching people with varying degrees of skill attempt to sell me on the best or only way i should be cleaning my vinyl, this series of yours should be required watching; it has saved me hours of time, and possibly a bit of my sanity.
Keep up the amazing work.
Thats very kind of you Dave and it also give me the opportunity of thanking you for joining me on Patreon – thank you!
Thanks for the very informative article!
You seem to use more than the recommended amount of Tergikleen? On mine it says 10-20 drops per gallon, you use 10 drops per litre. Does the increased amount lead to sonic improvements in your experience?
Keep up the good work!
Thanks Trygve – indeed yes, that concentration seems to work for me.
Truly superb Paul,in the process of purchasing all the kit to use with my audio desk please hurry with part three .
Thank you for this great Work.
I’m looking forward to the following episodes 🙂
Very nice of you, many thanks.
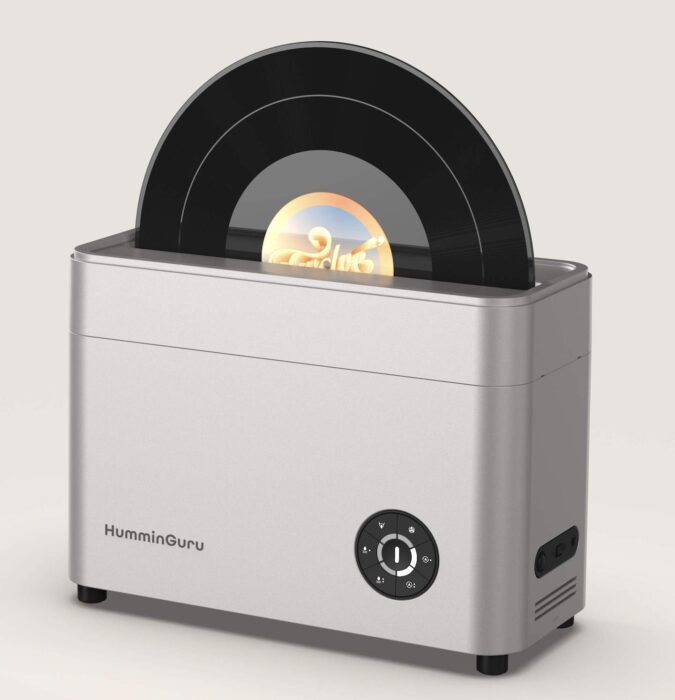
Hey Paul, I have Tergikleen, Iso Alcohol, Distilled Water, Mofi Record Brush, and one of these RCM’s. What would you recommend as the process for this vs your process with the Disco-Antistat? Do I not need Glycol since it’s not cleaning vertically? Thanks
Hi J – I’ll be looking at RCMs in Part 2 of my Guide next. So please hang on in there for that one.
Hi Paul— I am pretty OCD when it comes to audio; however, I am very new to vinyl. Not paying much attention, I recently made the mistake of buying some cheap,“lubricated” cleaning cloths at my local record store and was horrified to see the greasy mess they made of my records and my stylus. After doing some research on your website and YouTube I have ordered supplies to clean my stylus, but can you recommend any budget friendly ways to clean a record without an actual washing device like the Disco Antistat? I want to clean them well enough to get rid of this gunk for good, but I’ve just about maxed out my budget on a turntable, speakers, etc. I have yet to see much reasonable advice on the internet regarding vinyl other than your website, so I figured I’d ask. Thanks, Weston
Hi Weston – apart from a carbon brush to remove loose dirt, the only manual method I would actually recommend is the Disco Antistat and the system I use or, at least, the Disco on its own. It’s precisely because there are so many bizarre products and suggestions and frankly dodgy products out there that I put all of this together in the first place. I’ve used most of them and dislike the same 🙂 Like you, I see my vinyl as precious so it’s worth saving up and investing in a cleaning system that will actually clean and take care of my discs, not put them in peril or make the situation worse. If you need to save then I’d advise grabbing a low-cost, non-invasive carbon brush for now to remove harmful grit and give the discs a proper clean later, when you can afford it.
Hi Paul,
So if you were doing just a basic wash with the DAS you wouldn’t need the Turgicleen? As here it is being used in conjunction with the Glycol. and extra steps An hour a record is far to much for me! I have seen some people say they do add a drop of wetting agent (which you said in a vid is the same thing) to the water/Iso mix also? Could you add it that way? And another thing is would you still always you were doing it this way? Maybe just with Distilled water. Cheers for any help mate. Hope you and yours are well.
Hi Mike – you can leave the surfactant off, if you wish, of course. Although the cleaning effectiveness will lessen. Adding the latter to the bath helps, sure. Although again, the effectiveness is lessened. And the Glycol is only used when a disc is cleaned vertically. Also the cleaning time will be vastly reduced if you only use one cycle. I use half a dozen, which is where the hour comes from. But take what you want from this feature. Don’t feel tied to it. You’re welcome to adapt it for your own system.
Hi Paul, I nearly sunk 3 grand US (that I didn’t necessarily have) on a Degritter after reading your review. I caught my wits in time and will be trying your prescribed method above which is affordable to me! My question to you is about the glycol ratio in the surfactant mix. I have 4oz (118ML) dropper bottles and I’m not sure the larger pipette droppers included necessarily scale up. How critical have you found the glycol ratio? Any way to estimate what 2 full (or half-full as you say) droppers worth of glycol amount to in mLs so I can scale to my 188mL bottles? The simple answer is to tell me to pipe down and just go scare up some 50ml dropper bottles… Thanks for your great work and sharing here!
Hi Ezra – hmmm, I would say between 1-2ml. You really want to stay in that zone, otherwise you’ll need more alcohol to melt it off and you don’t want to go above 7% really. And thanks for your kind comments.
Paul, I can’t seem to find Part 2 of this series where you cover the vacuum process record cleaning machines. I’ve been considering a purchase of one of this style machine for a couple of weeks, but have yet to pull the trigger. I’d love to read your take and process before committing.
Can you point me toward part 2? Thanks!
Hi David – That’s because it doesn’t exist yet 🙂 It’s on the drawing board for now.
Ah, my apologies. Very much looking forward to Part 2.
PS: I was also wondering how you would recommend cleaning the kabuki brush after a cleaning cycle.
Thanks again Paul!