The Article
Modding your Turntable: Via Pro-Ject’s RPM 1 Carbon
10th September 2018
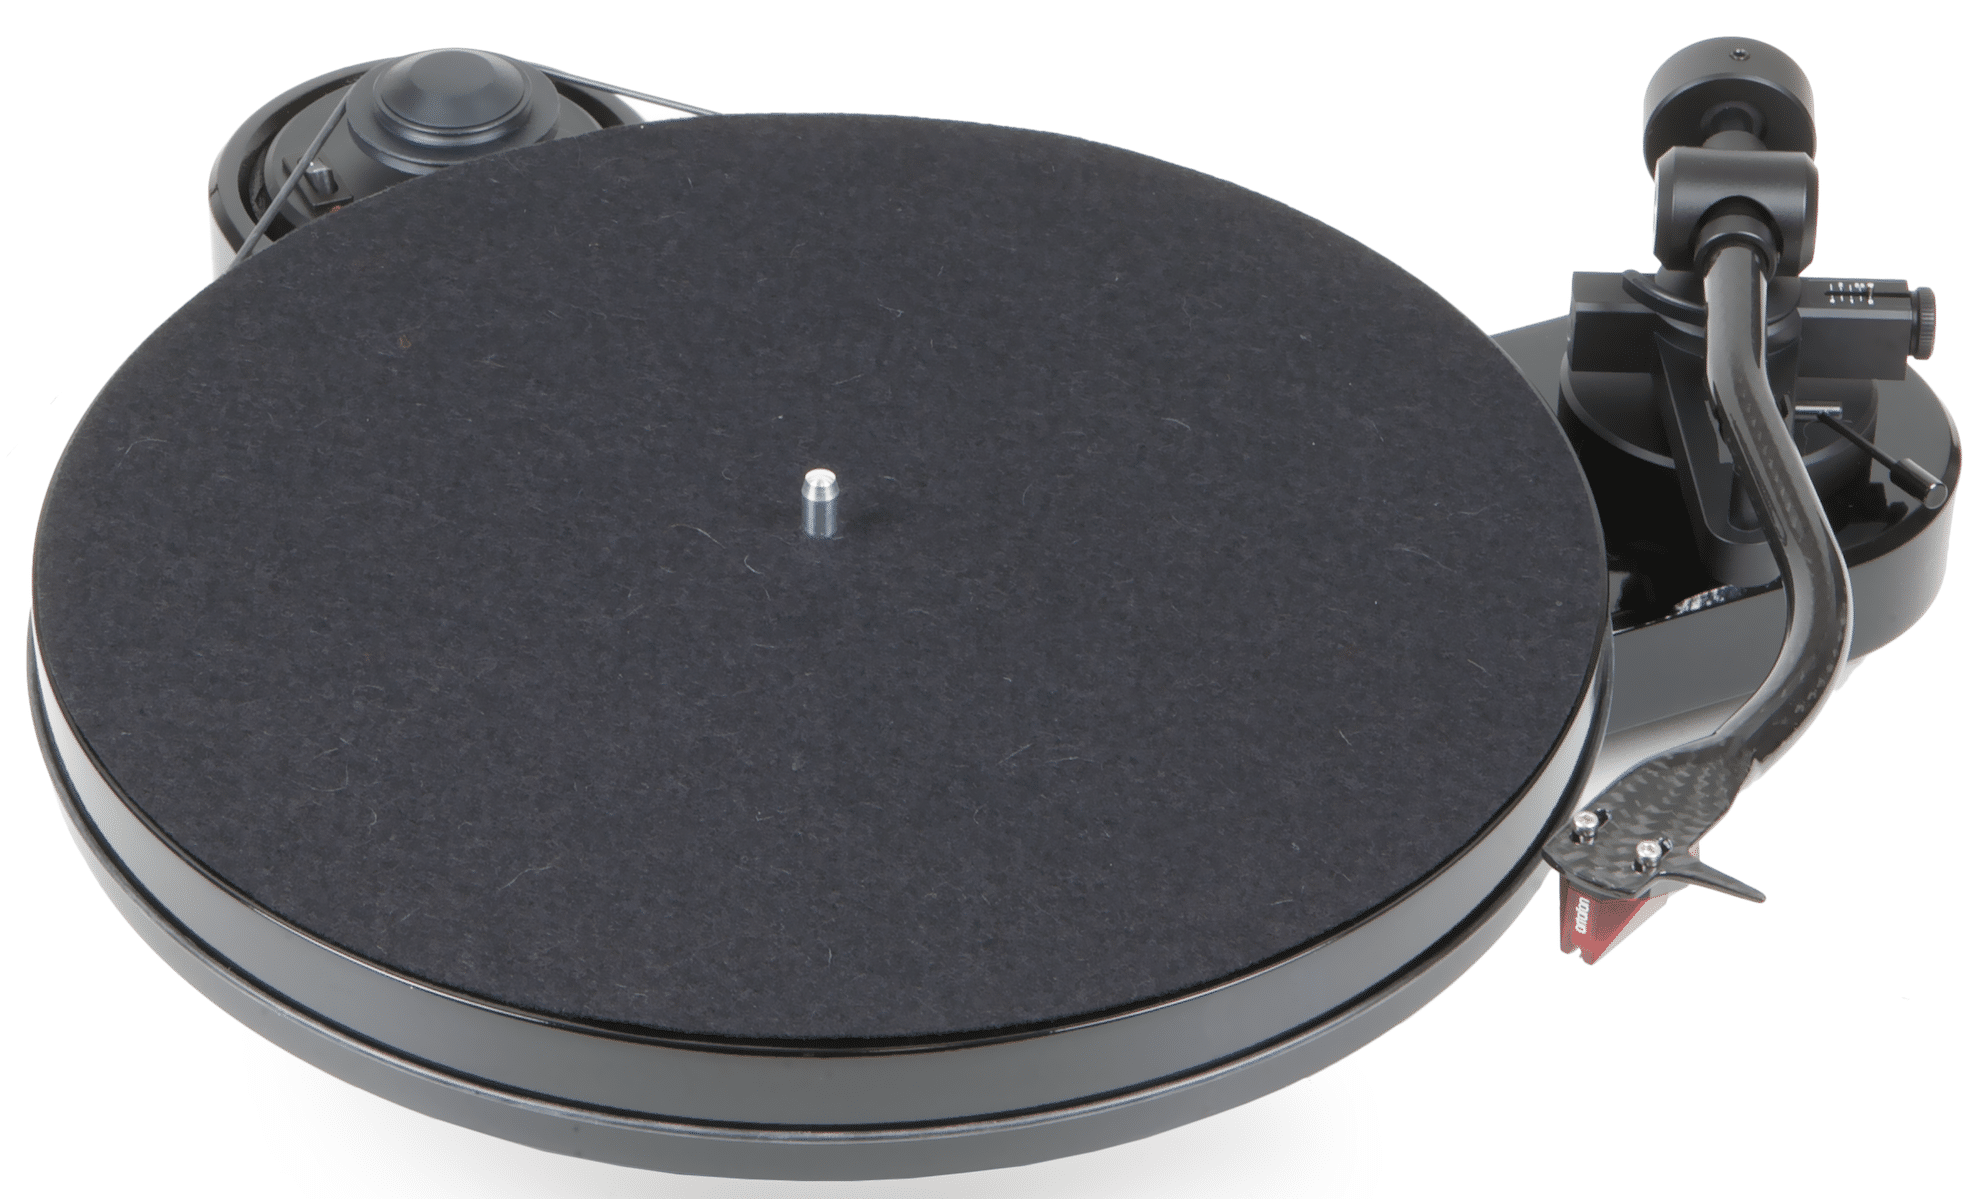
Paul Rigby reviews the Pro-Ject RPM 1 Carbon but also throws a bunch of wide-ranging modifications at it to see how far the sound changes…if at all
The sector of the market occupied by the Pro-Ject RPM 1 Carbon — call it the budget or more likely ‘super-budget’ arena priced around £350-£800 – is busy with turntable variants that blend value for money with improved component choices and enhanced design implementations.
Once you’ve made your turntable choice, whatever variant you plump for, the fun doesn’t stop there. There are plenty of ways to tweak and enhance turntables at this price point which adds value to your initial purchase because the outlay for these modifications tends to be smaller and more manageable yet the sonic improvements can be large, in relative terms. Hence, when funds allow, you can add a mod, then another and another, improving sound quality (hopefully) with each purchase, without splashing out big money on yet another new turntable. Modding your turntable gradually over time, is a low cost method of upgrading your vital vinyl source.
This is the point of this feature, to see just how far you can go with a single deck. I’ve selected a Pro-Ject RPM 1 Carbon turntable as my victim. I’ll give it a brief basic review, to begin, but then I will add a range of products to see just how far you can push the basic design before the improvements lose their value for money and/or the sonic improvements become negligible.
I’m roped in a heap of ancillaries including a replacement stylus, new mat, isolation feet, added plinth, new cables and even a replacement platter.
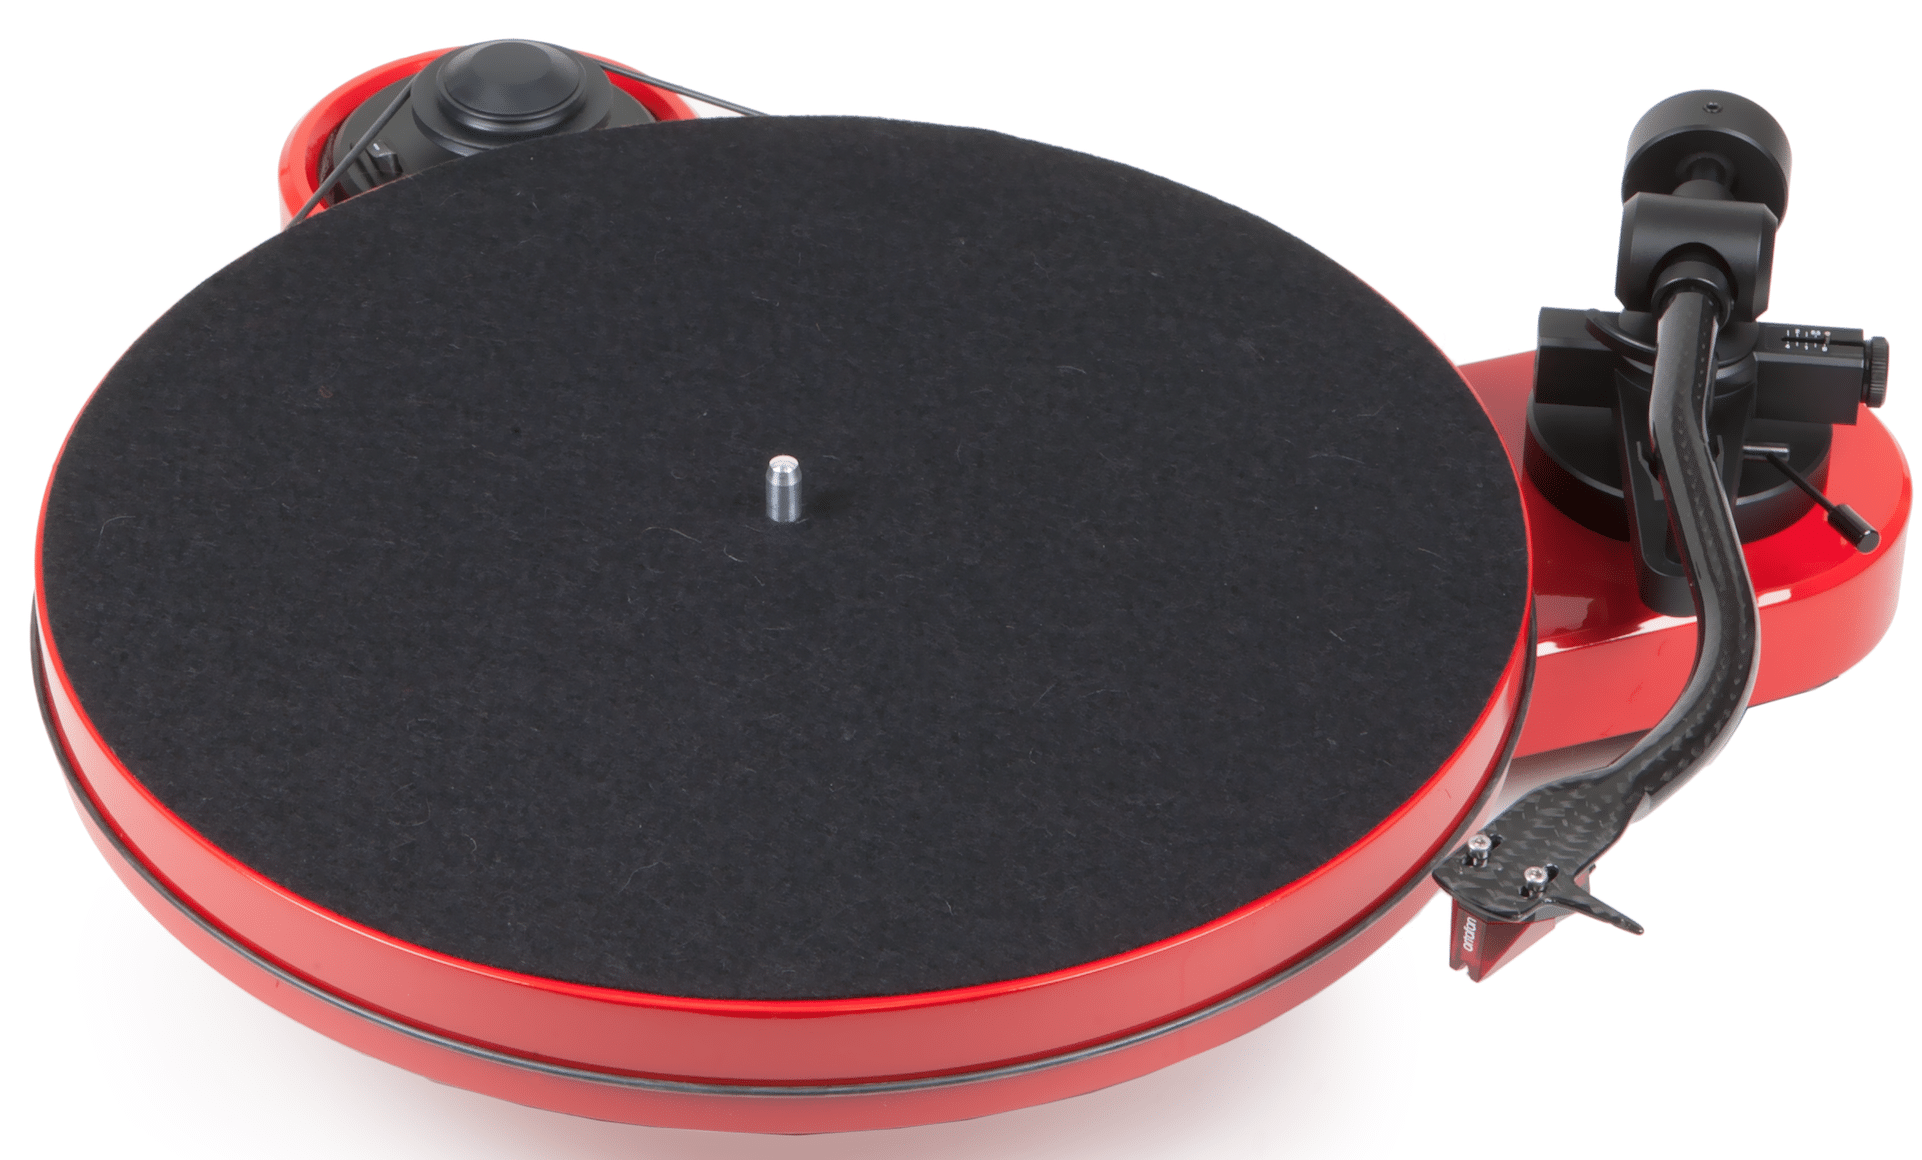
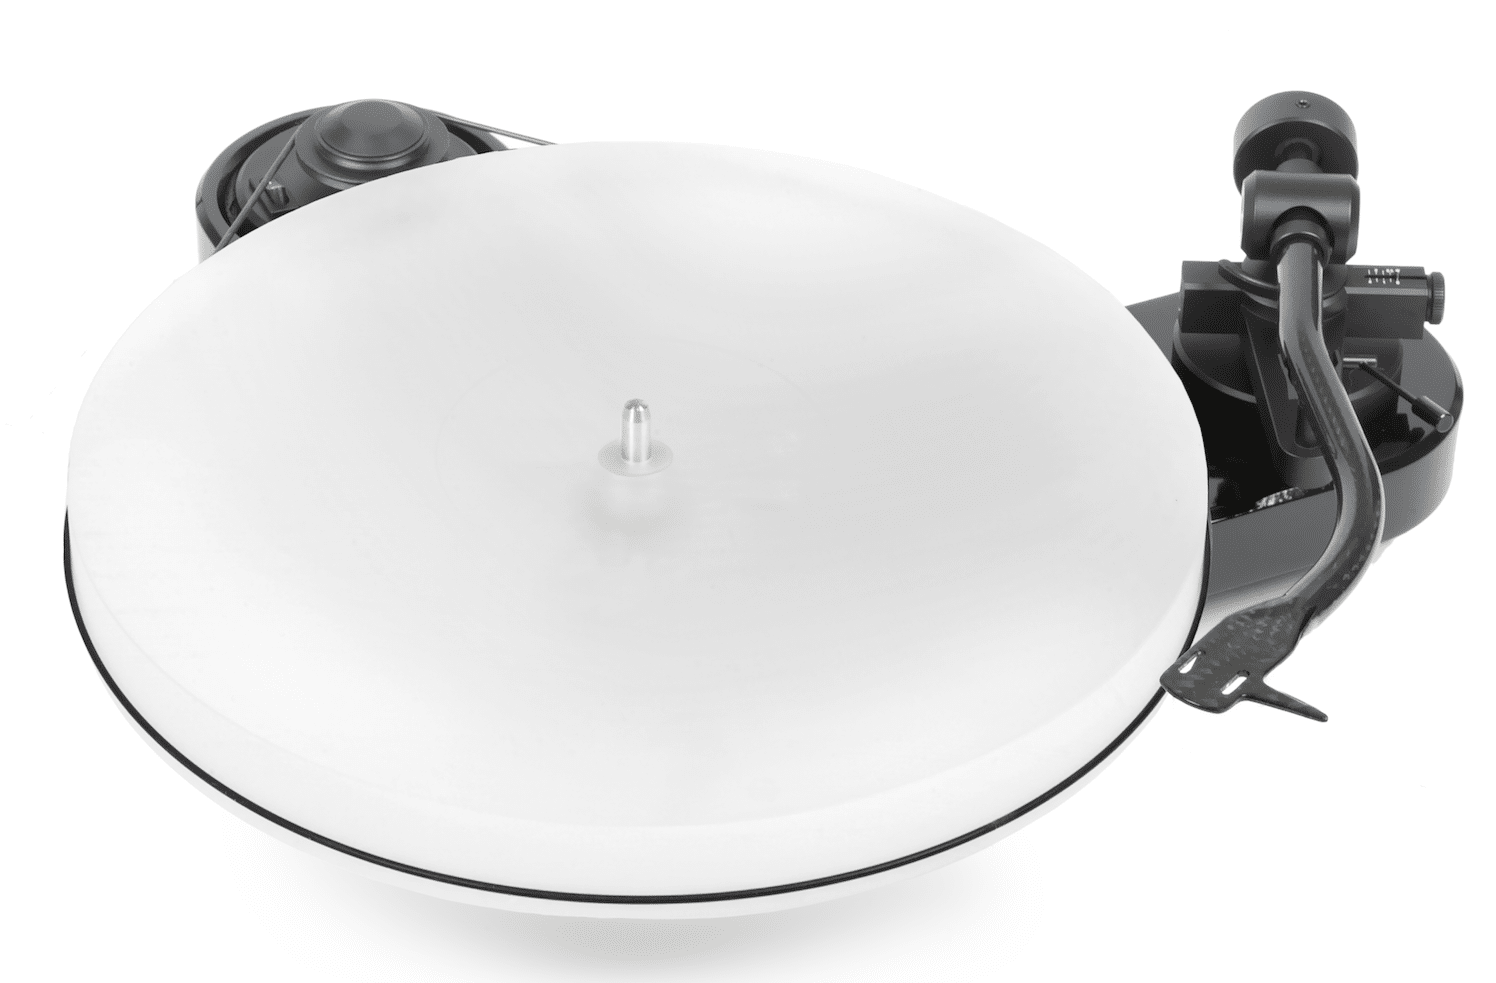
The turntable itself arrives with a svelte chassis that, as you can see by the accompanying images, includes a glossy MDF plinth and platter, shaped and trimmed with no excess. A belt runs around the outside of the platter to a separate decoupled motor that sits in an outer plinth ring. The motor has access for a standard wall-wart power supply. A rocker power switch sits a-top the motor itself.
The platter’s inverted main bearing utilises a ceramic ball, mounted onto a high-mass base plate. The 10″ S-shaped tonearm is a carbon fibre/aluminium resin construct. The RPM 1 Carbon tonearm is normally supplied with an Ortofon 2M Red cartridge. The arm arrives with a magnetic anti-skate mechanism. The supplied counterweight also utilises TPE damping in the form of an anti-resonant ring around the fixing point.
Available in Red, White (my review choice) or Black high gloss finishes, the package doesn’t feature a dust cover but one can be purchase as optional extra.
SOUND QUALITY
I wanted to find a basic sonic reference for the RPM 1 Carbon (henceforth, RPM 1) so listened to the basic set-up, playing the old, old ELO track, First Movement.
The RPM, in its own right, is a top quality turntable, with a blend of upper and lower frequencies that form a nicely balanced output without misbehaving bass bloom or midrange smearing. Each frequency makes room for its brethren, allowing complimentary detail a fair crack of the whip. That means that bass is firm and characterful, allowing a massy impact with plenty of drive but never dominating the mix. Cello grunts, for example, were full of lower frequency textures that brought these instruments to life. Thus, upper mids were allowed to thrive. Guitar string information flowed with ease, cello vocals were emotive and clear while, in the treble regions, secondary percussion was precise. The soundstage was also a wide and amiable arena, projecting a busy yet relaxed performance.
Could I hear room for improvement? Of course, but then I can with any turntable at this price point. When you review turntables in this sector, though, you take all of that into account and judge the turntable itself, built to its build budget while reflecting its necessary component selection. For a turntable of this class, though the RPM is a terrific design providing lots of detail, plenty of clarity and enough transparency to involve the listener. Allow the rest of the hi-fi to match its sonic highlights and the RPM will offer many hours of fun.
That said, like any super-budget design, there is always room for tweaks and modifications to enhance what’s already there.
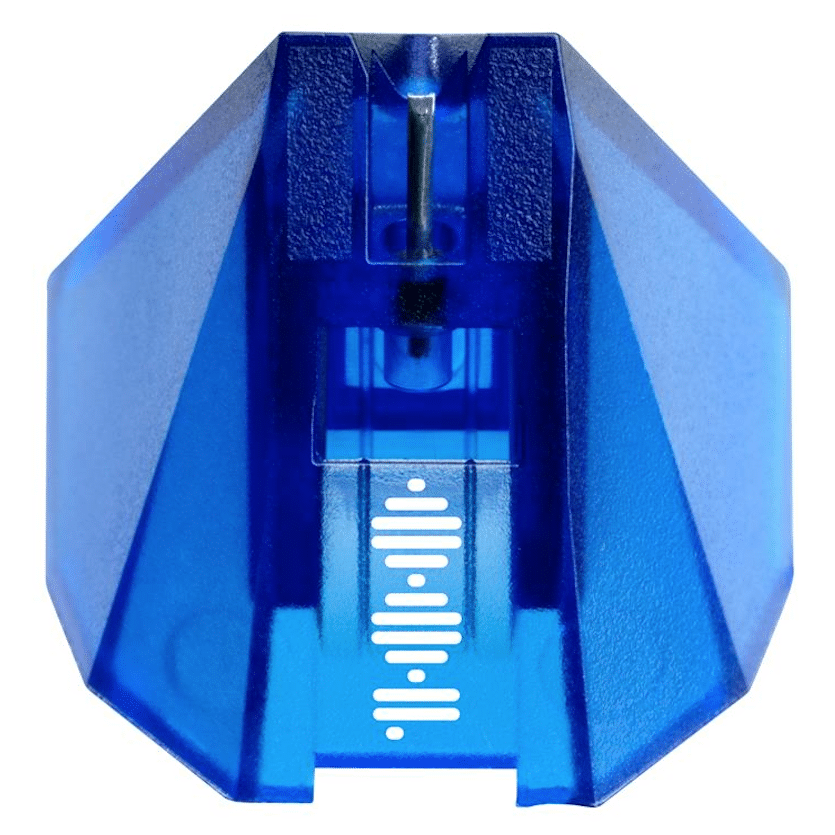
ORTOFON 2M BLUE
With any turntable, when you’re looking to improve its sonics you should always look towards the cartridge before moving elsewhere. After all, this is where the information is dragged from the grooves. You need to get rid of this potential bottleneck first. That’s what I did by upgrading the Ortofon 2M Red with a 2M Blue. You can easily perform the upgrade by swopping over the original Red stylus, which easily pulls out, with the Blue which easily plugs back in. You don’t even have to remove the cartridge from the arm. If you are performing this operation, though, be careful and patient. Don’t rush the job and be careful not to knock the cantilever/stylus tip. In fact, remove any floppy-sleeved jumpers before you replace the stylus, just in case it tags the cantilever and then perform the operation at eye-level so you can see what you’re up to. Lift the turntable up on a turntable or kneel/sit down to perform the change.
With the 2M Blue in place, the music featured less noise and greater precision in the upper mids. Guitar strings offered a better ‘twang’ while the accompanying cellos arrived with an enhanced focus. All were strong yet sprightly in tone. Both of these areas seemed sightly leaner because a touch of midrange smear (noticed more in hindsight, after fitting the 2M Blue than during the initial turntable review) had been further reduced, increasing transient speed. Finally, I was impressed with the treble. Cymbals not only sounded larger and delicate but the reverb tails attached to them travelled further. Adding the Blue upgrade was a winner and highly recommended.
THE MAT: LEATHER-IT & CORK-IT
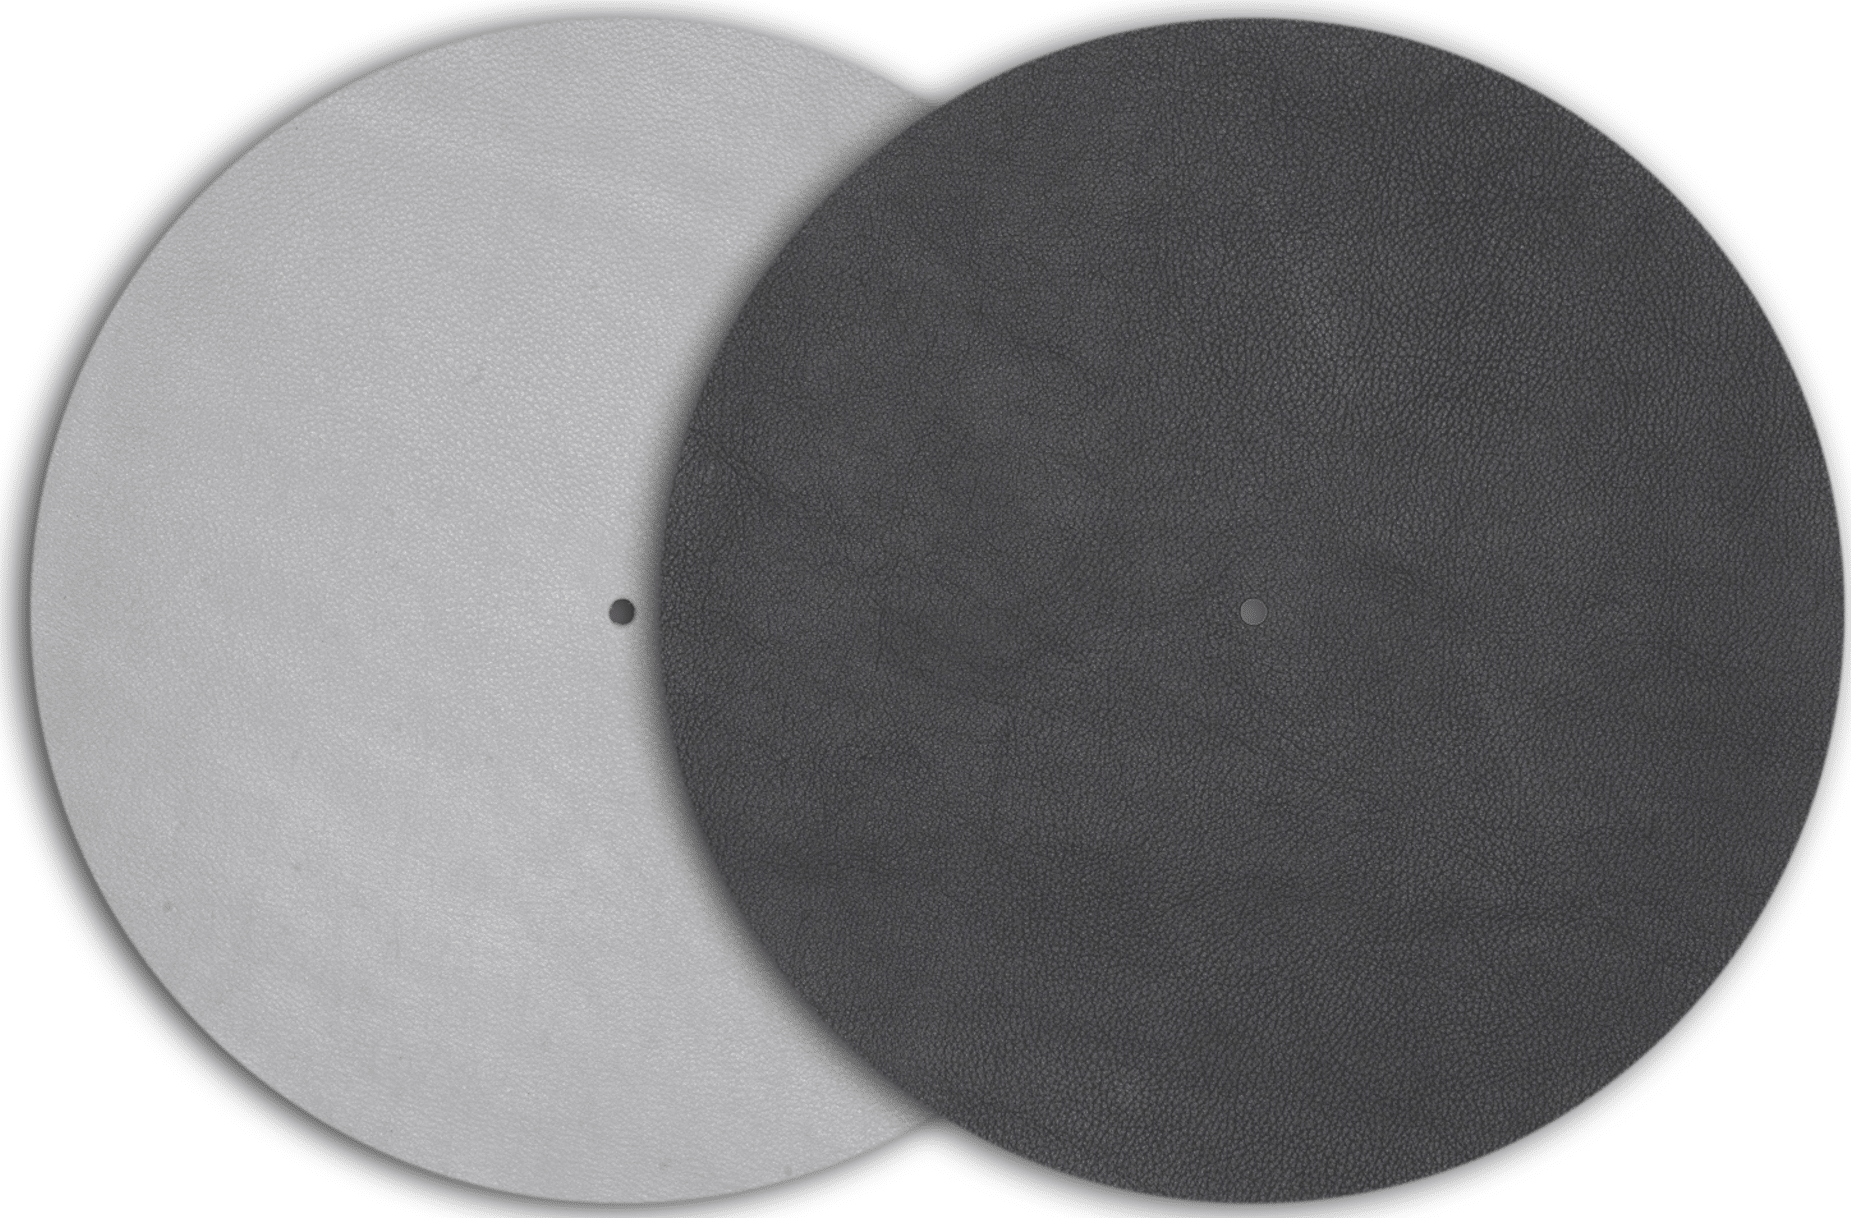
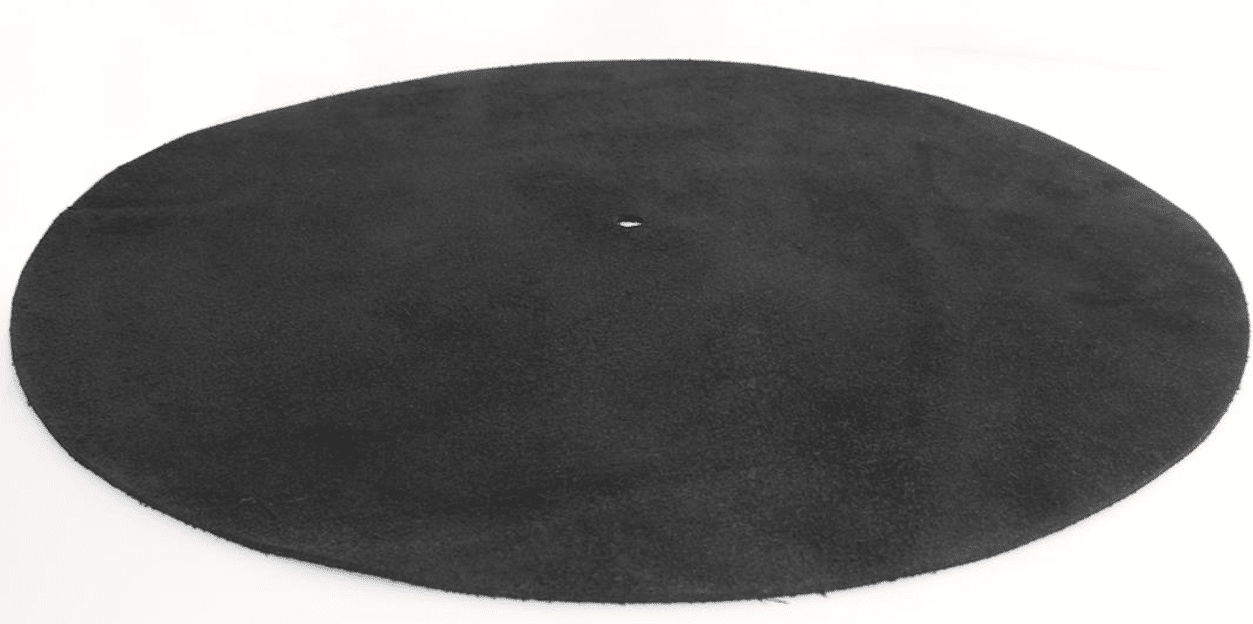
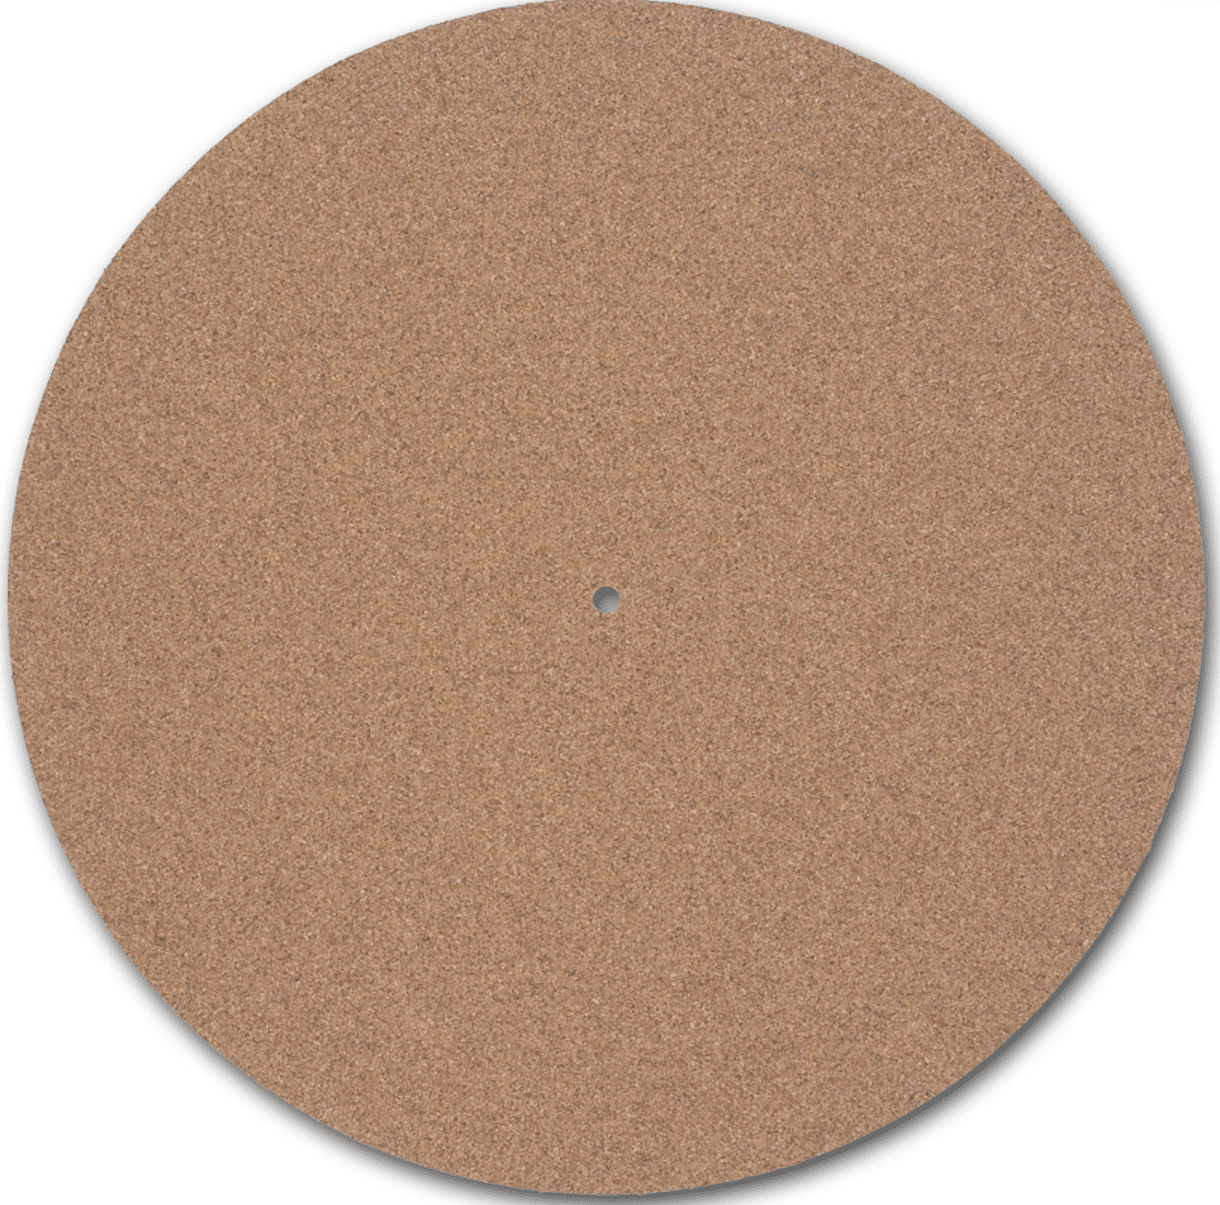
I then looked at the platter and the default felt mat. I had two possible upgrades to hand here: a leather mat and a cork example. I swopped out the felt variety and first swopped in the leather upgrade.
Again you only really notice that an issue exists when a modification ‘fixes’ it. In this case, the leather mat lowered veiling noise, creating a much smoother mid band, allowing the Spanish guitar to reach further in dynamic terms while giving the cellos more room to manoeuvre. They seemed like a greater presence in the mix now. There was no balance issues mids you, just a slightly enhanced strength from this area. There was, however, a blanket of warmth over the upper areas of the sound frequency spectrum with a slight roll-off at the top edges. Not devastating in its effects, the effect was relatively minor but it was there.
Because of that, I preferred the cork mat which was a tad less warm and slightly more dynamic in terms of the upper mids. In fact, the frequency extremities seemed to be further apart with the cork mat, giving a wider spectrum of sonic colours to experience, adding to the richness of the soundstage and enhancing the sheer detail within via improved midrange insight. Guitar string resonance appeared to be enhanced, for example.
What was more important, even at this early stage, I could feel the basic sound of the RPM moving away from the sound I originally heard from the turntable, out of the box. There was a real distance in quality developing here.
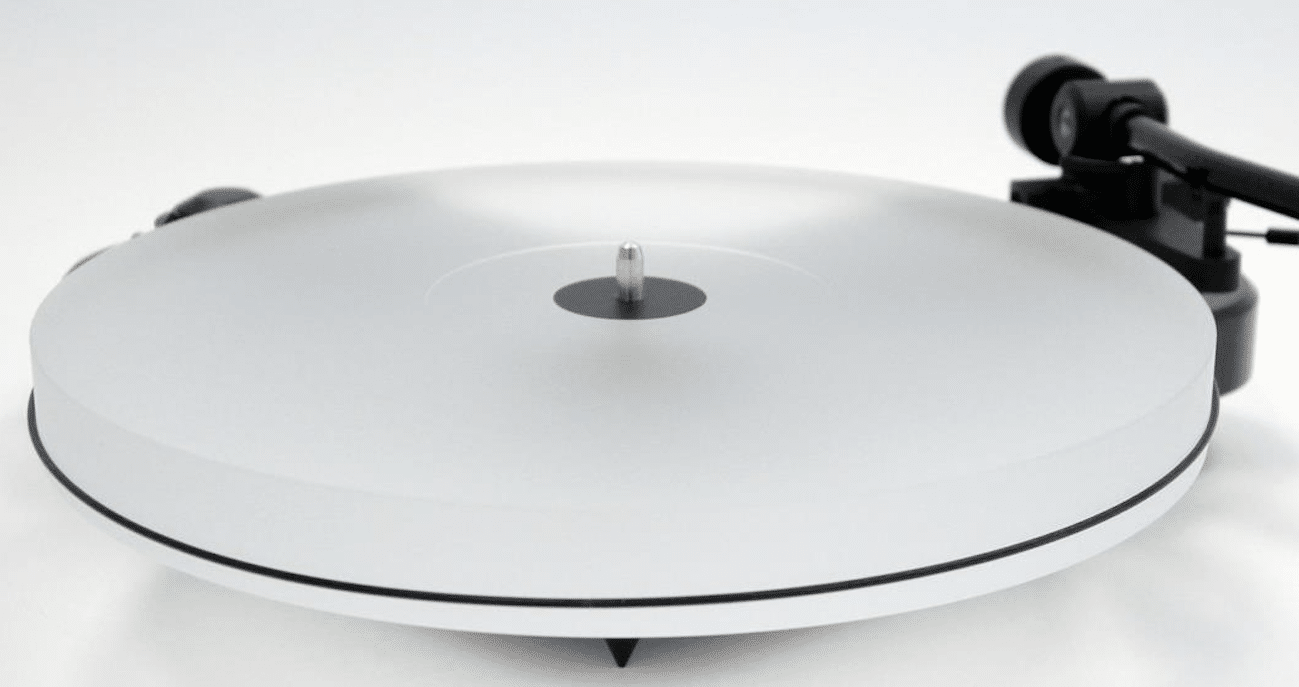
Next? I replaced the default MDF platter with an acrylic model. This was simple to install. Simply lift the old one off and gently lower the replacement into place.
A NEW PLATTER: ACRYL-IT
The effect was to add a tremendous maturity to the entire soundstage. Sound quality really moved a-pace here with a wholly new soundstage installed, giving a low noise performance, a solid basic musical structure plus impressive precision and focus that not only added a measure of pace to the track as a whole but also improved the tonality throughout. The installation of the new platter was, in itself, a major component upgrade that moved the track up several rungs in terms of clarity.
The soundstage of this track is quite intricate. You’ve got rock-type and classical-type instruments working cheek by jowl here with a host of intricate musicianship swamping the area so any turntable has to work hard to working it all out. The platter enabled the RPM to do just that.
That sonic improvement was further enhanced by adding the cork mat on top of this replacement platter.
THE FEET: ABSORB-IT
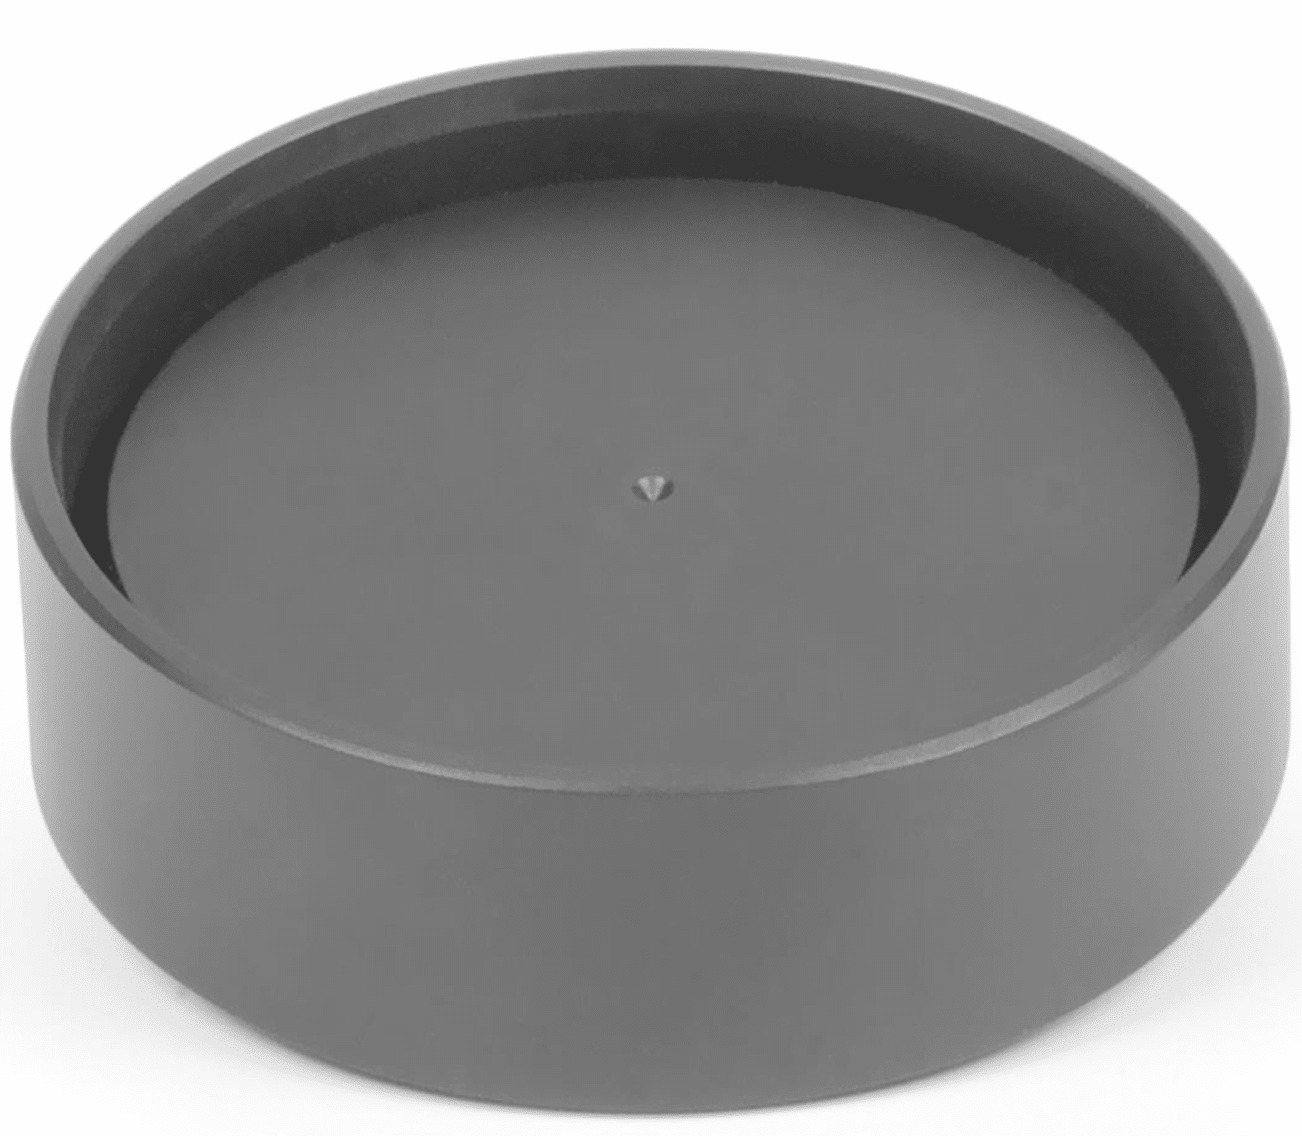
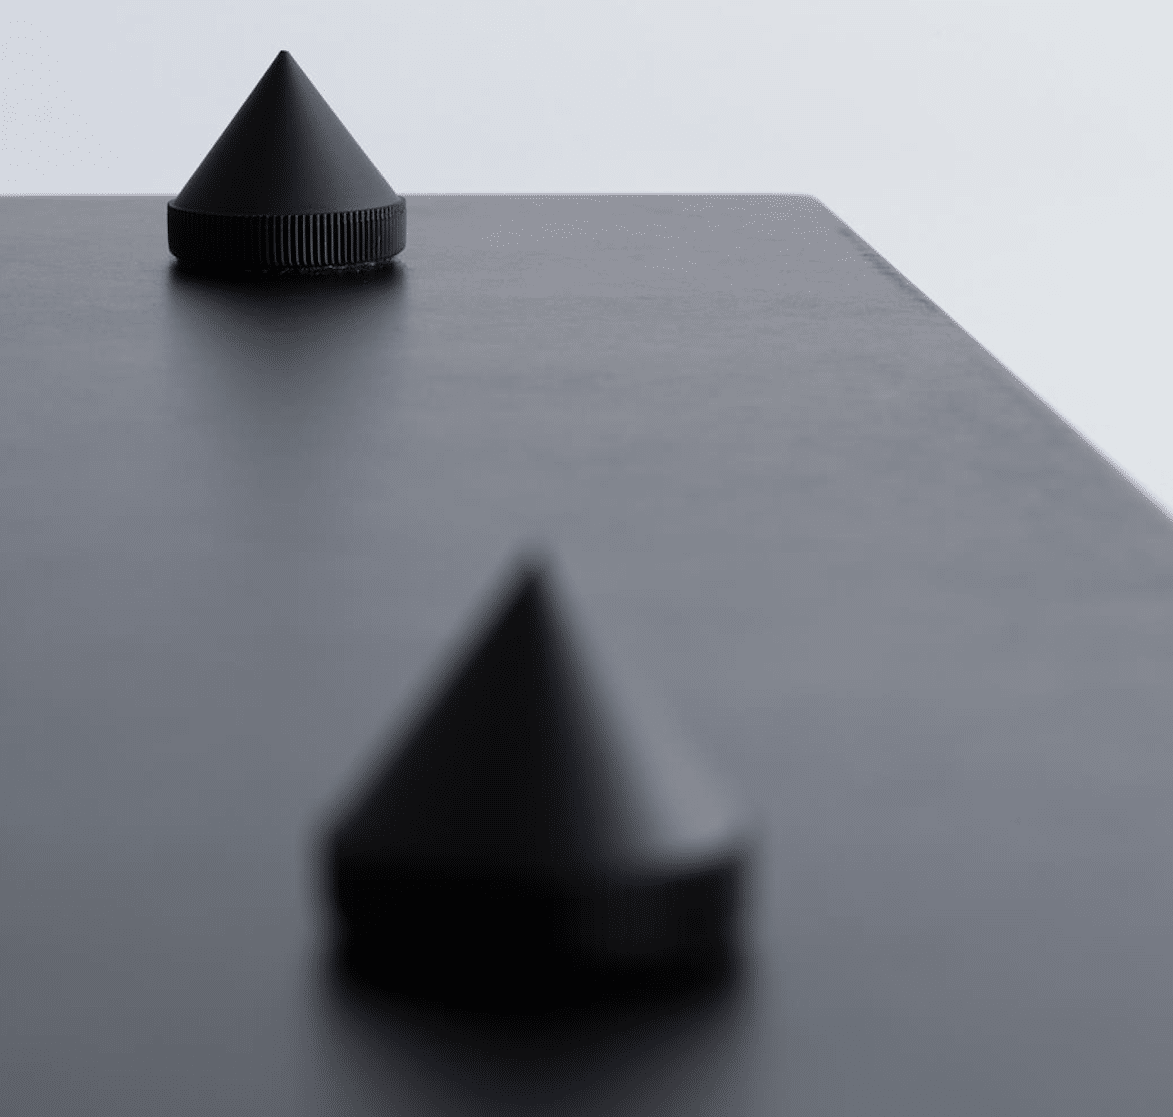
Next up, I reached for the three isolation feet. The feet were excellent in terms of enhancing bass and providing a stronger and more significant range of lower frequencies.
On the reference track, the feet provided real traction for the cellos and provided drums with significant presence but I would have liked more control over these enhanced frequencies and also the upper frequencies which were slightly weakened in the meantime. I felt that the feet were good, solid designs but I wanted…more.
PLATFORM BASE: GROUND-IT
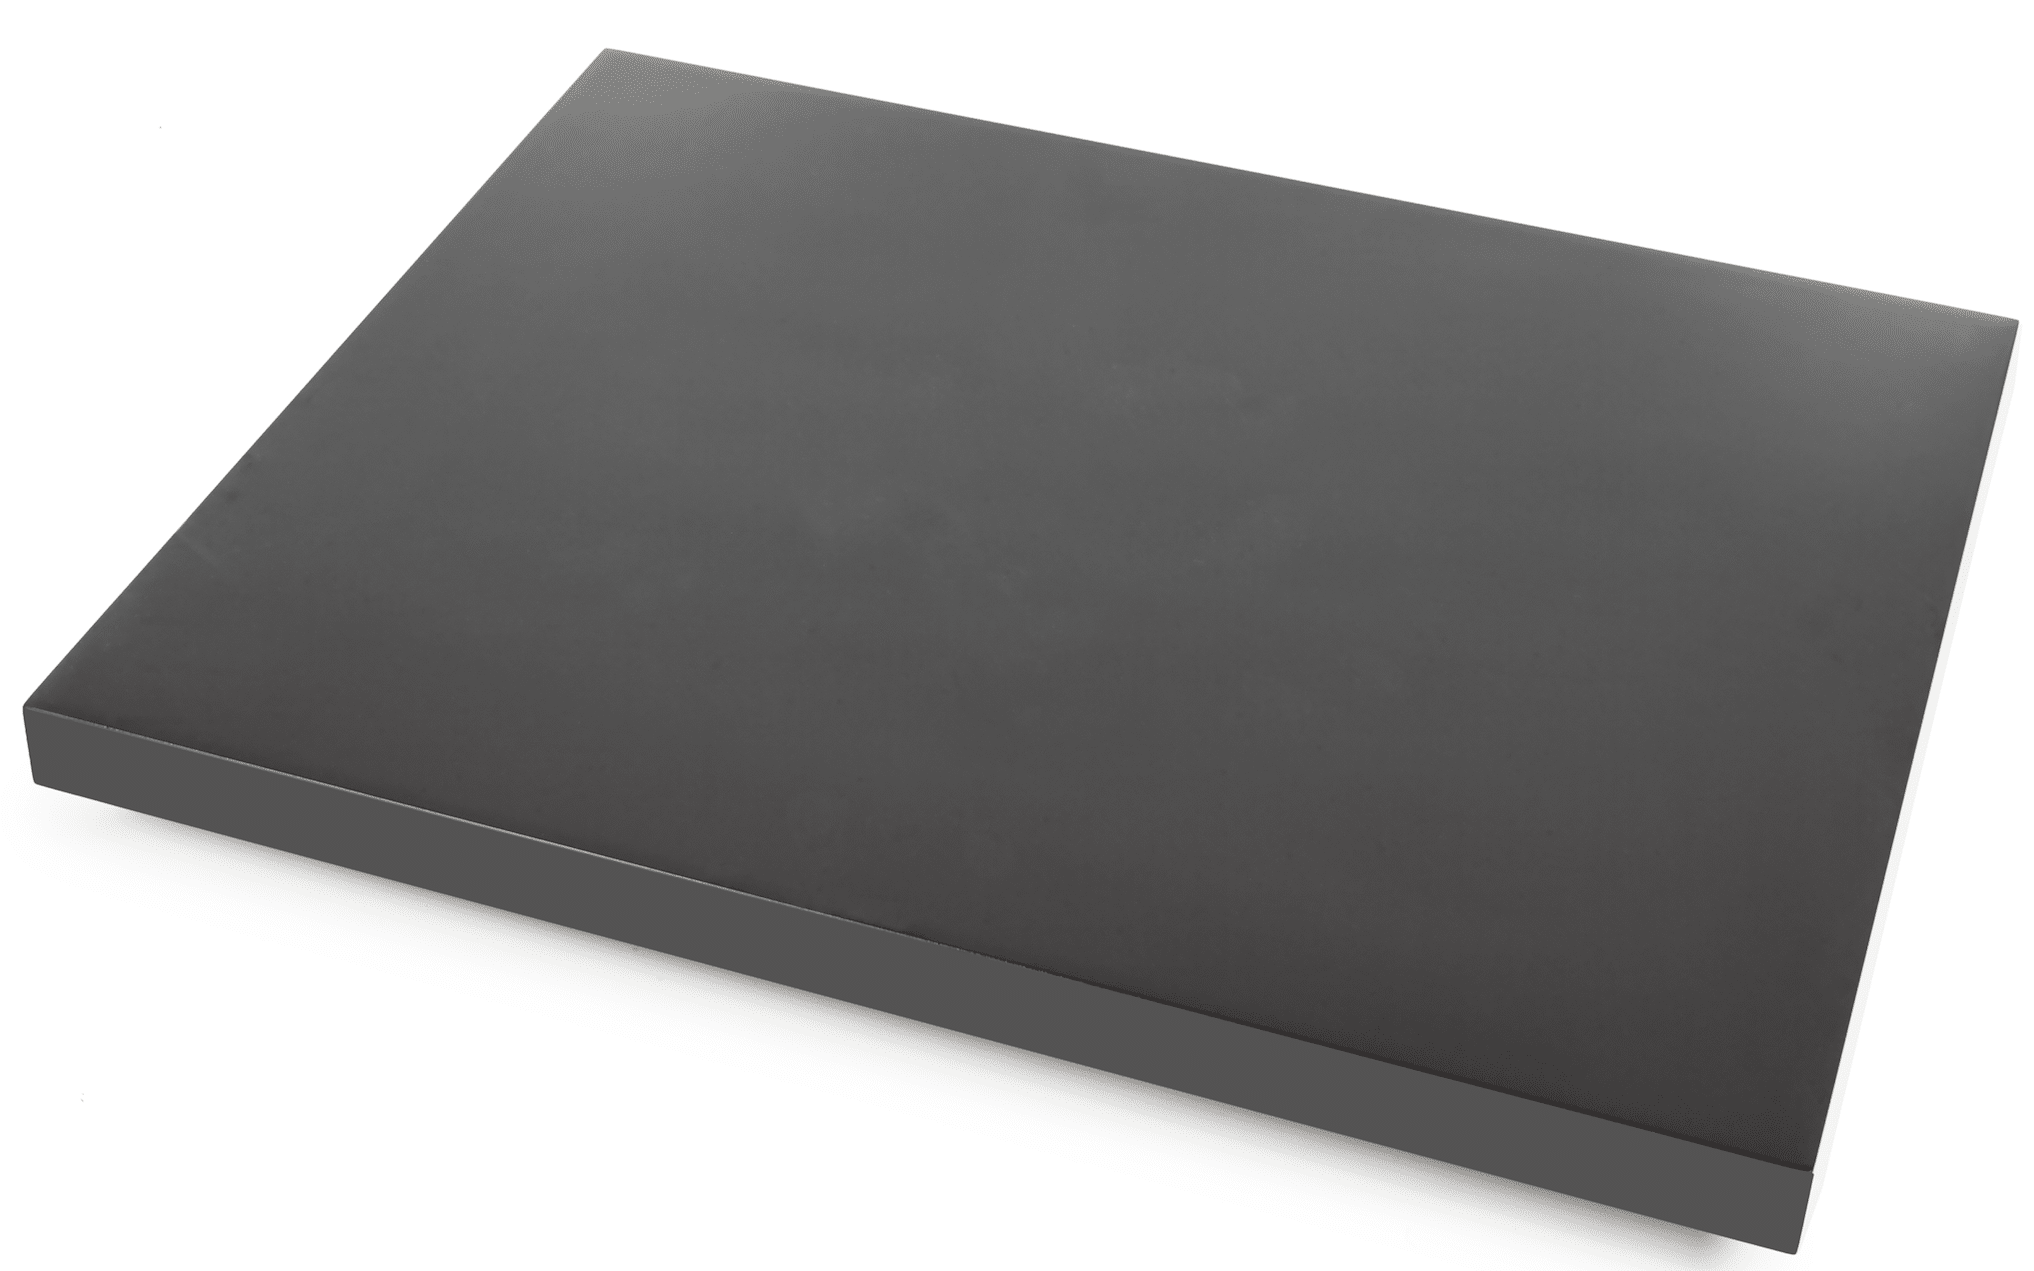
I was hoping that the platform base would provide that. It did too. Bass improved with the platform but the lower frequencies were enhanced in a balanced fashion along with the midrange and treble. Hence, the platform enhanced the sonic improvements evenly and across the board to allow for a neutral yet detailed and clear presentation.
The enhanced bass provided a full and weighty element to the soundstage, while the music moved along with a mass but it never dragged. The bass section remained quite sprightly.
Upper midrange highlights were just as detailed and light on their feet but, this time, the string plucks for the Spanish guitar, for example, added a more substantial and slightly portentous resonance.
NEW PHONO CABLES: CONNECT-IT CC
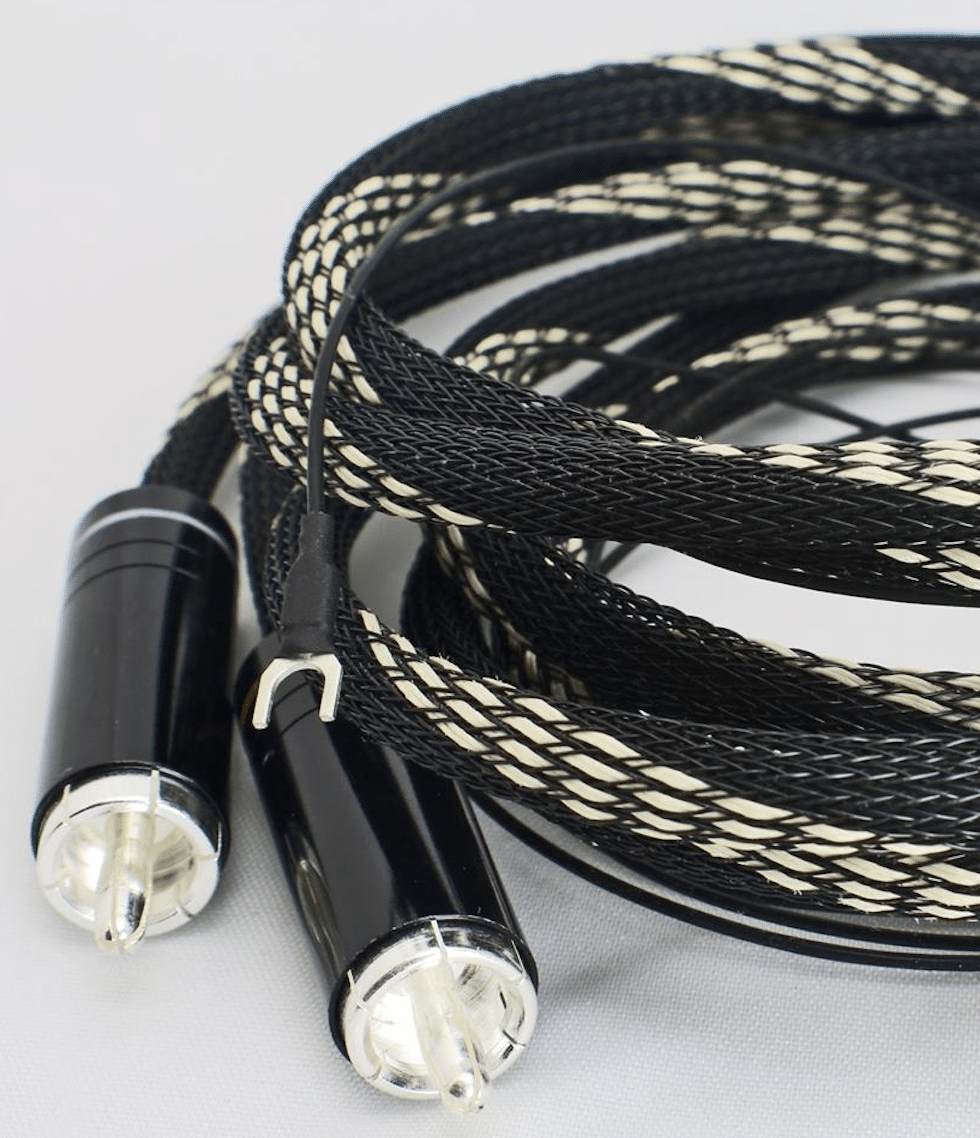
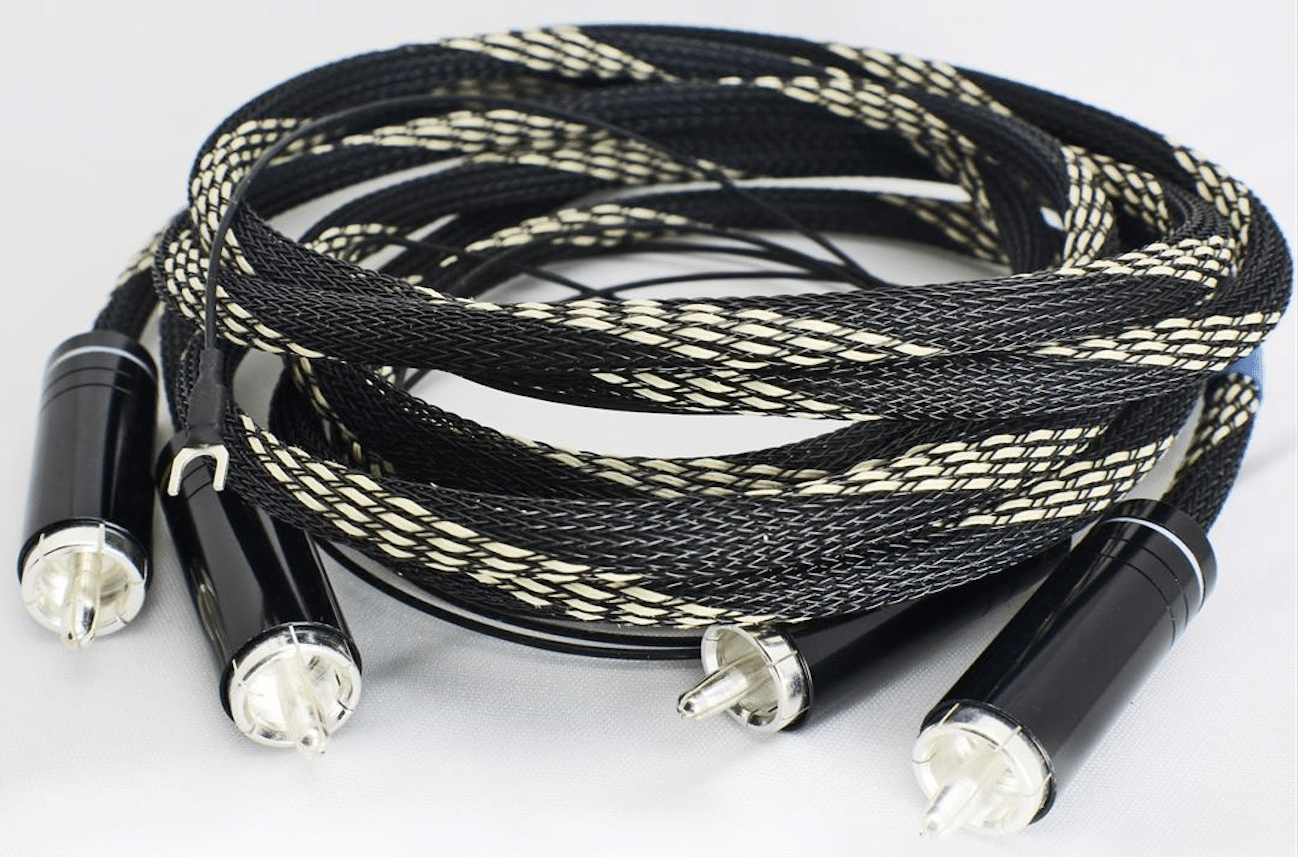
To round off this modification sequence, I replaced the phono cables.
Despite a slight lift in the midrange which added a slight stridency to the upper mids, the response of the new cables was to lower noise further which enhanced the overall soundstage again, especially the percussion which moved left and right towards the outreaches of each channel but also improved in terms of tonal quality.
Precision and focus was also improved over all frequencies.
CONCLUSION
What I have learnt here is to respect the inherent Pro-Ject turntable design as a core. A base to add and improve upon. That is, I now realise that when you buy a basic RPM 1 Carbon and then you play that turntable, out of the box, you’re really hearing something like 65% of its overall capabilities because it arrives with a large, normally untouched, capacity. You won’t hear any more either, until you start adding upgrades such as those listed above.
And after adding all of the modifications, what are you left with? Well not a RPM 1 Carbon, that’s for sure! That is, the final sonic difference is so large, the sound is actually completely different and in a good way. It’s more like a RPM 4 Carbon! The overall sound quality is so far away from the original that this deck sounds like a completely new design. It also should provide confidence and added security for those RPM 1 Carbon buyers out there. But not just RPM1 owners and not just owners of Pro-Ject turntables, all turntable owners need to take a look at these and other upgrades. Your own turntable most probably includes untapped potential. Potential that can be accessed for not a great deal of money.
A bit fed up with your current turntable’s sound quality and feel like an upgrade? Well, before you reach for your wallet to buy an expensive turntable replacement, seriously consider one or more (or all) of the above upgrades. You won’t regret it.
PRO-JECT RPM 1 TURNTABLE & MODIFICATIONS
Tel: 01235 511166
Website: www.henleyaudio.co.uk
ACCESSORY PRICE & RATINGS
Pro-Ject RPM 1 Turntables
Price: £375
Rating: 8
Ortofon 2M Blue
Price: £185 on its own or £110 as an upgrade for a 2M Red
Rating: 8
Leather-IT leather platter mat
Price: £50
Rating: 7
Cork-IT platter mat
Price: £20
Rating: 8
Acryl-IT Platter
Price: £165
Rating: 9
Absorb-IT isolation feet
Price: £140 for pack of 4
Rating: 7
Ground-IT Deluxe Platform
Price: £250
Rating: 8
Conect-IT RCA-CC phono cables
Price: £99
Rating: 7
Overall – 8
[Don’t forget to check out my Facebook Group, The Audiophile Man: Hi-Fi & Music here: www.facebook.com/groups/theaudiophileman for exclusive postings, exclusive editorial and more!]
Rega RP1 turntable
Rega Brio-R amplifier
Blue Horizon Professional Rack System
Harmonic Resolution Systems Noise Reduction Components
All vinyl was cleaned using an Audio Desk’s Ultrasonic Pro Vinyl Cleaner



Hello
have you a photo ?
pro-ject RPM1 with three feet Absorb-it isolation and the lift of the motor
Thanks
Hi Bernard
Do you mean a photo of the feet ‘in place’, as it where? Sorry, it’s all gone back to Pro-Ject, I’m afraid. Was there a possible issue you wanted to discuss?
if we put three feet “absorb-it”
we must also raised the motor ?
Gotcha – yes, that’s right but there’s four in a pack so there’s one left for the motor.
it does not work, it’s not the same height ?
You’ve lost me there Bernard – can you explain please?
https://theaudiophileman.com/wp-content/uploads/2018/09/Screen-Shot-2018-09-10-at-14.36.24.png
this feet is 78 mm diameter,
can the motor of the RPM1 enter this cavity?
Ahhhh – I see now, Bernard. OK, this is a great point and one I should have addressed in the review. The ‘problem’ is the turntable choice because most Pro-Ject decks have four feet, so this question won’t normally be an issue. What happens with the RPM 1 is that the three turntable feet are being isolated by the Absorb-IT feet. The turntable feet fit inside each Absorb-IT foot. For others reading this, the Absorb-IT foot has an outer cup and an inner absorption bit. For isolation, you want your product to fit inside the cup part of the Absorb-IT. Hitting the outer cup chassis reduces the Absorb-IT’s effectivenes. For the motor, the Absorb-IT foot lifts the motor to the right height but the foot doesn’t isolate because the motor does not properly fit inside the Absorb-IT. That is, it doesn’t free-stand on the inner bit – which is what the turntable feet do, as I say. That said, the motor itself already has its own isolating pad fitted under the motor’s chassis. Hence, because of that pad and because you’ve lifted the motor off the shelf (which is a useful thing to do all on its own, it adds a bit of focus), you do get an isolating factor and the turntable performance is the better for it. Hope that helps 🙂
ok,
you understand my first question,
the picture of the set: RPM1 3 feet and raised motor
thanks
Mc-pickup is one of the best upgrades.
I wouldn’t go MC for a RPM1, Michael. A decent quality MC would almost be ‘too good’ for the overall design of the deck. MM has a lot to offer, especially at this price point.
Just clarification please. In case you replace the platter with an Acryl-IT Platter would it then ruin the upgrade if you put a filt mat on top. I.e. does a platter upgrade require a good mat on top to make sense?
Hi Kare – A mat further improves the platter, basically. The felt mat on its own is a good choice, even better is the cork option.
Hi having done the upgrades, is it still value at the new ‘price’ point or should I look at other options. Thanks
You’ve lost me a little bit there Ken. Can you rephrase the question please? Let me have a stab for now, though. Once you’ve spent out on all of those upgrades then you don’t really have a RPM 1 anymore. It’s a lot better than that. From that point onwards, you’re looking at a change of turntable around the ¬£1,200 mark. Give or take. If that didn’t answer your question, please come back.
Apologies for not being clearer. I wanted to ask if the project one was still the turntable to get after spending $1200 in total ie on all the upgrades.
Could I get something better for the money i put into upgrades or this is still the way to go.
Regards
Ken
Ahhh, gotcha. Well, if you already have $1,200 – no, buy a better turntable. The upgrade path is ideal if you don’t have the cash to hand but can save up bit by bit and add an upgrade here and there as funds permit.
Hi:
Just a quick note. I read this article and was intrigued by the relatively inexpensive turntable mat upgrade. As I previously reported, I have a beginners turntable that I recently replaced, but that I keep hooked up to my system via an input on my receiver. The turntable, a Sony PS LX 300usb, is a belt drive, with a strait arm and a permanently mounted AT cartridge.
I did some basic upgrades such as balancing the table, checking speed, and using a better stylus.
Spurred on by the article I ordered a few cork mats from HudsonHIFI. The sound was much improved. I’m certainly no an expert, but the “sound stage” seemed wider with better separation. Also, at higher volume the music was without a sometimes annoying “feedback” or “vibration”.
At any rate the cork mat was a major improvement. The Sony does not sound as good as my Audio Technica 120xusb, but it’s much better.
Thanks fir the tips.
Thanks for your feedback, Lenny. Much appreciated and glad to see that the mat upgrade helped you.
Great article! But just being curious here….what amp / speakers were used? It would help me a lot thanks!
I think I used a Rega Brio and Spendor S3/5R2 standpoints.
Thanks for this article.
Do you have any tips on fixing one of the small cartridge wires that are inside this pro-ject record player? They are so small one was broken when I tried to remove the original cartridge.
Let me ask Pro-Ject on this one, I’ll get back to you ASAP.
Got this from my Pro-Ject contact, Joshua. Hope it helps, “Apologies for my delay. That is a tricky job. The connector will likely need the old solder removed and new solder put in place to re-attach the cable. It can be done, but is fiddly. However, the quicker job might just be to rewire the tonearm. Tonearm cables are ¬£11.50 from our website and so long as you have cables already in the arm, replacing them is quite easy. Still some soldering involved in the junction box, but it allows for more space.”
Thank you for this great article. Too bad I didn‚Äôt find it sooner. I bought this turntable some years ago but I have never been quite satisfied with its sound out of the box. This may entirely be my fault, as I have not taken any steps in setting it up or adjusted it properly. Now this will change. I am using a Marantz SR8012 amplifier and B&W 805 front speakers a B&W sub. The RPM 1 should sound great on this system, so after reading your article I have decided to follow one or two of your suggestions. The first one is definitely to opt for the Ortofon 2M Blue stylus. If I understand the article correctly you only changed the stylus, not the cartridge. Is the specification of the red cartridge “good enough” for the blue stylus’ extracted information? If there is no apparent reason for buying the whole blue cartridge package I’ll settle for the blue stylus only.
And if you have the time: I’m also the owner of a Pioneer PL-505 turntable from 1982. Is this considered better than the RPM 1?
Hi Dagfinn – thanks very much. To your queries: yes, you just change the stylus on the Red to turn it into a Blue and that works fine. I haven’t tested the Pioneer and haven’t heard it even in a casual way, I’m afraid so can’t really help you out there. Nice looking turntable, though 🙂
With this setup on the rpm 1 Would a Ortofon bronze or black 2mm sound good with this turn table ? Reason I ask is because I like rpm 1 And now that I have had it for 8 years
Hi Randy – yep, I reckon so.