The Article
DAMPING YOUR ROOM ON THE CHEAP
4th December 2017

Just moved or will be moving house? Maybe your room is a bit on the echo-y side? Or maybe your hi-fi sounds a bit harsh and you’ve never really fathomed out why. Paul Rigby looks at the most important part of your hi-fi system: the listening room
That’s right, your listening room is the most important part of your hi-fi chain, “But, hang on,” you cry, “I’ve just spent £50,000 on new hi-fi so, pull the other one!” Yep, even in this scenario, the listening room is tops for importance. If you don’t get the acoustics right, then there is absolutely no level playing field. So you never begin your search for great sound quality from a stable foundation. You start building your hi-fi on the basis of one thing: trouble.
This means that, no matter what you do with the hi-fi itself, no matter how much money you spend on it, there will always be issues with the final sound. It will never, ever sound ‘quite’ right. There will always be irritations. More to the point, you’ll never get the best out of your hi-fi. Hence, you’ll effectively be throwing money down the drain. Why? Well what’s the point of spending £300, £3,000 or £30,000 on a hi-fi system if you ever only hear 70% of its capabilities?

So, what am I actually babbling on about? What do I mean when I declare that the room is important to the final sound?
I recently moved house from the city to the country and, as my work surrounds music and hi-fi, I was very fortunate to be able to find a place with a dedicated listening room.
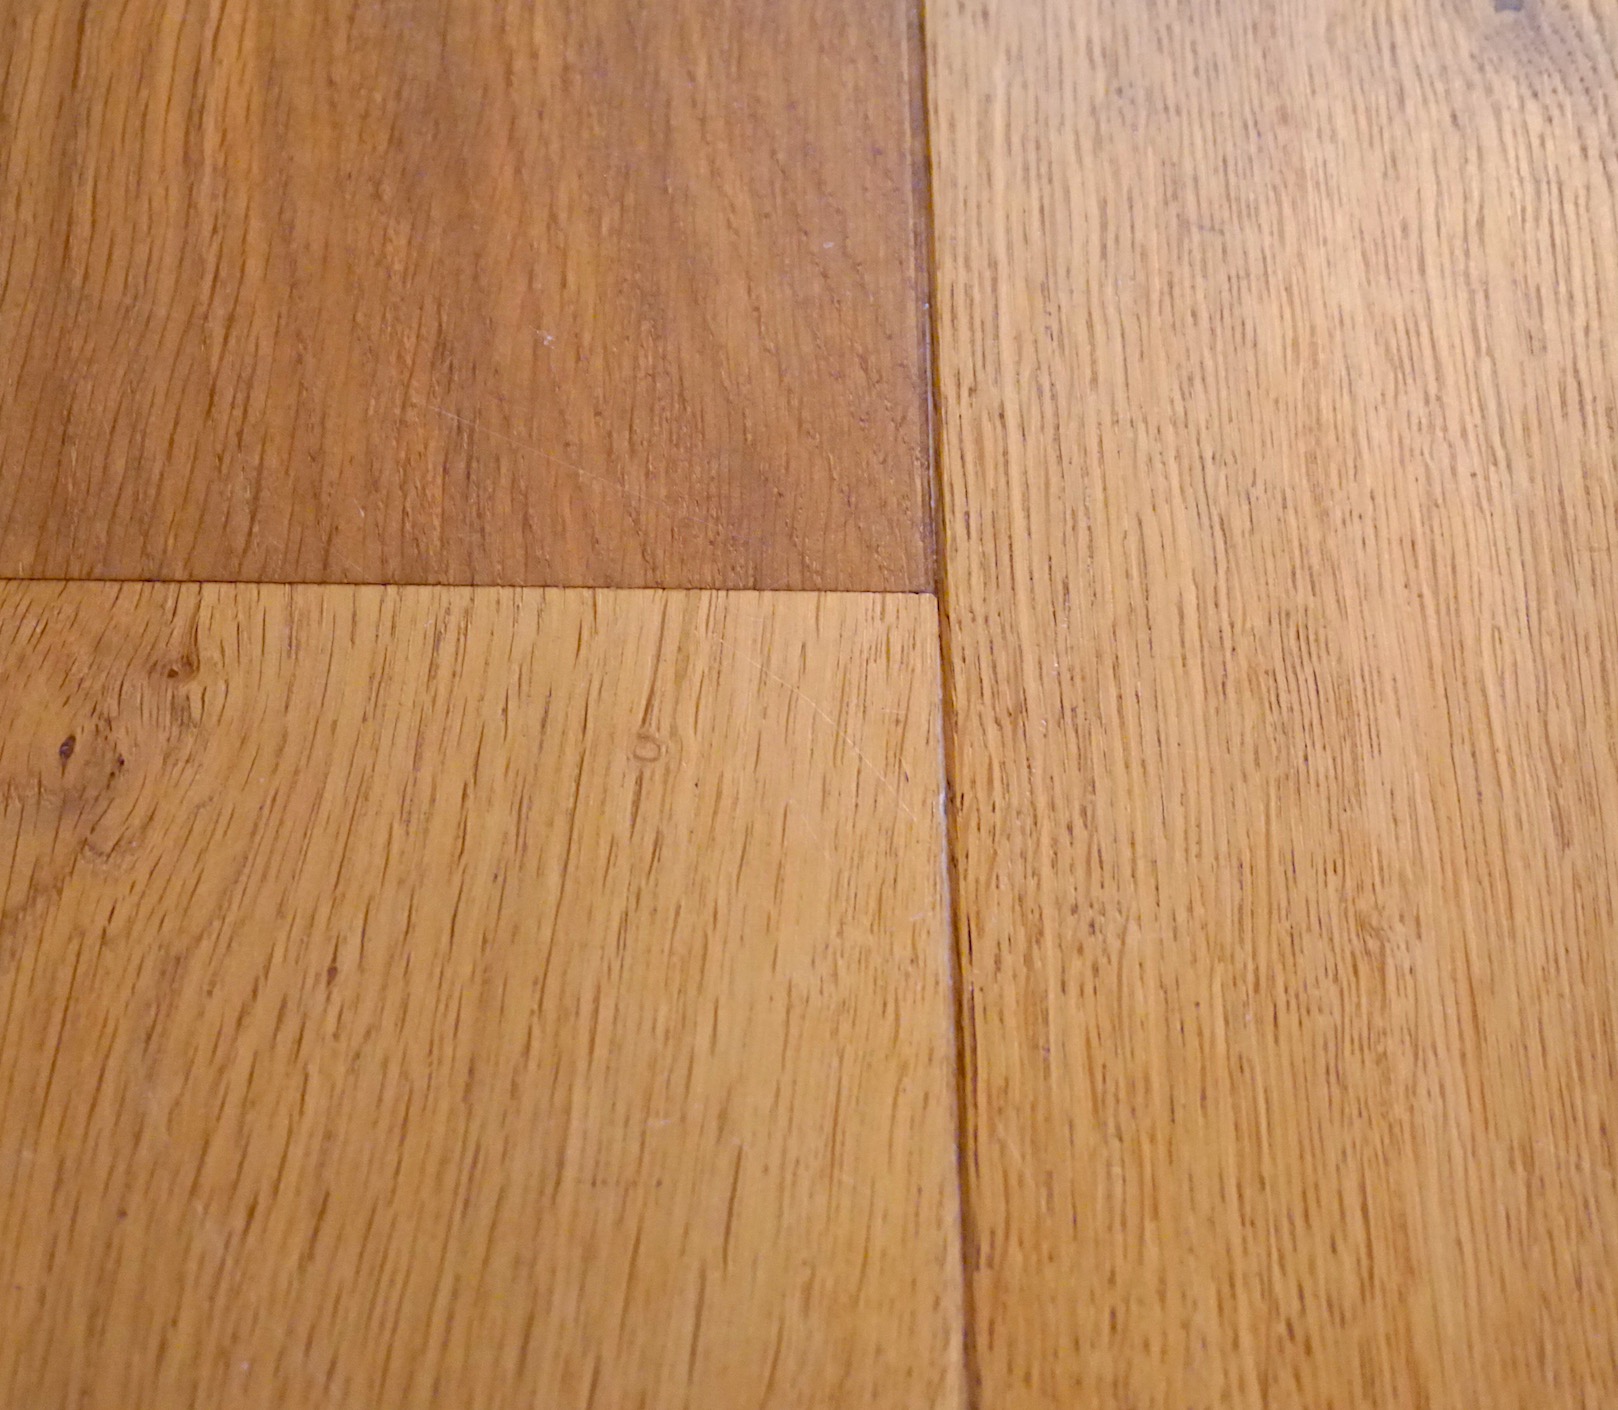
On the face of it, this room seemed perfect. Large, lots of natural light and more. The room itself is L-shaped with the main listening area running down the vertical bit of the ‘L’. Opposite ends of this vertical bit are floor to ceiling glass windows. On the left are two solid wooden doors. The floor is solid oak with no carpeting.
When I first walked into this room, my heart fluttered with possibilities. I then used the only tool I had on me to test the acoustics: Mk.1 Human Hands. I stood in the centre of the empty, unfurnished room and clapped.
Oh dear.
Not only did the echo rebound around the room like pinball table and seemed to take half an hour to stop but there was so much of it, it actually – and I tell no lies here – went ‘Boing!’ For a second, I felt like I was living in a Bugs Bunny cartoon.
I can tell you this right now. If I had set up my hi-fi in this space – as is – without modifying it in any way, the sound would be a compete and utter disaster. The stereo image wouldn’t be, the soundstage would resemble a scene from a terrorist attack, the vocals would be such that Barry Manilow would sound more like Throbbing Gristle and accompanying instruments would be bright and screechy. In a word? Nasty. The problem with the room at this point was that there were too many points of reflection. Too many areas were exposed so that the sound bounced off the walls, floor and ceiling with no order or discipline. Each reaching the ears at different times, speeds and places. Much of it unwanted and much of it unstable.
More to the point. In this state, I couldn’t trust my hi-fi system. If I tested equipment in this atmosphere, I wouldn’t know if a negative point was the result of the product or the room. For you as a music fan, you would find a similar thing happening. Were the band ‘off’ when they recorded this LP or is it the room? Is this a terrible master or is it the room? Surely the sax player can’t be that bad or…is it the room? And so on.

I clapped my hands one more time. “Boing!” it said. My heart dropped once more. If I had any ambitions to get some work completed to pay the gas bill, much effort needed to be spent first.
I wanted to bring a measure of control back to the room, in acoustic terms. I also wanted to not hear the room itself. The room had to be out of the way, invisible in broad terms, neutral so that any sound elements I was hearing was as a result of the hi-fi as a connected unit and the source recording.
There were two issues now facing me, though. The first was money. All of my savings were dedicated to getting out of the old house, moving to the new house and setting up the new house itself. Yes, I did have a ‘doing up the house’ budget. Something I’d already saved for over a long period – not an ‘over and above’ specialist studio deadening equipment budget, if you get my drift. Specialist fittings were out, therefore. So, if I was going to solve the problems inherent in my room, I was going to have to do it ‘on the cheap’. Although I couldn’t afford specialist studio-type solutions, I actually don’t particularly like having 5ft tall pieces of Toblerone hanging off my wall or eggshell boxes stuck to the ceiling. I happen to want my listening room to look civilised, not like a garage with microphones. Many will disagree with me on that one but we all have our own aesthetic standards.
So, without going specialist and also – just as important – being able to ‘cure’ my room without antagonising my wife, what could I do? I came up with a plan that was, of course, great for my own circumstances. I’m not expecting that the following will be the ultimate solution for you and your own particular room problems. That’s not going to happen. That said, you might be able to get something from my own experiences. If not direct advice, then maybe I can point you in the right direction. Also, some of the following is genuinely of very little money. Other items cost quite a lot but are ‘relatively’ cheap. Also, you’ll have to allow for my tastes which might be pole’s apart from your own.
First up were the walls and, I have to quickly say here, in terms of massaging a relatively small budget, thank god for IKEA!
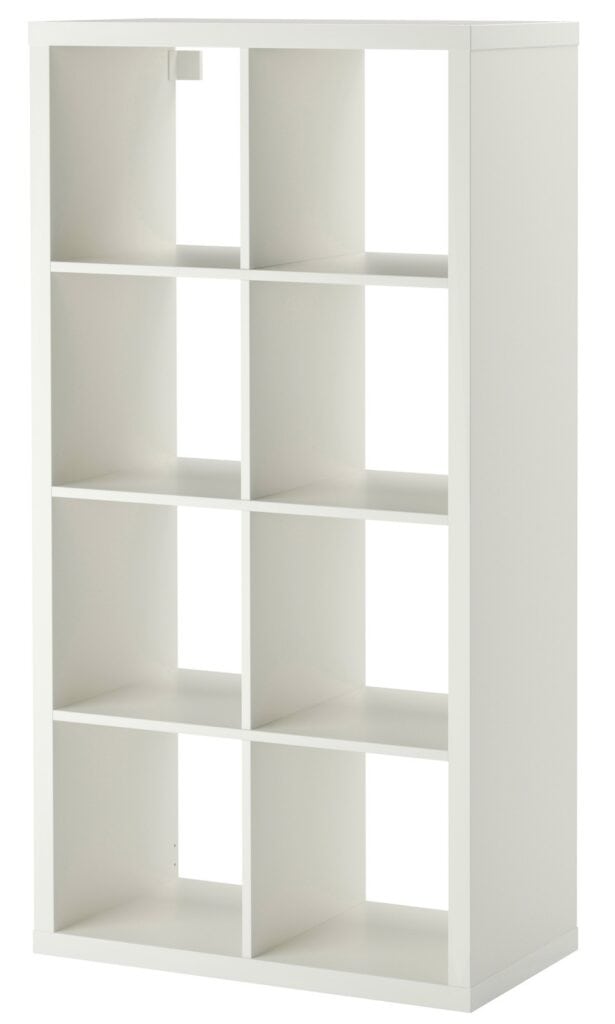
I might have been a tad enthusiastic because I basically cleared out my local IKEA store’s stocks of Kallax storage units. Kallax is the current name for the storage units divided into handy LP-sized pods. They come in all shapes and sizes and, hence prices and hold LPs, yes, but also box sets of all types, CDs and books. They also did a great job in damping the walls of my reverb-laden listening room. And at a low price too. Especially when filled with vinyl and the like. Walls? Done (mostly).
Next? The floor. As I say, I have wooden floors. So, rugs then (don’t forget to add non-slip material underneath). Have you seen the price of rugs lately? I mean rugs that look cheap and nasty and tacky are still inordinately expensive and not particularly large or even hardwearing. After much discussion and thought I opted for a slightly different solution: second-hand Persian rugs. Persian rugs are incredibly well made (the hand woven examples are – avoid machine-created examples). They cover large areas when required and will last for years and years, no matter what punishment. New? They’re laughably expensive. If you go hunting on eBay though, there were some (relatively) very nice bargains to be had. Hey, the worn aspects of them add character and a sense of the antique too. Floors? Done.
My listening room has two pendant lights and I’m aware that the ceiling is a possibly troublesome reflective surface. What I wanted here were to light-shades that, firstly shaded (too may modern shades still show the light bulb which does a great job of blinding the bejesus out of you whenever you accidentally look at it) and also covered an area of space for damping purposes. I trotted back to IKEA and found two flying saucer-shaped objects. Both pitted with holes and textured with material and cheap! Mine were £5 each! Ceiling? Basically…done.
Back to the Mk.1 Human Hands.
Better. But not perfect. The amount of reverb had definitely reduced now. I also noticed that parts of the room were a lot better than others. The biggest issue were those large panes of glass. I visited Dunhelm, a large interiors store often seen occupying out of town shopping centres which sells nice looking curtains at a reasonably low price.
After checking on measurements and the like I settled on the heaviest curtains I could find. More than that, after some research into acoustics, I also decided on curtains that, when hung, would produce lots of folds. Both the weight of the material but also the folds would have an effect on the room sound.
I put them up – did the clapping routine by the glass and? No reverb. It had gone. What amazed me was, the curtains didn’t have to be closed to produce a beneficial effect. Which meant I didn’t have to work with them closed and with the light on during the day, thank goodness. Windows? Done.

The room was now a lot better. Almost complete in acoustic terms but, still, there were patches of reverb. The secret here is to walk around the room clapping. If there is variation in the reverb, you know that there’s a echo hot spot somewhere. Clap a few times in a particular area and you will actually be able to hear where the reverb is bouncing from.
In my case, I had two flat areas of wall and three corners giving me heartache. The solutions for the walls were to hang up pictures on them. Once up, the reverb disappeared. Use pictures on canvas or similar. Don’t use glass fronted pictures. Otherwise the picture’s glass will cause more echoes!

As for the corners? IKEA again! What a great store. I wish I has shares in the blasted place, let me tell you. I say ‘great’ store because I was able to find a new, tall, floor-standing lamp with perfect textured shading, holding one to three bulbs (so you can vary the intensity) for £20 each. Complete bargain. Corners? Done.
Now, of course, you might question my interior design fashion sense will all of these things but my priority was sound and sound only. It all worked and that was the main thing, as far as I was concerned.
I then jumped around the space, clapping like a crazed loon and not one excessive piece of echo was to be heard. The entire room was damped. Success!
Ultimately, the ‘before’ and ‘after’ experience was incredible. I went from ‘Boing!’ to nothing after a bit of interior design. The effort and the cash spent was well worth it. Now I could listen to the hi-fi and the music being played, not the ceiling, the floor, the walls…
One finally thing before I go, when you do that ‘clap’ measurement, you don’t want to hear excessive echo but you don’t want that noise to sound like its coming from a padded cell either. You can go too far and make your room overly damped which can also harm your sound, ruining dynamics and restricting the soundstage. Remove the reverb and you’re sorted, though.
If you need any help on the above, by all means give me a shout here or on social media, if you see me hanging about. I’ll be happy to help. Until them? Happy damping!






Enjoyed this read. Great ideas, unfortunately there is no IKEA in South Africa, and importing from such would end up being the same cost as bought from local pricier suppliers. But definitely food for thought in reducing reverb, thank you.
Thanks for your kind words, Gavin. Yes, I thought some readers would find difficulty in a retail sense. That’s why I added the proviso that I hoped the feature might lend food for thought, at least. Maybe you have a retailer in your area that might be able to supply generally similar type of furniture? If not, hopefully the general damping principles might be of use.
I have just added some “tuning” to my cave.I bought a pack of 6 Rockwool batts that are used to acoustically deaden behind stud walls. I put some on the side walls to deaden/diffuse first reflections, and one on a piece of ply hanging from the ceiling, the other behind the curtains (the hifi and speakers are in front of the curtains with a small window behind) The result has been terrific, I did before and after “clap tests” and it has tamed the room. The soundstage has really improved.
Good stuff, Rob. Glad to hear you’ve got positive results with that.
A round of applause Paul üëè üëè üëè Did you hear that?
Seriously…….again a very informative article on a very complicated science. I too was once in your position back in ’96 when we moved house to an English style abode with massive bay windows and a four foot basement under the floorboards. Oh dear! Noel Keywood’s article on room acoustics saved my sanity and helped me to understand what was going on and, more importantly, its solution……So, fellow hi fi nuts, get clapping!
Forgot to congratulate you and on your move! Hope it all works out well for you and your long suffering wife. That’s not her at the top of the page is it? God love her üòä
Thanks Dermot, we’re just about settled in now – no that’s not her 🙂
Just tried this – wifey called me a “Happy-Clappy”.
Haha! It’s just a cross we have to bear, John. Close your ears to the mockery and the taunts. Remember the higher cause. Stiff upper lip, determined eyes, push the jaw out…all that.
A ‘cheers’ for your recommendation on the IKEA light shades. I’ve kitted out my room with a number of GIK panels but didn’t want to take their recommendation of ceiling units as they would make the room to panel-filled. The IKEA jobbies have gone up though (two either side of the central shade at speaker reflection points) and the improvements they’ve brought is great. Even though I now feel like I’m being invaded by UFOs. Good suggestion…cheers.
Hehe – thanks for the feedback Andy. Glad they’re working for you 🙂